English documentation for SaaS installation, addon conversion and the superadmin panel. Tenant HR operations are documented separately in the PeoplePro User Guide. Screenshots show fictional demonstration records. Keep this HTML file and its images folder together.
PeopleProSaaS combines a subscription platform with separate HR workspaces for your customers. This English guide covers SaaS installation, addon conversion and platform administration: customers, packages, billing, hosting, website content and settings. Shared HR modules and employee or client portals belong to the separate PeoplePro User Guide. Each topic includes a screenshot. All example organizations, people, tickets and payments are fictional. Installation and conversion images illustrate the real setup screens; they do not show a new installation performed over an existing business database. Payment examples are demonstrations, not completed bank transfers.
The platform administrator manages packages, customers, subscriptions, payments and the public website. A tenant administrator manages their own organization, employees, shifts and everyday HR work. These accounts sign in at different addresses: the platform uses your main website followed by /login; a customer uses their own workspace address followed by /login. Giving someone an HR role inside a workspace does not make them a platform administrator.
Choose direct installation when you purchased the complete PeopleProSaaS application. Choose addon setup when you already use a compatible standalone PeoplePro installation and purchased the separate SaaS addon. Both choices open the full browser-based SaaS installer, verify the PeopleProSaaS purchase code and create a separate empty platform database. Customer workspaces are created after setup. Neither route automatically attaches or imports the old PeoplePro database, and uploading addon files alone does not activate SaaS.
Use a main domain such as https://example.com for the SaaS platform. Installation of the platform on a subdomain such as app.example.com or in a subfolder such as example.com/hr is blocked. Customers can still use tenant subdomains such as northstar.example.com after setup. Ask your hosting provider to point the domain document root to the application public directory, enable HTTPS and prepare an empty MySQL database. Use PHP 8.2 or a compatible newer release with the required extensions; this application has been tested on PHP 8.3.
Configure wildcard DNS and web-server routing for *.example.com so customer subdomains reach the same application public directory. Arrange HTTPS for those addresses as well. VPS and PlanetHoster use this wildcard arrangement. cPanel and Plesk can also create tenant subdomains through their panel API when automatic panel provisioning is configured. DNS records and certificates are hosting tasks; adding a domain to the application does not complete them.
Upload and extract the complete SaaS application package in the hosting location you prepared. In a fresh full distribution, CENTRAL_DOMAIN and LANDLORD_DB are initially blank. Opening the website starts /saas/install/step-1 before the application attempts to use an installed platform database. Keep the supplied application files together. The installer prepares the platform; it does not require a separate standalone PeoplePro installation.
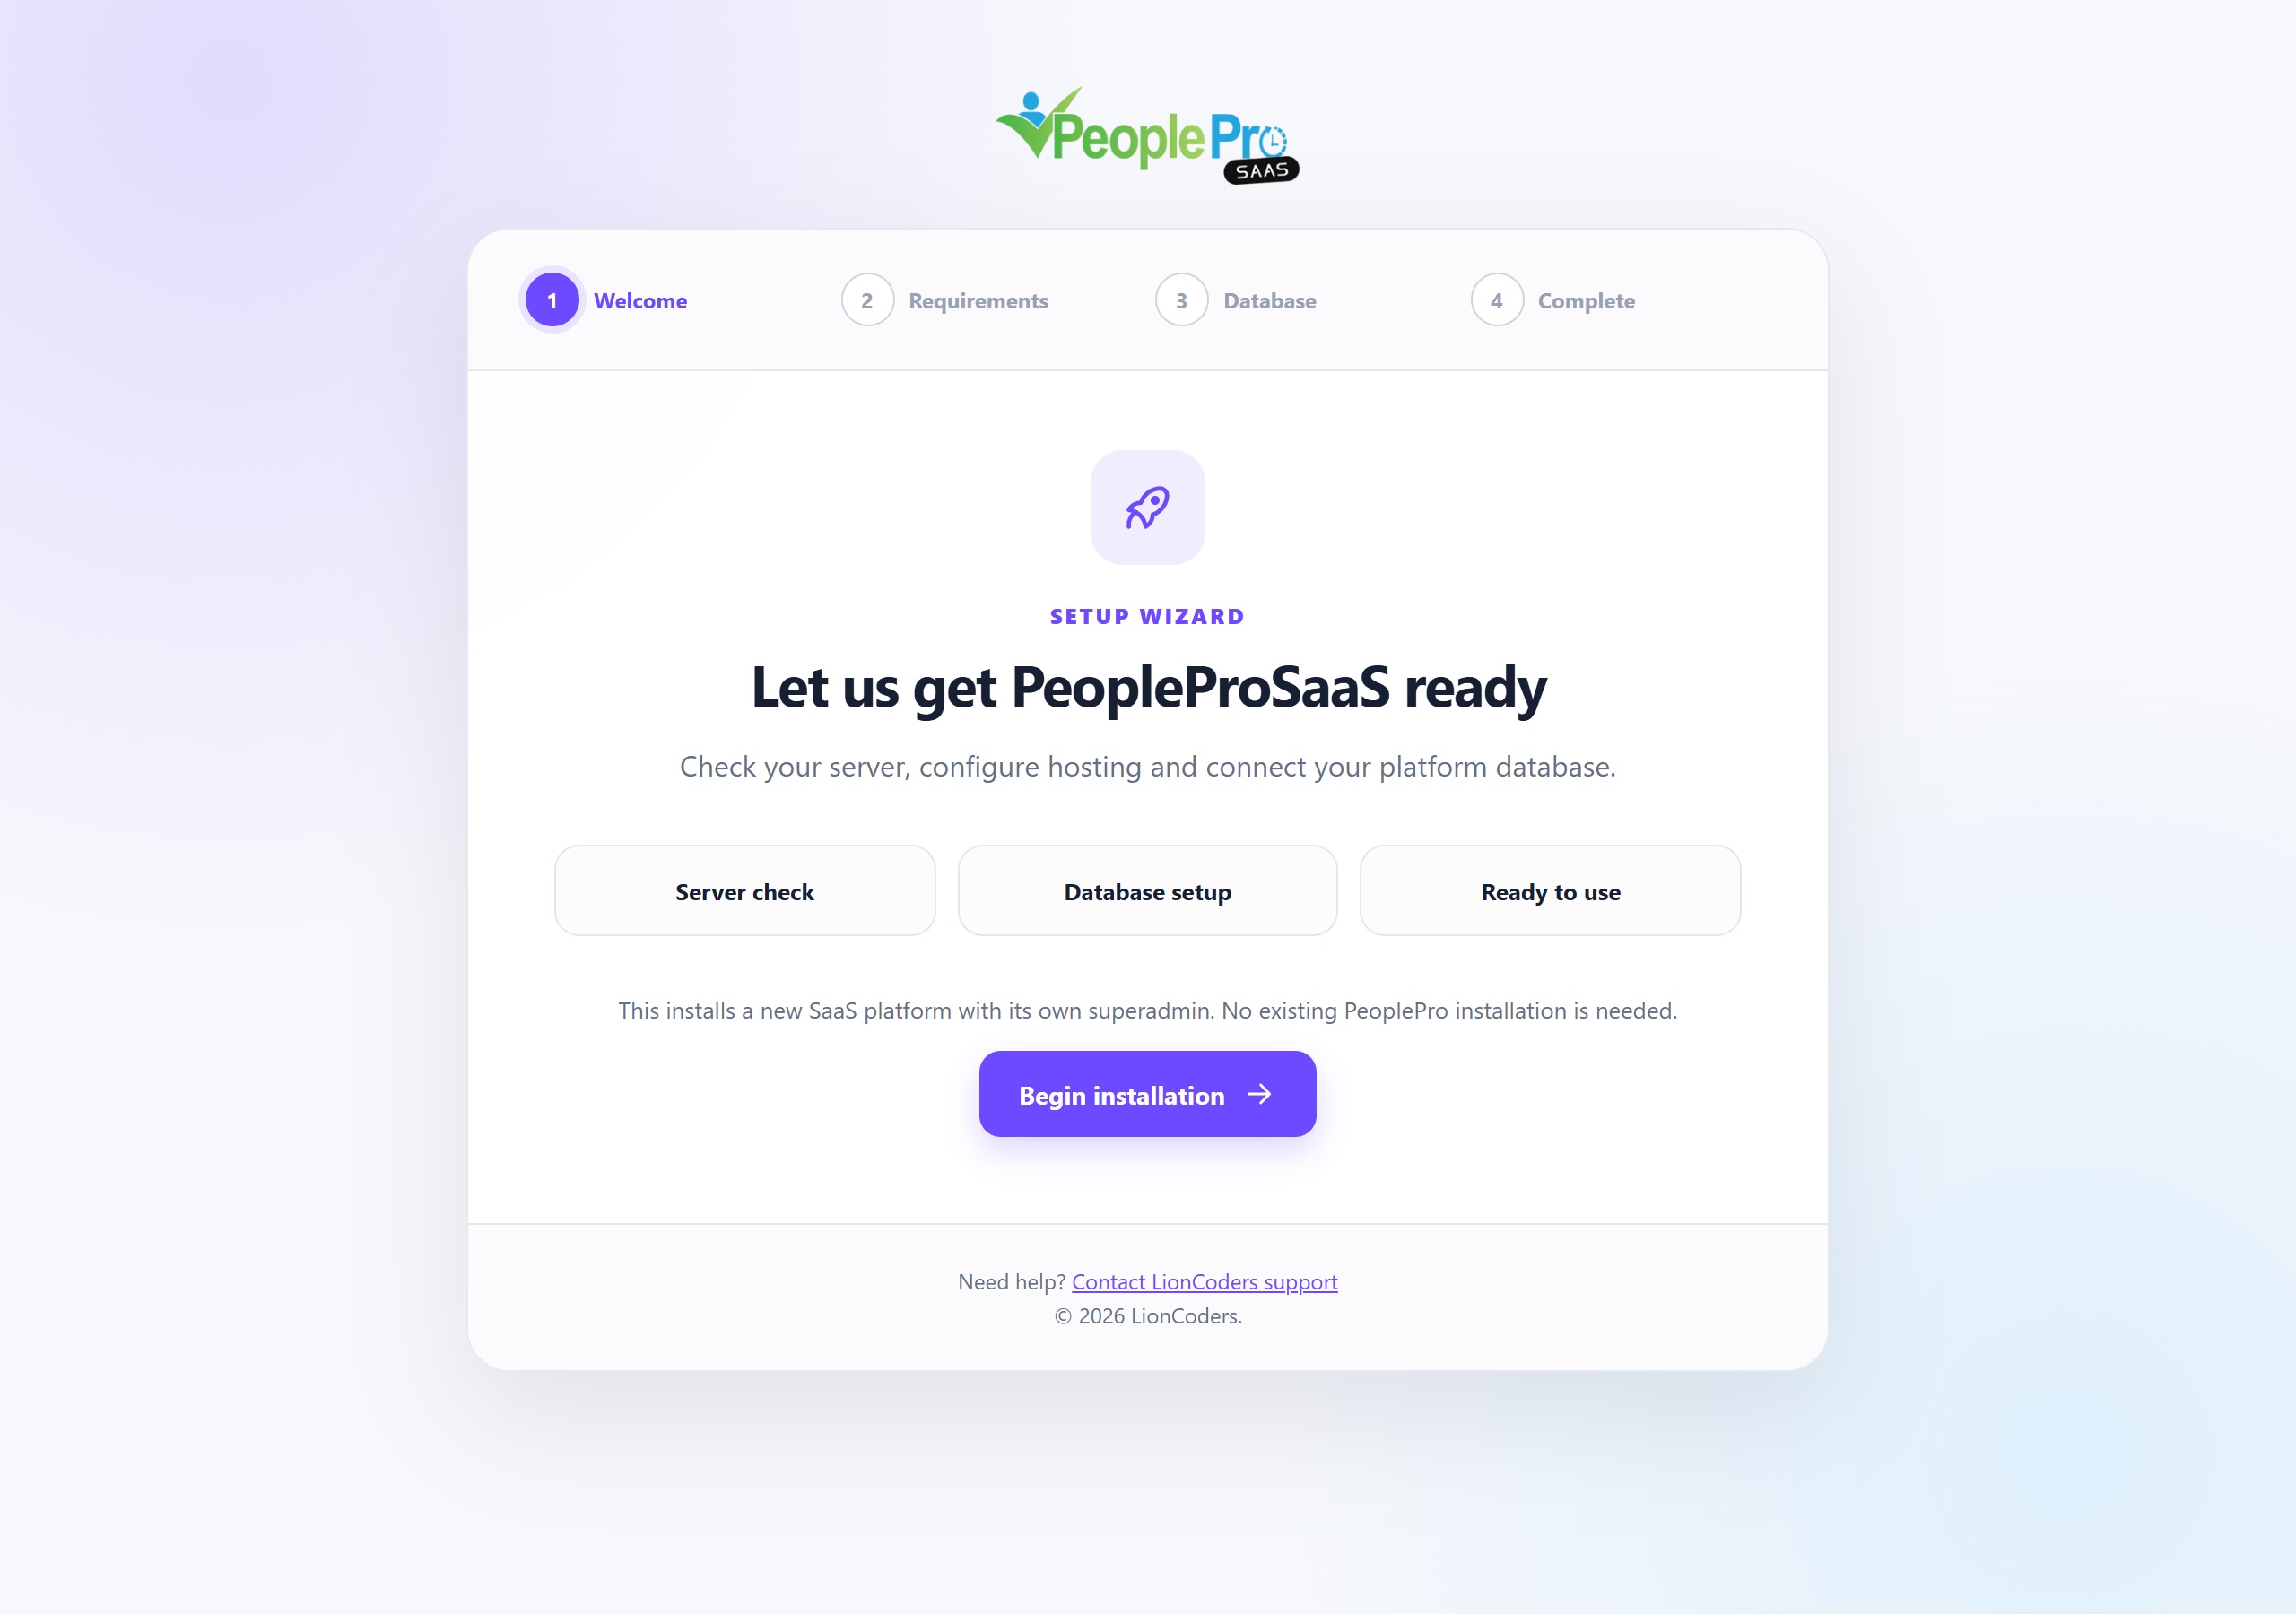
Read the PeopleProSaaS installation introduction and select Begin installation. The progress bar shows Welcome, Requirements, Database and Complete. Have your valid PeopleProSaaS purchase code ready. Check that you opened the intended main domain before proceeding, because setup verifies the purchase and domain together.
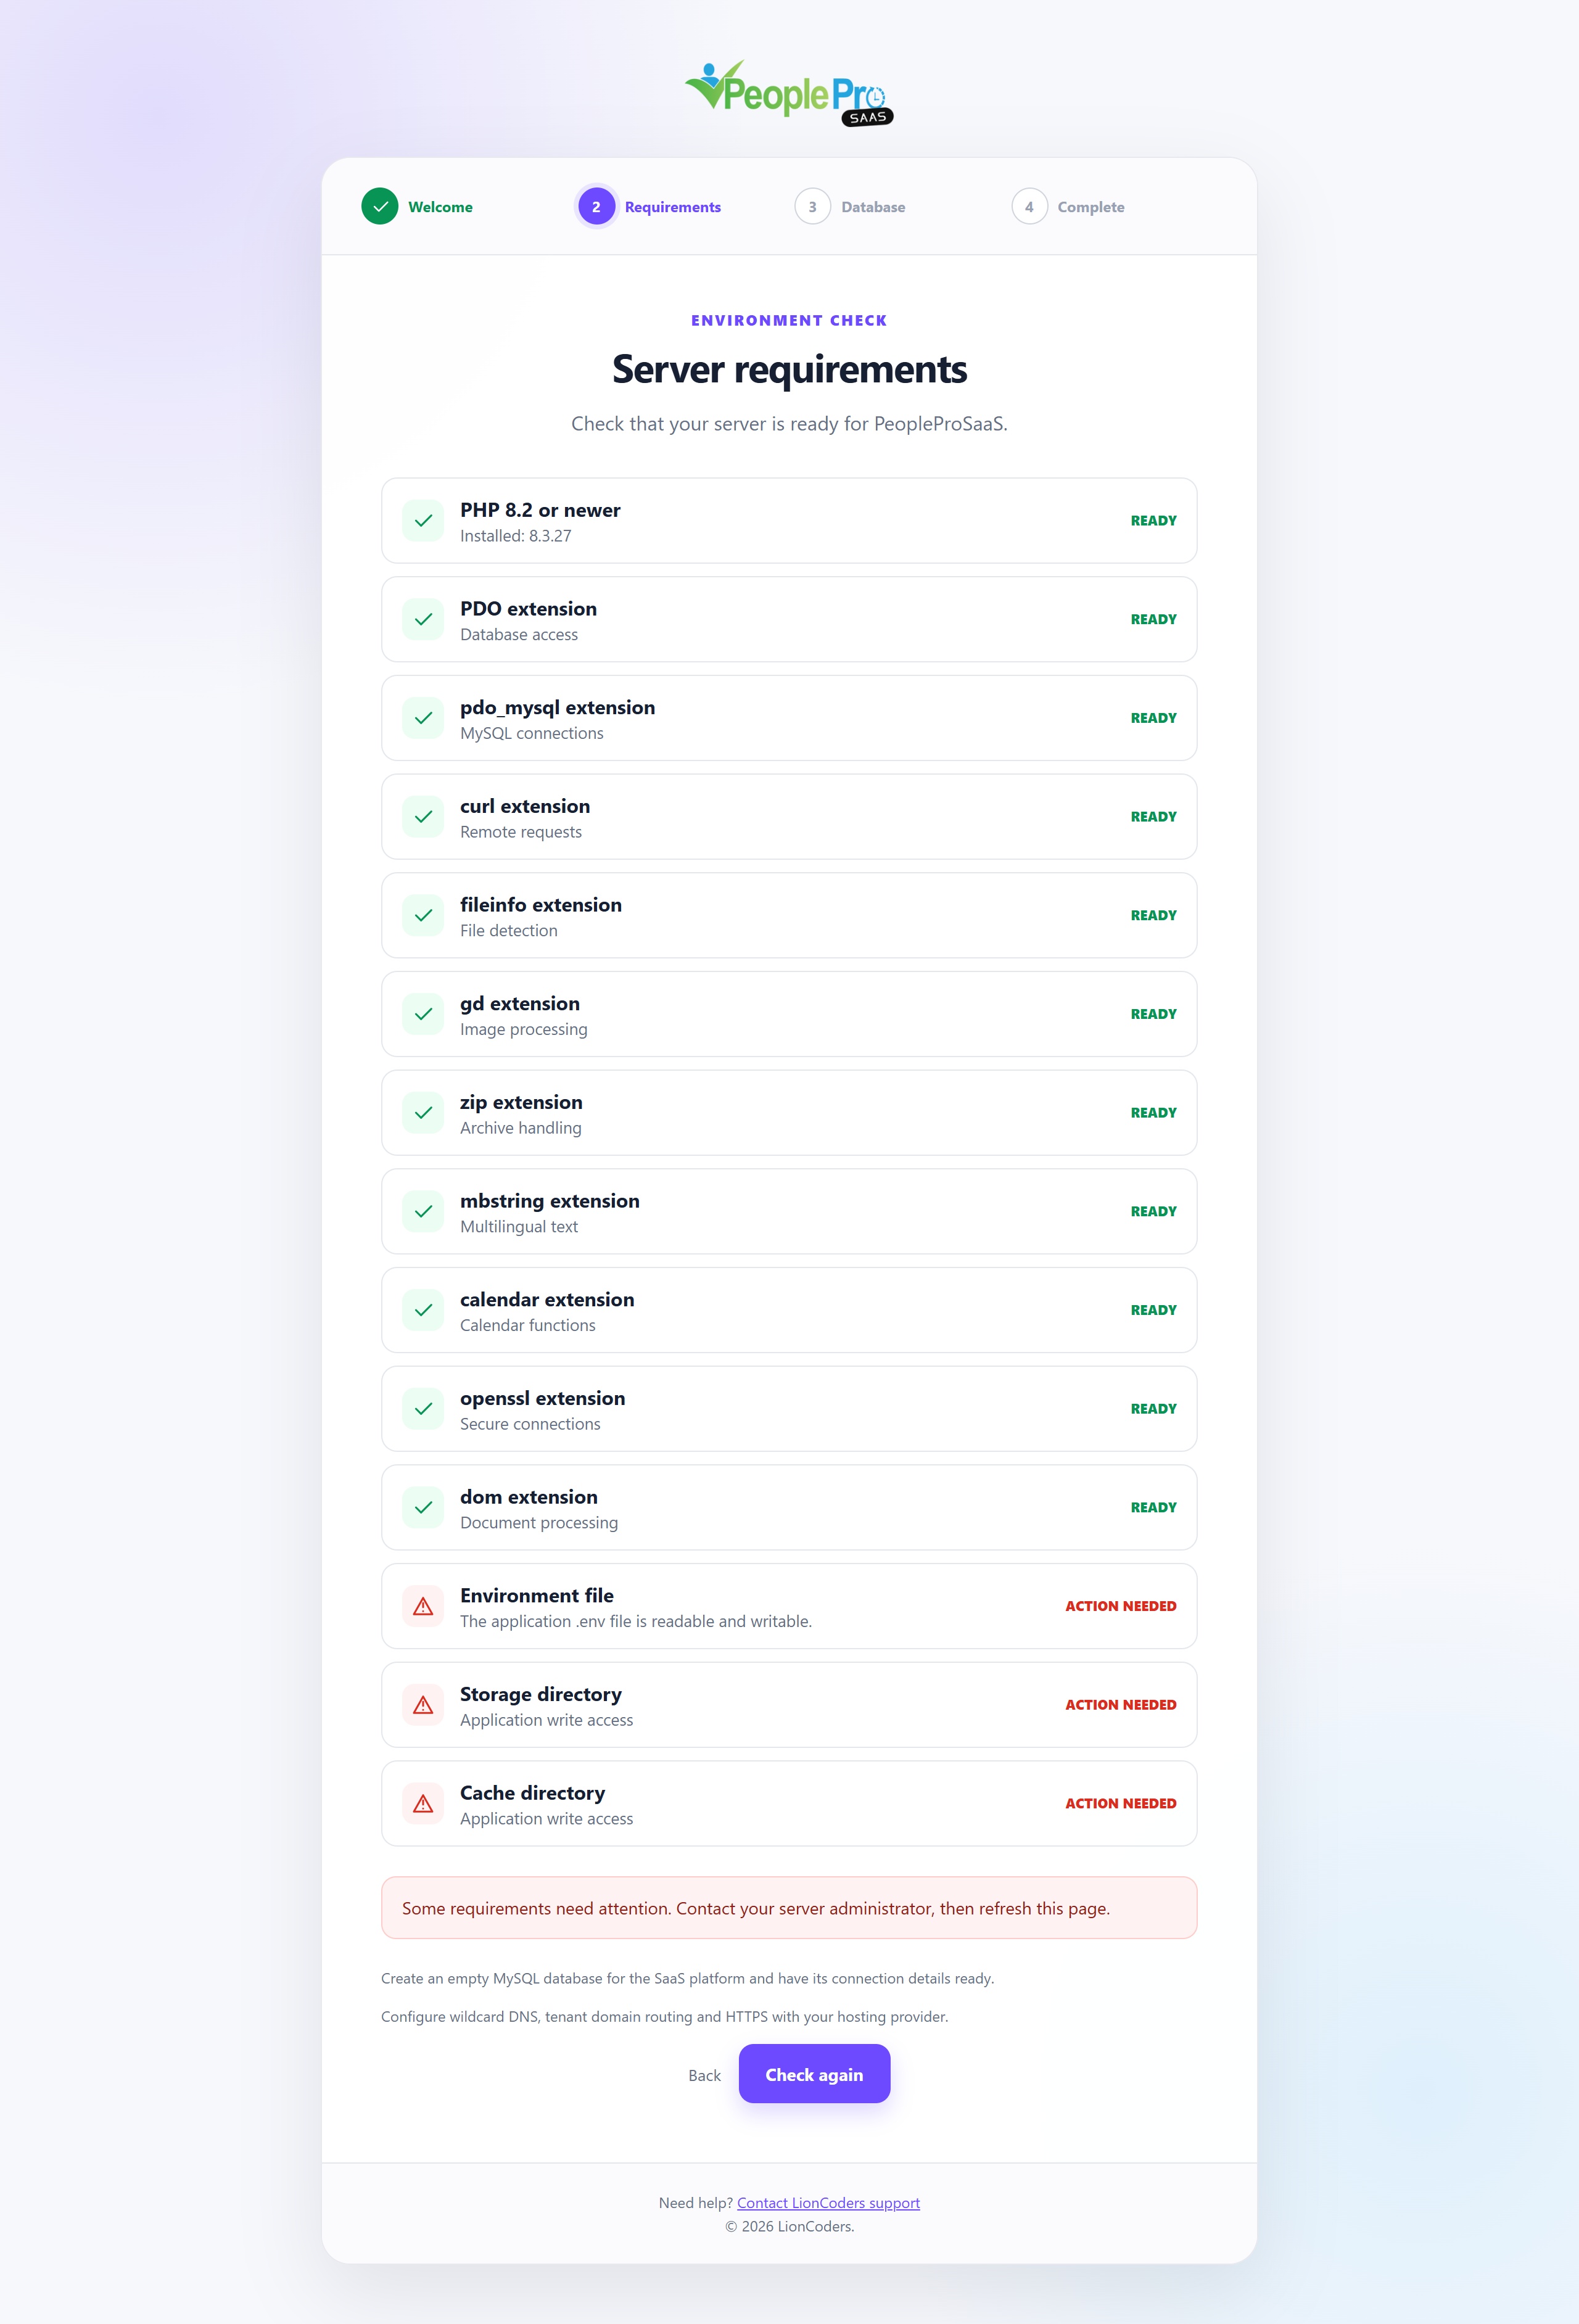
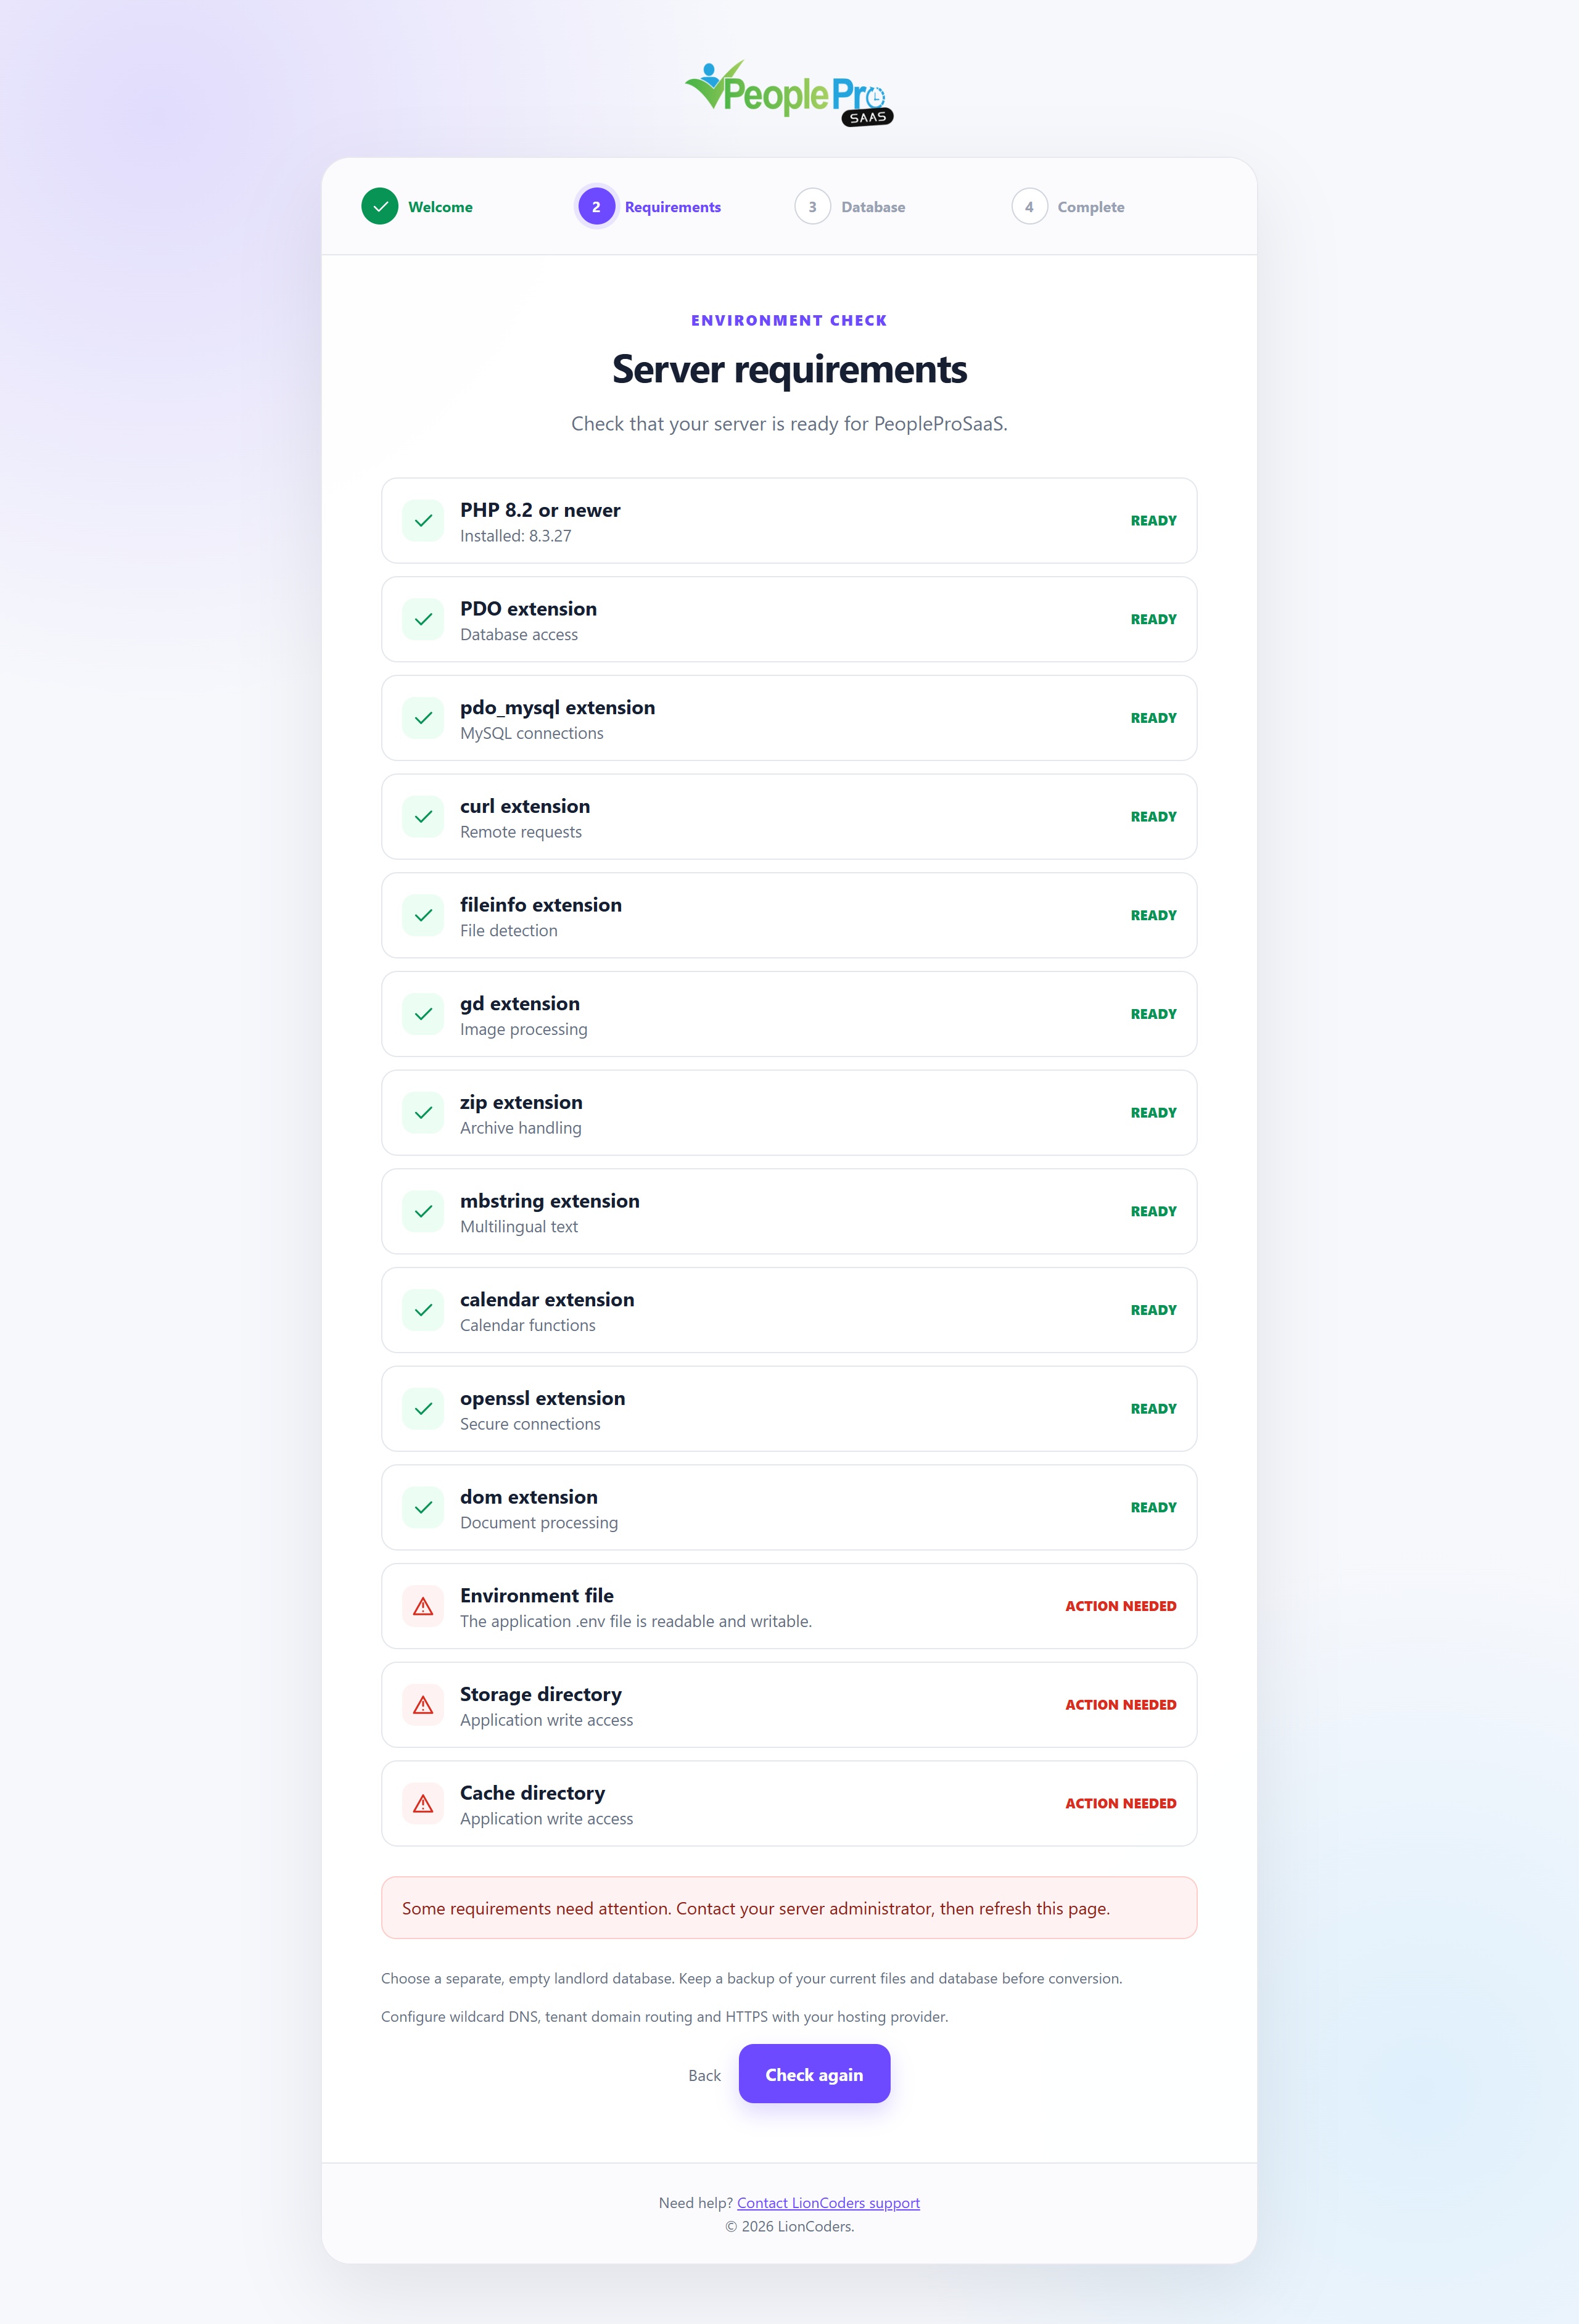
Review each PHP extension and file-permission check. Ready means the requirement is available; Action needed identifies something your hosting provider must fix. After every check passes, select Continue to database. Create an empty platform database and keep its connection details available. The platform database stores customers, packages and billing information; each customer HR workspace uses a separate database. Arrange wildcard routing or the supported hosting-panel setup before completing configuration.
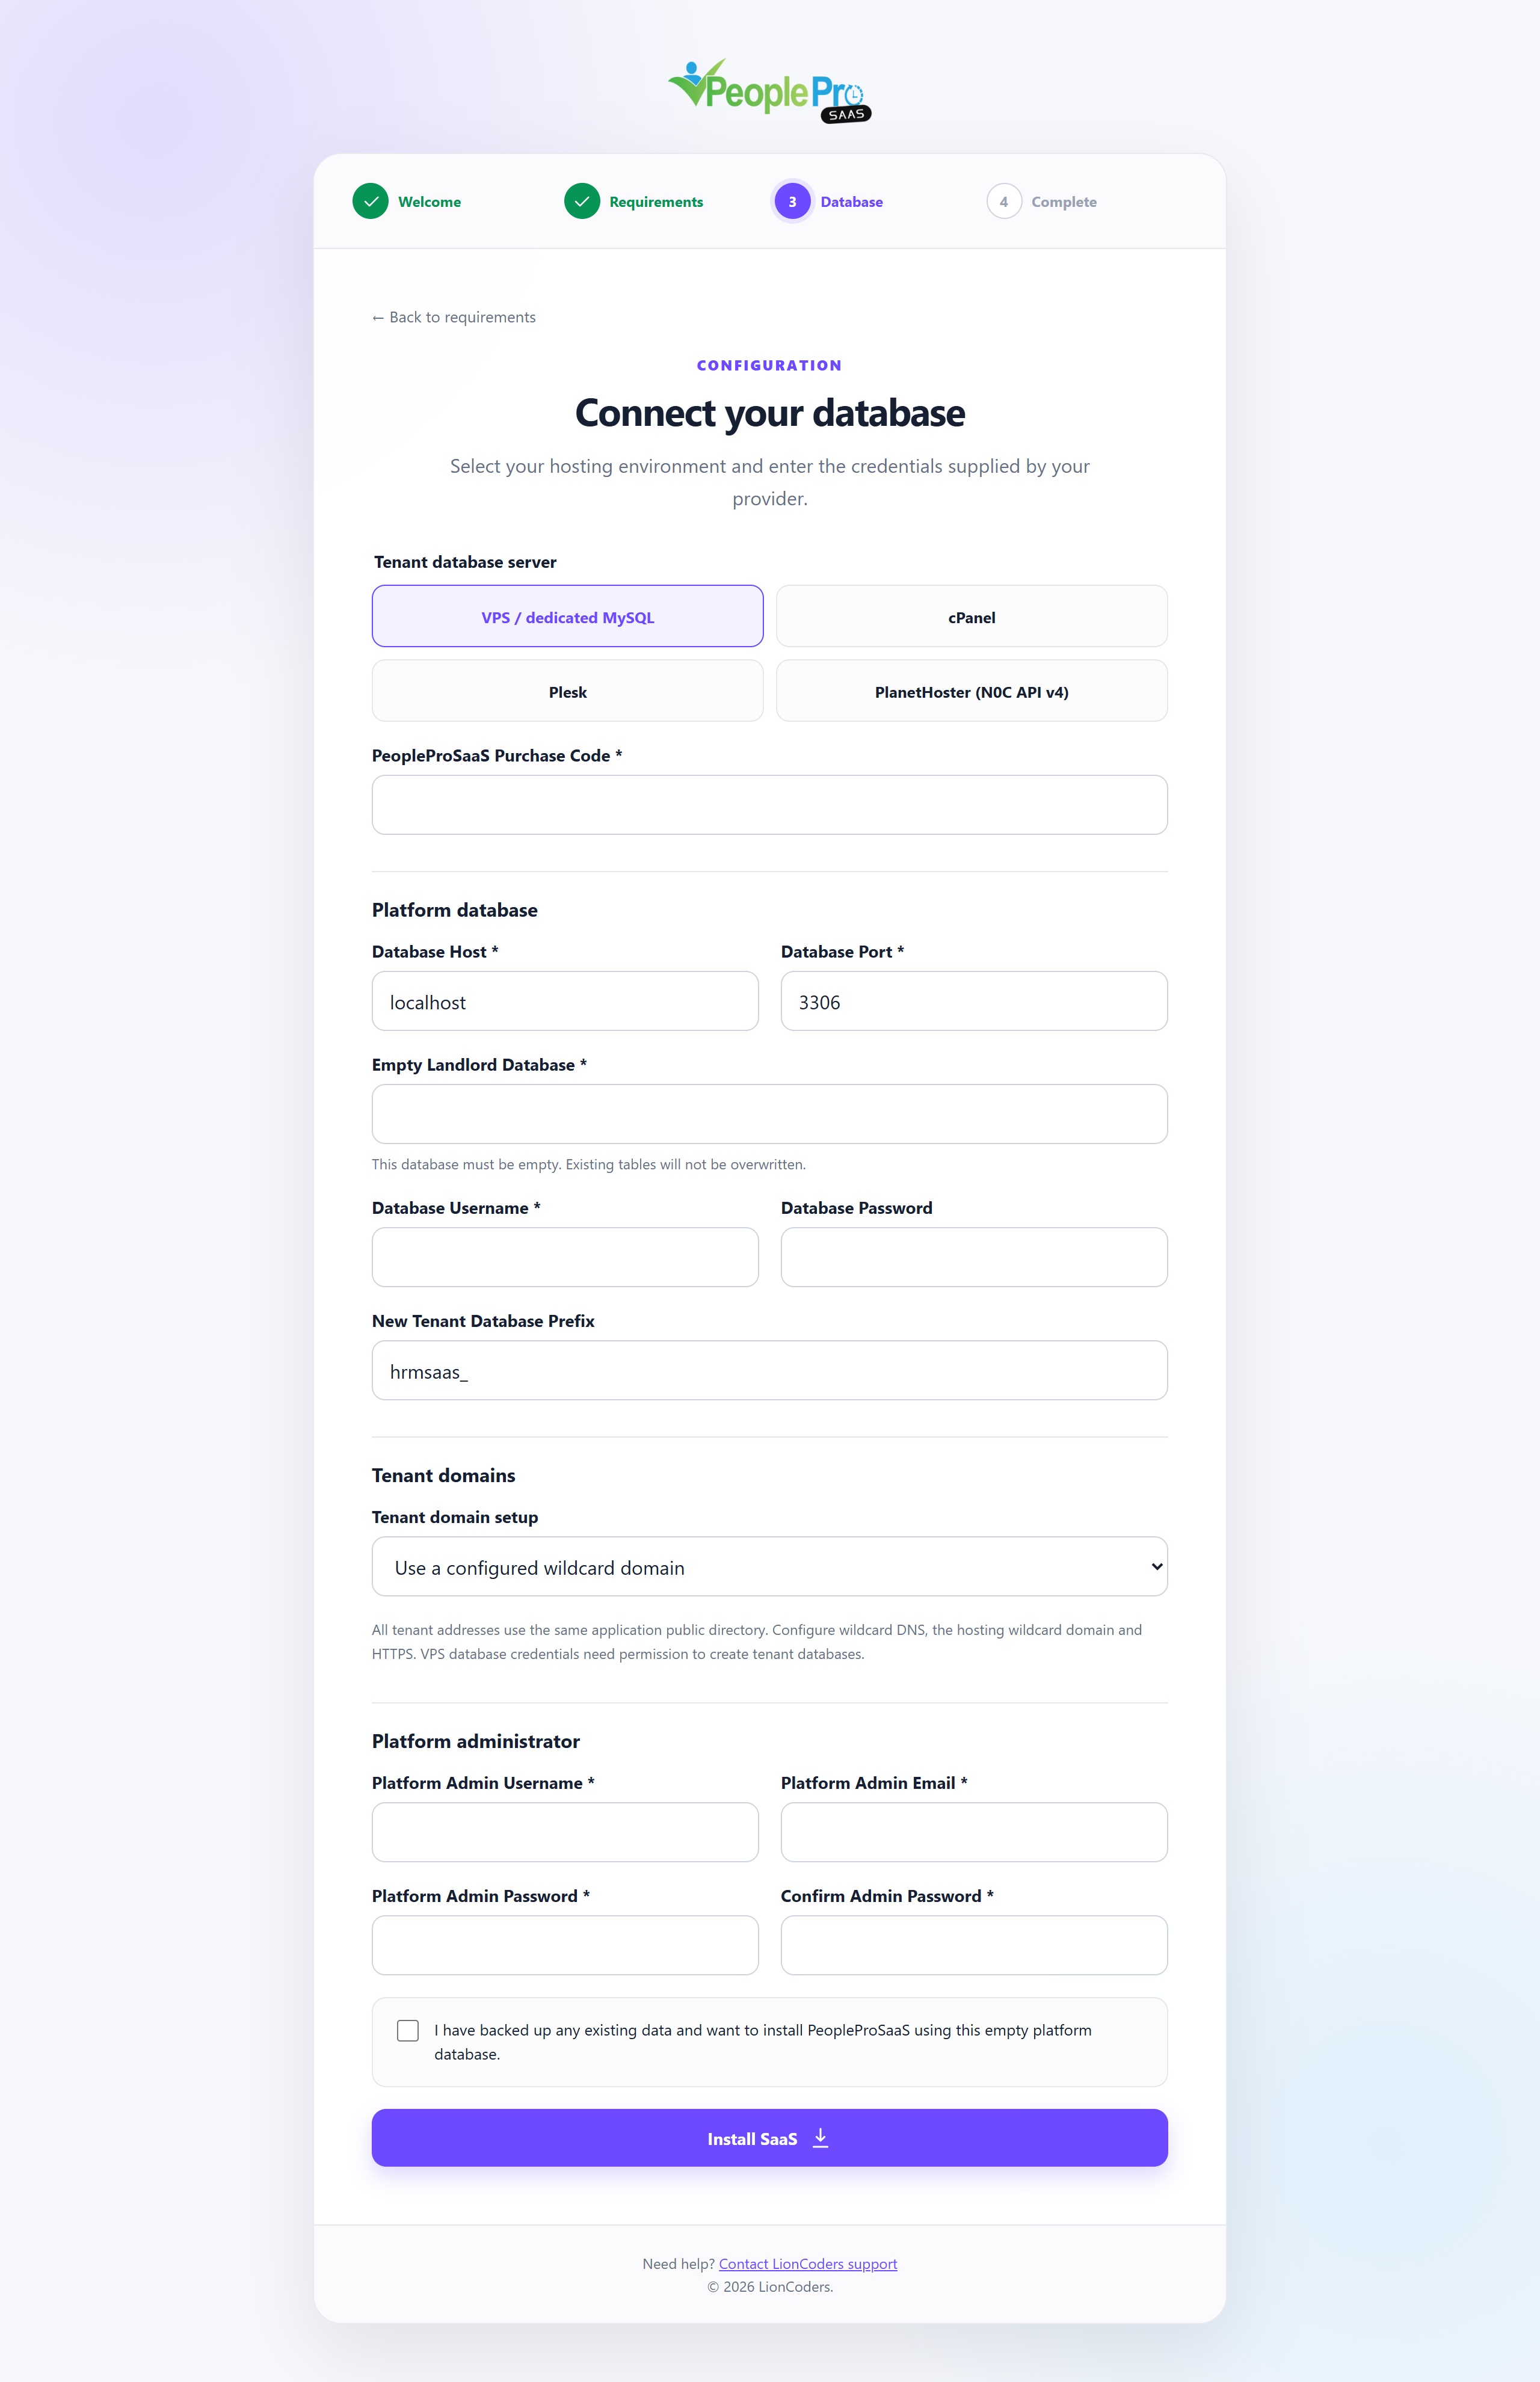
Choose Tenant database server, enter your PeopleProSaaS purchase code and complete the separate empty platform database connection. The central domain is detected from the address in your browser; there is no Central URL input. Enter a short prefix for new tenant databases. Create the platform administrator username, email and password, and repeat the password. Complete the matching hosting fields, review the confirmation checkbox and select Install SaaS once. Verification must succeed before setup prepares the platform database. No customer workspace is created automatically.
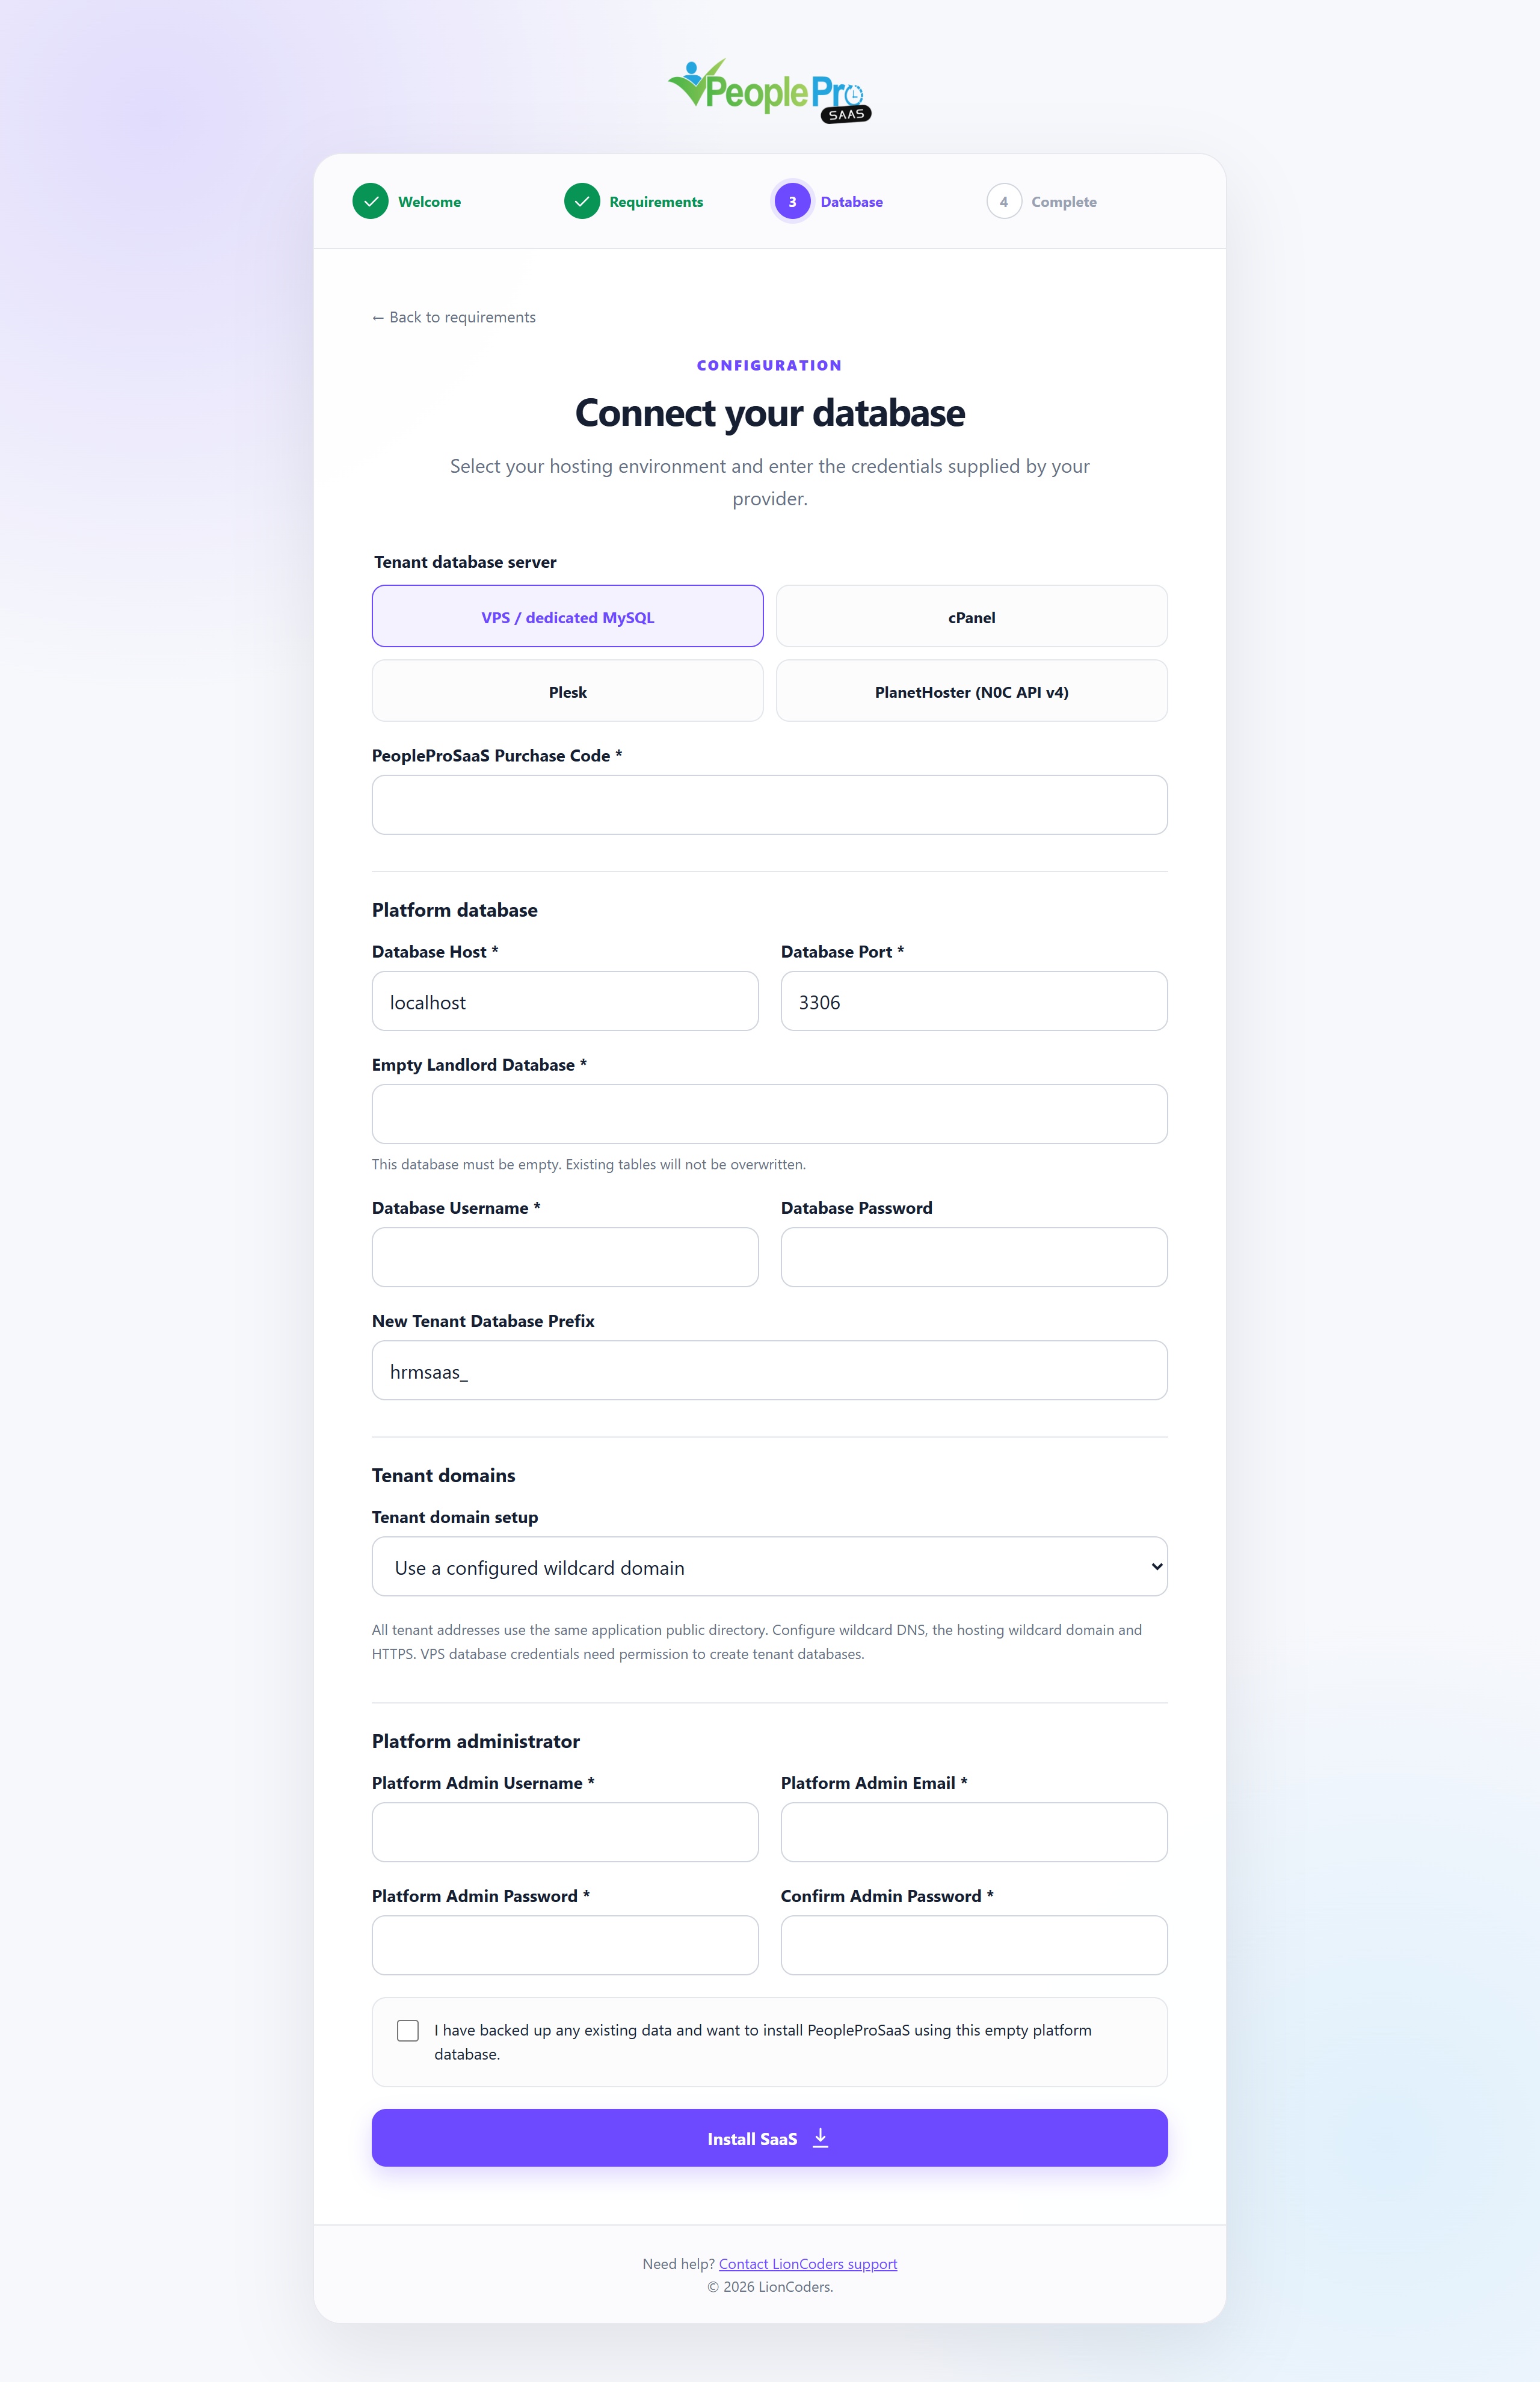
Use a configured wildcard domain when DNS and your web server already route tenant addresses to the application. Choose automatic subdomains only for cPanel or Plesk. For automatic mode, enter the application public directory using the path recognized by the panel. This is a hosting filesystem path, not a website URL. Check the generated tenant address and HTTPS before inviting customers.
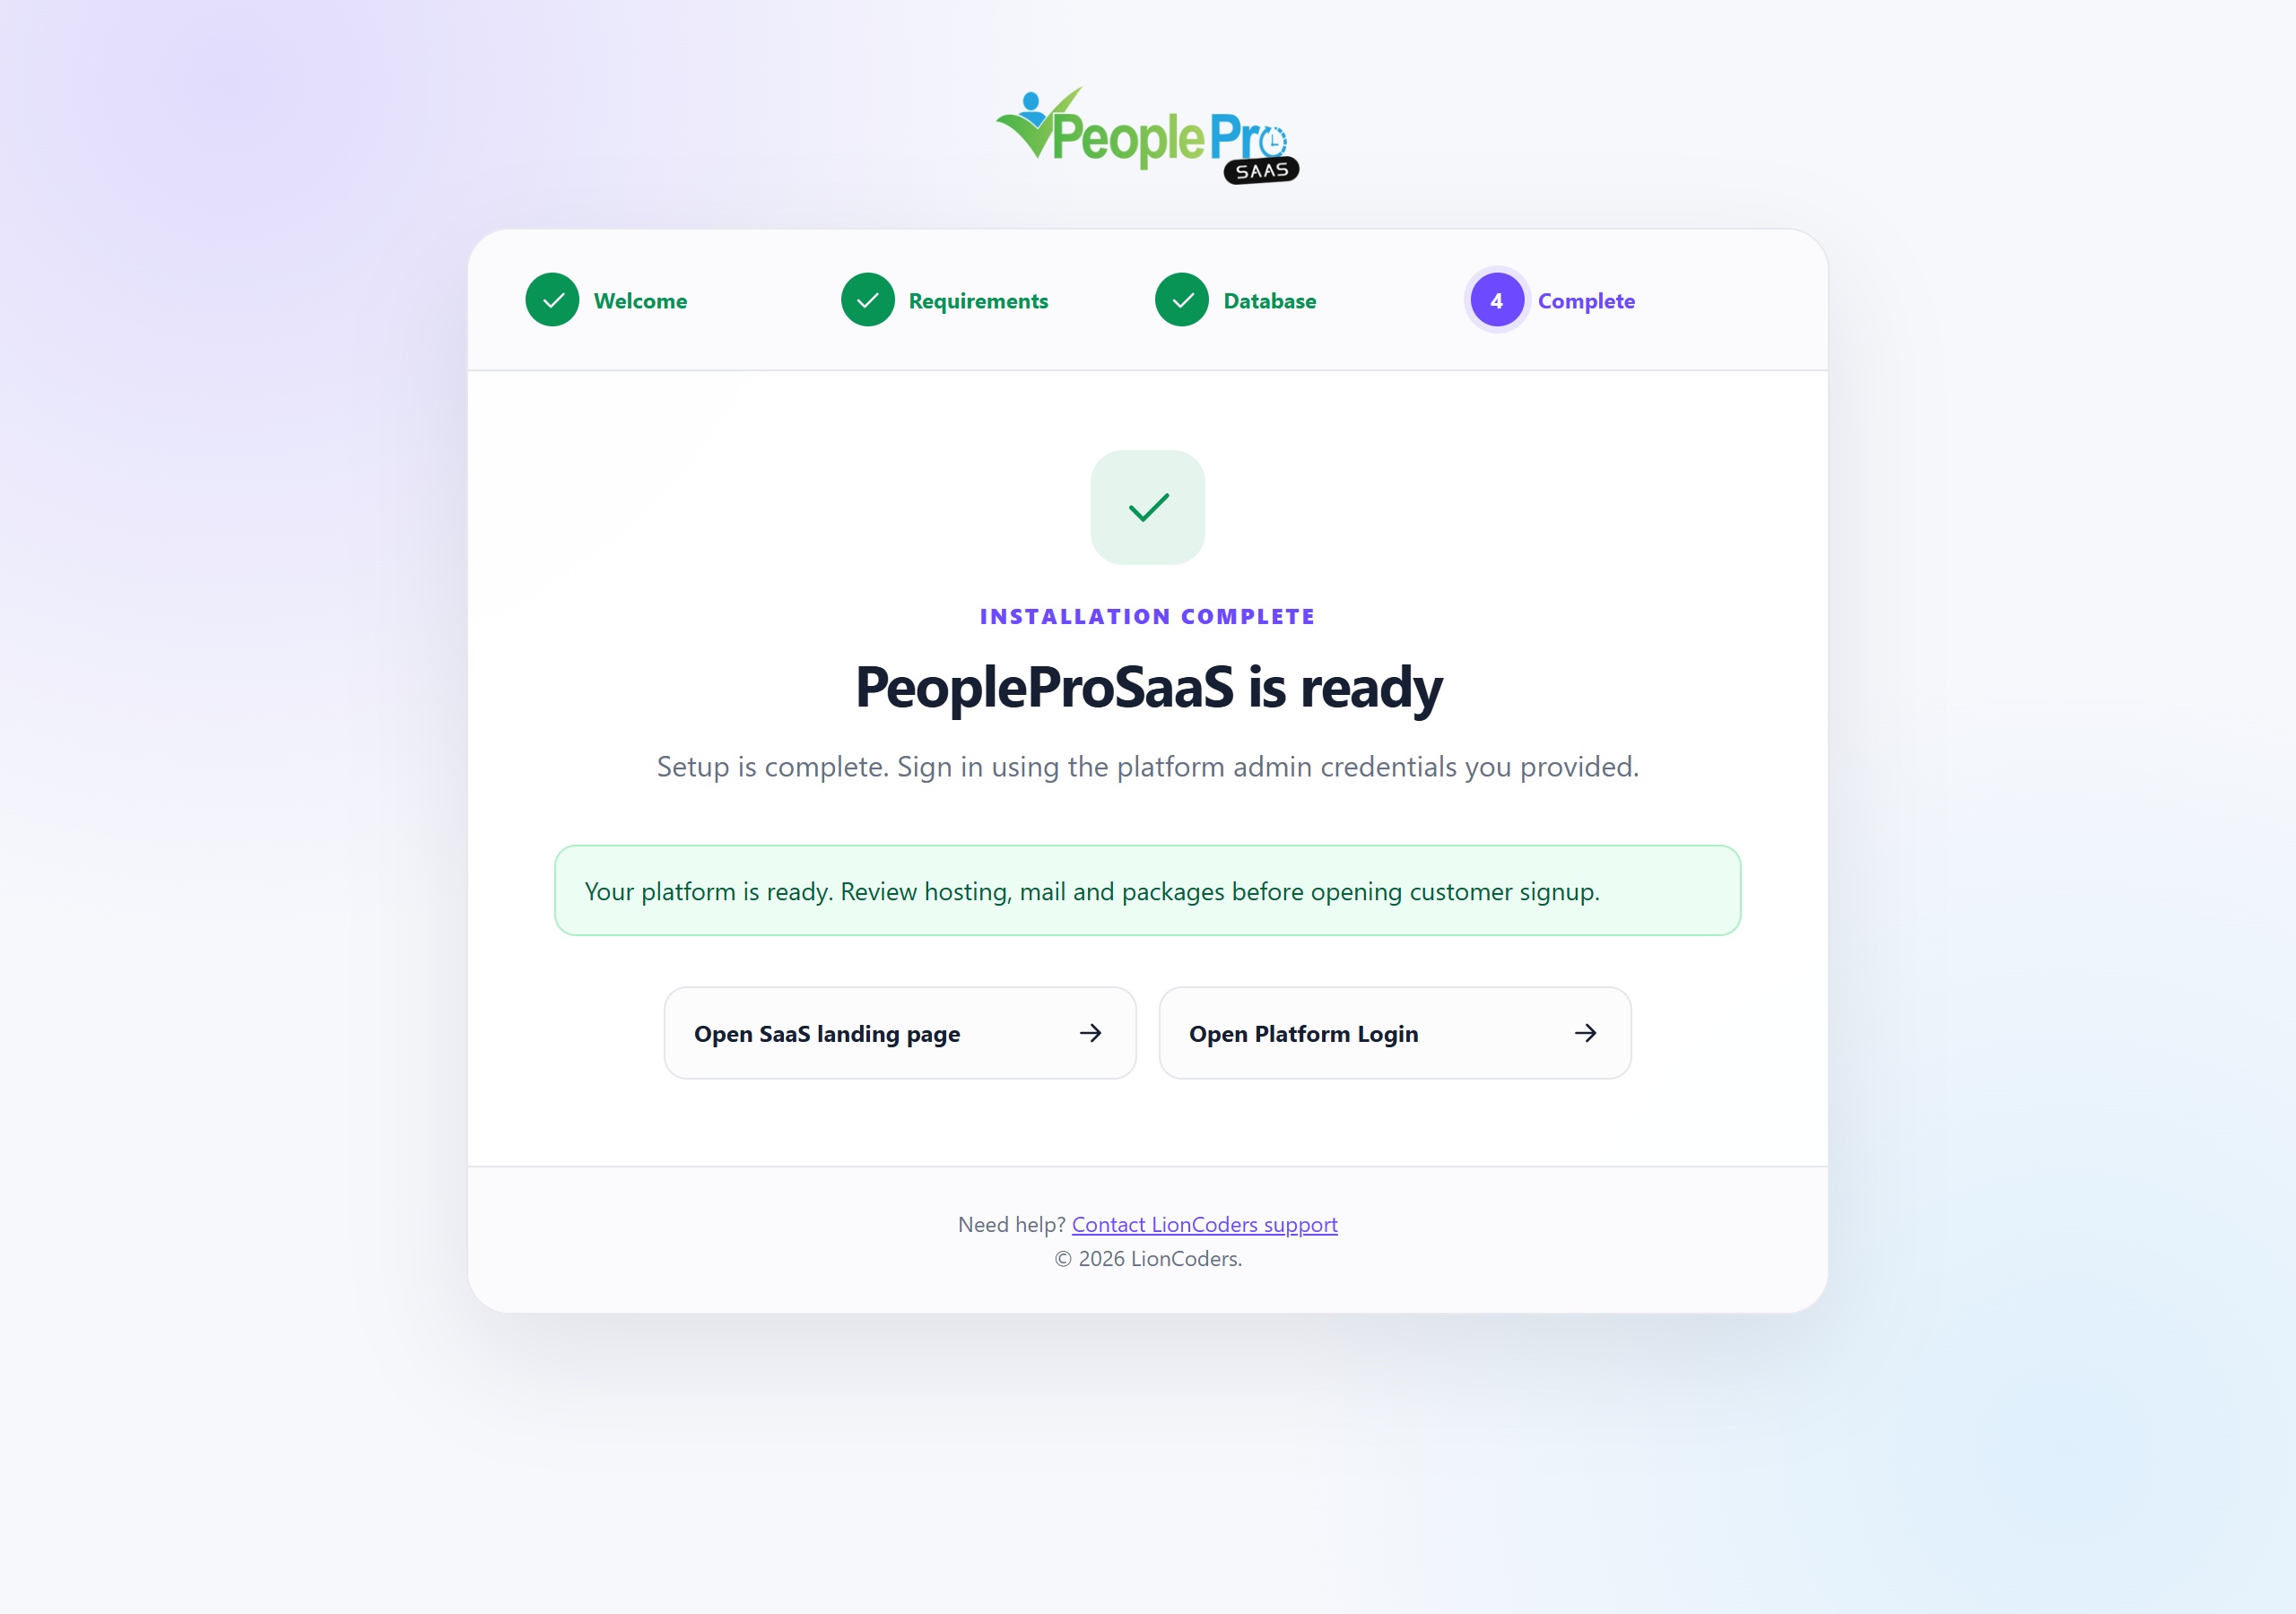
When setup reports success, select Open Platform Login and sign in with the platform administrator credentials you entered. Keep these credentials private. A successful direct installation starts your platform administration area; customers are added afterward through signup or Customers & tenants. You do not sign in with a tenant administrator account at the central platform login.
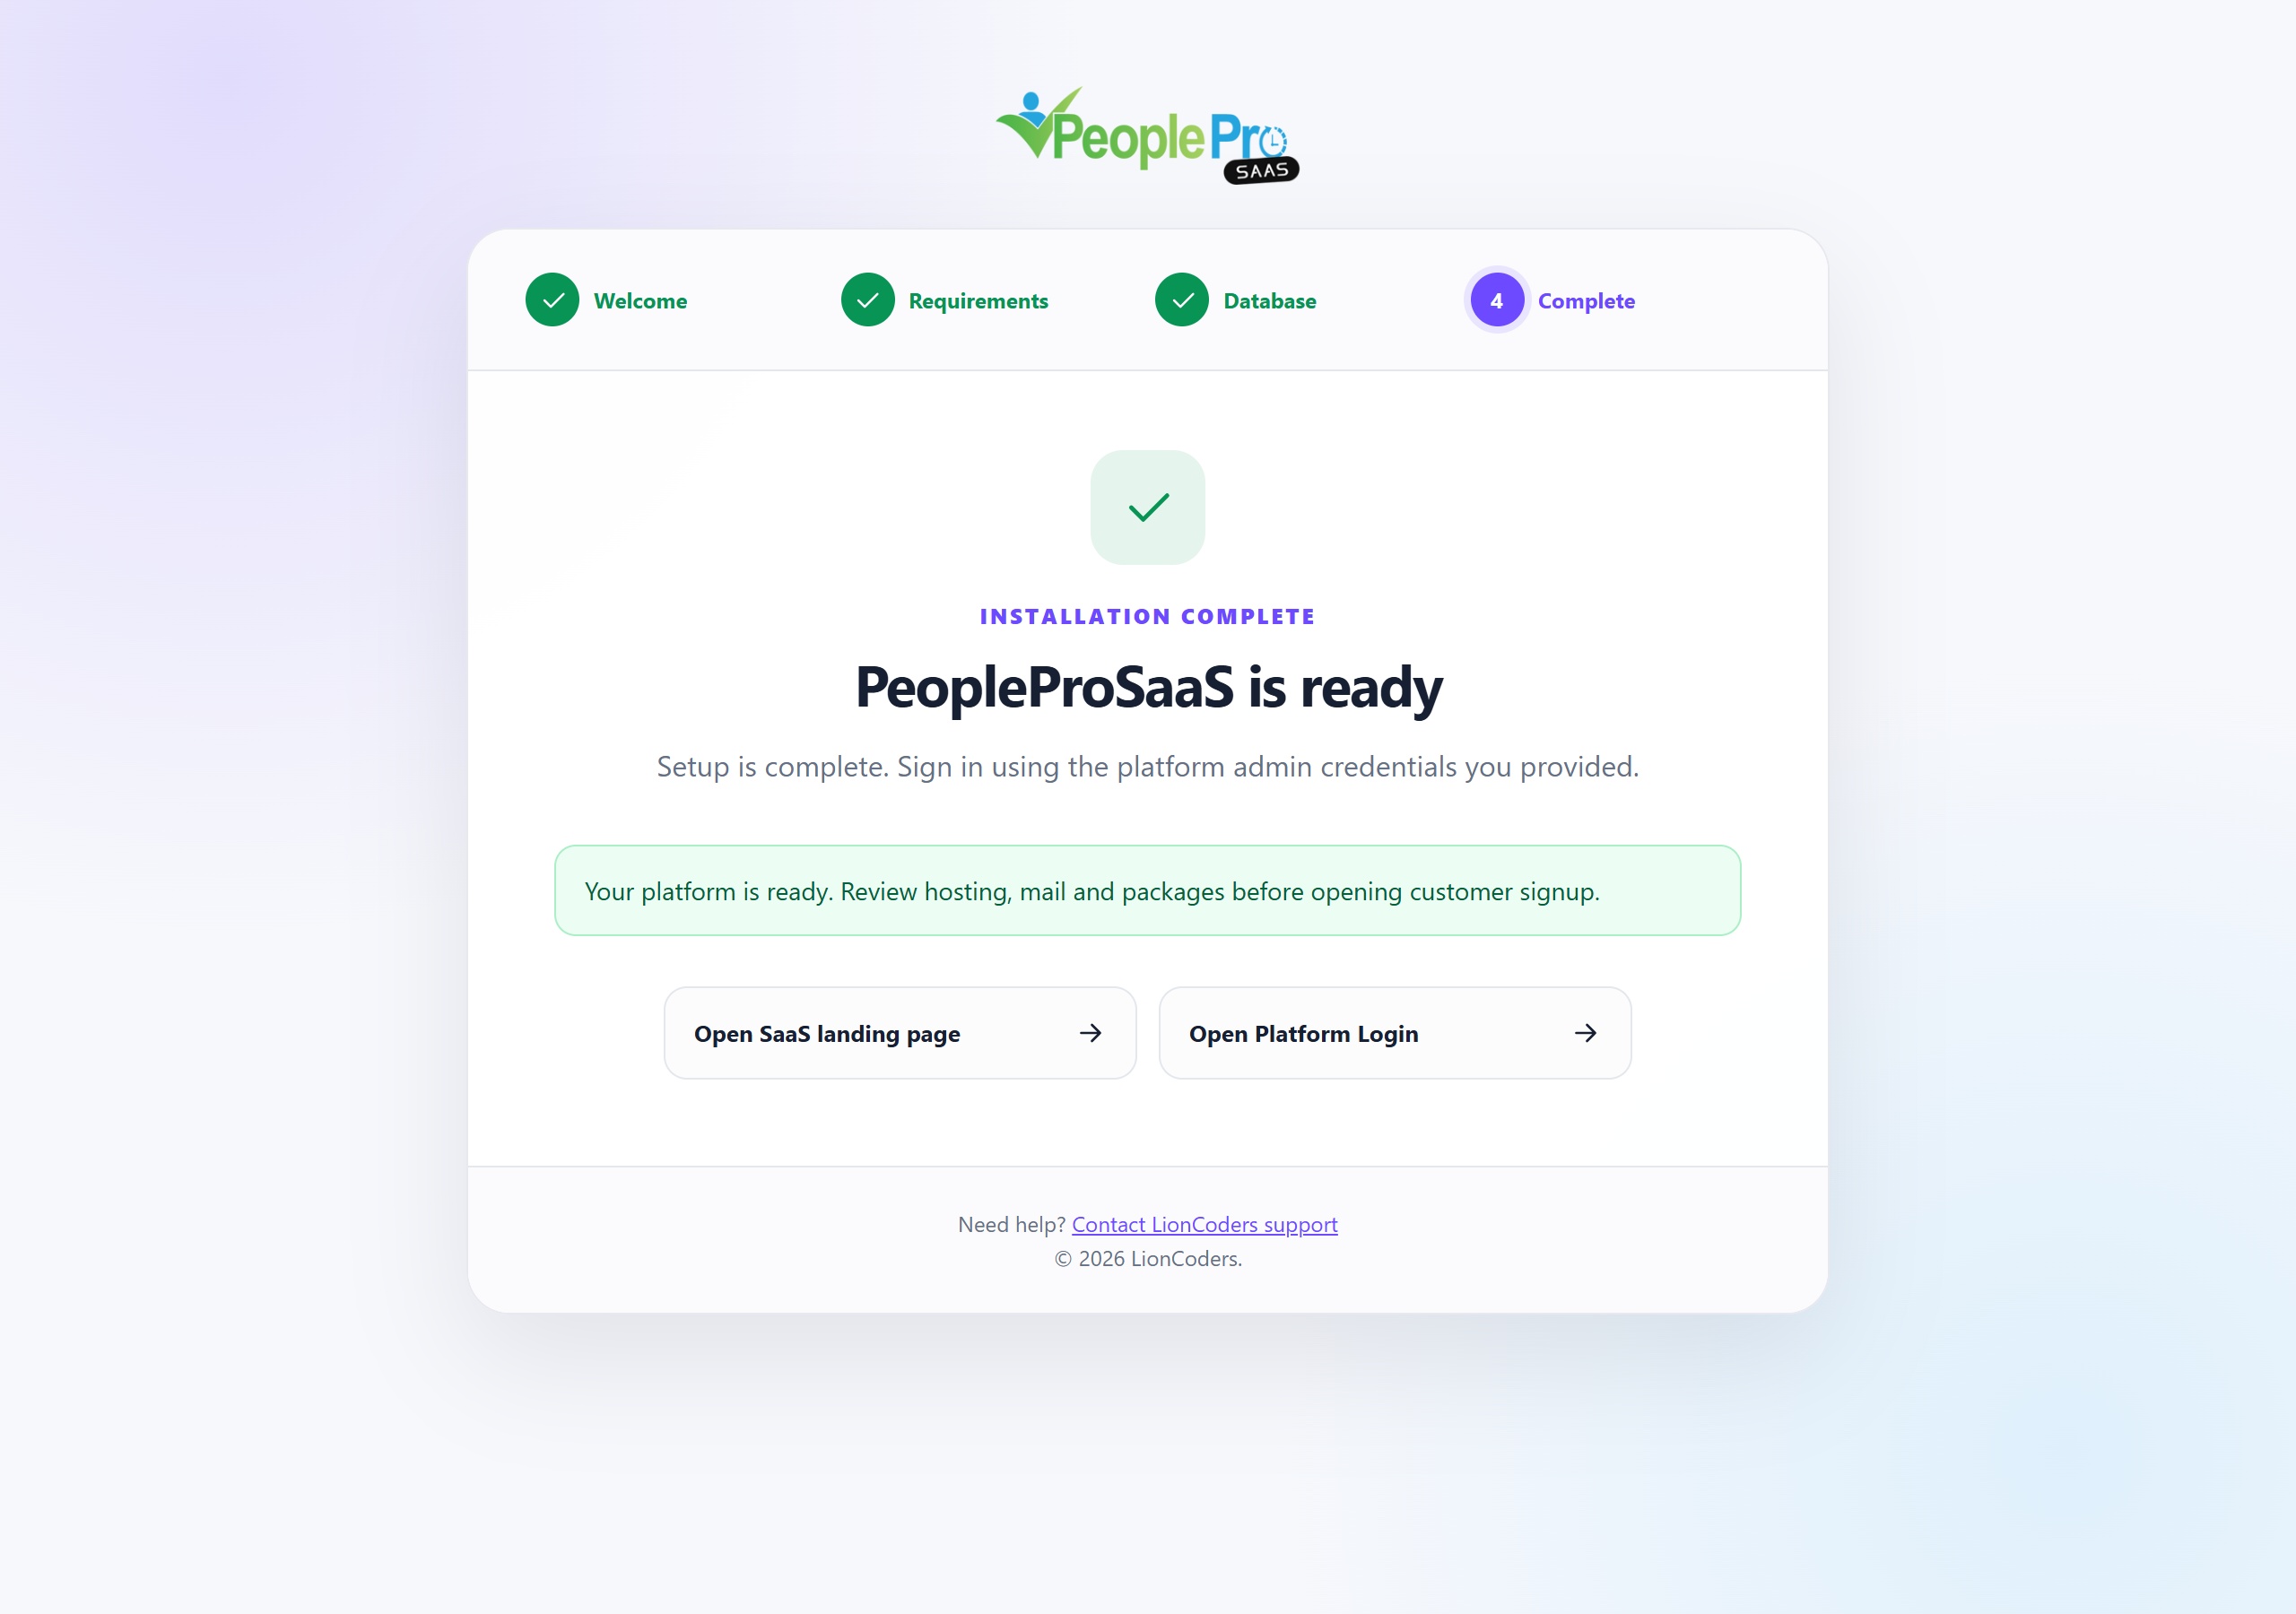
Review General settings, Hosting and Mail settings first. Create or edit your packages, check trial duration and configure the payment methods you intend to offer. Review the public homepage, FAQs and language options. Then create a small customer workspace and confirm that its address opens correctly. Check a sample attendance and payroll workflow before making the platform available to your customers.
Use the SaaS addon that matches your PeoplePro version. Keep a complete backup of the application configuration, files, uploads and database. Sign in to standalone PeoplePro and open Settings > SaaS Addon. Read the backup and same-version data-transfer instructions on that page. The central platform must use a main domain at its root. If PeoplePro currently uses a platform subdomain or subfolder, move it to an eligible main-domain location before uploading the addon. Keep its old HR database separate from the empty platform database used for SaaS setup.
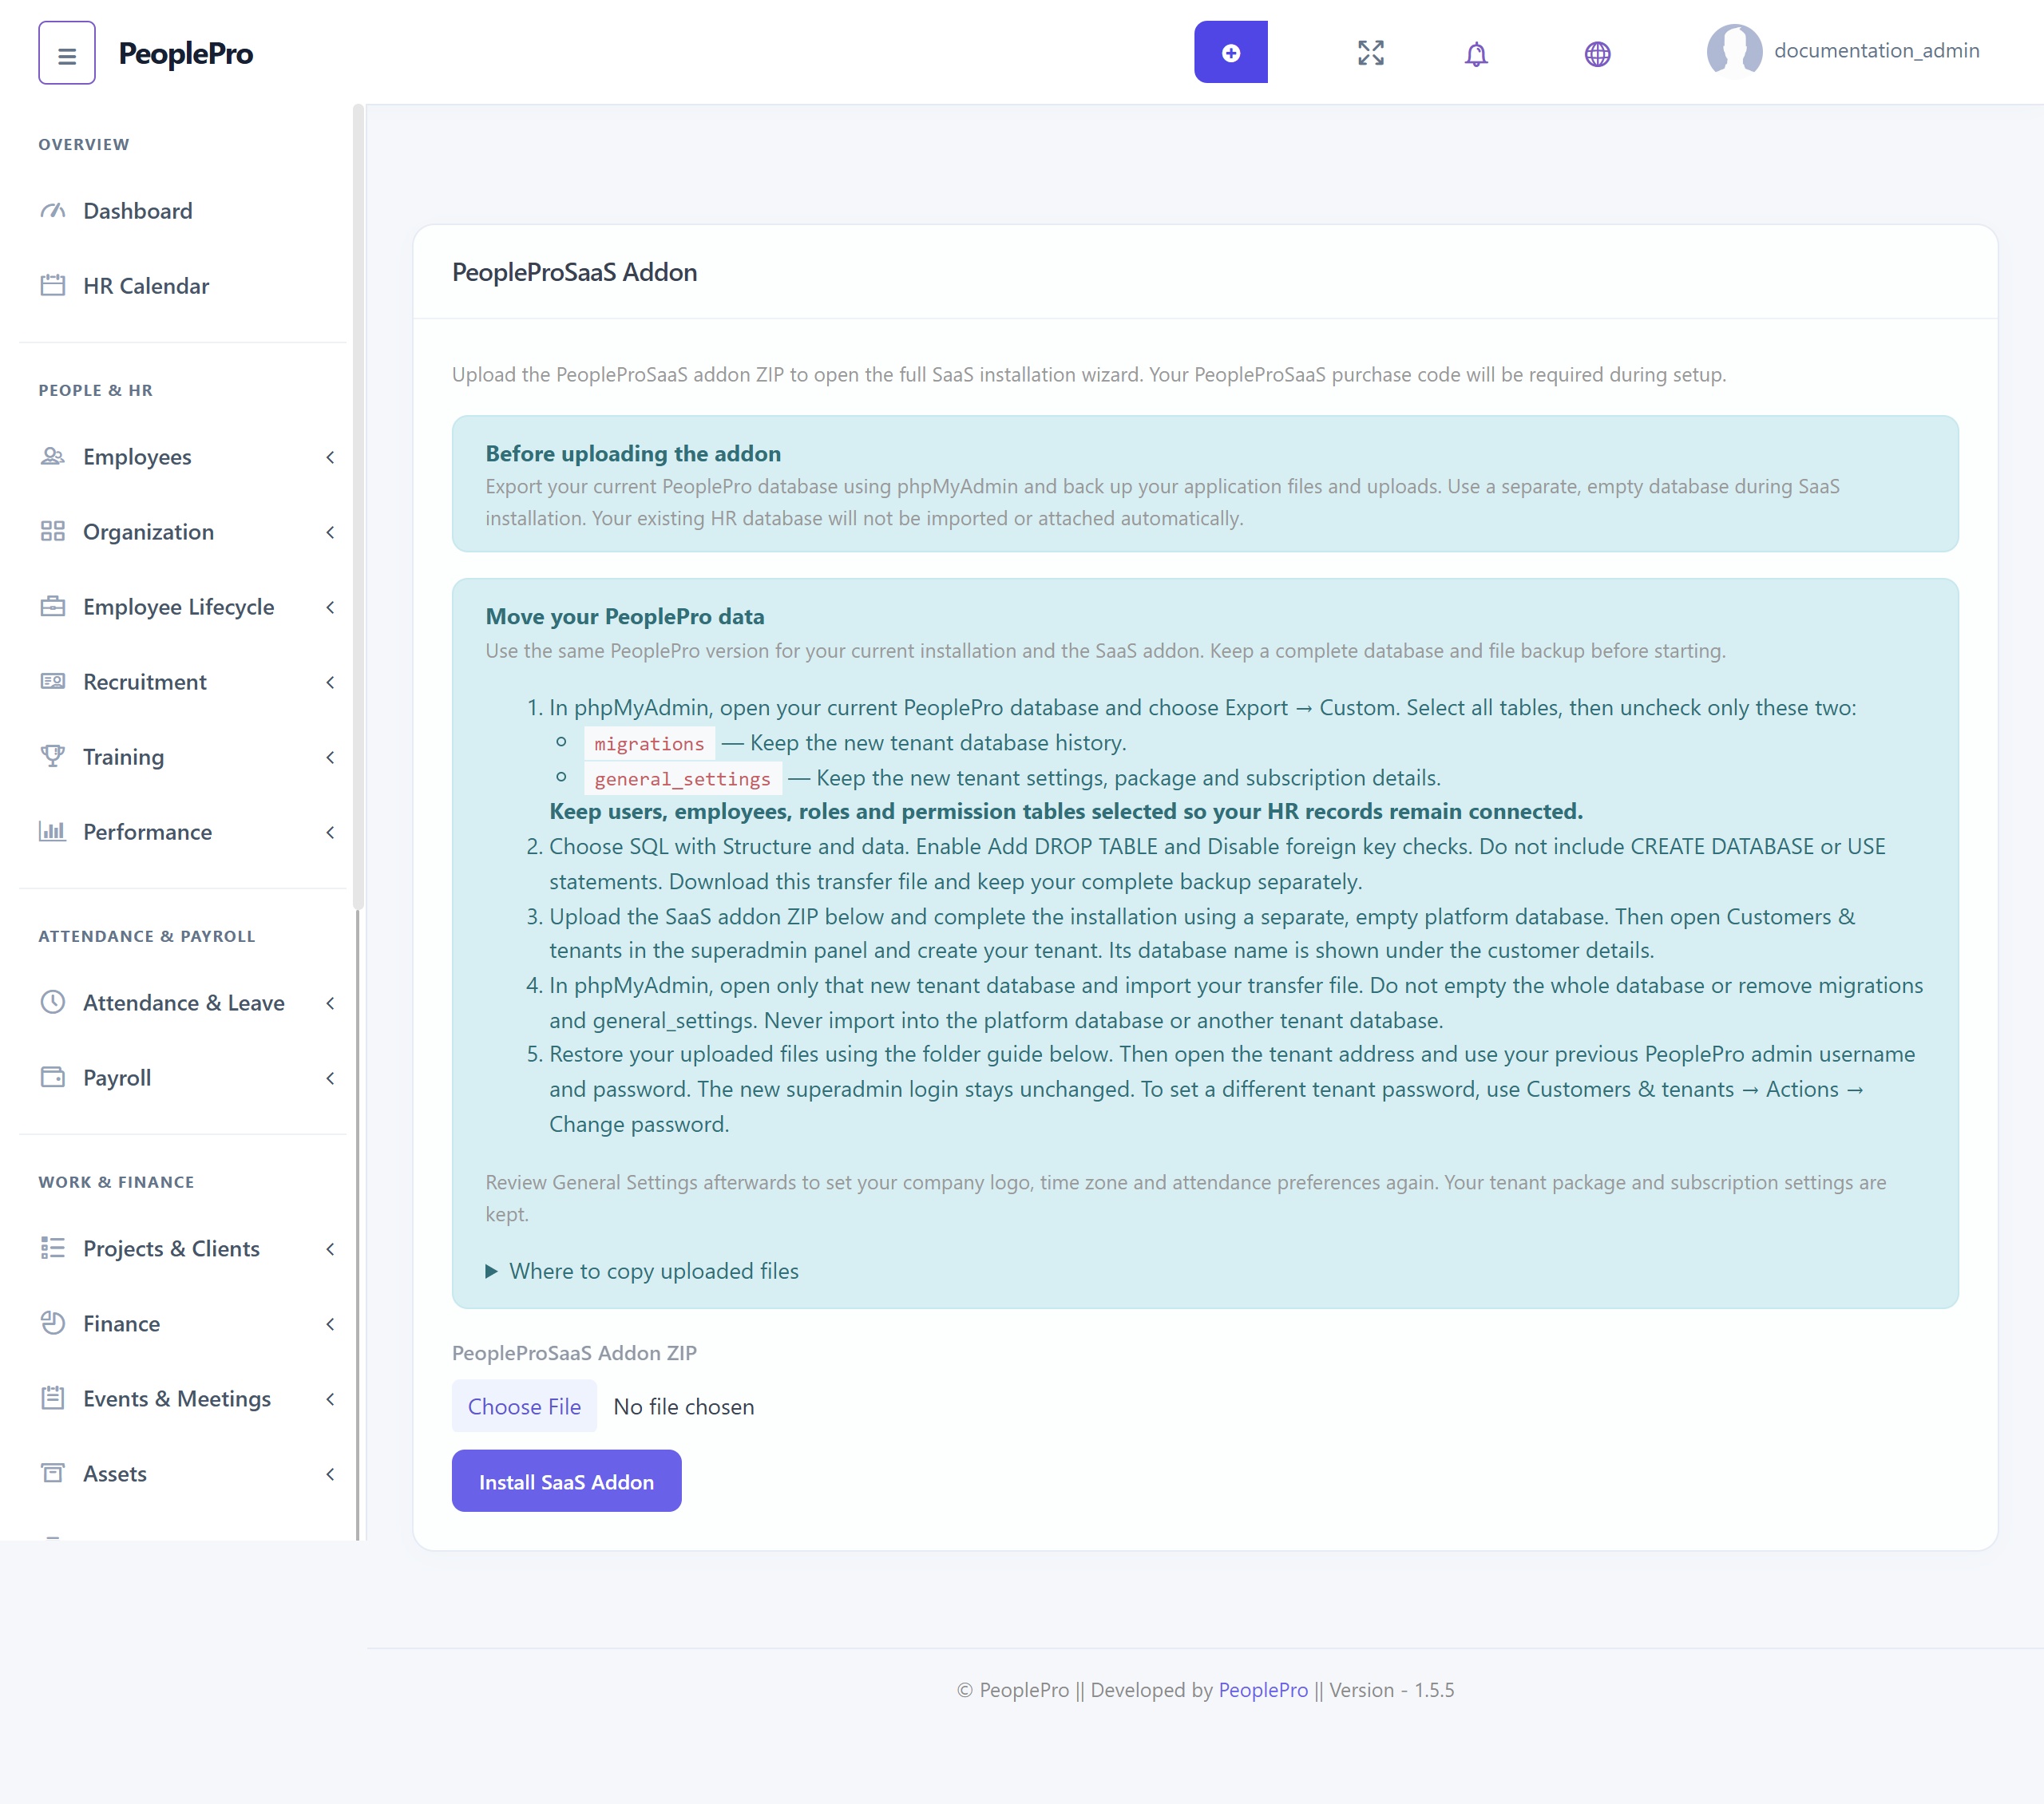
Read Move your PeoplePro data on the addon upload page before conversion. Keep a full backup, and use this transfer only for the same PeoplePro version. In phpMyAdmin, export the existing database tables except migrations and general_settings; keep users together with the related employee, role and permission tables. After SaaS setup, create a new tenant and import only the selected tables into that tenant database without clearing the entire database. Retain its new migrations and general_settings tables so its schema history and SaaS subscription settings remain intact. Restore the uploads using the file locations shown on the addon page. Sign in at the new tenant address with the previous PeoplePro administrator account and review General Settings. Ask the person responsible for hosting to assist if you are unsure which database or files belong to the tenant.
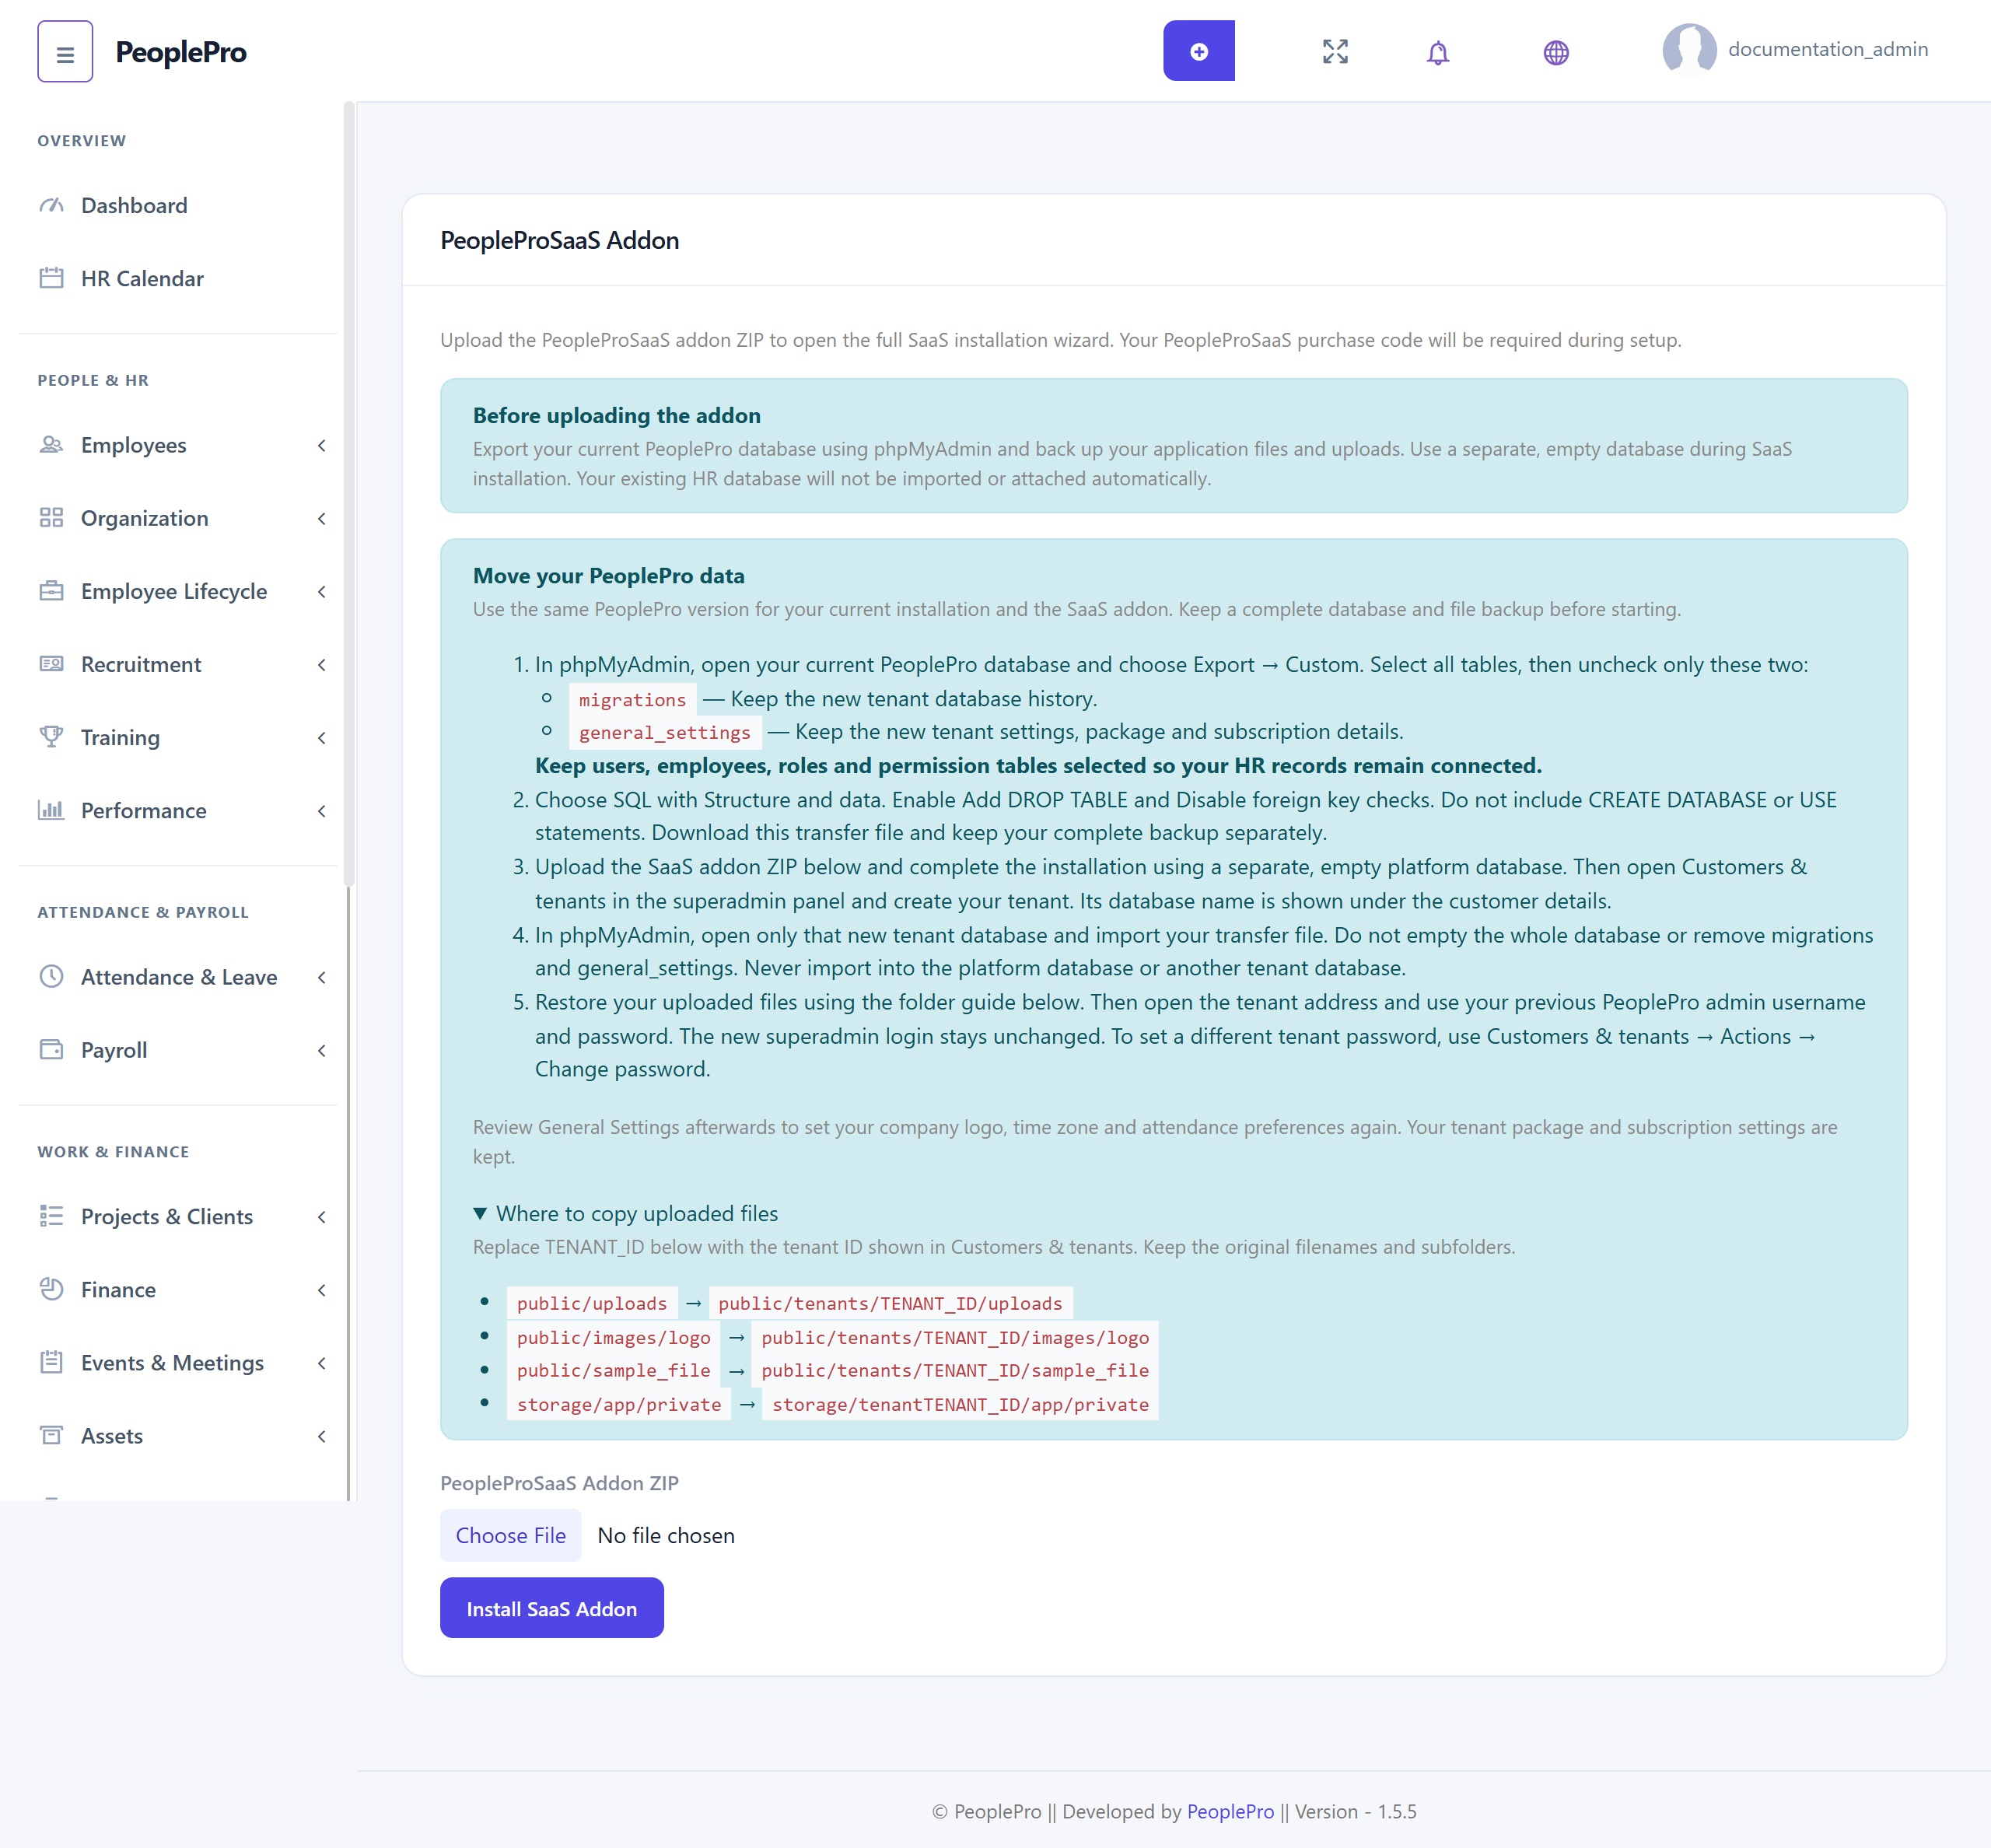
Choose the supplied SaaS addon ZIP and select Install SaaS Addon once. The upload form does not ask for a purchase code; the full setup wizard requires it later. Allow extraction to finish, which can take a few minutes depending on the hosting environment. Uploading code leaves the application in standalone mode until setup succeeds, and does not import or attach the old HR database. When the upload finishes, select Configure SaaS.
Choose Configure SaaS to open the full installation wizard. Prepare your PeopleProSaaS purchase code, a separate empty platform database and the new platform administrator account details. The existing PeoplePro database and its backup remain separate. Review the data-transfer instructions on the addon upload page before completing setup.
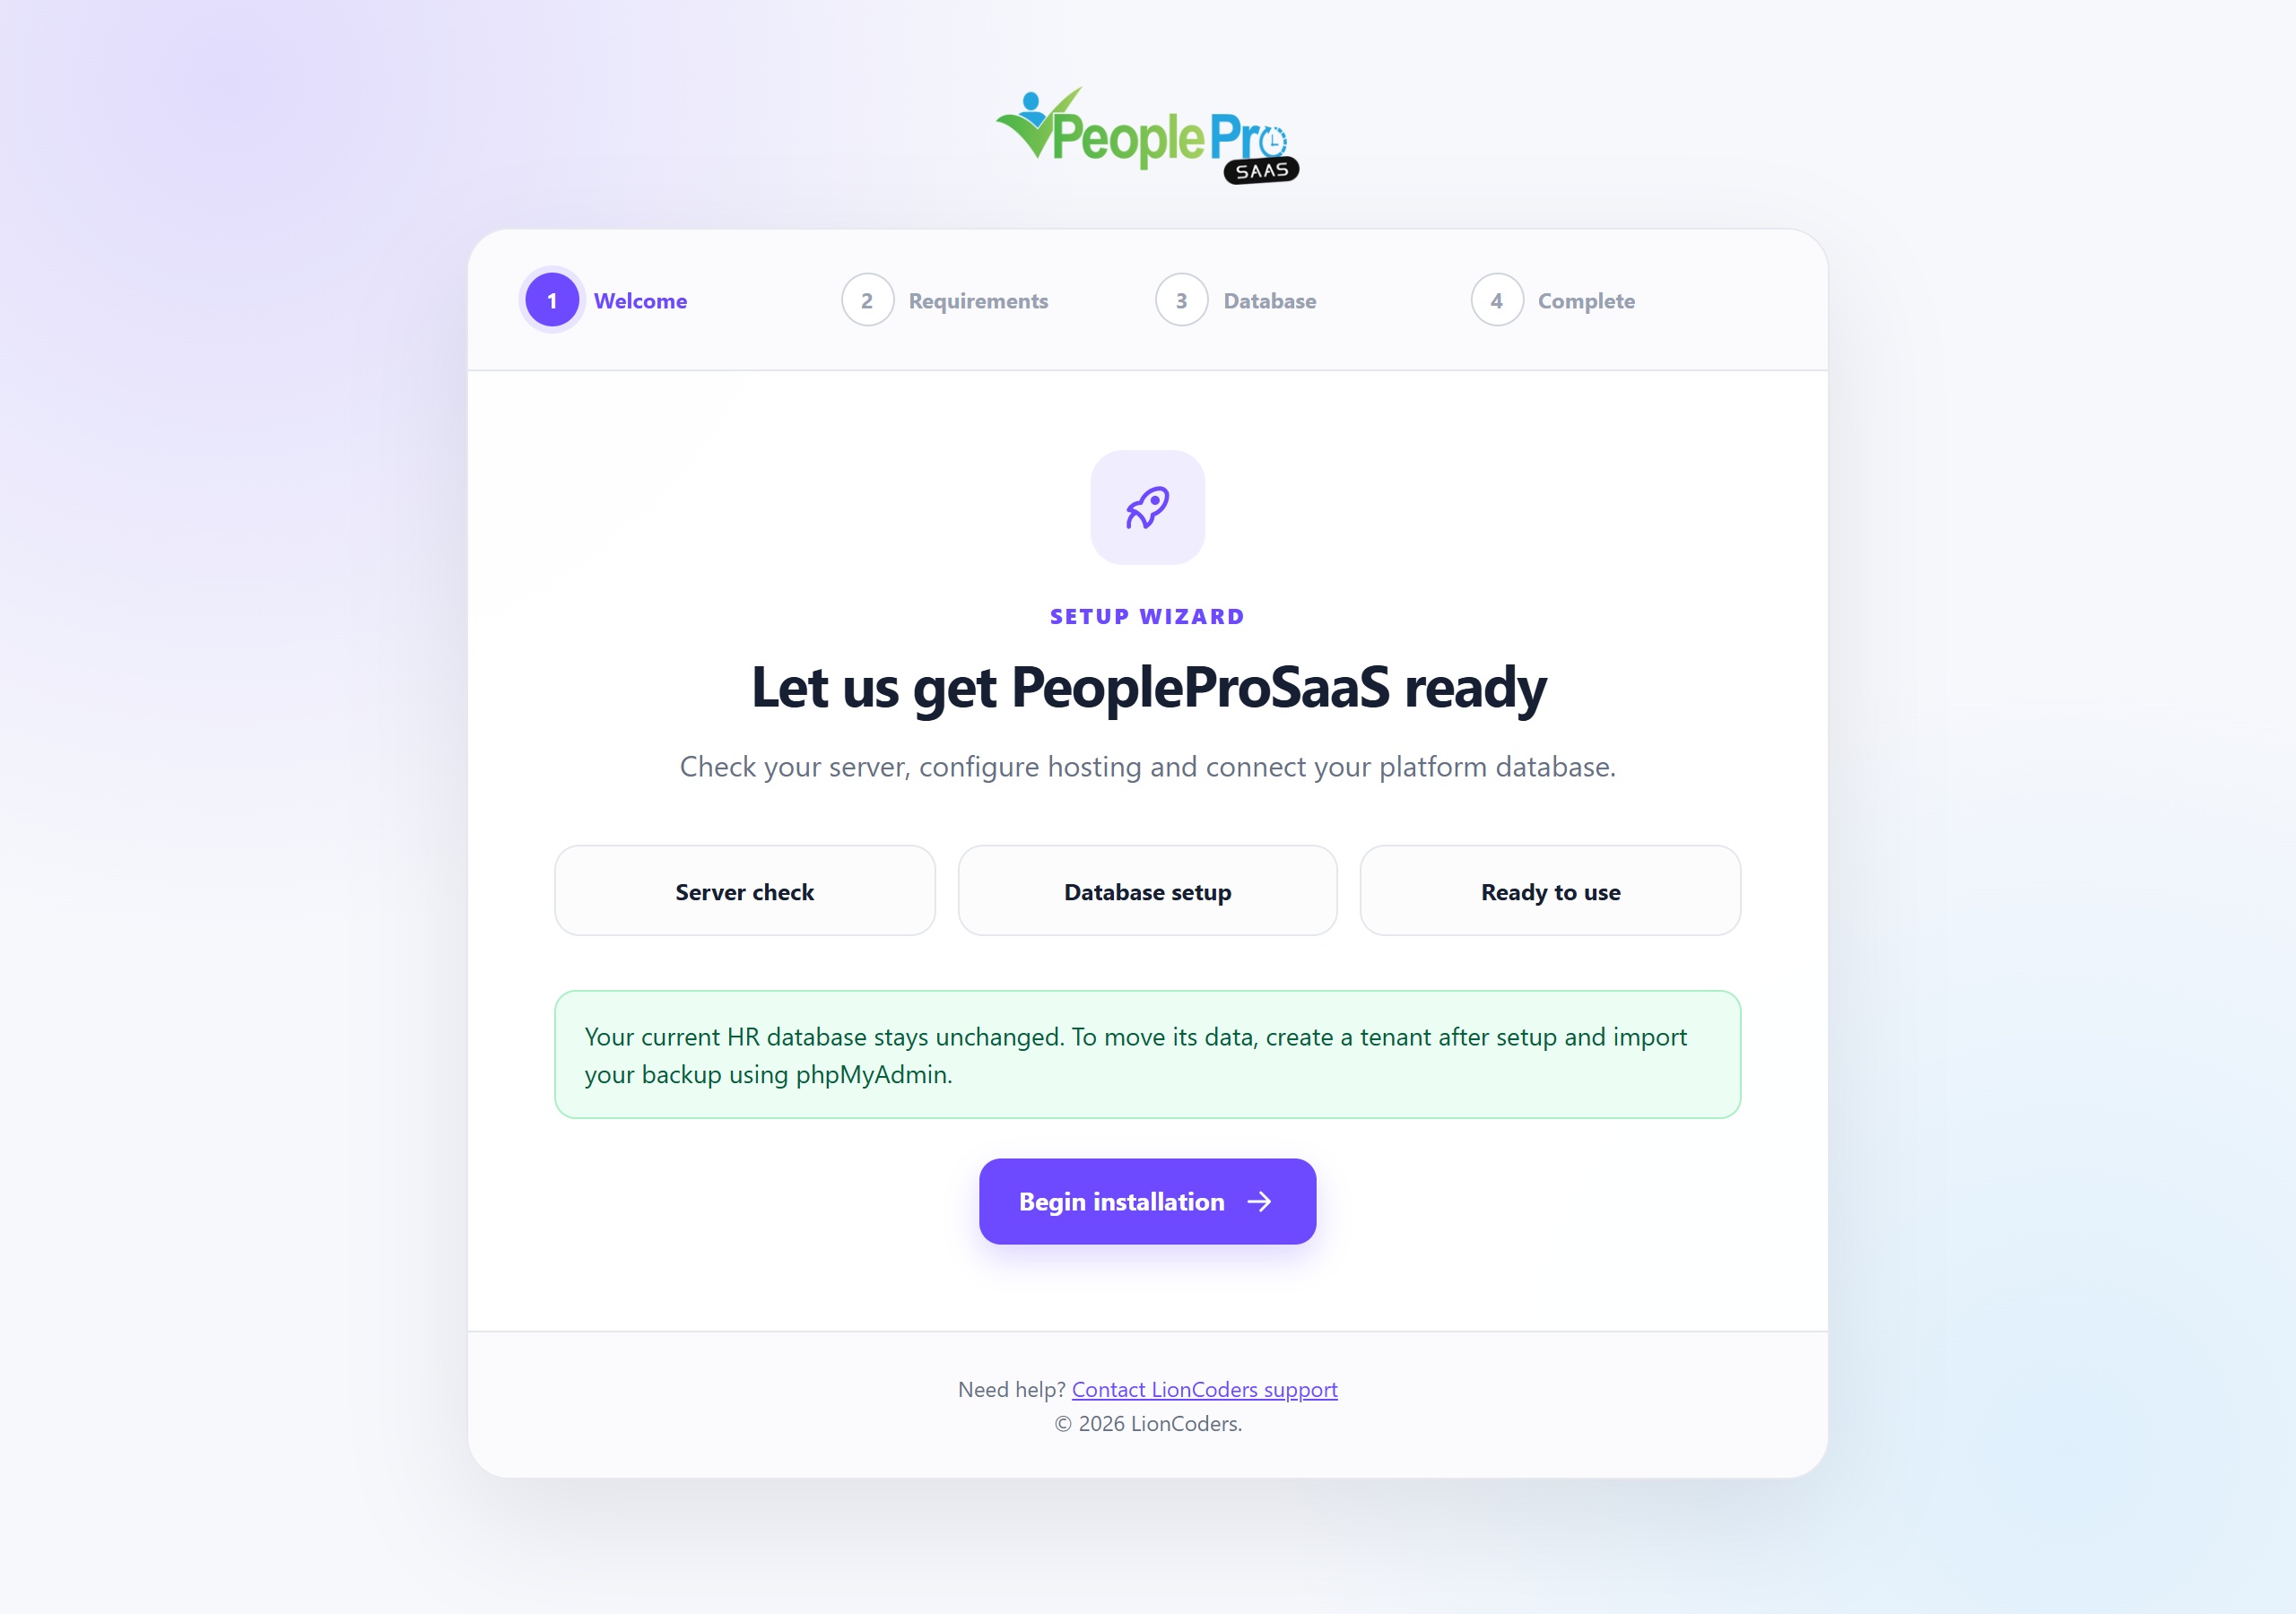
Read the introduction and continue to the server requirements. Resolve any Action needed item with your hosting provider. Prepare the separate empty platform database, PeopleProSaaS purchase code and tenant-hosting settings. The central platform uses a main domain; tenant subdomains are configured for customer workspaces after installation. No first tenant is attached by the wizard.
Enter the PeopleProSaaS purchase code, separate empty platform database connection, tenant database provider and new platform administrator details. Complete the matching hosting settings and confirm before submitting. The installer detects the actual central domain automatically, so there is no Central URL or First tenant subdomain field. It verifies your purchase code for that domain before preparing the platform. Do not use the old PeoplePro HR database as the new platform database.
After setup succeeds, open the central /login page and sign in with the platform administrator account you created. Review Hosting, Mail settings and Packages, then create customer workspaces. If you need to transfer old PeoplePro records, follow the same-version instructions on the original addon upload page. After that manual import, previous HR users sign in at the new tenant address. The wizard does not automatically register an existing first tenant.
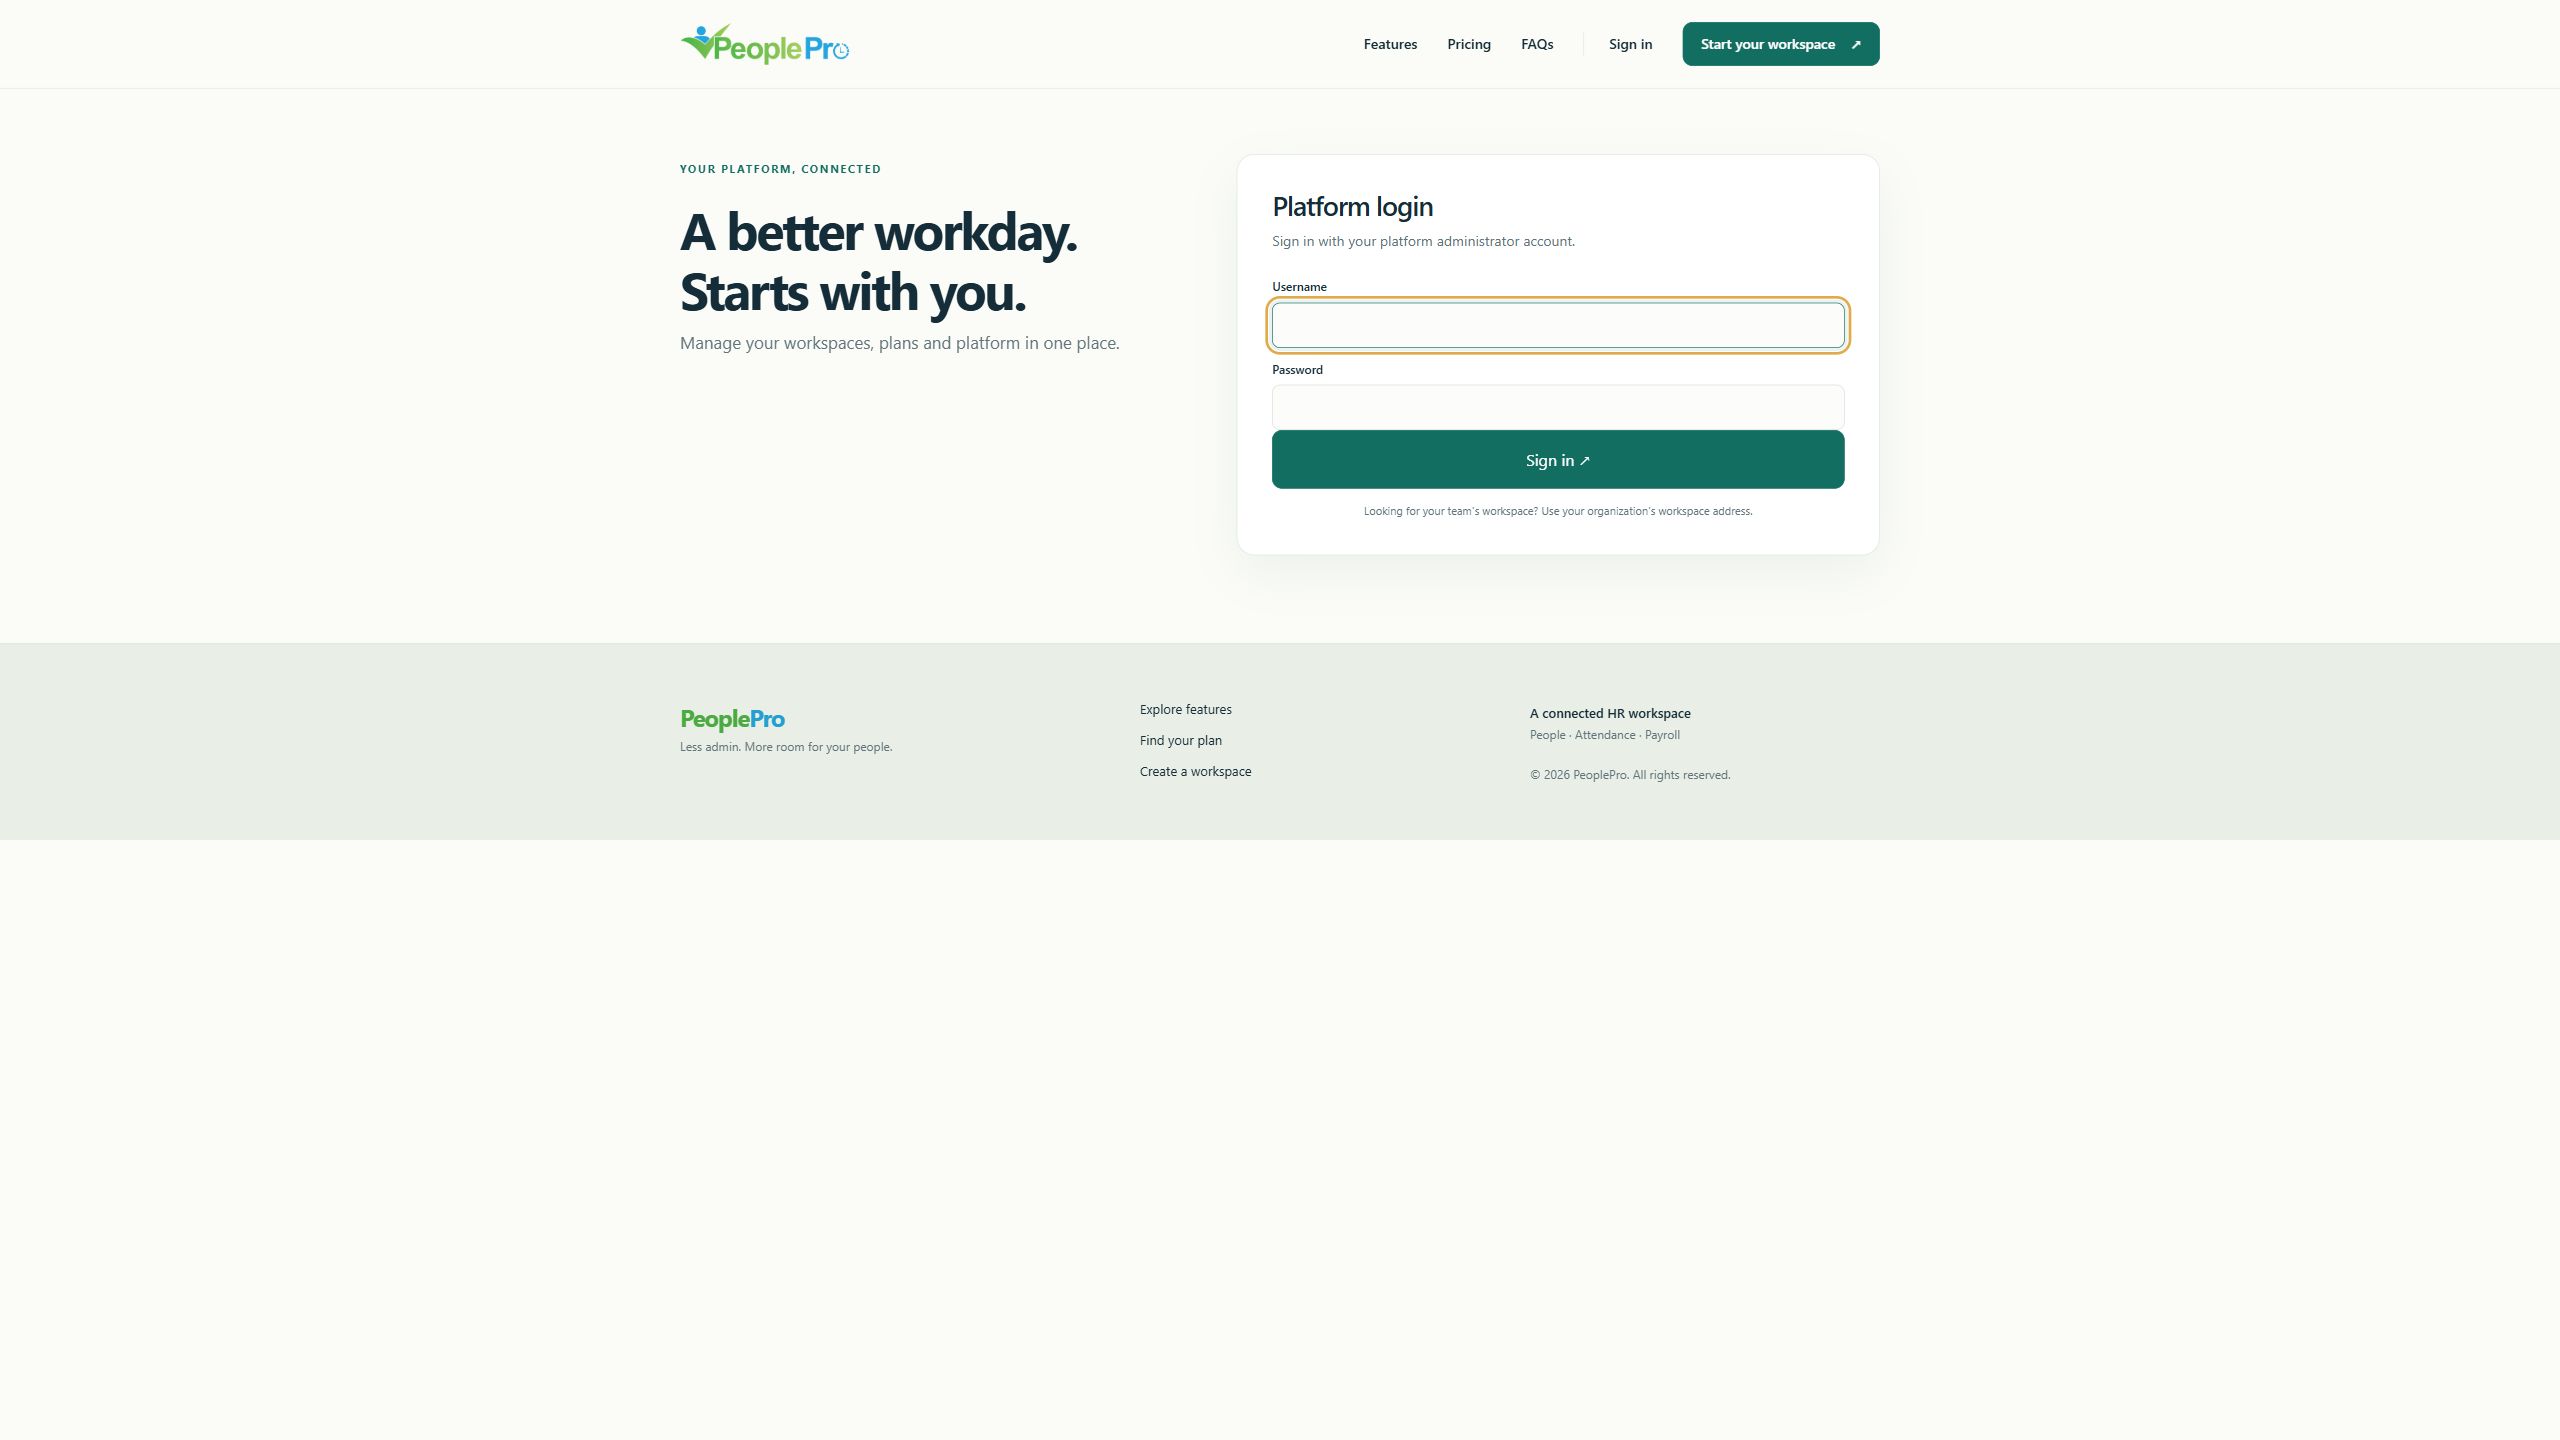
Open your main SaaS domain followed by /login. Enter the platform username and password chosen during installation. The old /super-admin entry redirects to this same login. Customer HR users should use their own tenant address instead. If a customer cannot find their workspace address, locate the organization in Customers & tenants and share its registered domain.
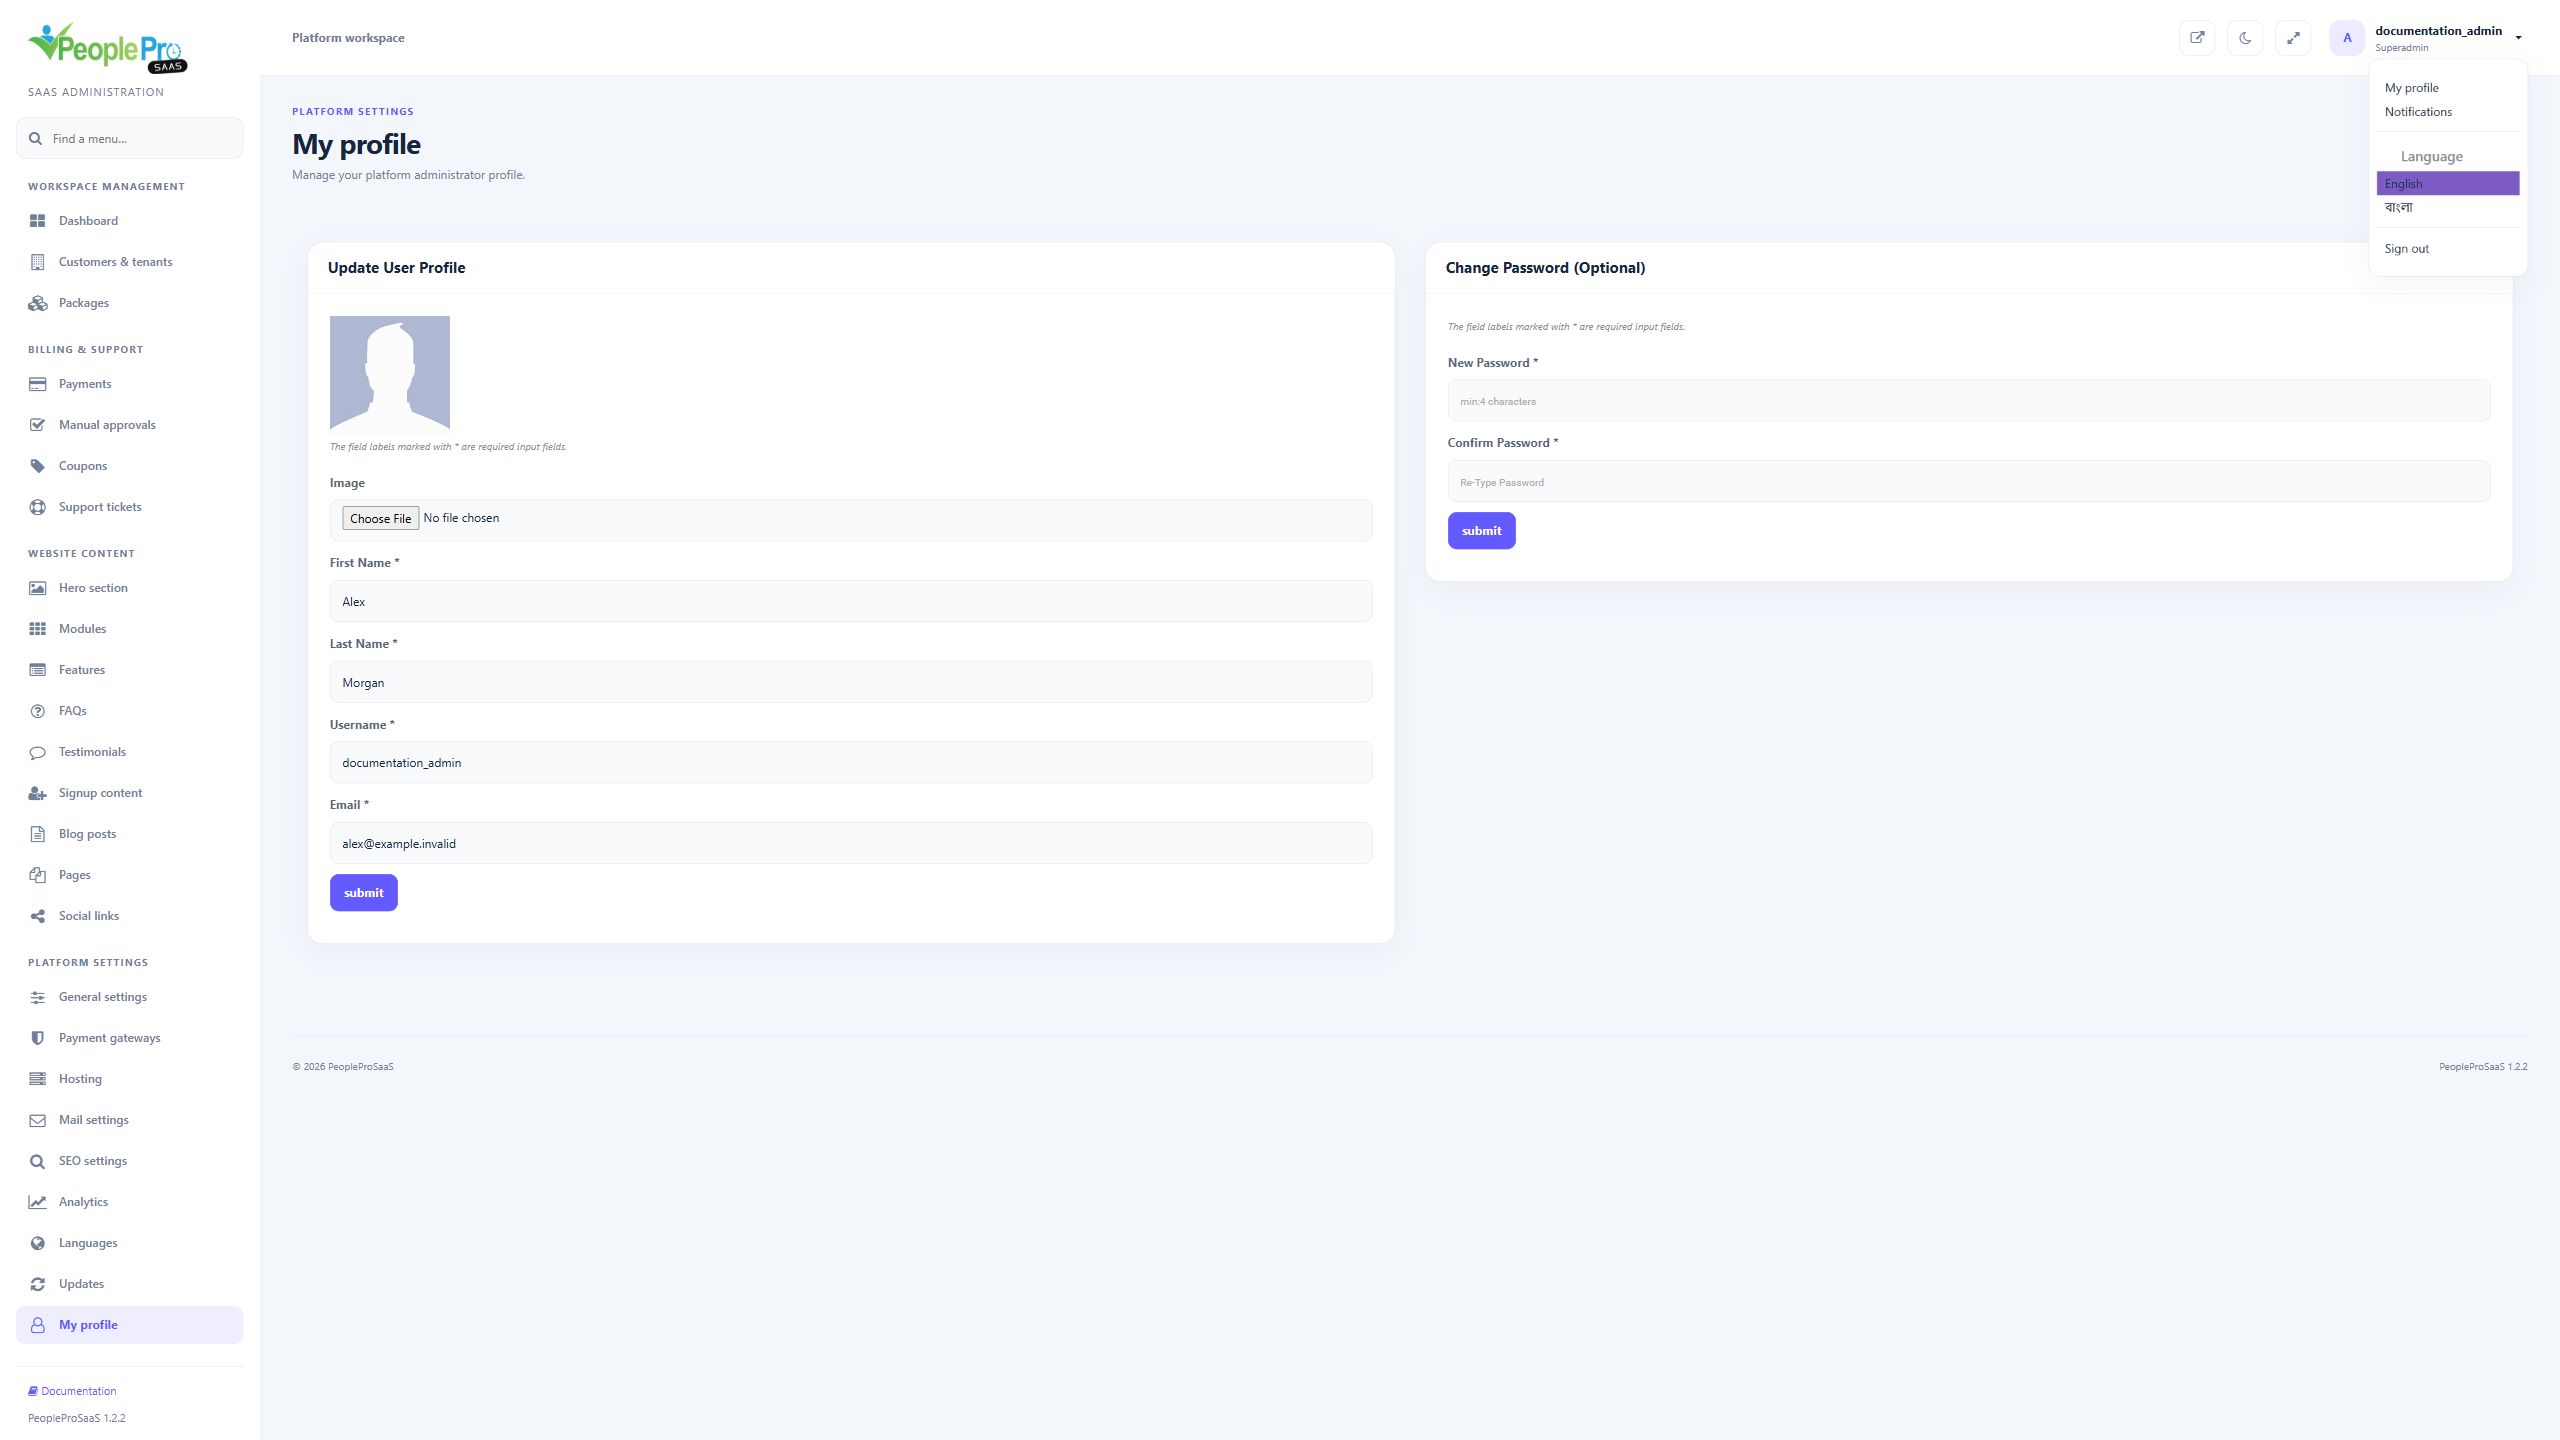
The sidebar groups the platform into Workspace management, Billing & support, Website content and Platform settings. Type into Find a menu to locate a page quickly. Use View website to inspect the public website. The top bar also provides appearance, full-screen and account controls. On a narrow screen, open the navigation menu before choosing a destination.
View website opens the public platform in another tab. Switch color theme changes the panel appearance, and Toggle full screen expands the working area. Open the account menu to find My profile, Notifications, installed languages and Sign out. These appearance controls do not change customer data or subscription packages.
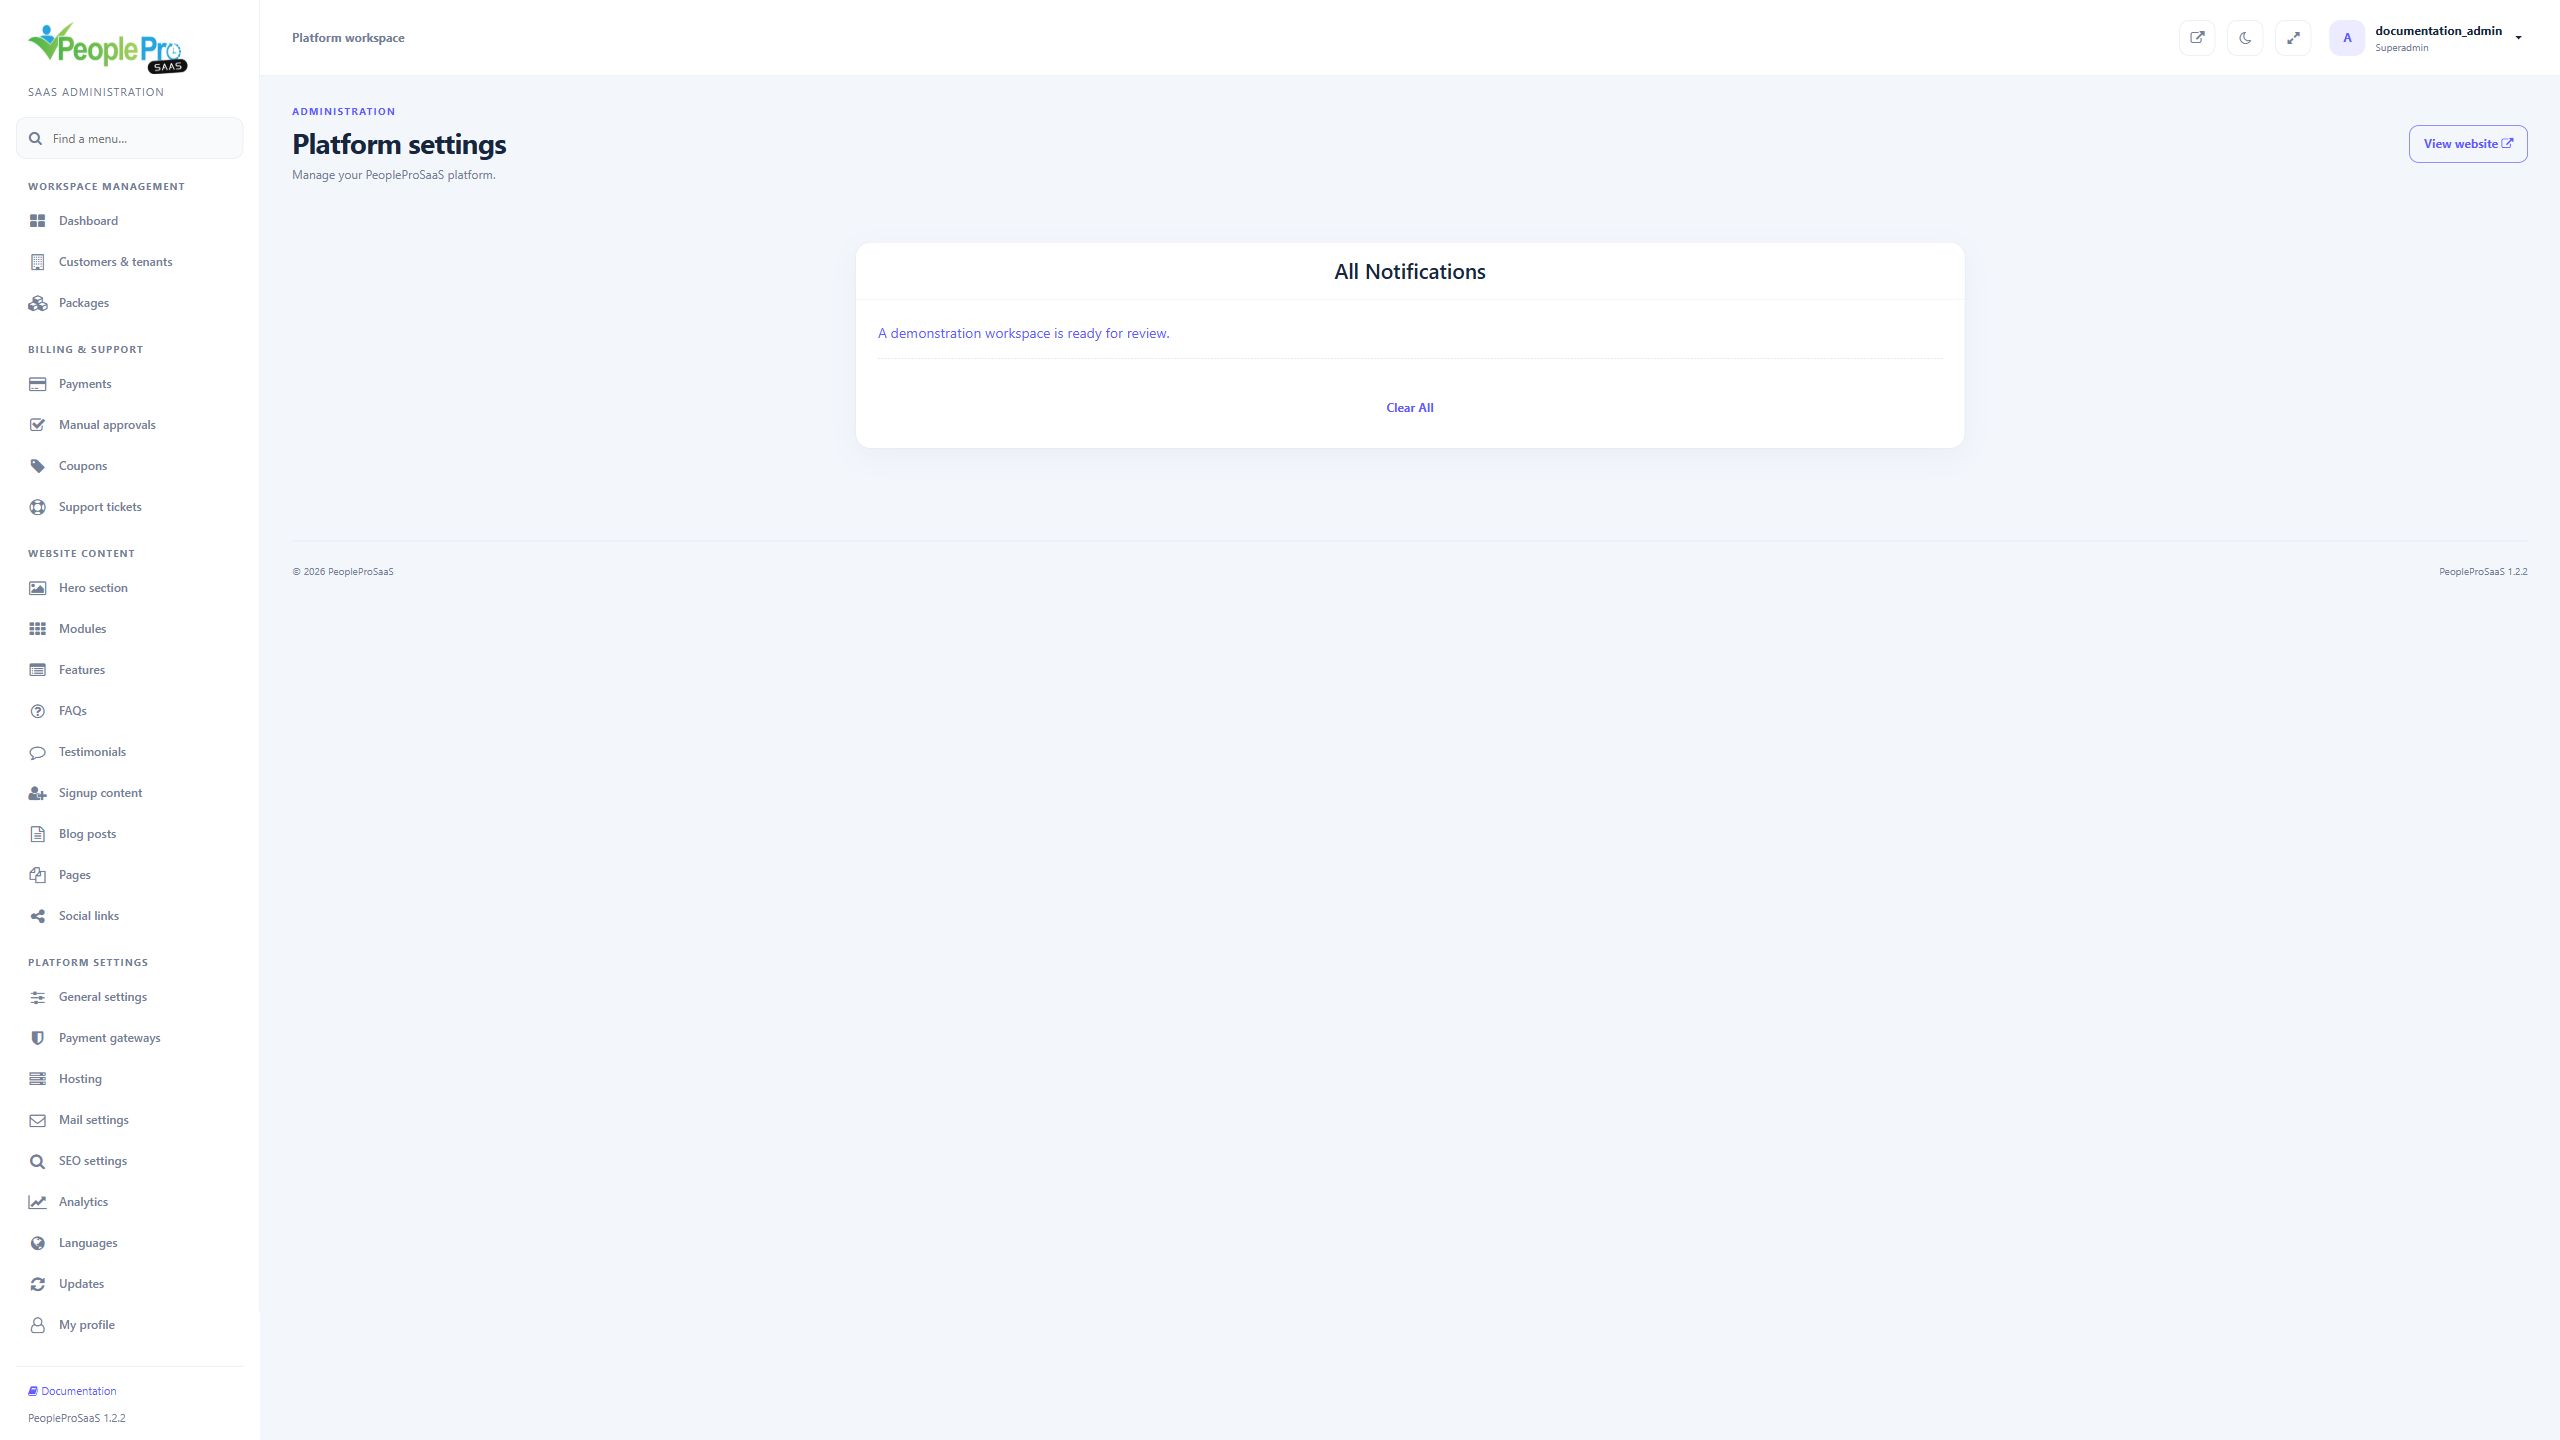
Choose Notifications in the account menu. Each available notification links to its related activity. Open a notification to inspect that record. Clear All removes the notification list for your administrator account; it does not delete the associated customer or payment. When no notifications are available, the page displays an empty-state message. This guide shows one fictional example and does not perform the clearing action.
Open the account menu and choose one of the enabled languages to change your current platform session. Manage the platform default and available languages from Languages. Sign out ends your administrator session; customers and their HR records remain in place. On a shared computer, sign out when your administration task is finished.
The Documentation link at the bottom of the sidebar opens the bundled help resource. Keep this separate PeopleProSaaS Administrator Guide and its images folder together when handing it to a colleague. Shared HR operation instructions belong to the separate PeoplePro User Guide, rather than this platform manual.
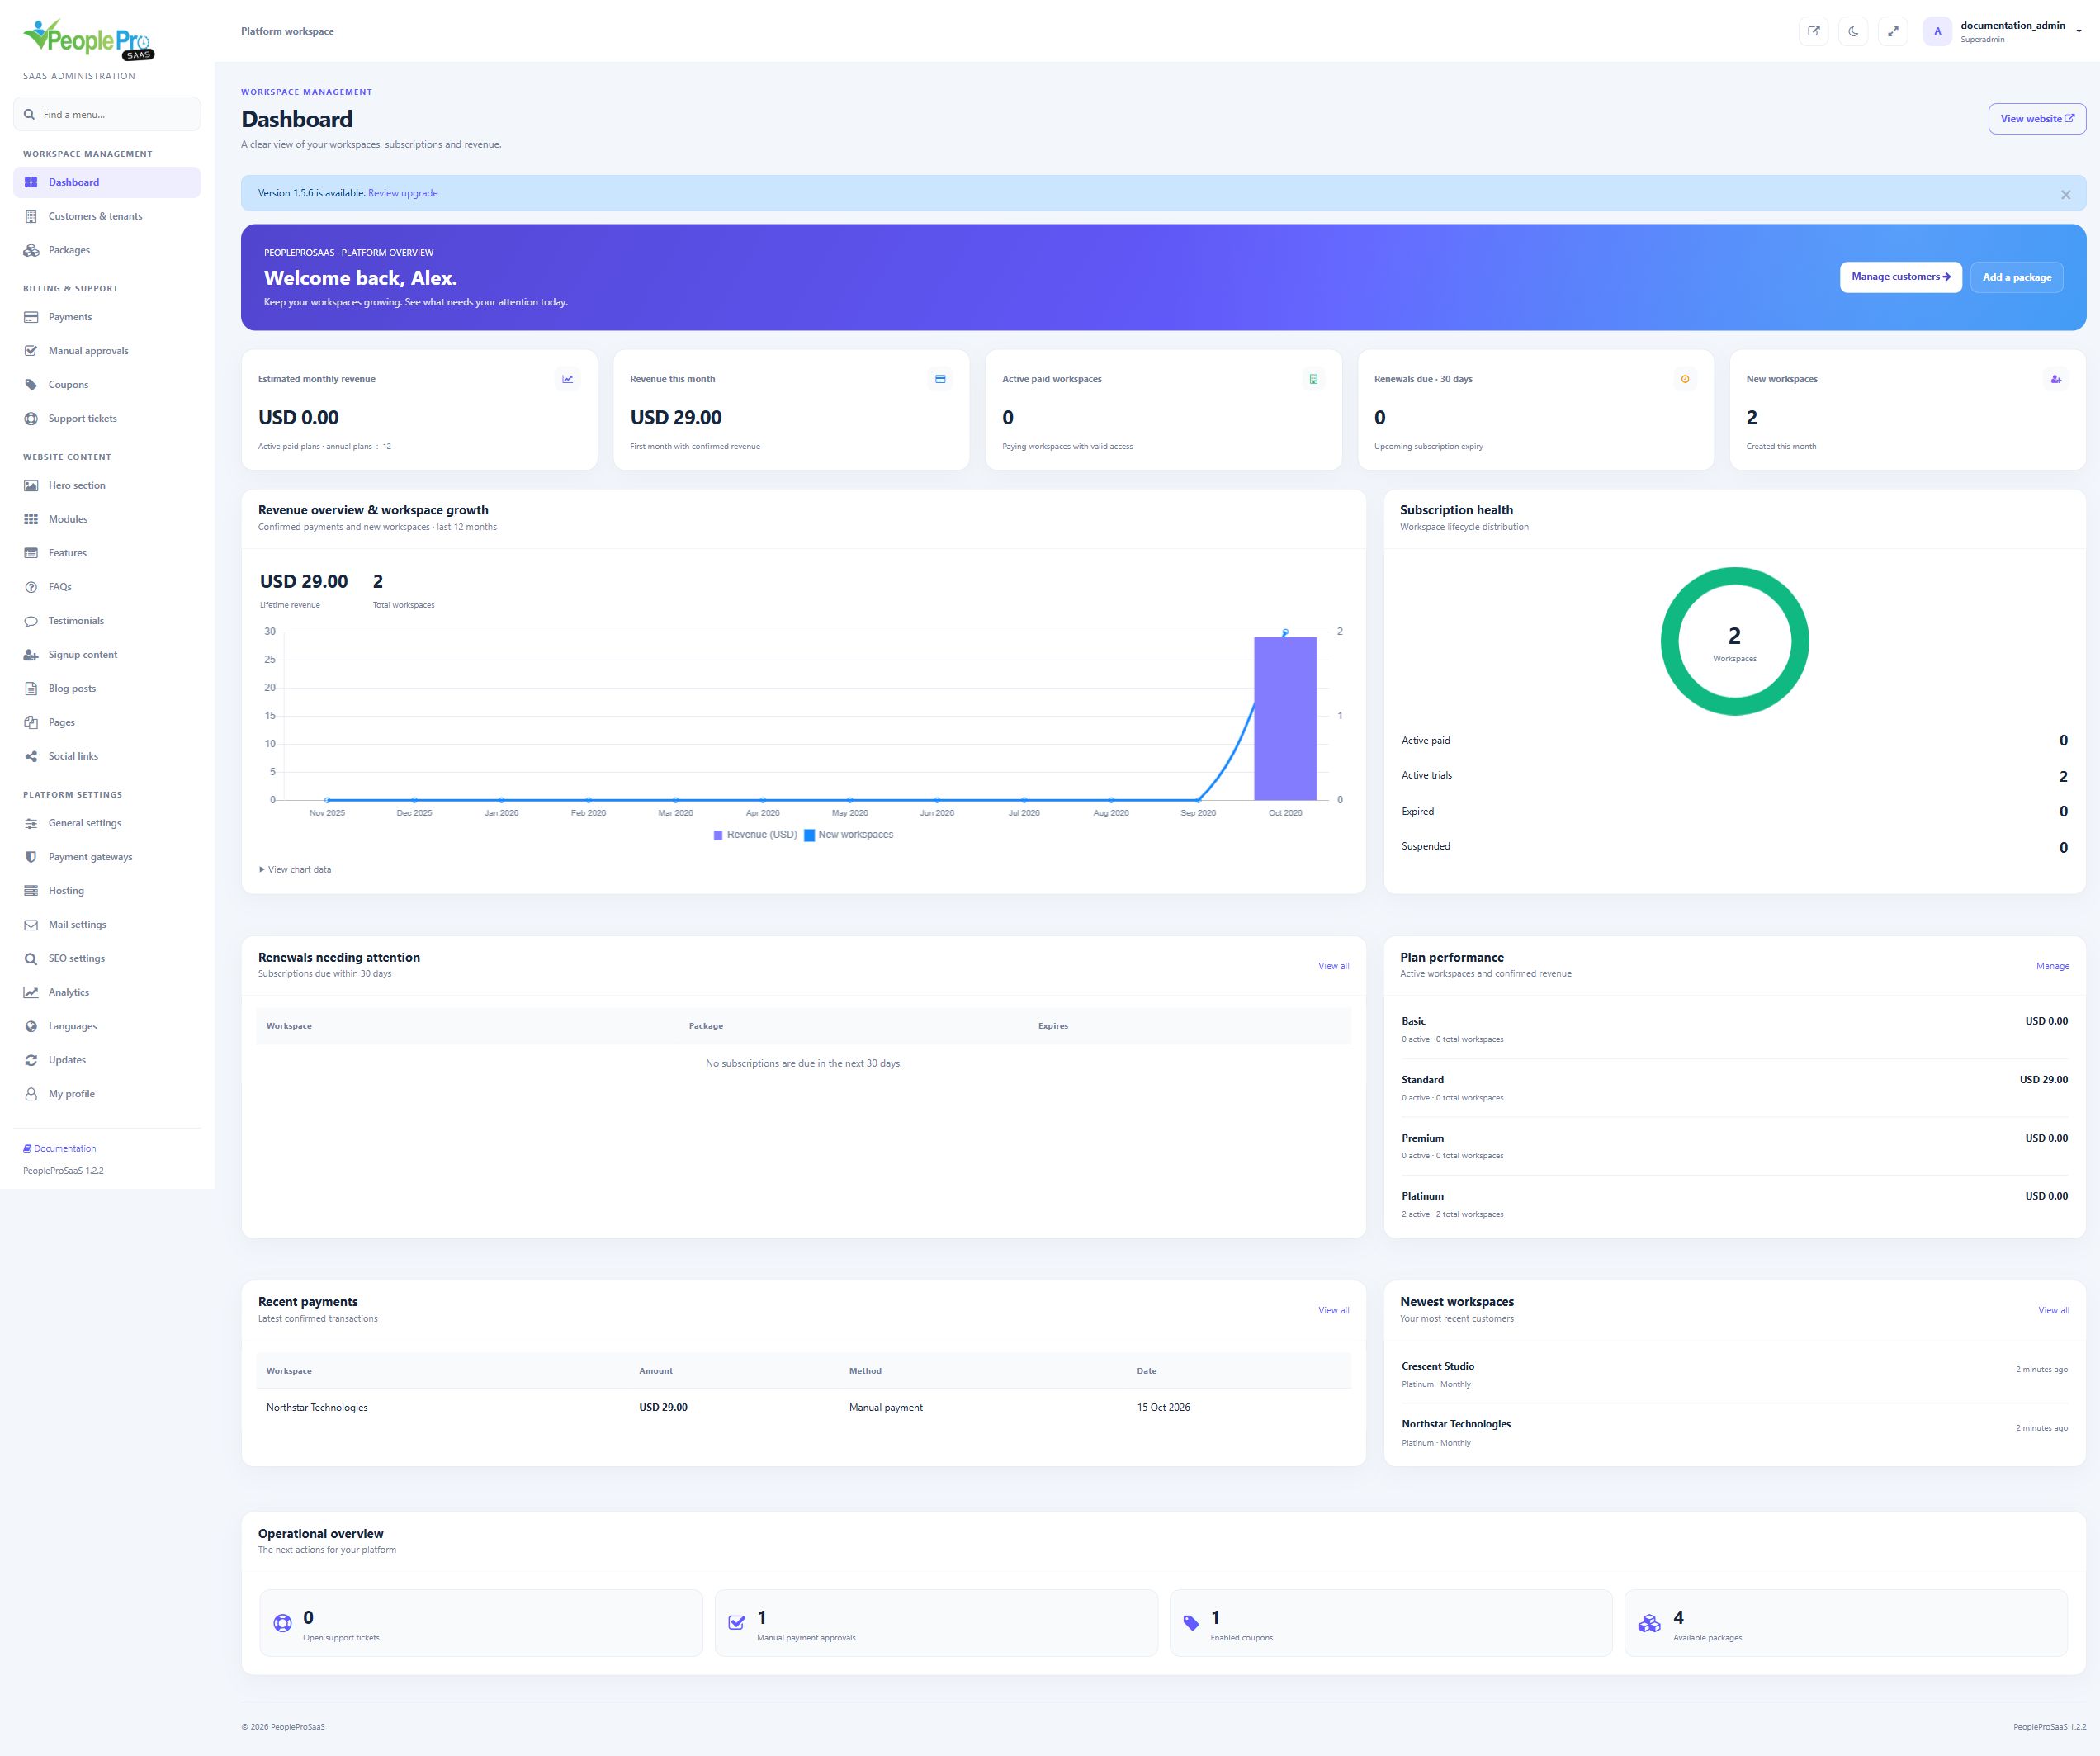
Review customer and subscription totals, active workspaces, trials and revenue summaries. Charts and recent activity help you understand which workspaces and payments need attention. Revenue statistics follow recorded payment states; a pending checkout is not the same as confirmed revenue. Use Customers & tenants or Payments to investigate the records behind a dashboard total.
Open My profile. Upload a profile image when needed and review First Name, Last Name, Username and Email. Submit the profile form after checking the account details. The separate Change Password (Optional) form does not need completing when you are only updating your name, email or image. These details identify your platform administrator, not a tenant employee.
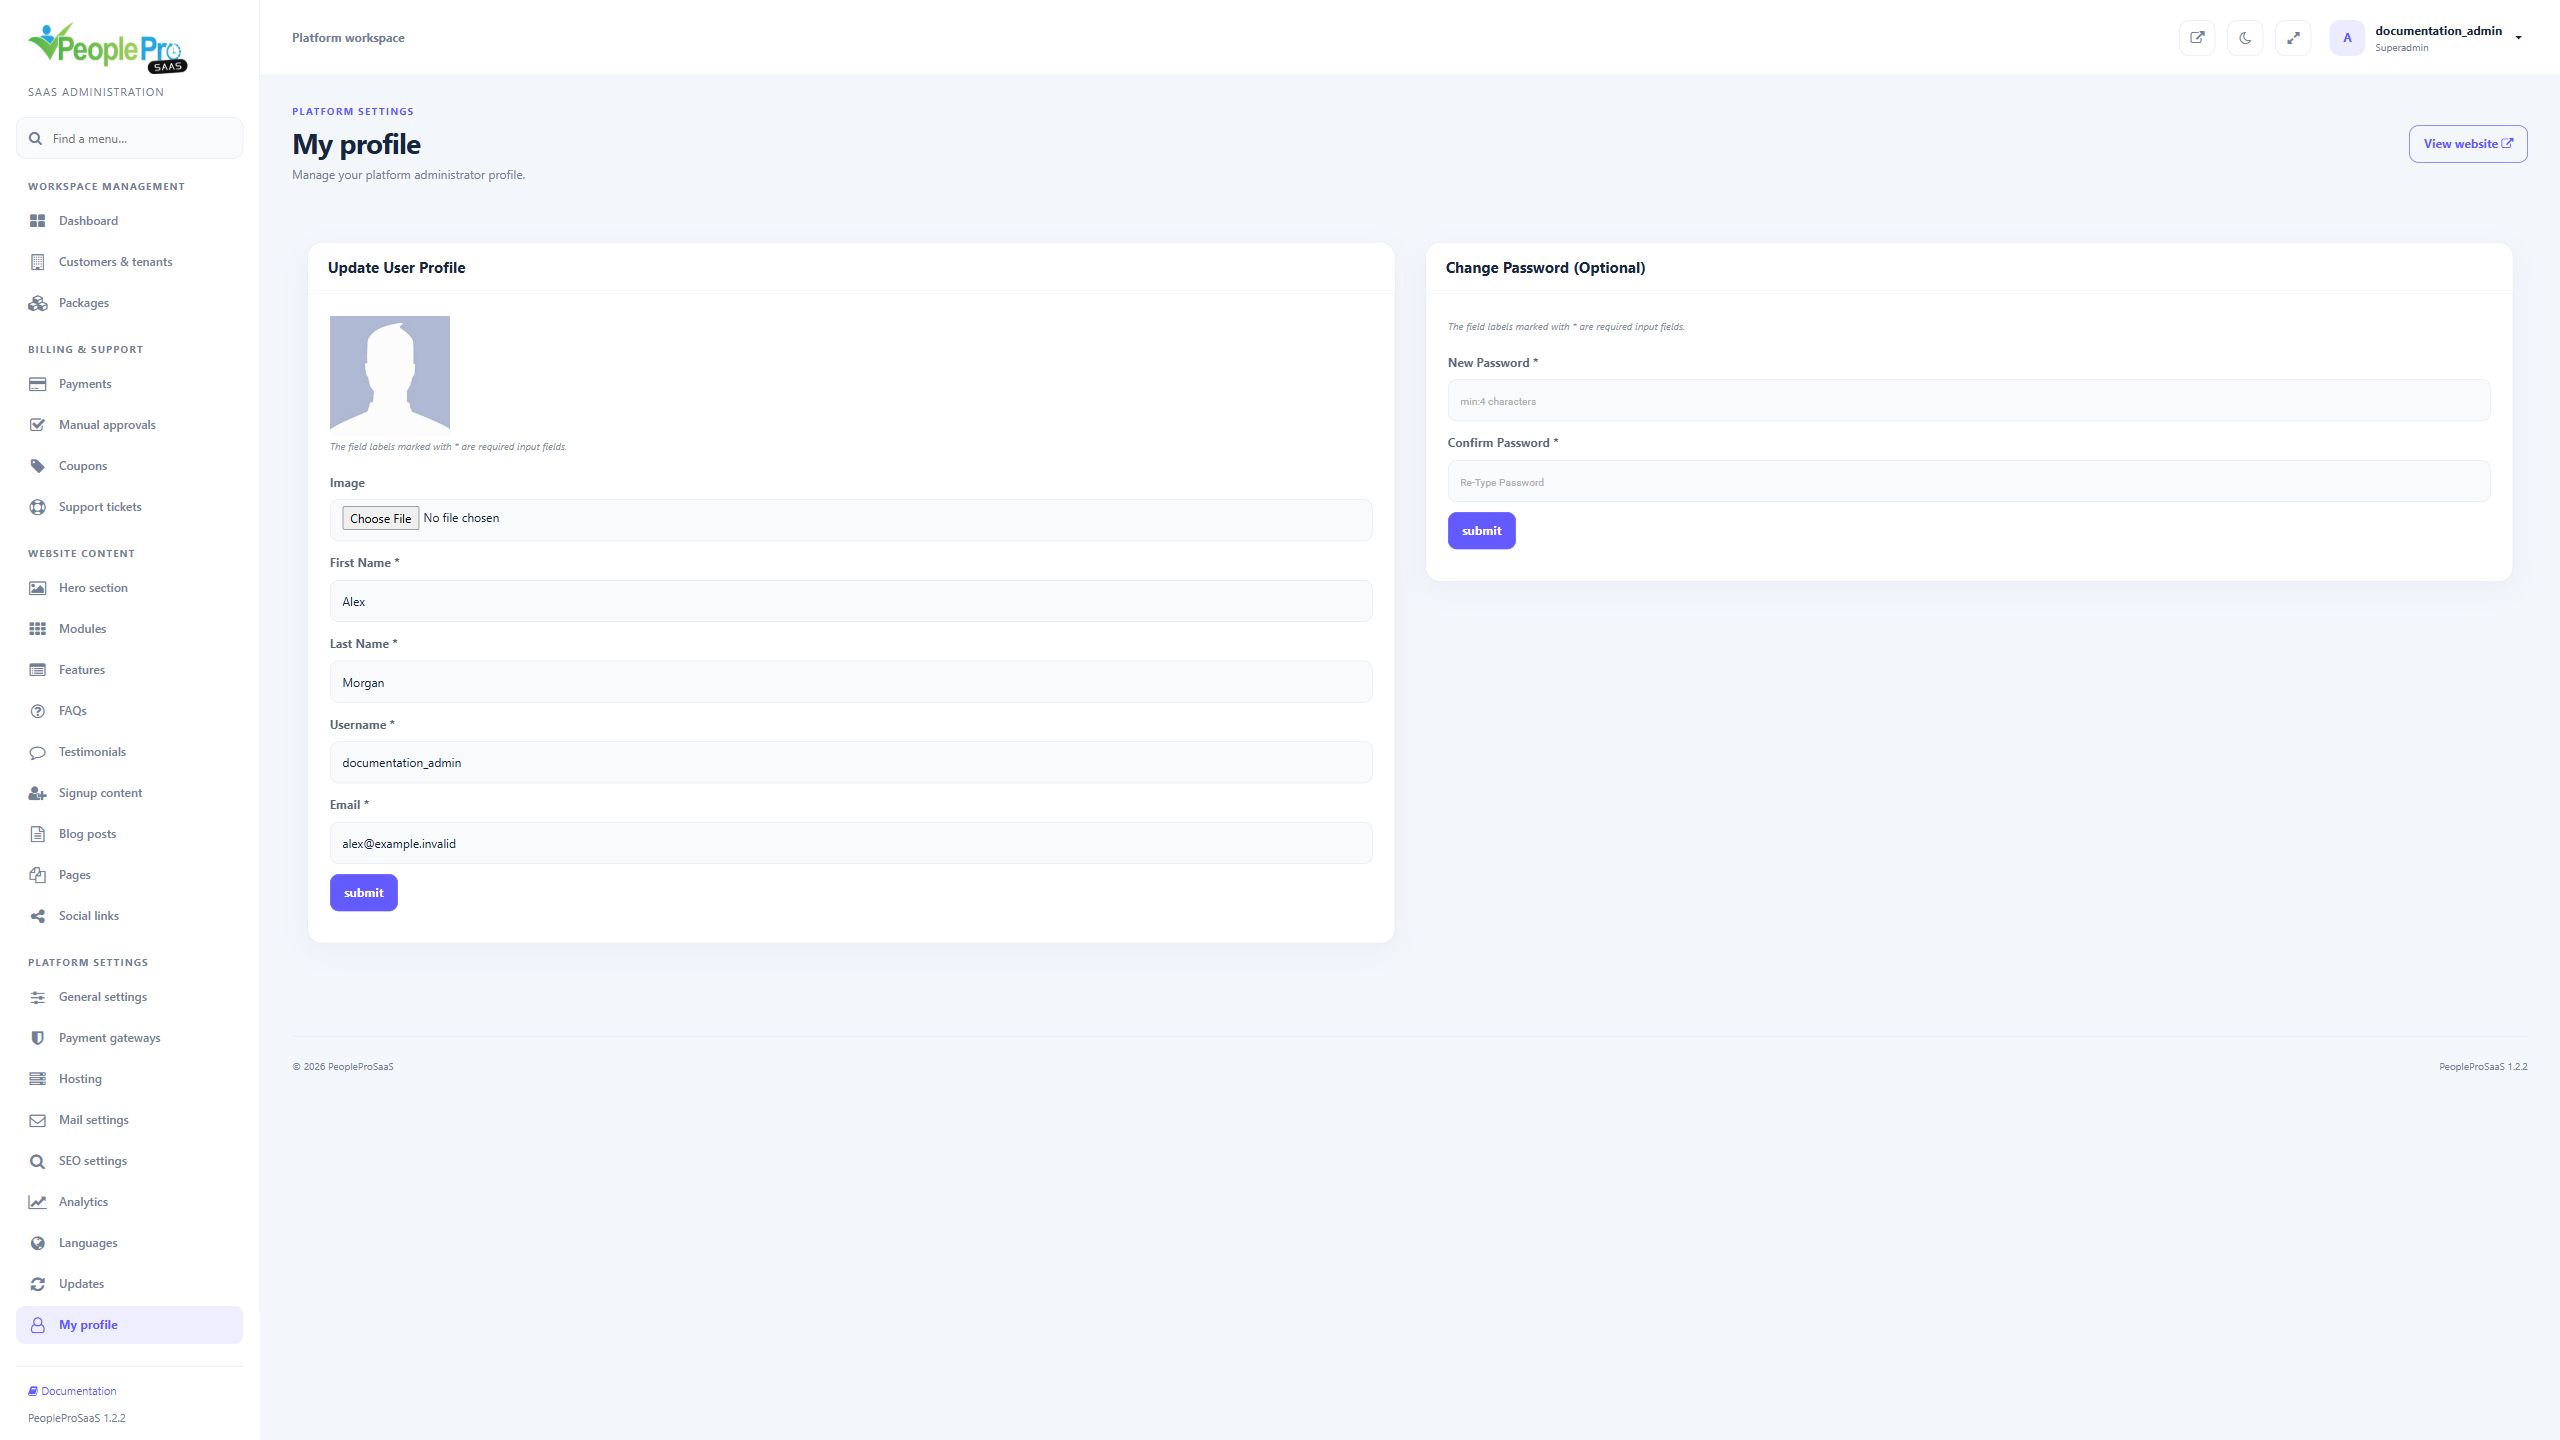
In My profile, use Change Password (Optional). Enter the new password and repeat it in Confirm Password, then submit that password form. Choose a strong password and keep it private. Leaving this form alone keeps the existing password. This action changes your platform account; use Customers & tenants > Change password when helping a customer administrator. The screenshot shows empty fields; no credential was changed for documentation.
Open Customers & tenants. The summary cards show customer totals, active workspaces, trials and expired subscriptions. Search the table to locate an organization. Review its owner details, registered domains, package, billing period, expiry and status. The Action column provides workspace-specific administration. Use CSV, Print or Columns for the table tasks offered by the page.
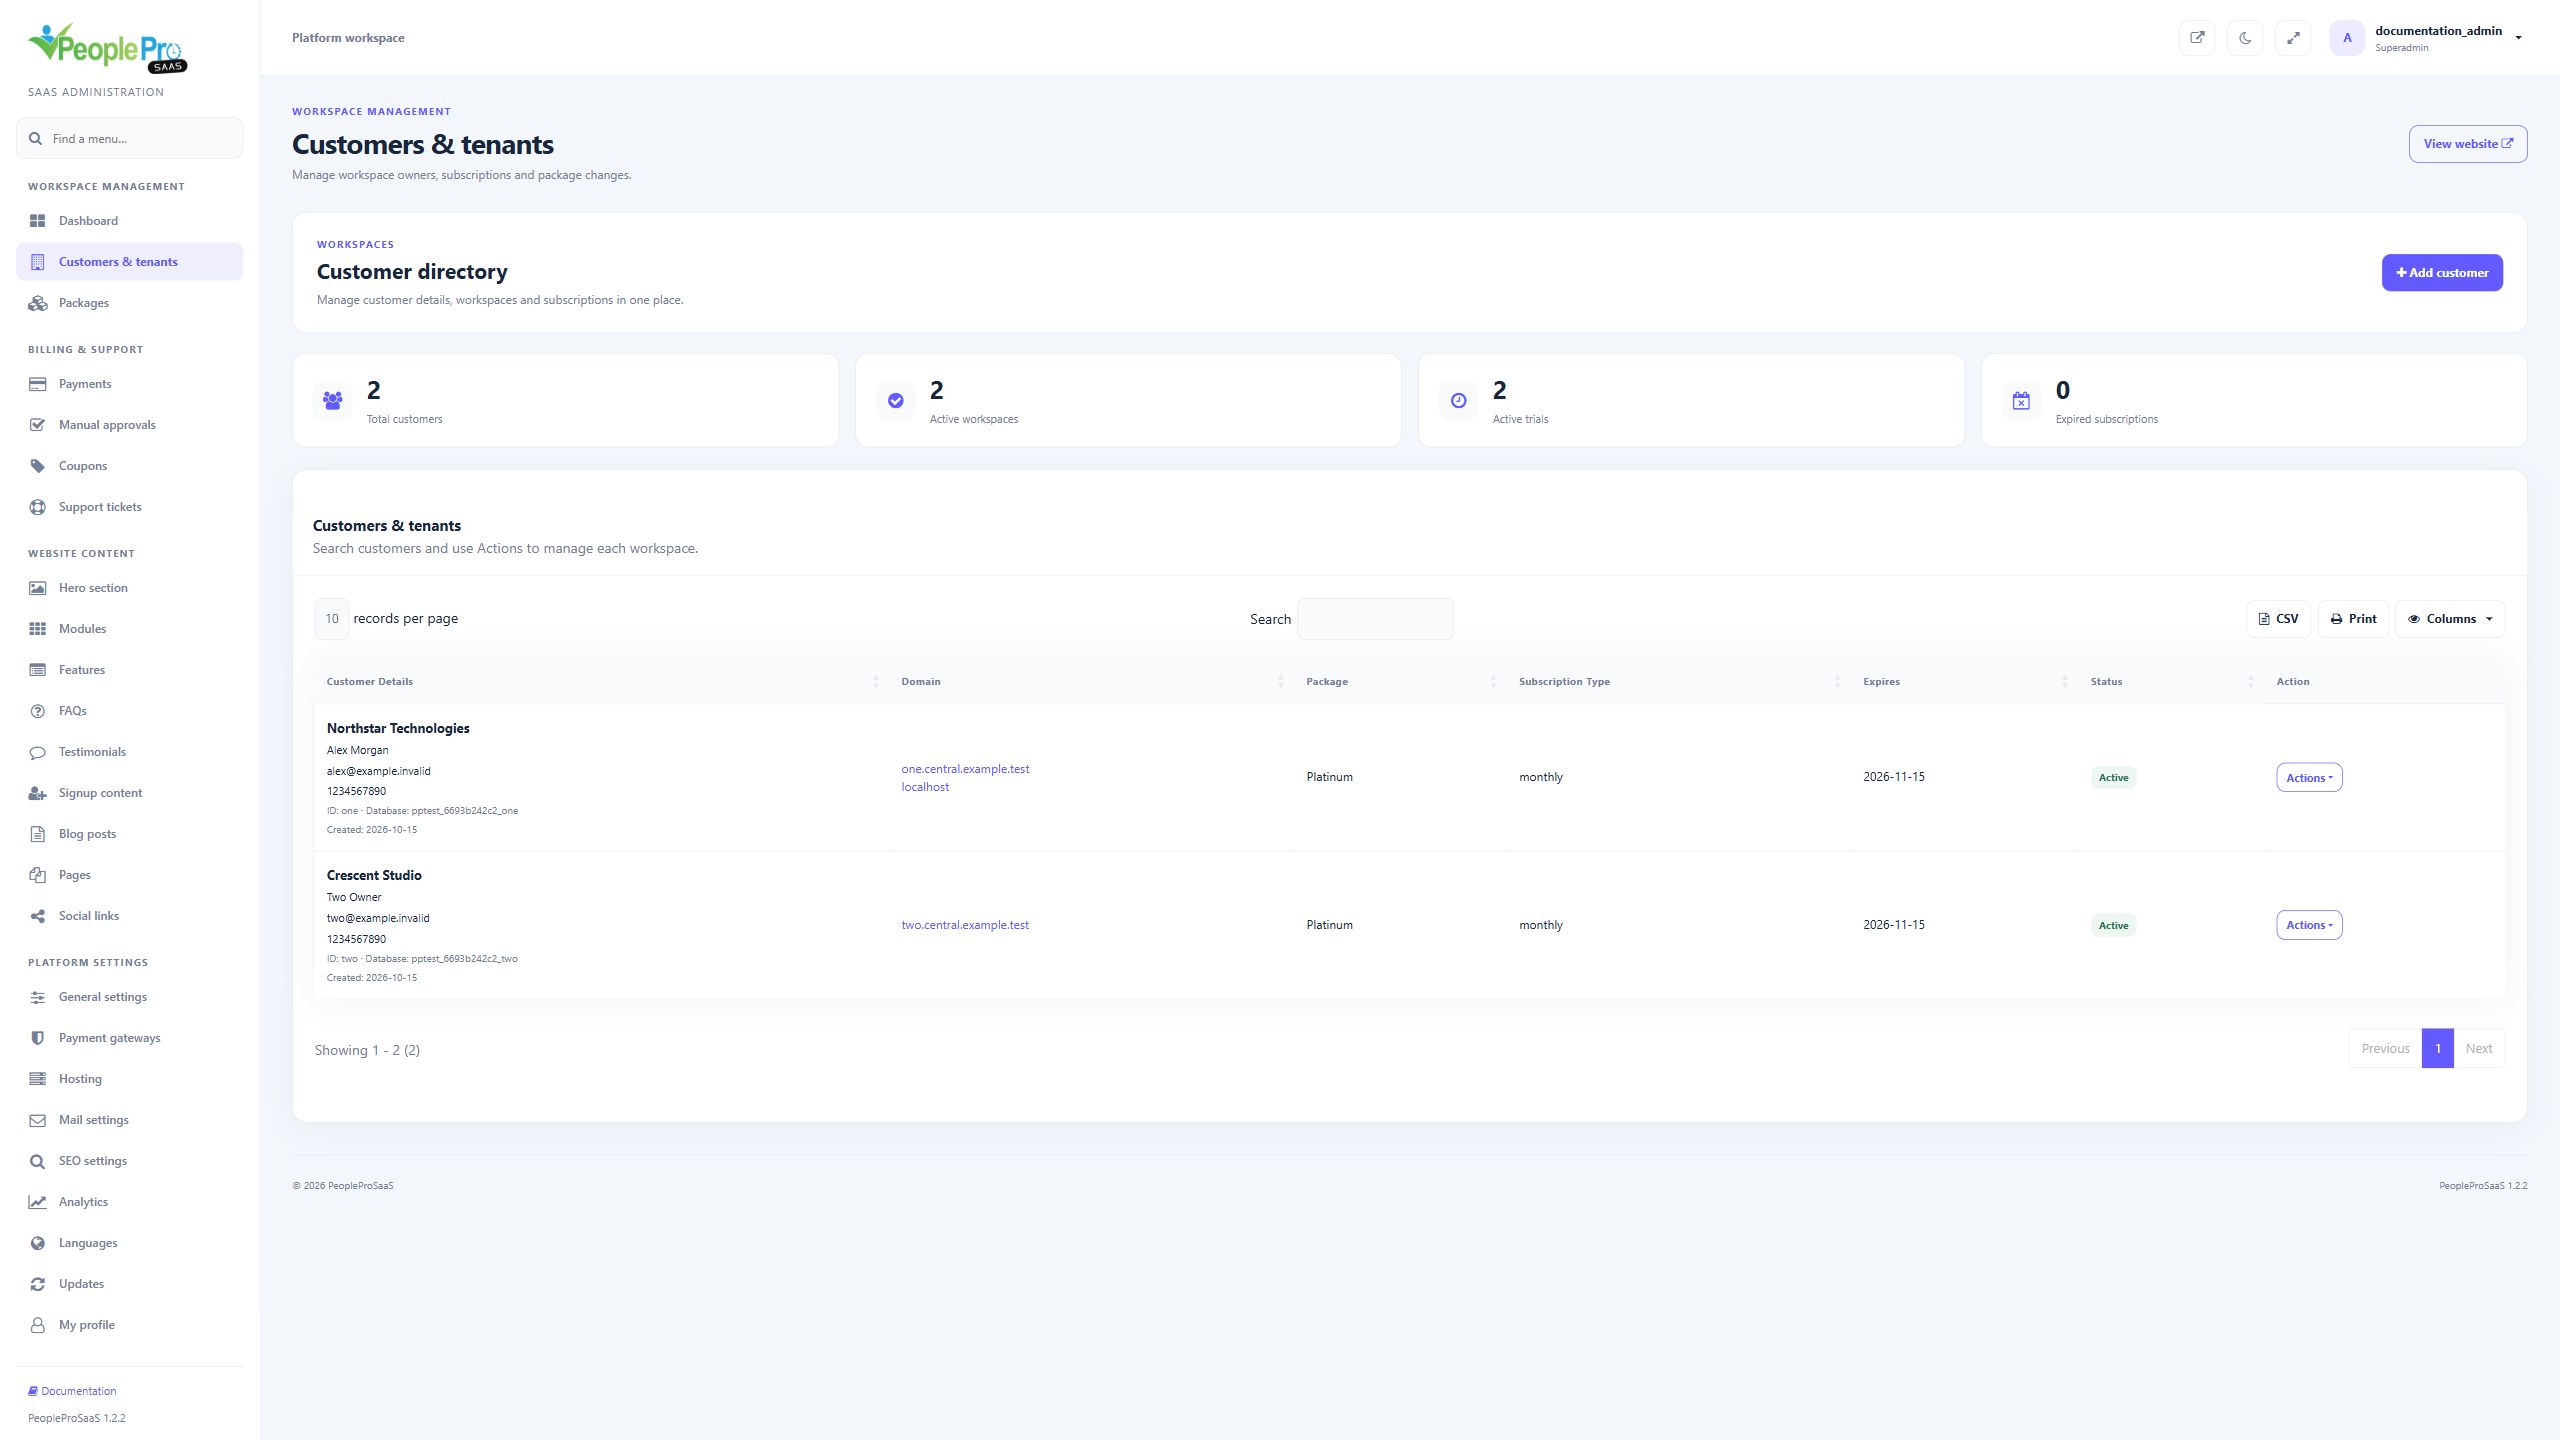
Use the table Search field to locate a record and the records-per-page selector to change the visible row count. Select a column heading when sorting is available. CSV, PDF, Print or Columns controls appear according to the table. Use Columns to restore a hidden column. On a small screen, scroll a wide table to reach its action controls. Row actions apply to the selected record, so check the customer or package name before using one.
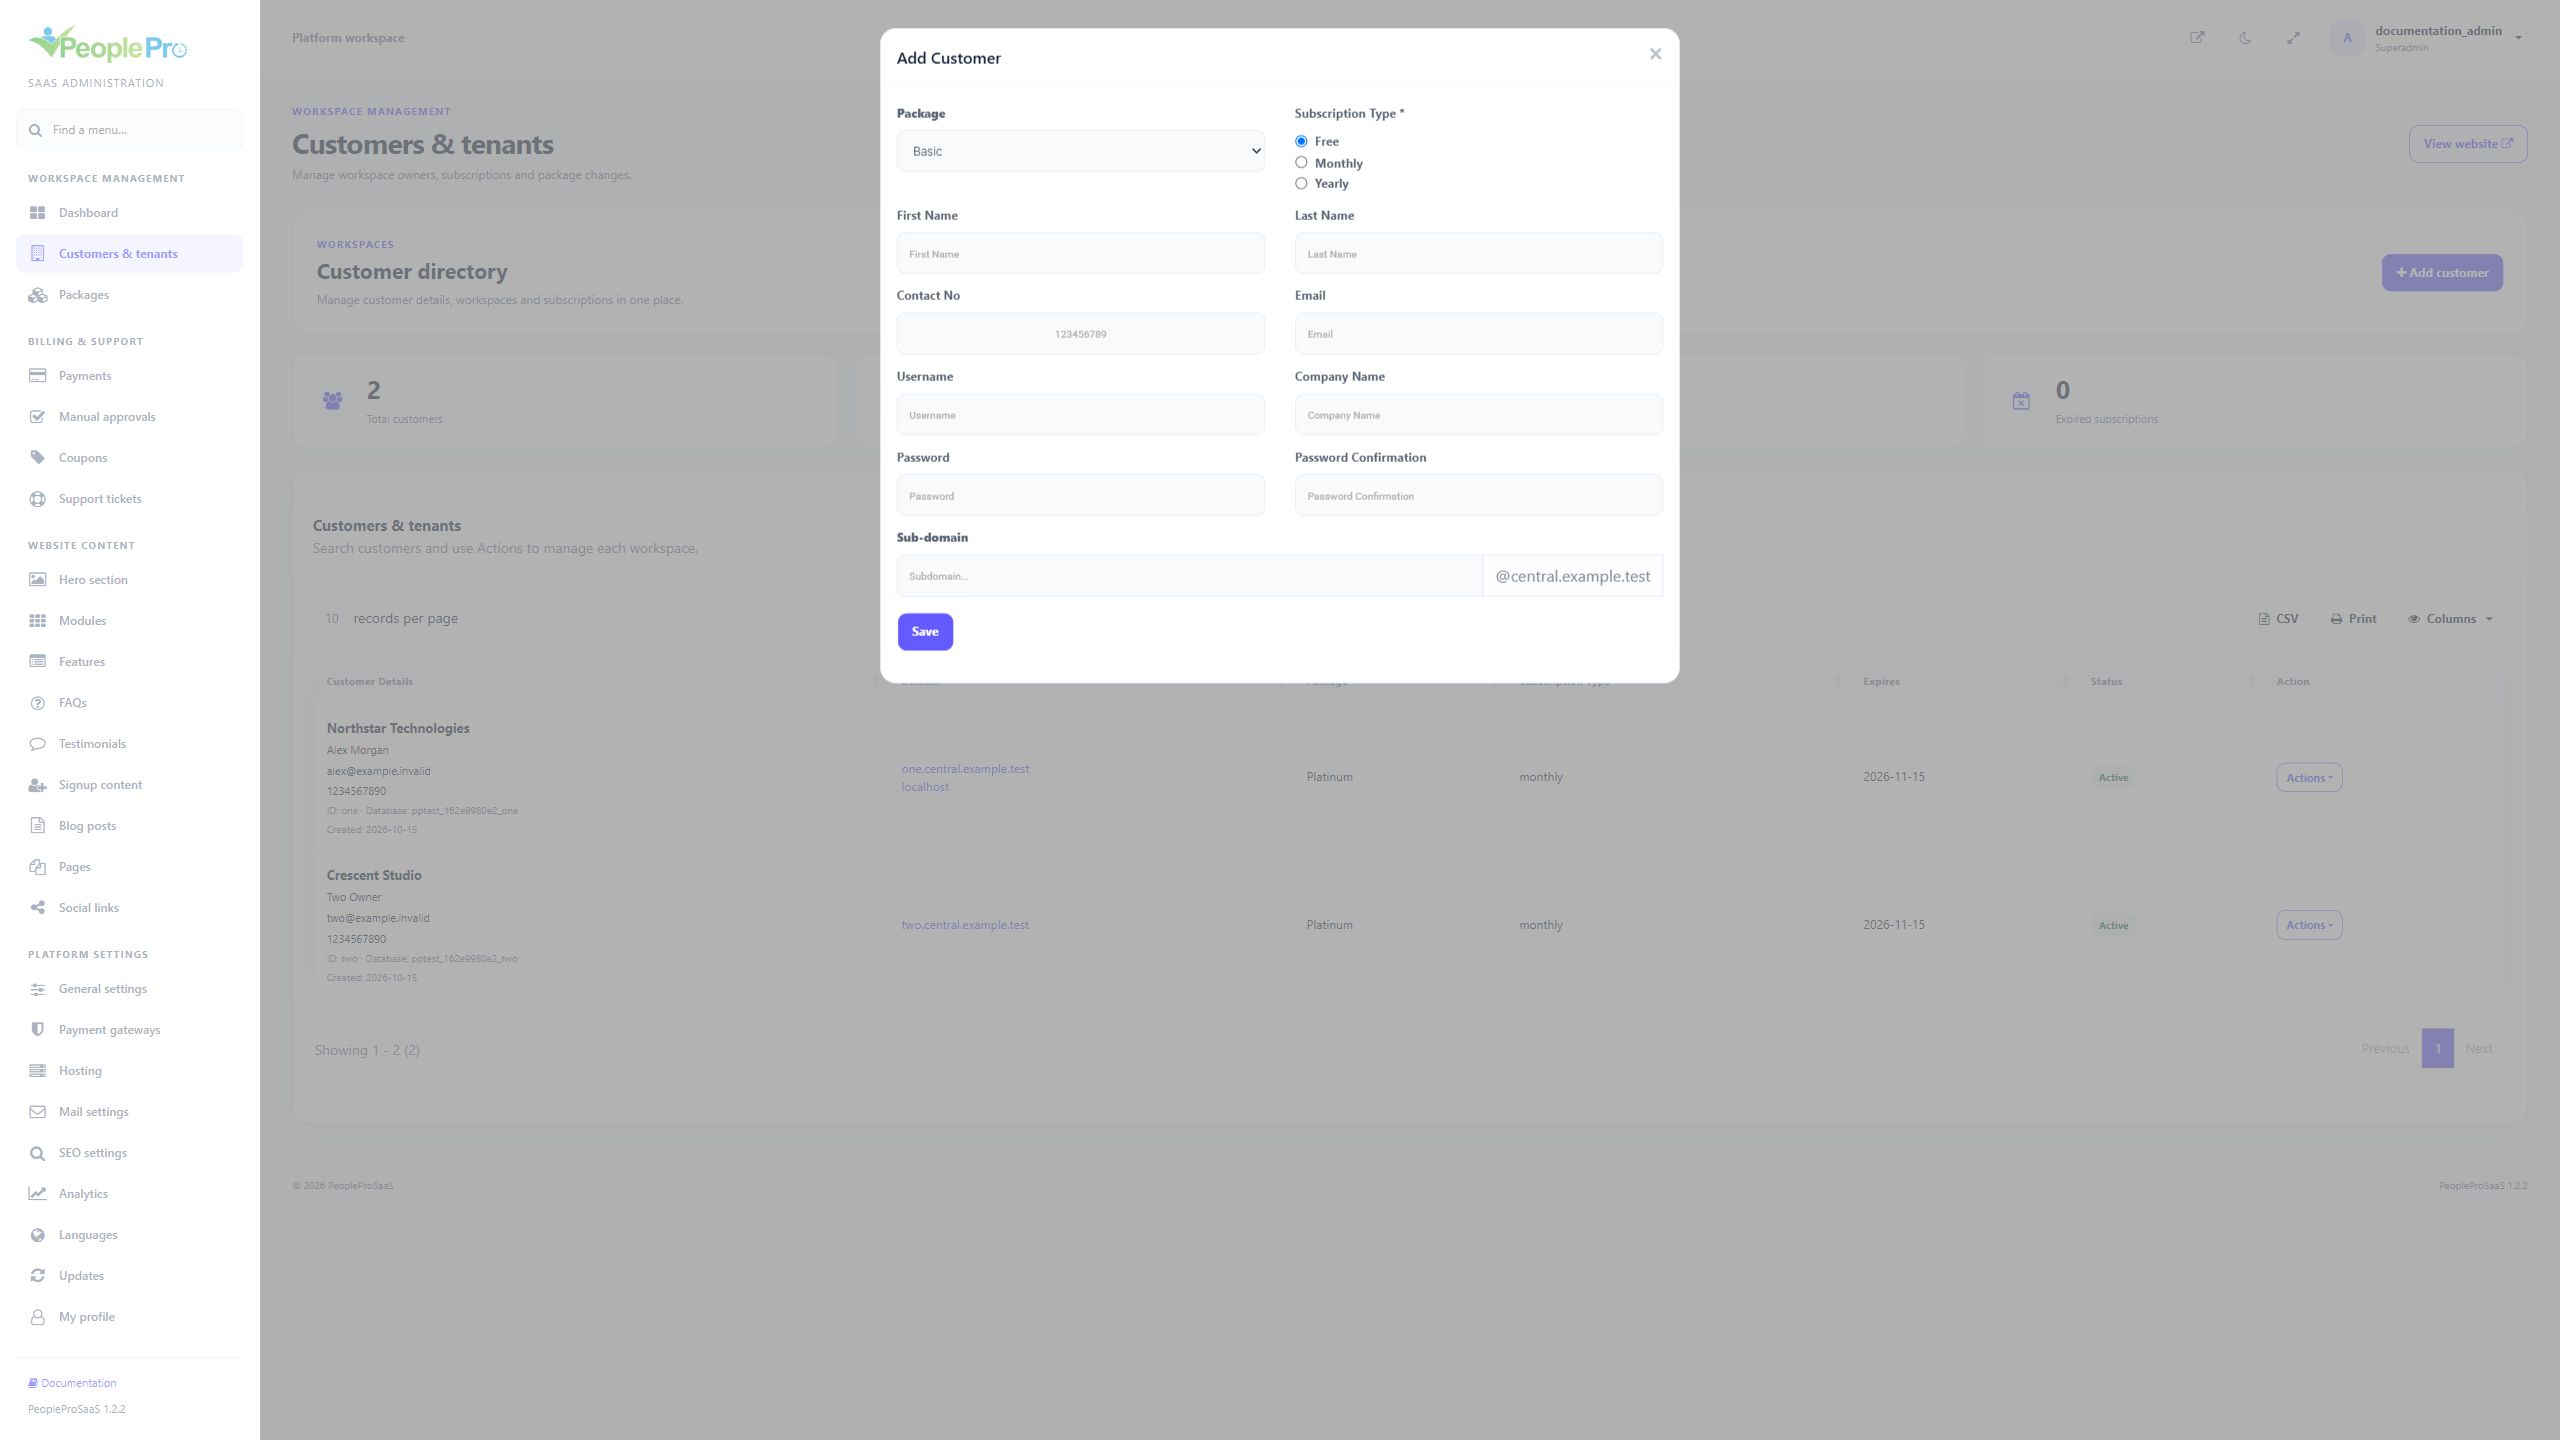
Select Add customer. Choose the package and subscription type, enter the owner contact and account details, and provide a unique subdomain. Enter and confirm the initial password. Review the organization and selected package, then save once and wait for provisioning. The platform prepares a new tenant database and administrator. This form creates access administratively; it is separate from a customer completing an online payment at public signup.
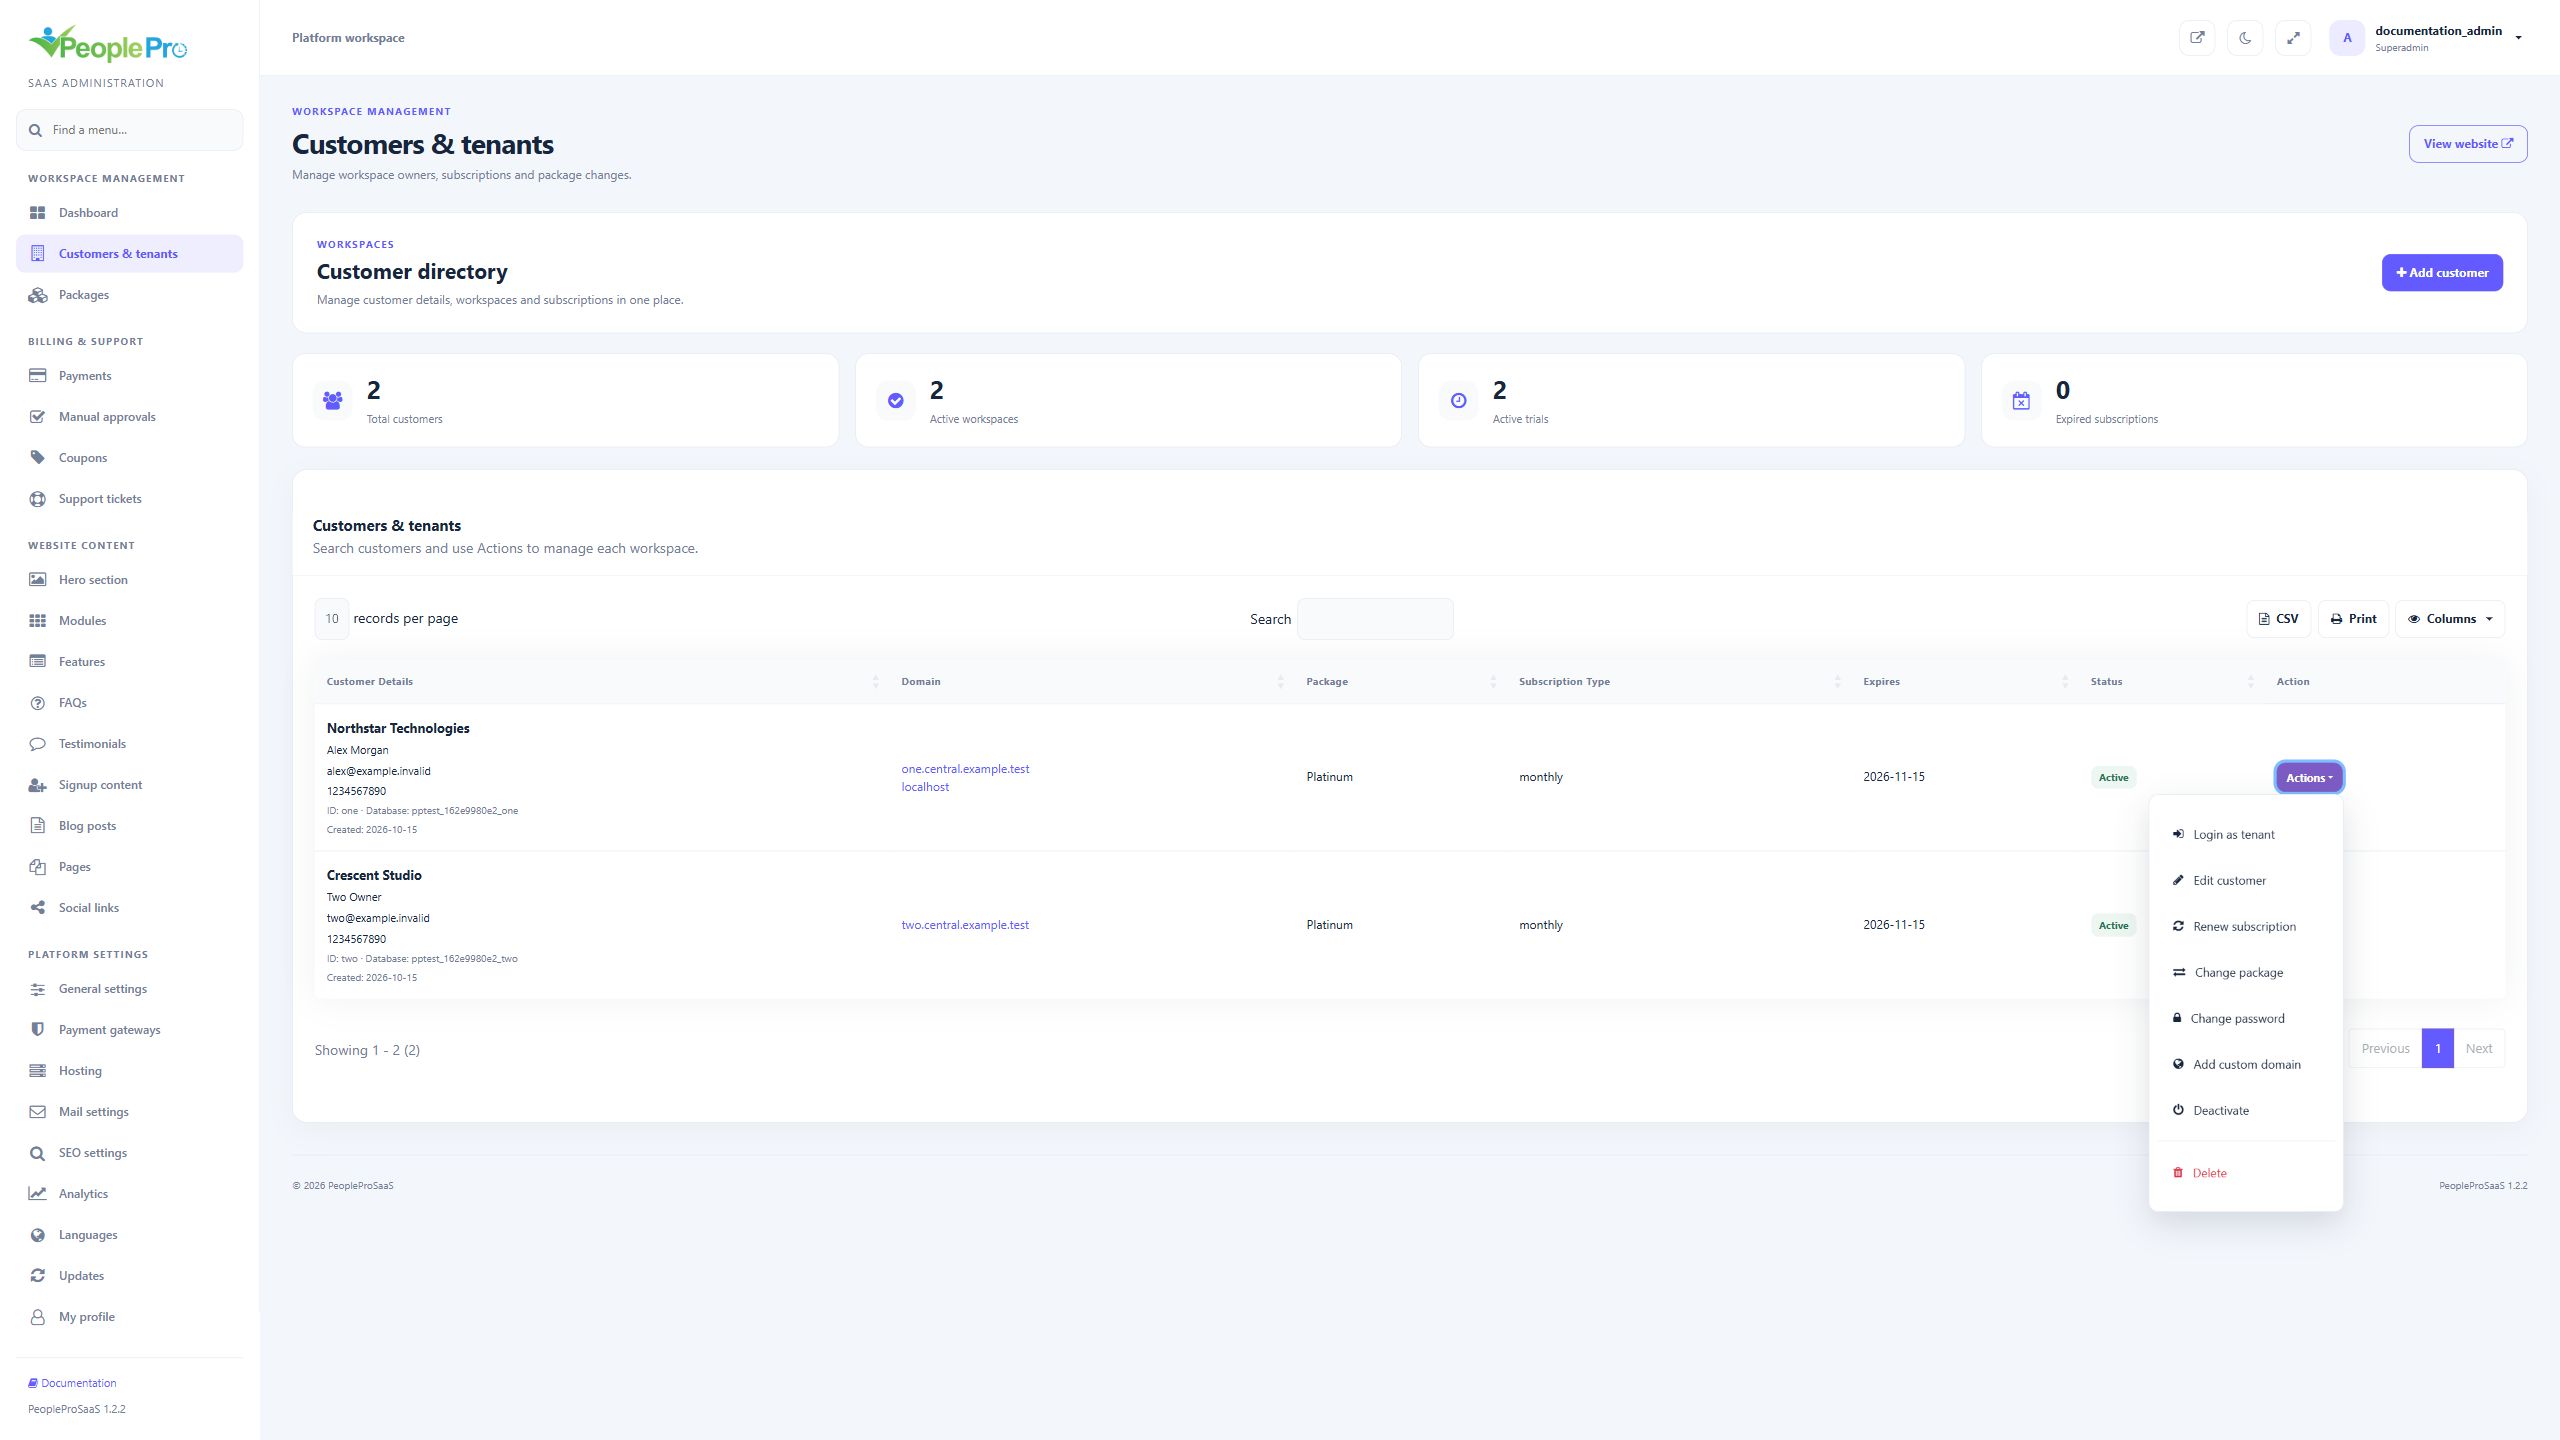
Open Actions beside the intended customer. The menu includes Login as tenant, Edit customer, Renew subscription, Change package, Change password, Add custom domain, access status and Delete. Read the organization and domain before choosing an action. Editing contact details, changing a subscription and changing the workspace password are separate operations.
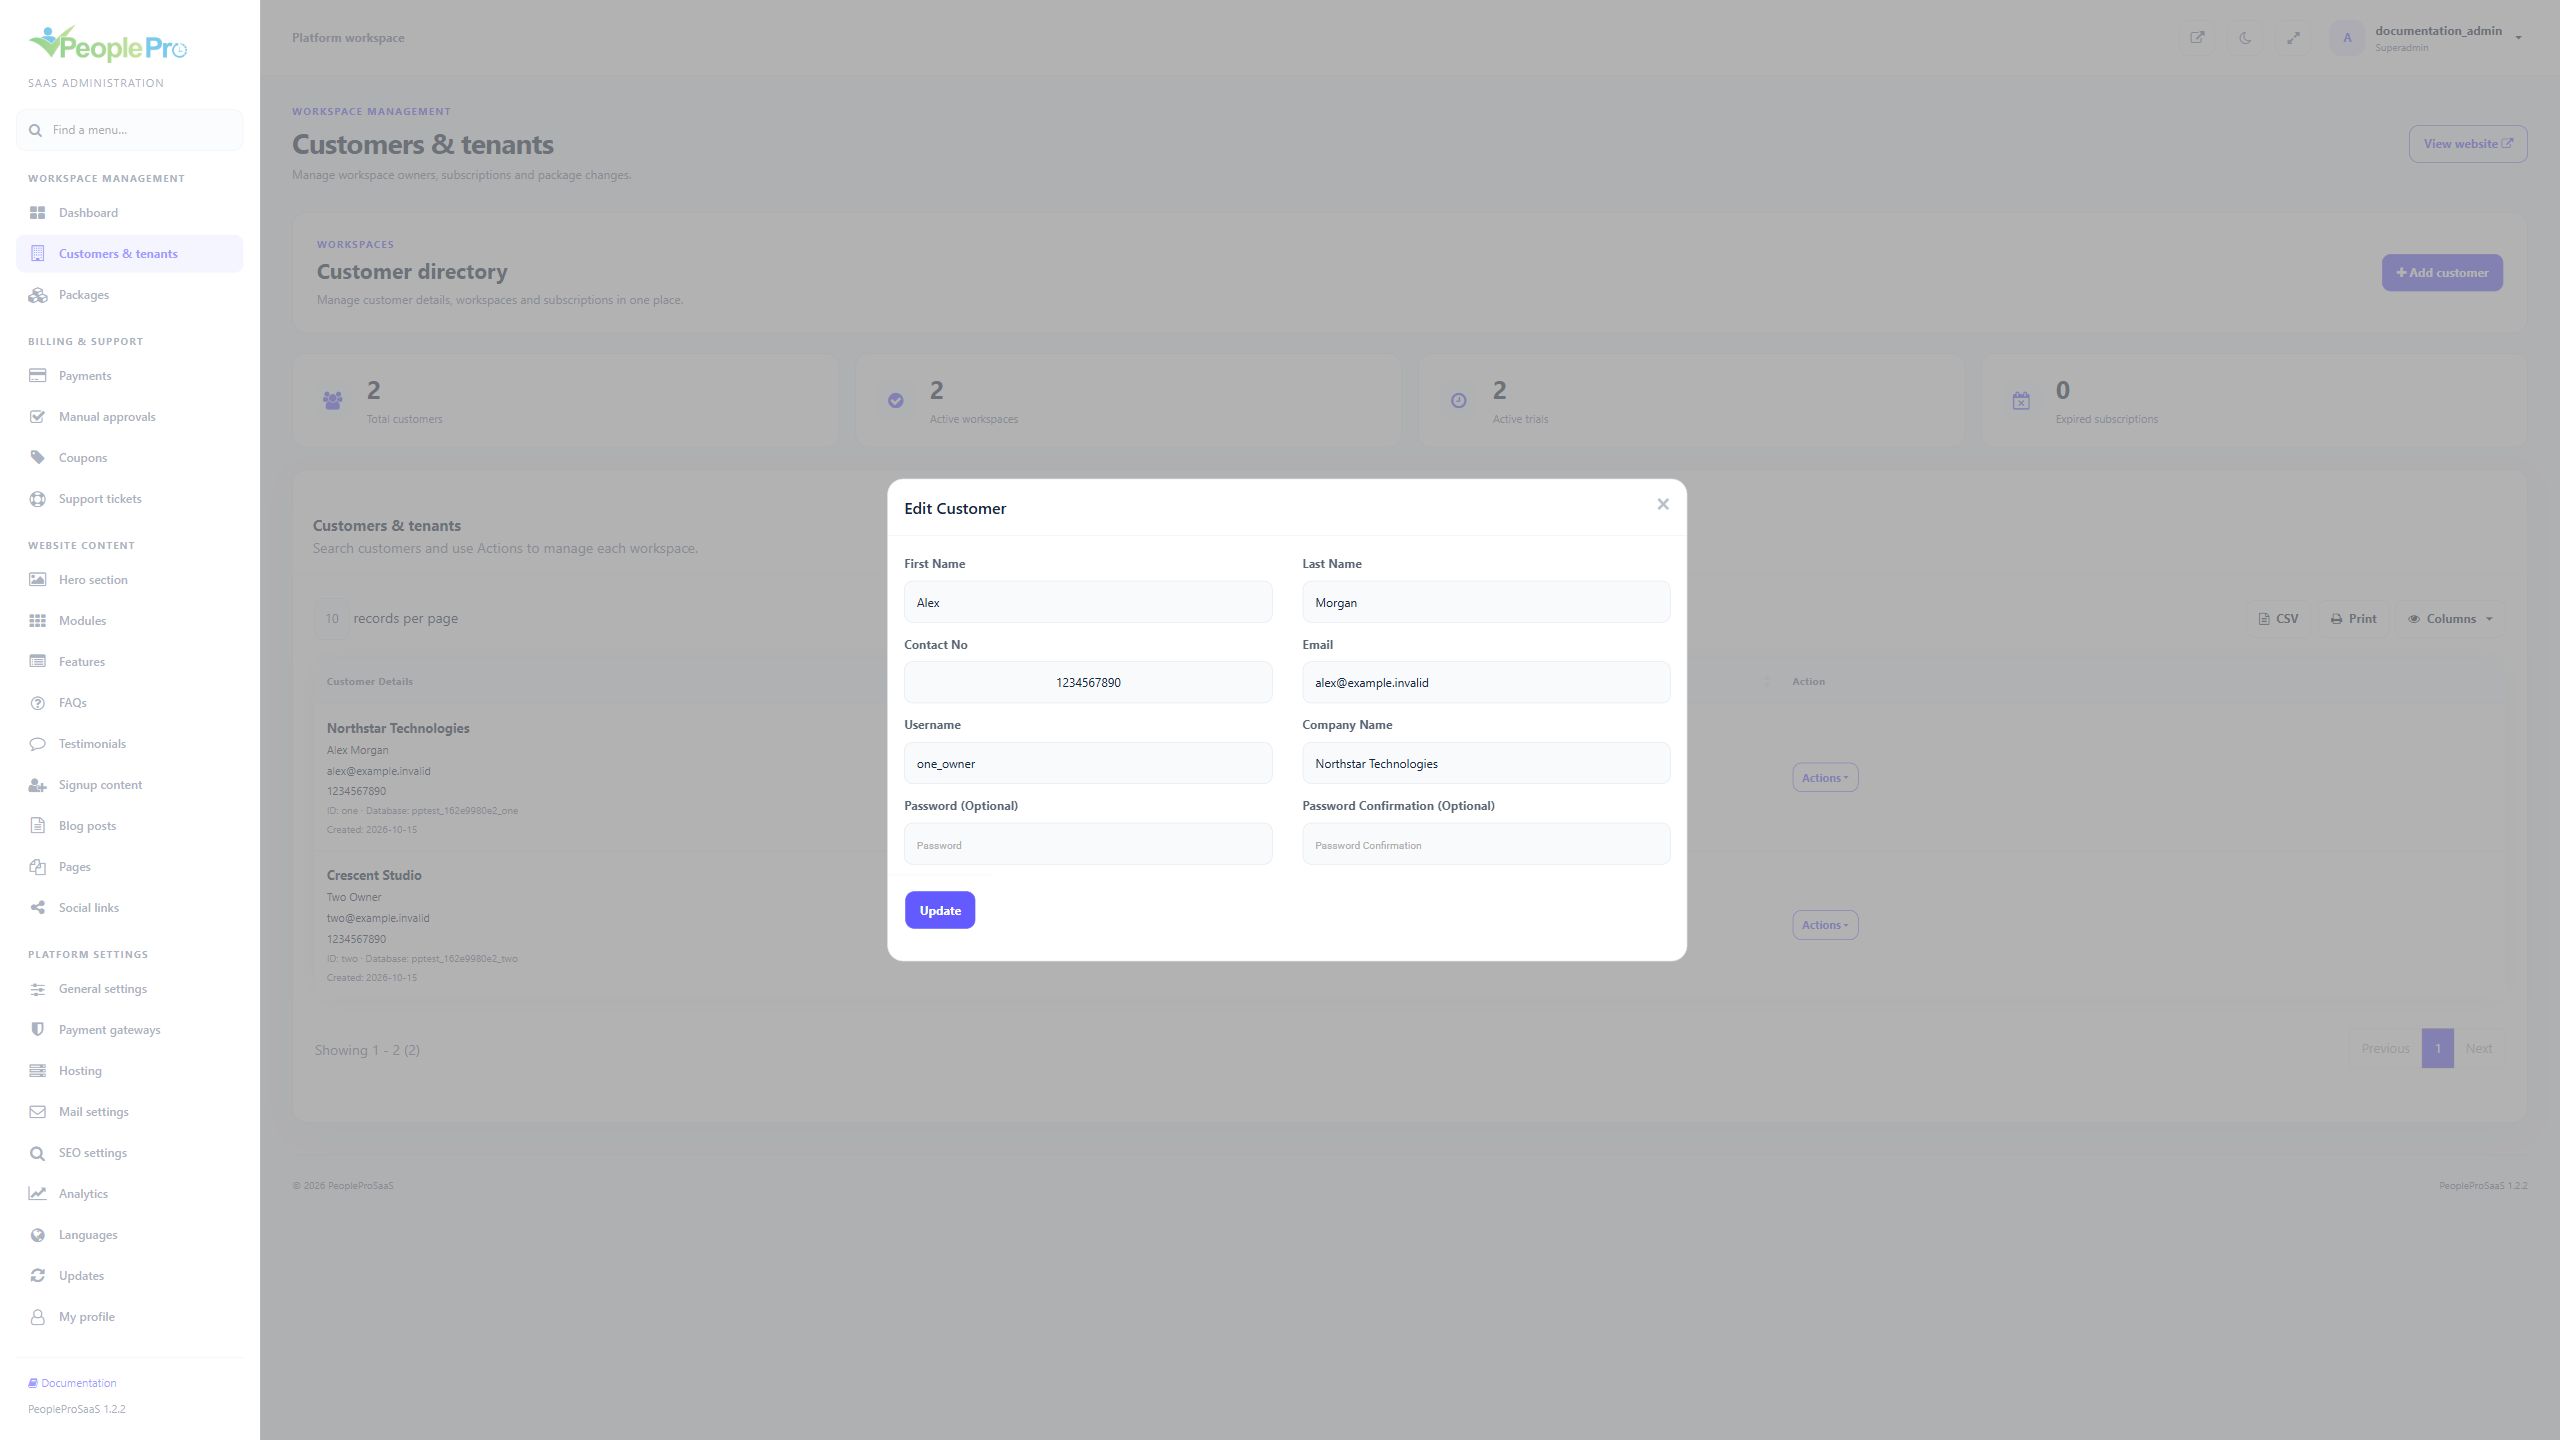
Choose Actions > Edit customer. Update the first name, last name, contact number, email, username or company name offered by the form. The password fields are optional and should be left blank when you are only changing contact information. Review the values and select Update. Use the dedicated password action when you need to choose an active administrator inside a tenant workspace.
Choose Actions > Login as tenant when you need to help the customer inside their workspace. The application opens the registered tenant domain with a short-lived, single-use administrator handoff. It does not display the customer password. The workspace must be active and its domain must resolve to the application. Work only in the intended customer workspace and sign out when the support task is finished.
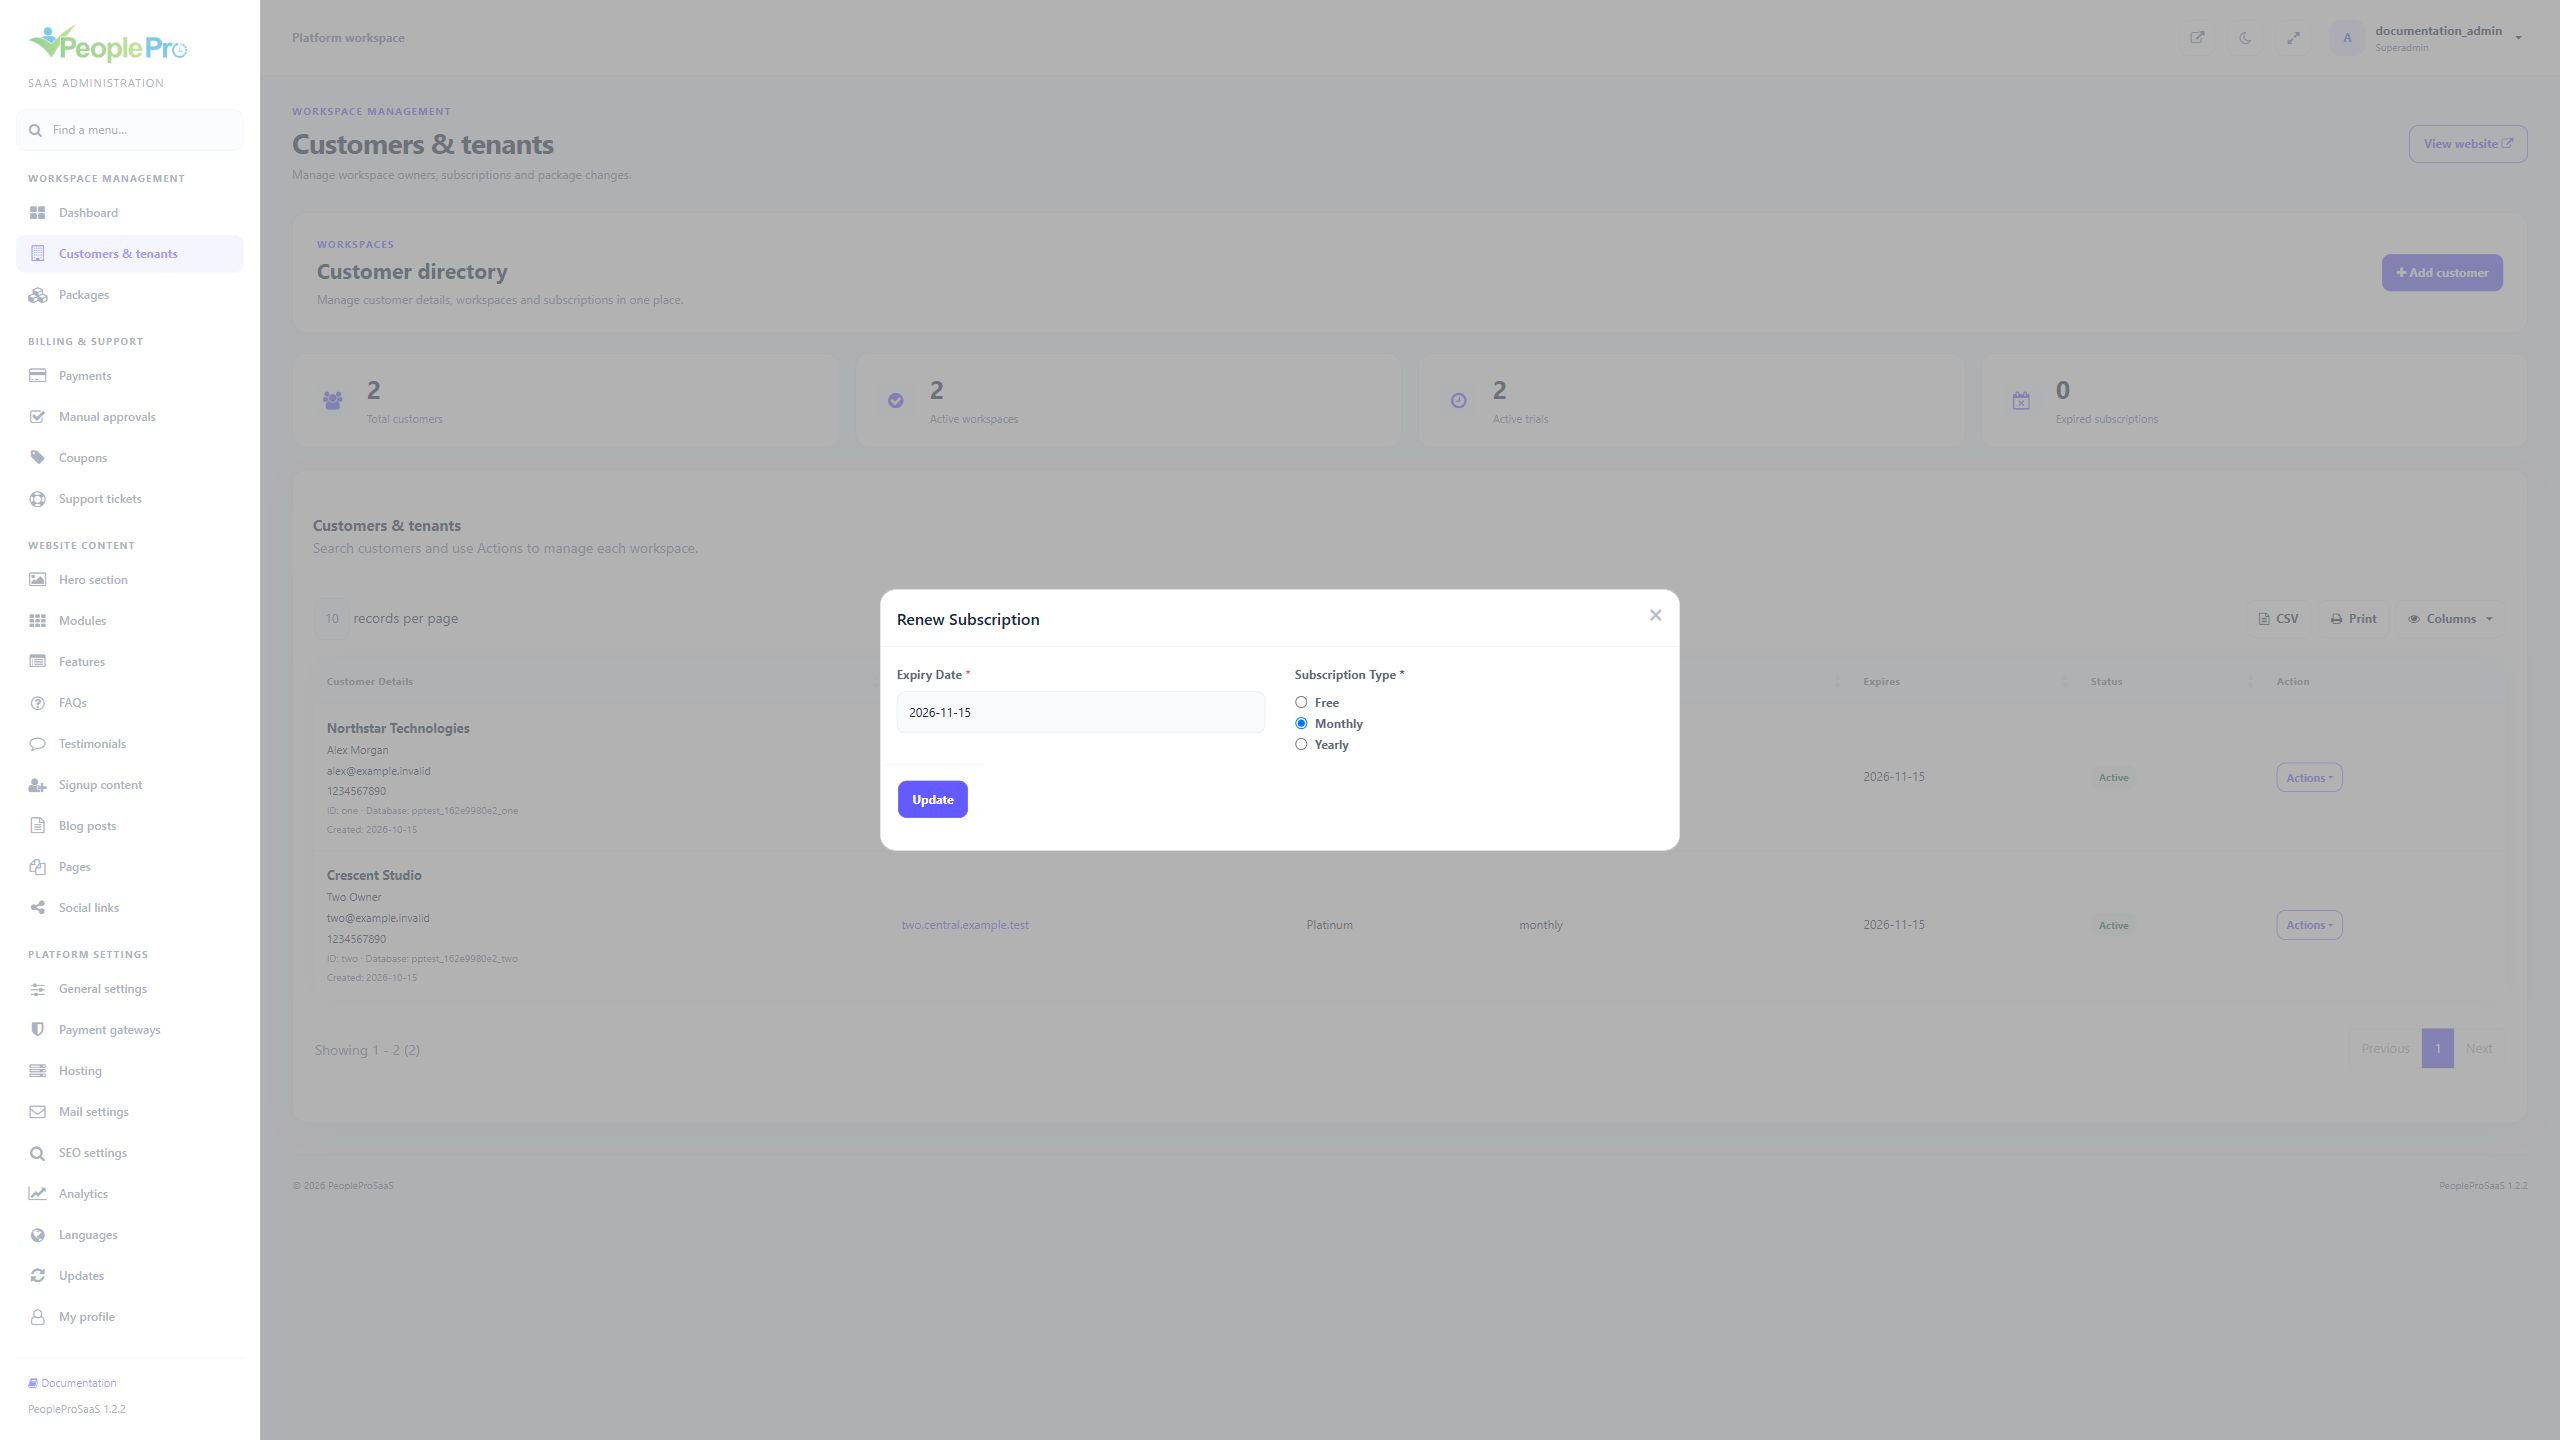
Choose Actions > Renew subscription. Set the intended Expiry Date and Subscription Type, then select Update. This changes the subscription schedule administratively. It does not by itself prove that an external payment was collected. Use the payment records and your own billing process to confirm the customer payment before extending paid service.
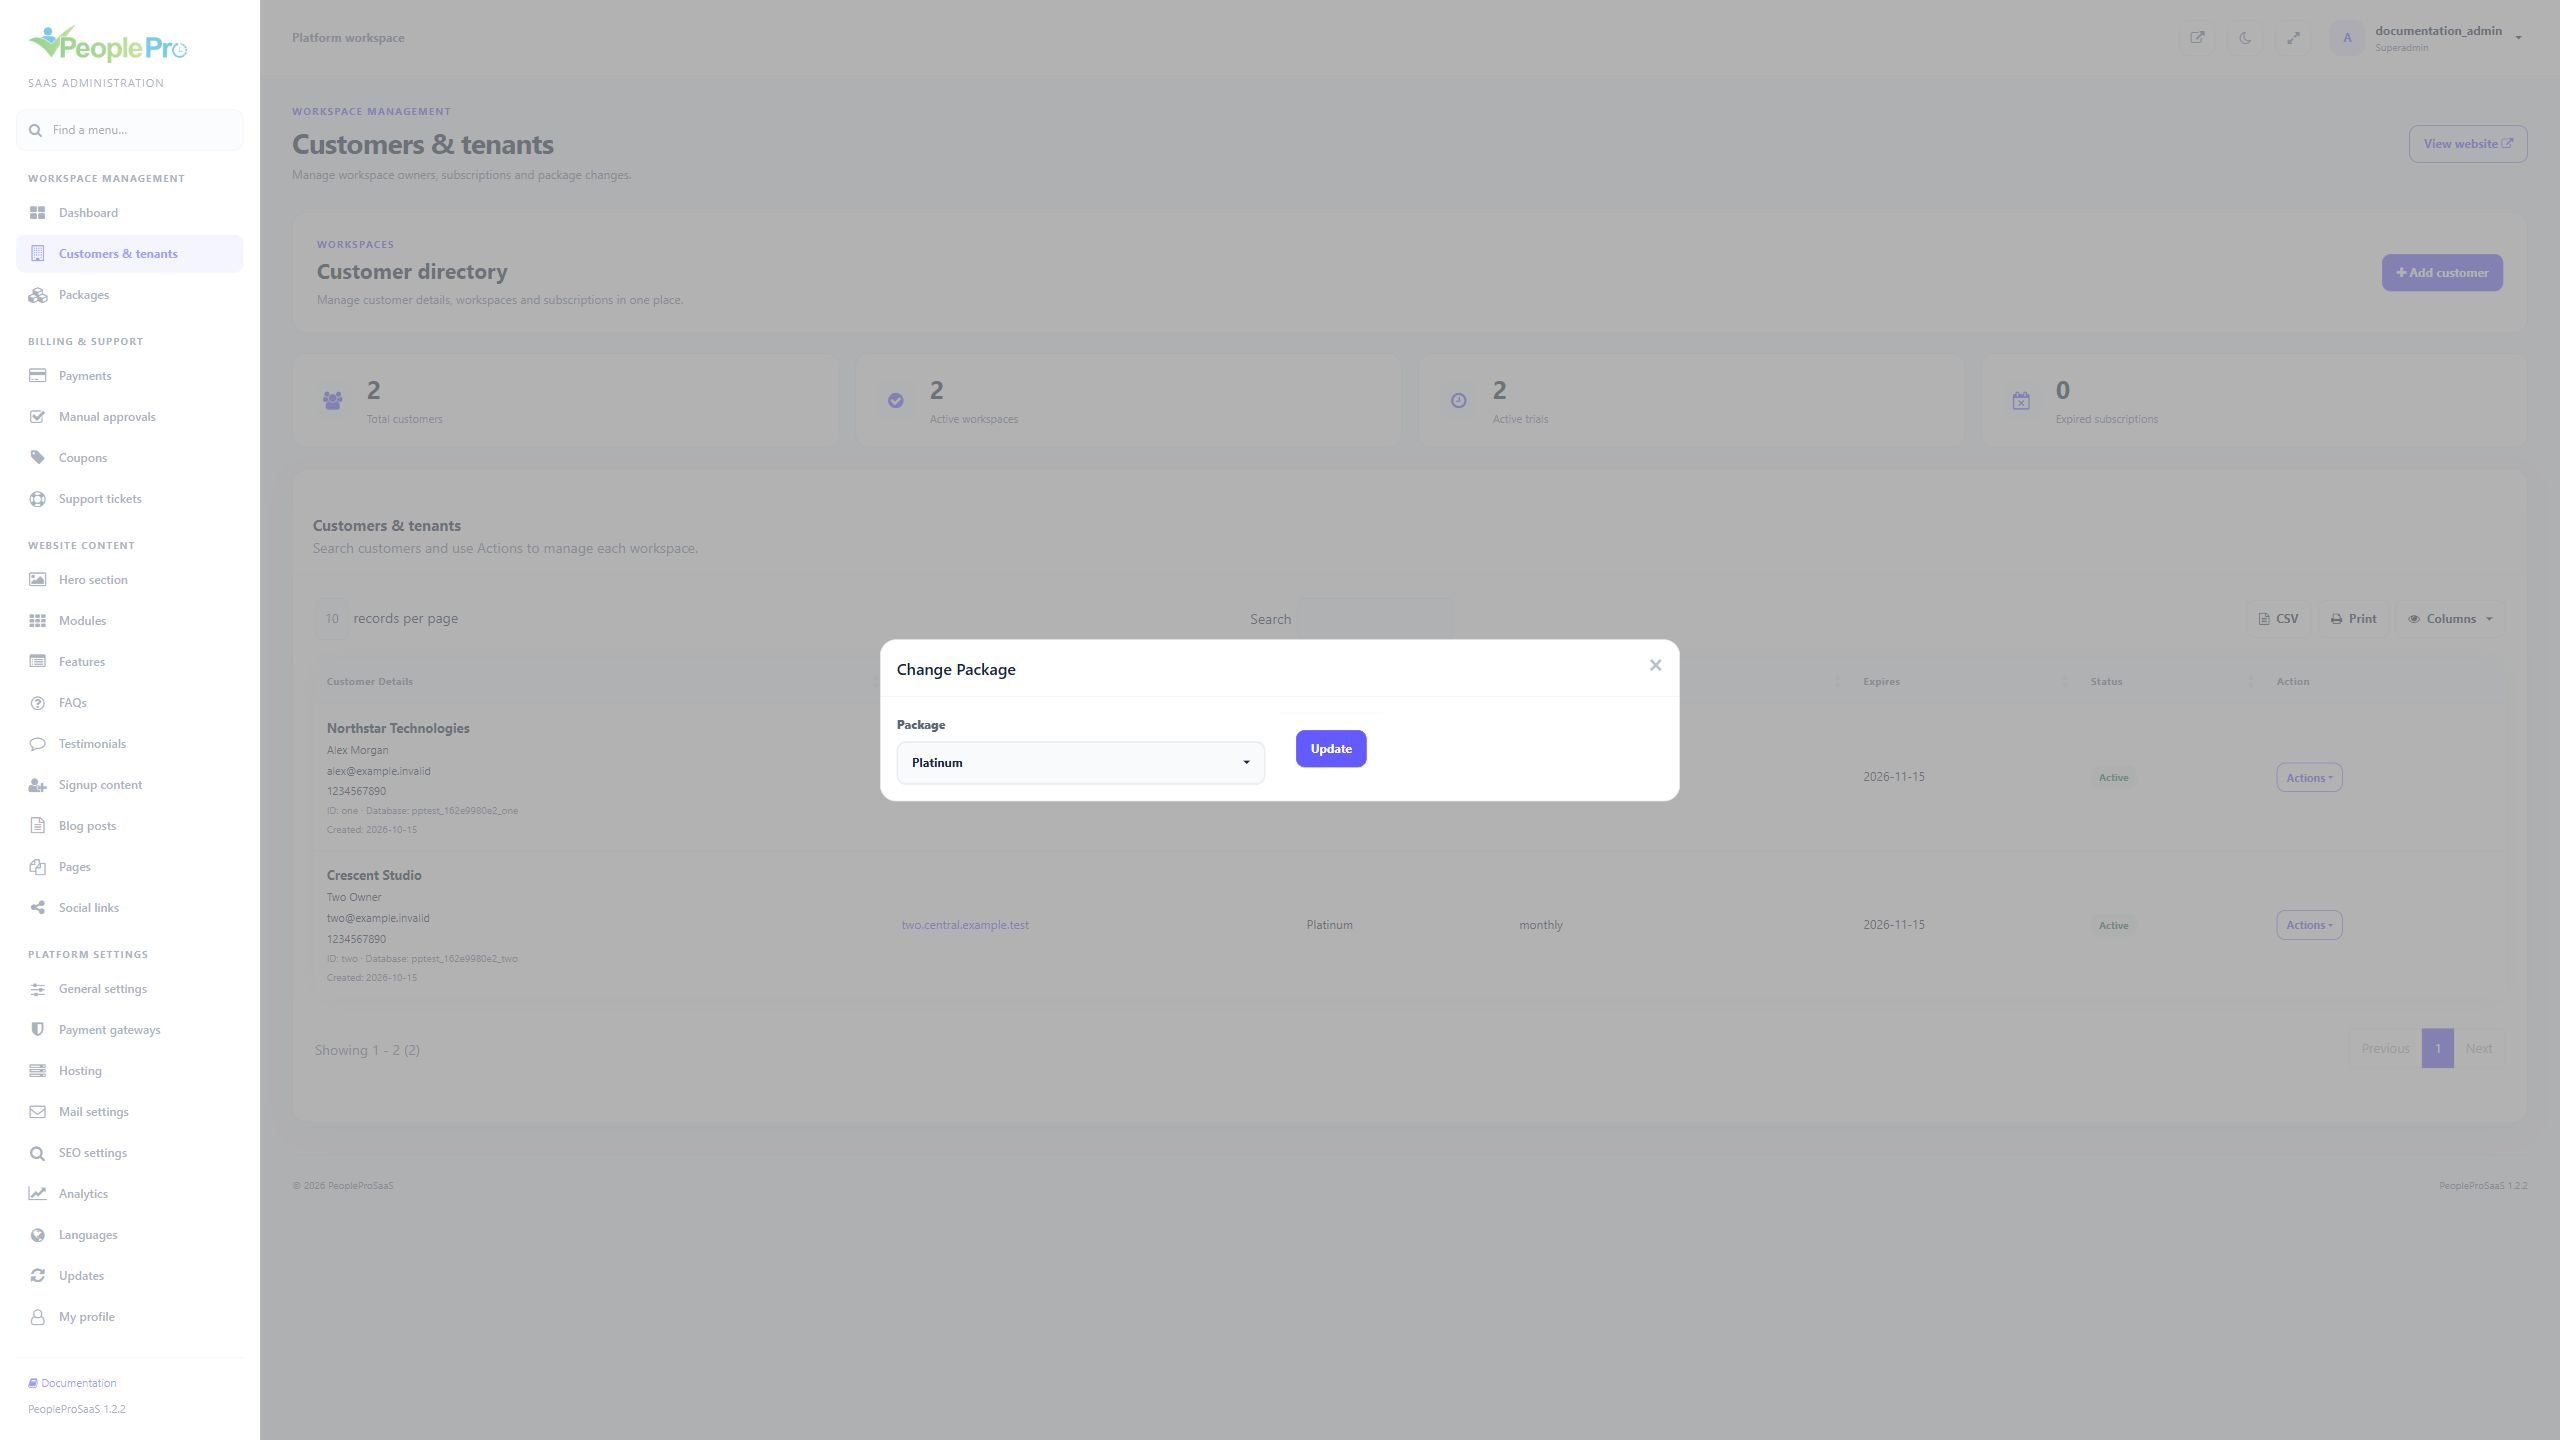
Choose Actions > Change package, select the new package and update. Review the new package user limit, employee limit and included modules before applying it. A package is the upper limit of available features; tenant roles can restrict access further. Check the customer workspace after the change, especially when removing modules or moving to a smaller team limit.
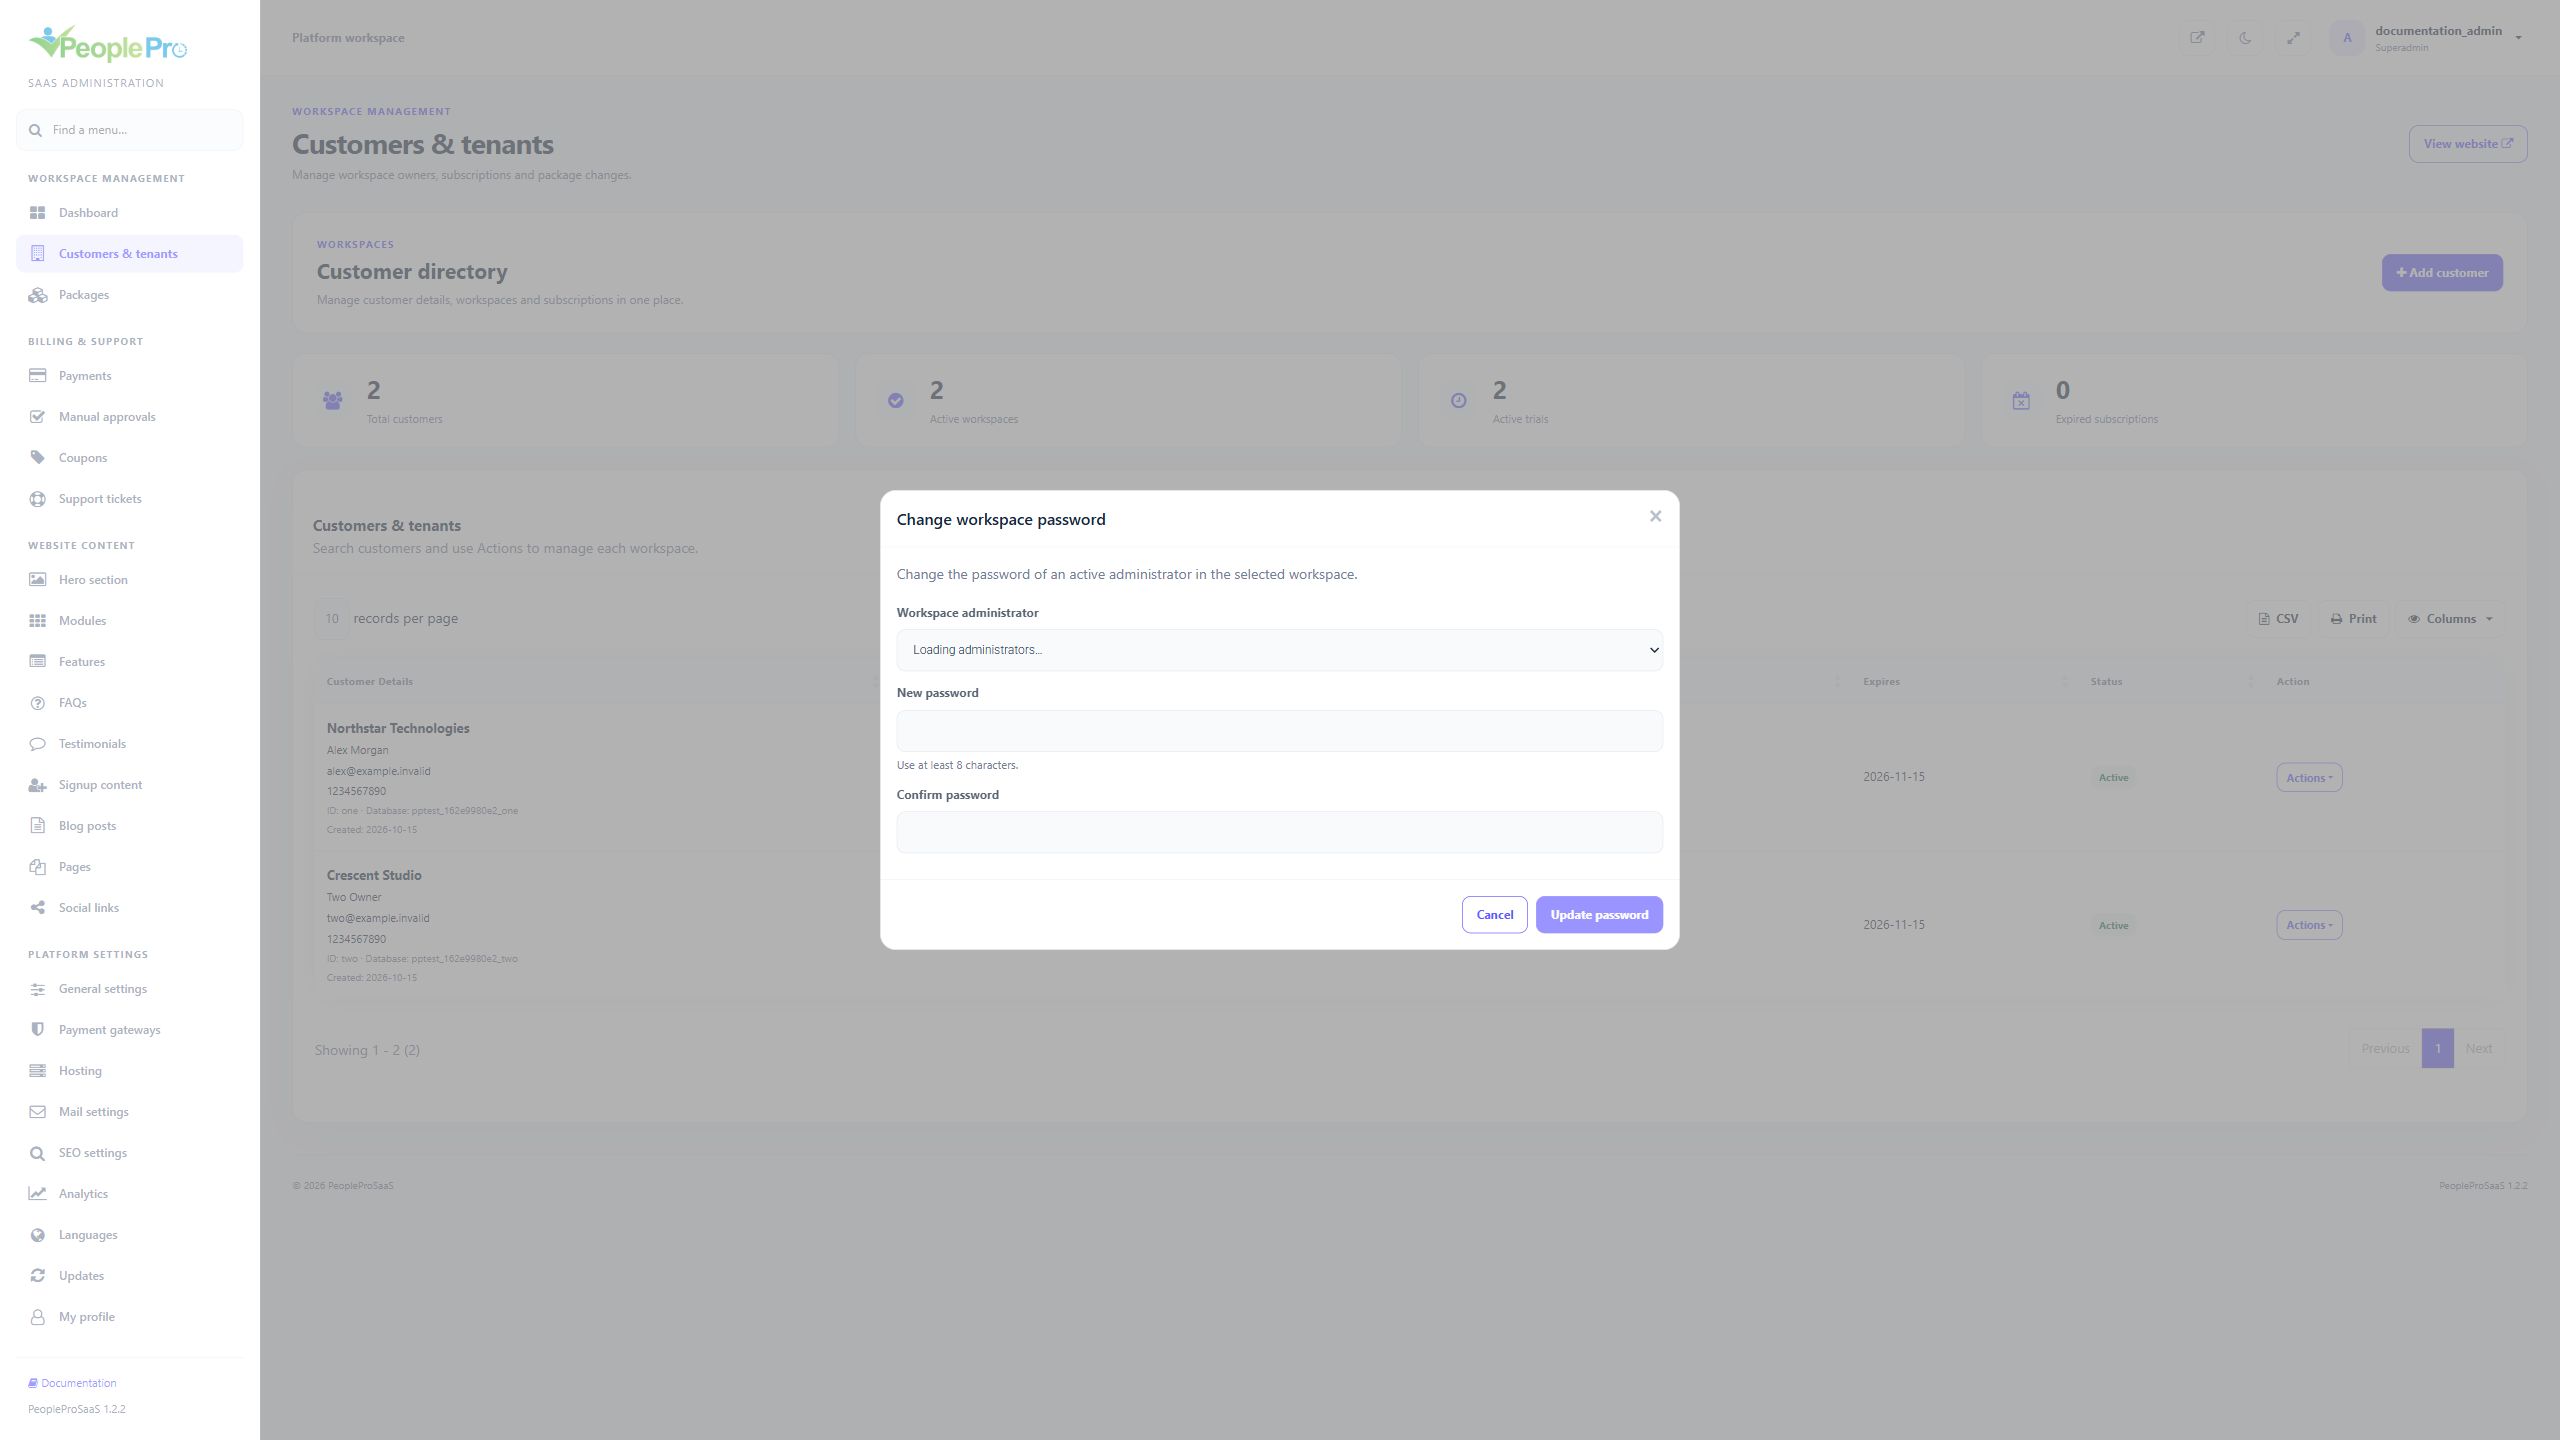
Choose Actions > Change password. Select the active workspace administrator whose password needs changing, then enter the new password and repeat it in Confirm password. Use at least eight characters and choose a strong password. Submit only after checking the selected organization and administrator. This resets a tenant account password; it is different from changing your own platform password.
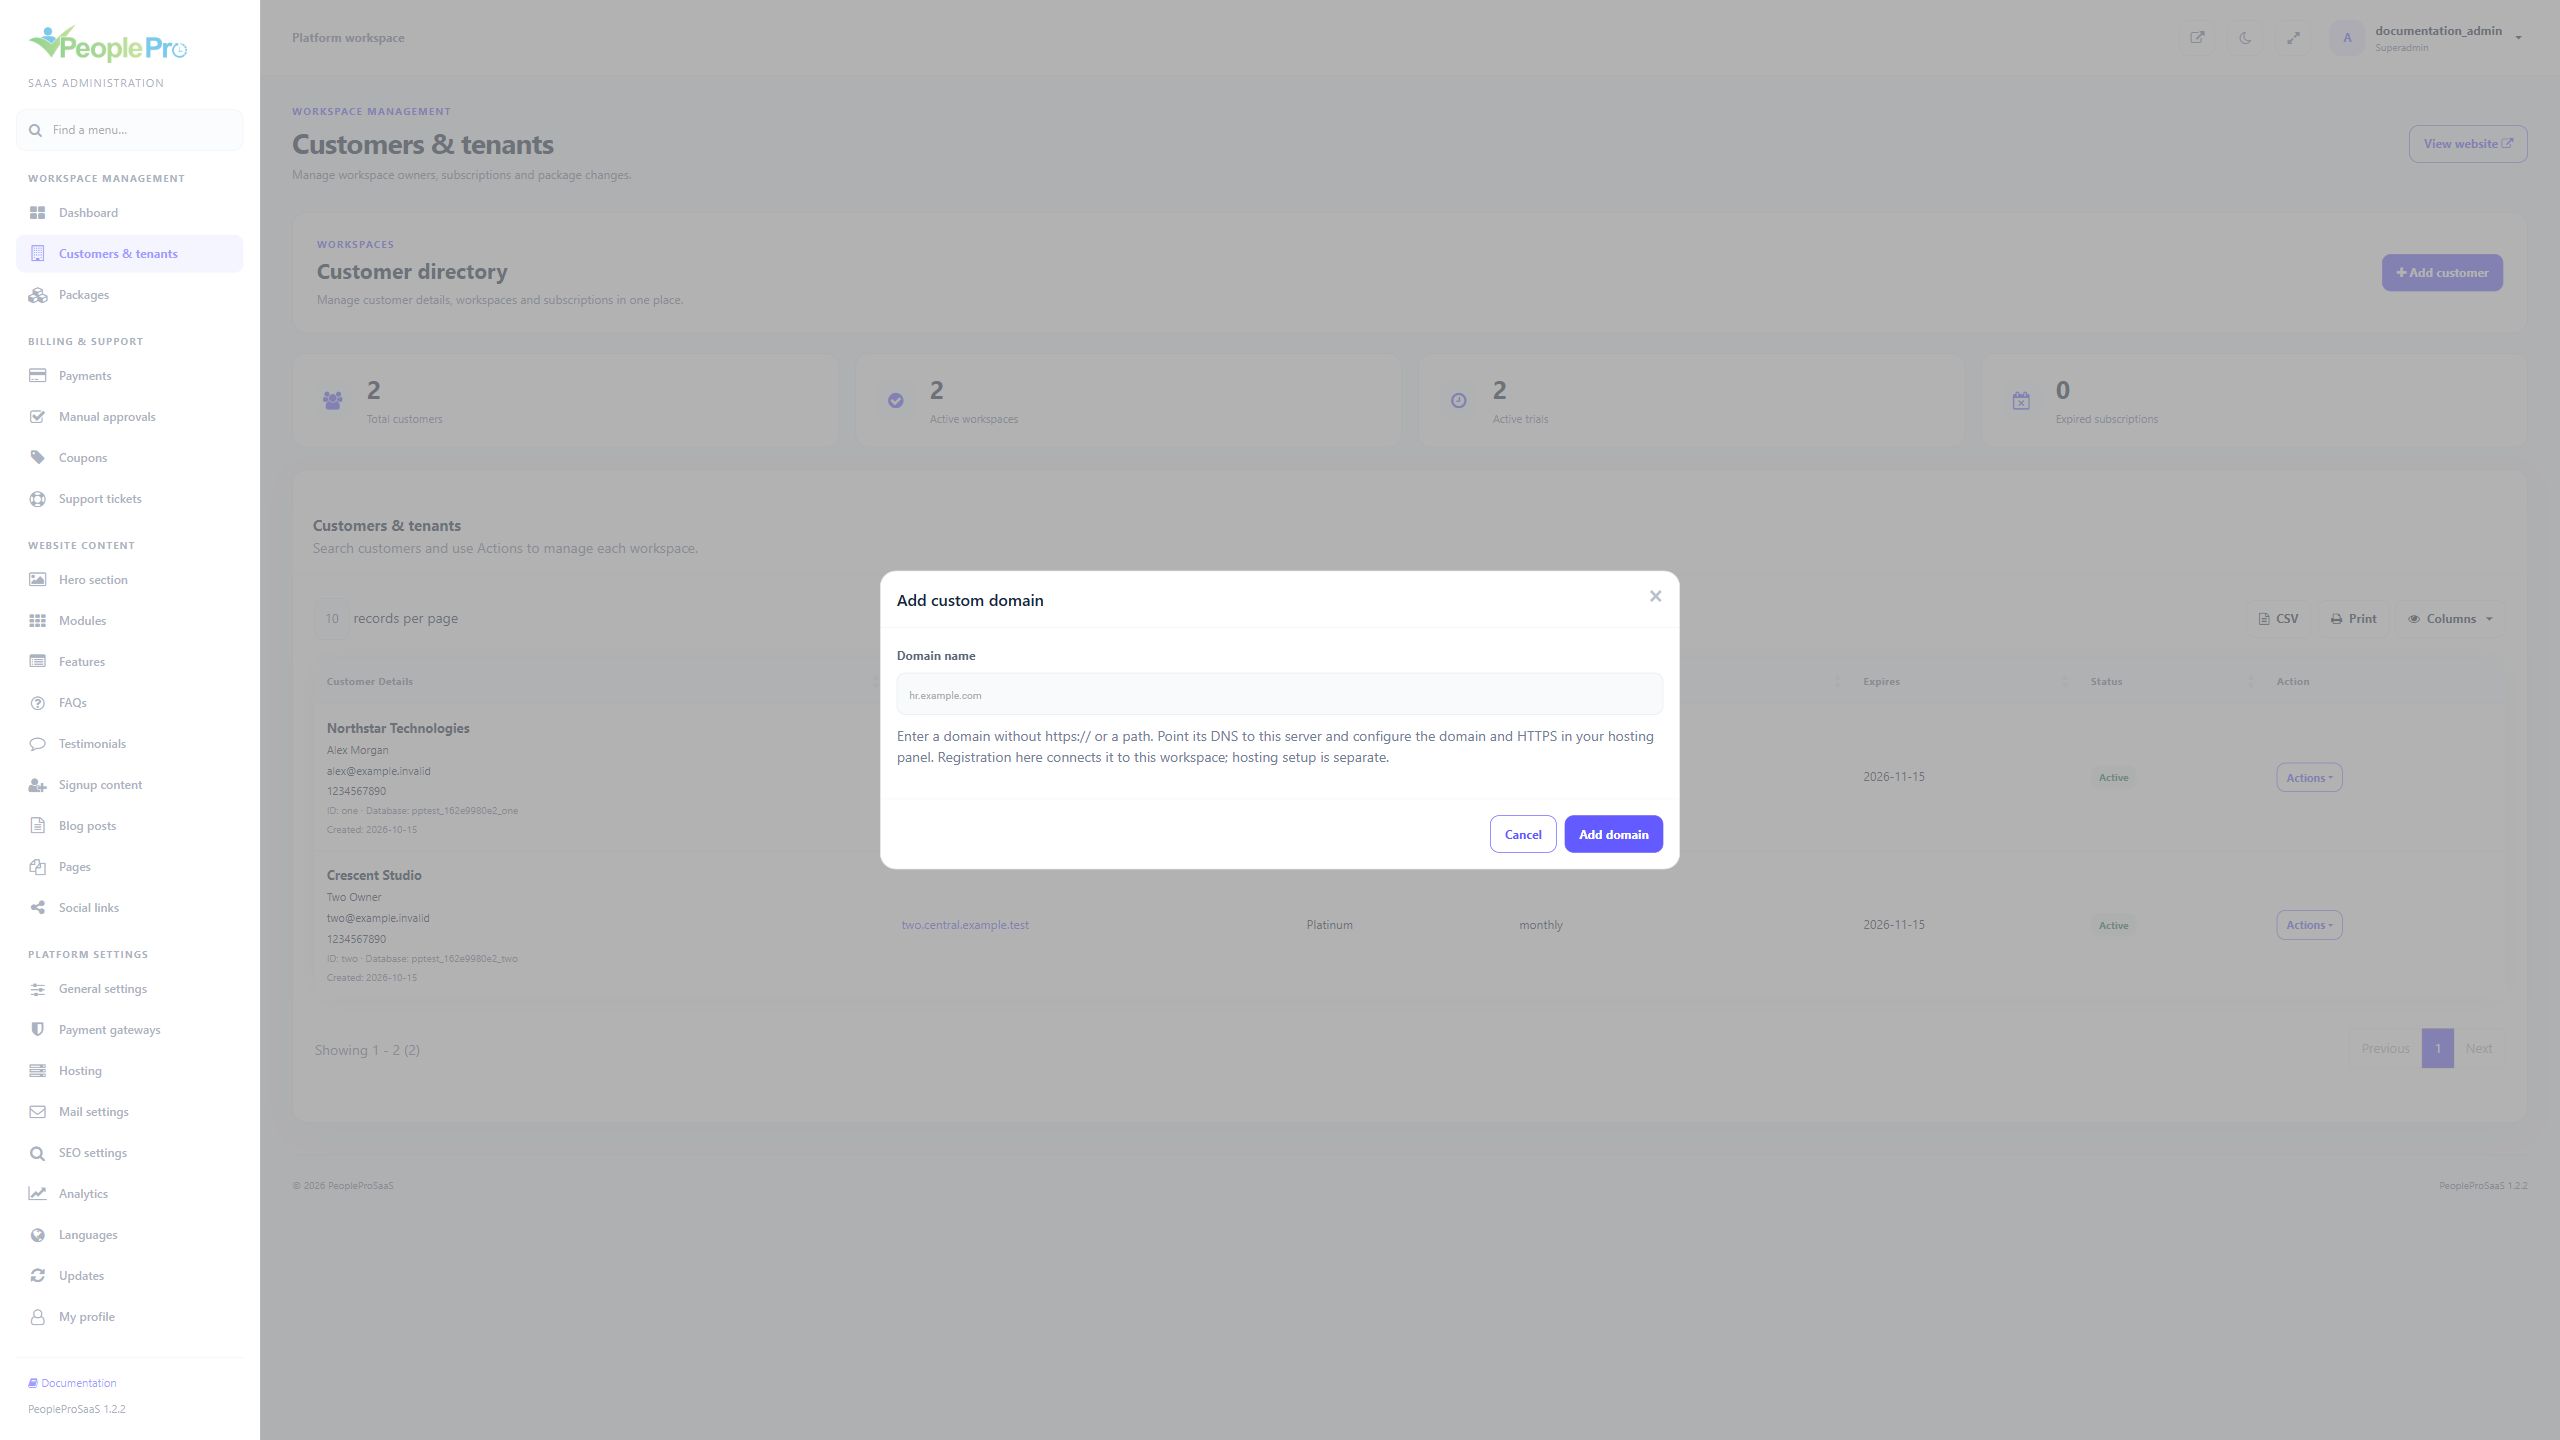
Choose Actions > Add custom domain and enter the domain without https:// or a path, for example hr.customer-example.com. Add the domain to the intended workspace. Separately point its DNS to your server, configure the hosting domain to use the application public directory and enable HTTPS. Registration in the panel links the hostname to that customer; it does not change DNS or issue its certificate.
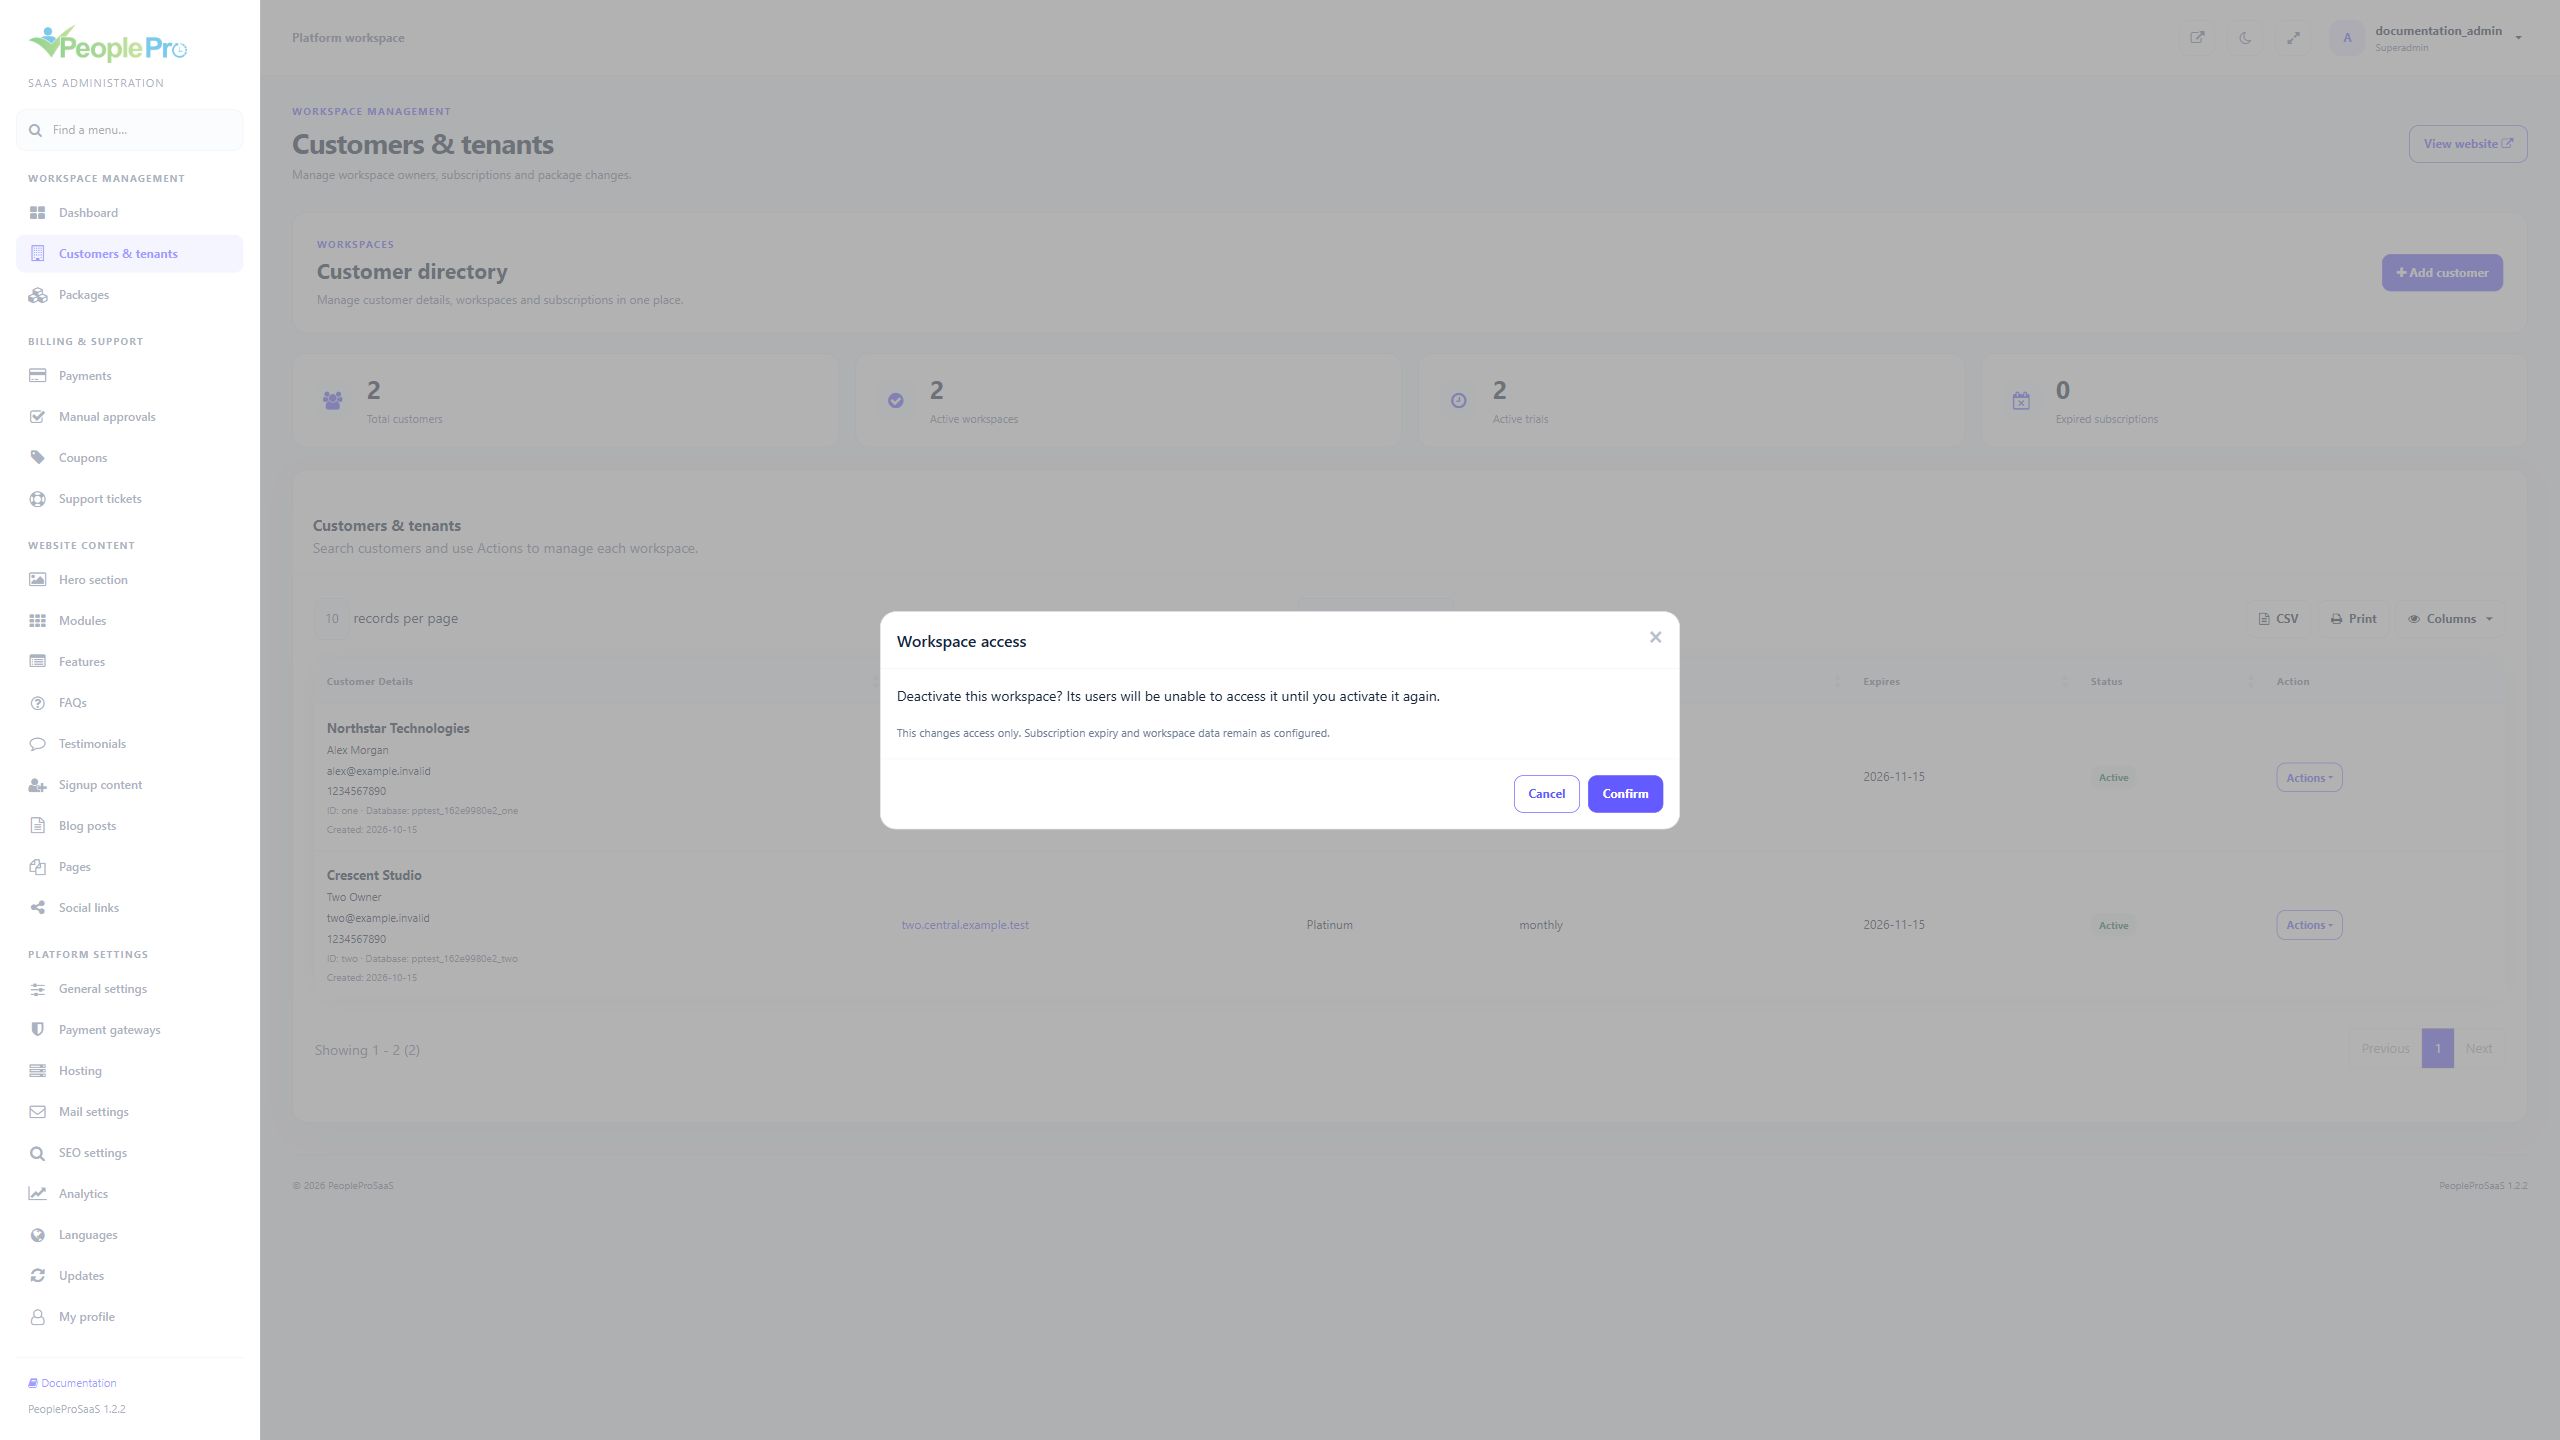
Use Deactivate to pause a workspace account, or Activate to restore account access. Read the confirmation for the selected customer. This changes the active status without rewriting its expiry date or clearing its HR records. A workspace can still be blocked by an expired subscription after reactivation; review both status and expiry when restoring service.
Use Delete only when you intend to remove a workspace, and check its identity and recoverable backups before confirming. Deactivate is suitable when access only needs to be paused. Deletion can remove a database managed by SaaS; a previously attached unmanaged database remains protected from database deletion. New addon setup does not automatically attach an existing database. Do not delete a workspace merely to correct a package, password or contact detail.
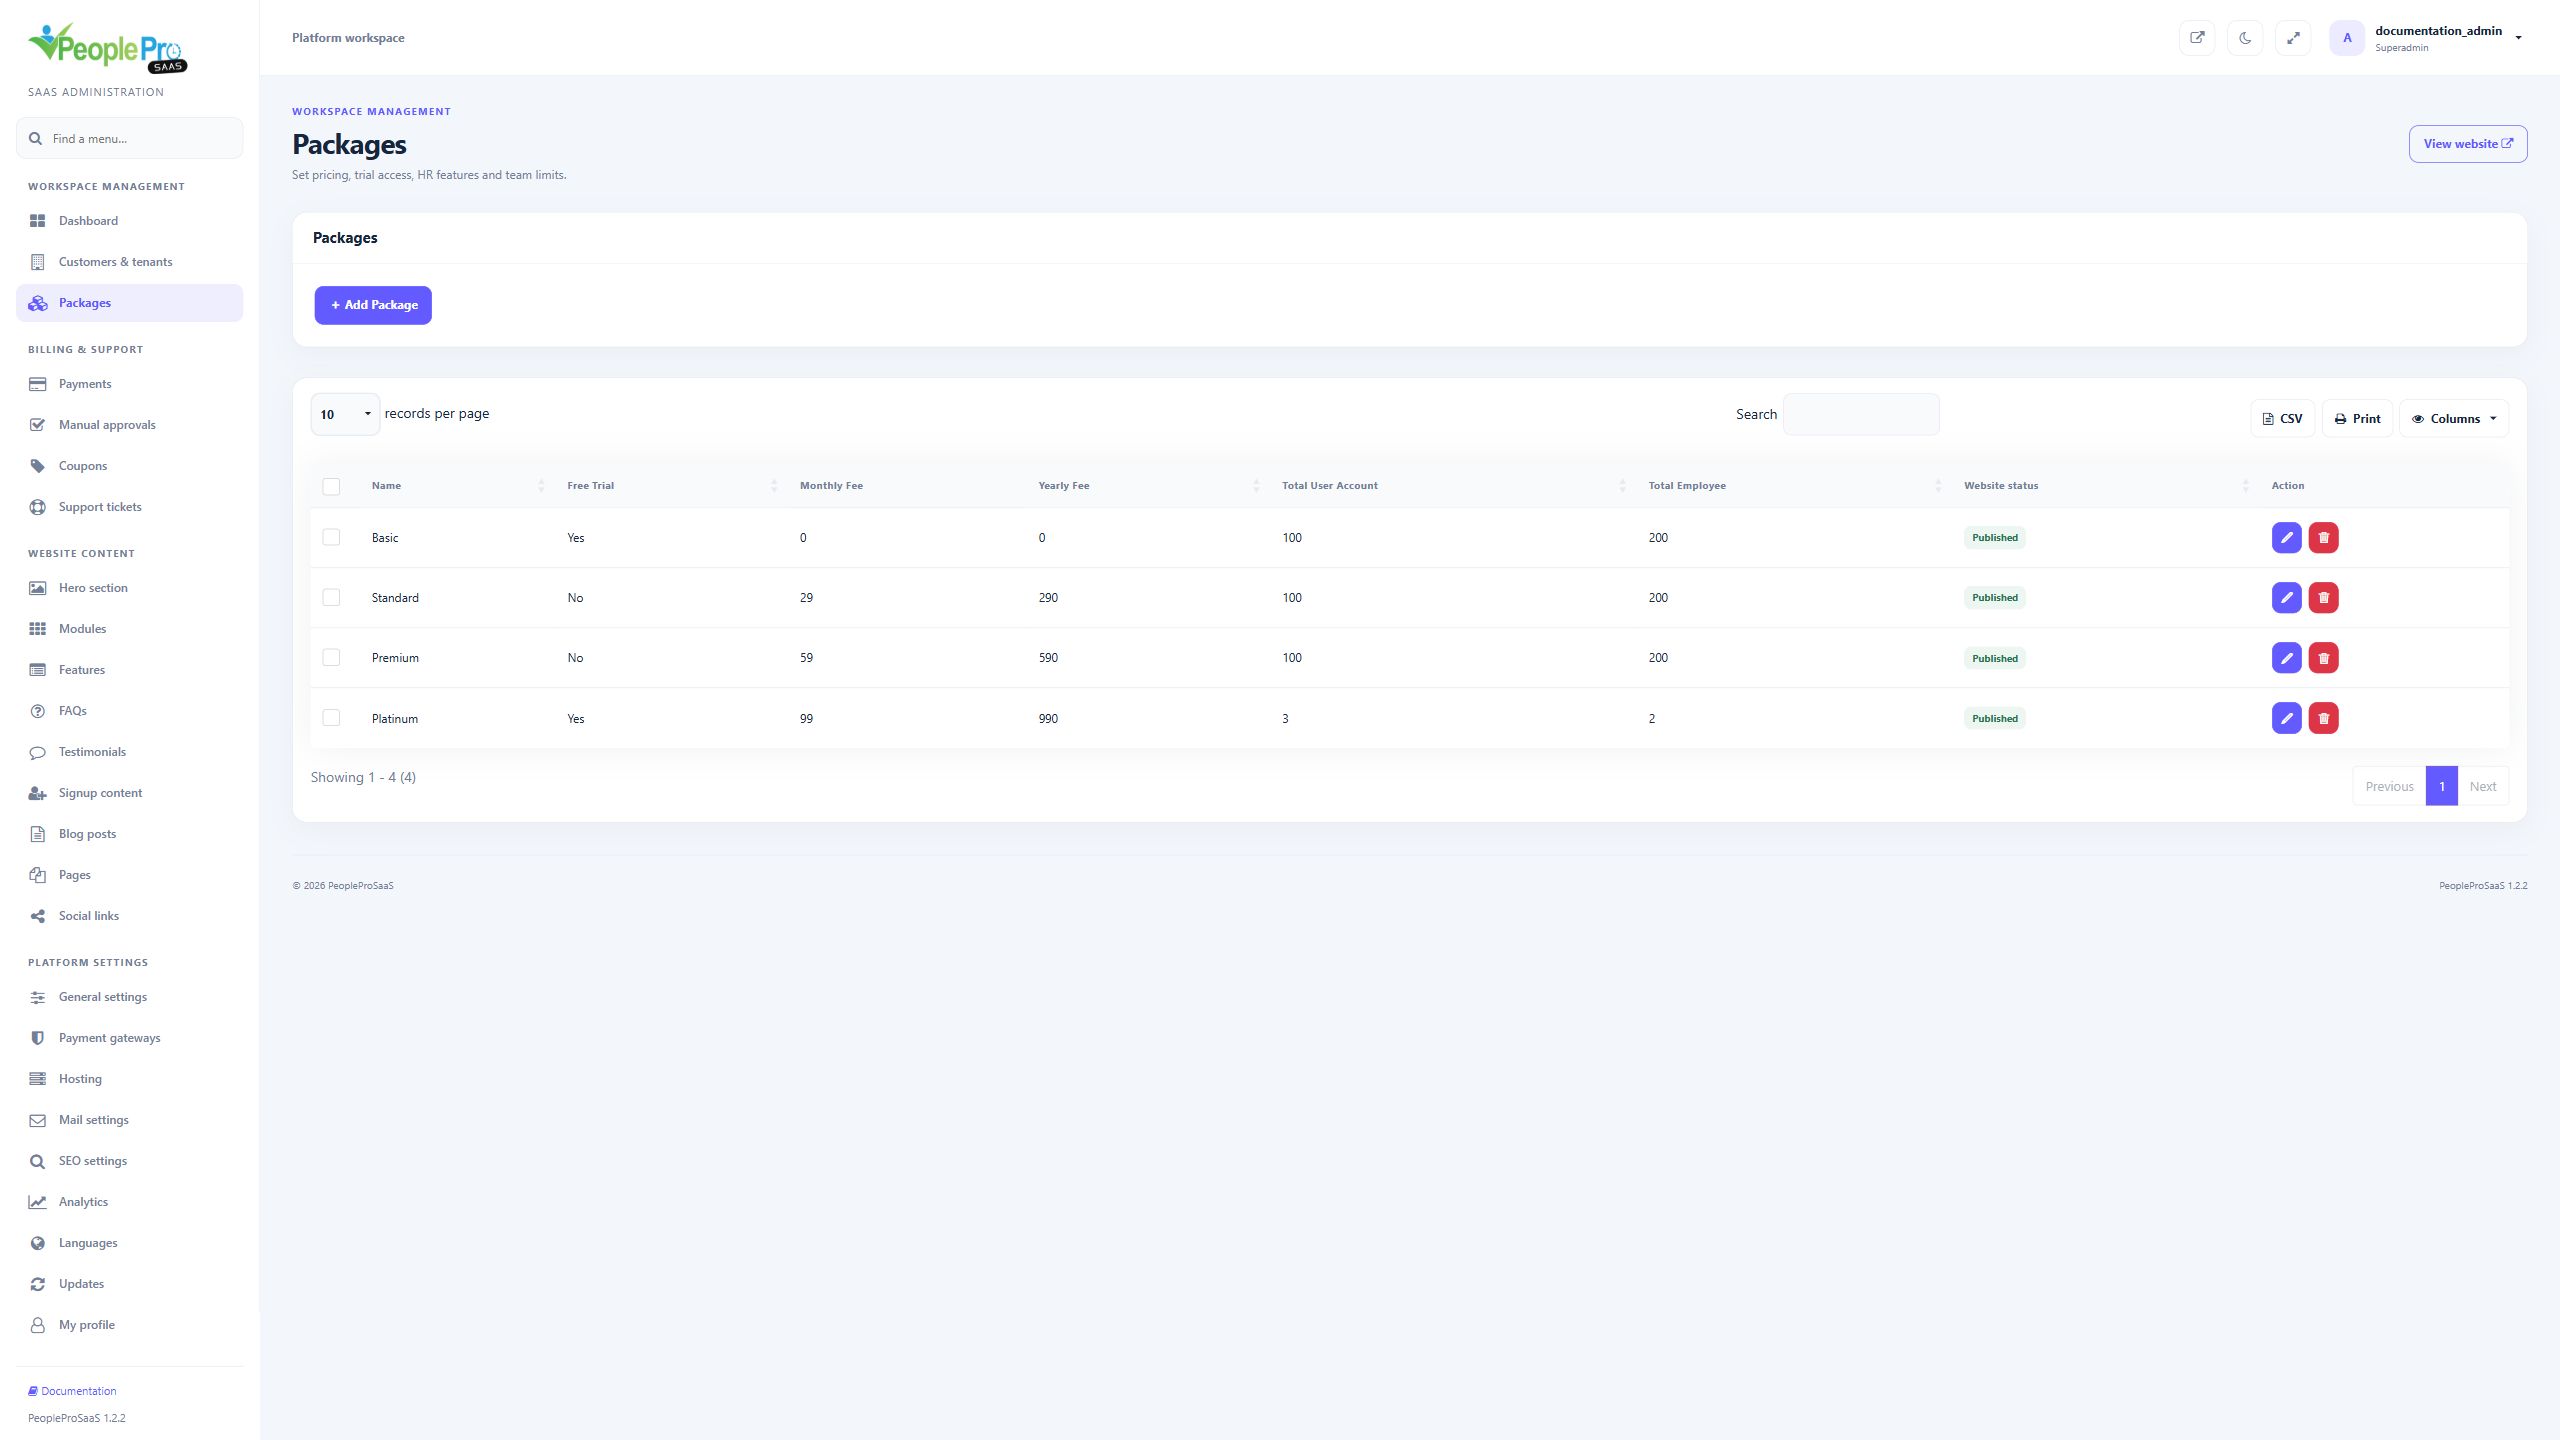
Open Packages to maintain the plans shown to customers. Search the list and review the monthly and yearly prices, account and employee limits, trial setting and website visibility. Use Edit for an existing package or Add Package for a new one. Package names are your own product names, such as Basic or Premium; the screenshots show example prices only.
Enter a clear package name, monthly fee and yearly fee. Set the maximum user accounts and employees. Use zero for unlimited access to the corresponding count; the public page identifies those limits as Unlimited rather than showing zero employees. User accounts and employee records are separate limits. Choose the included feature groups and save after checking the full combination of price, limits and features.
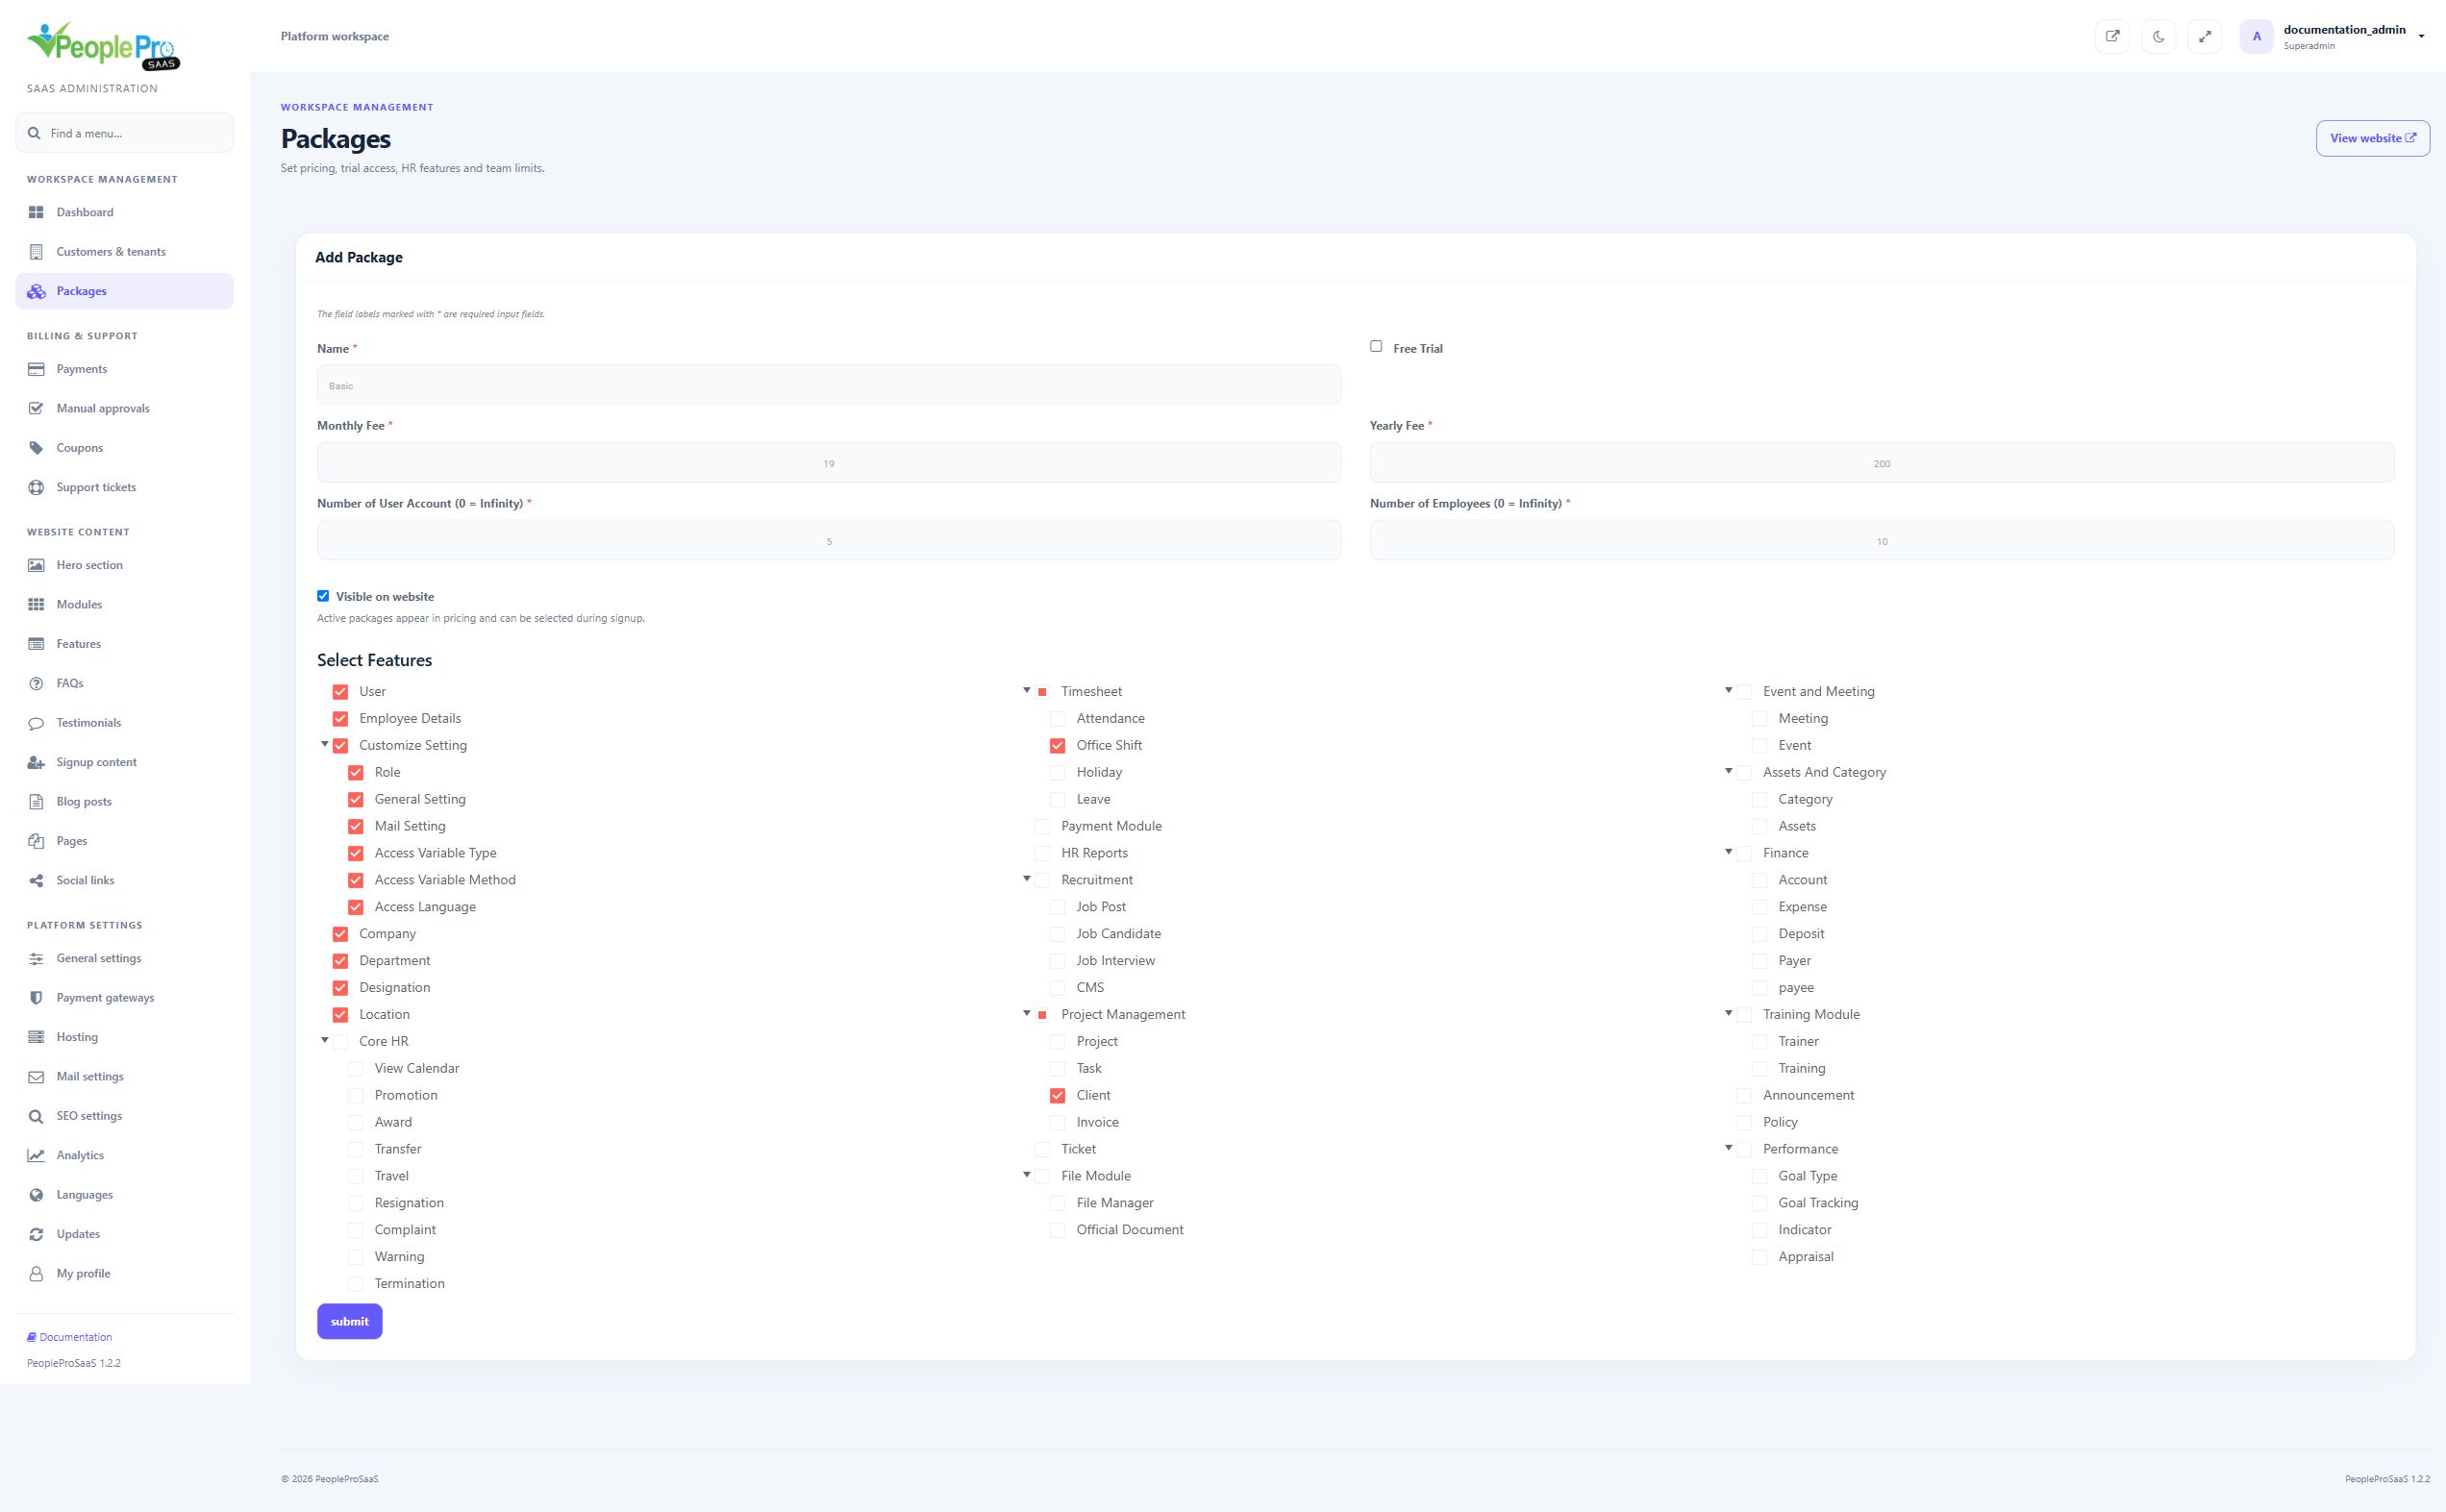
Use Select Features to choose the modules and their subgroups. Full group names identify areas such as Customize Setting, Timesheet, HR Reports, Finance and Performance. Expanding a group lets you review its smaller areas. Selecting a group selects its children. A customer role cannot enable a feature excluded from the subscription package, including for tenant administrators. Choose a package that includes the modules the customer actually needs.
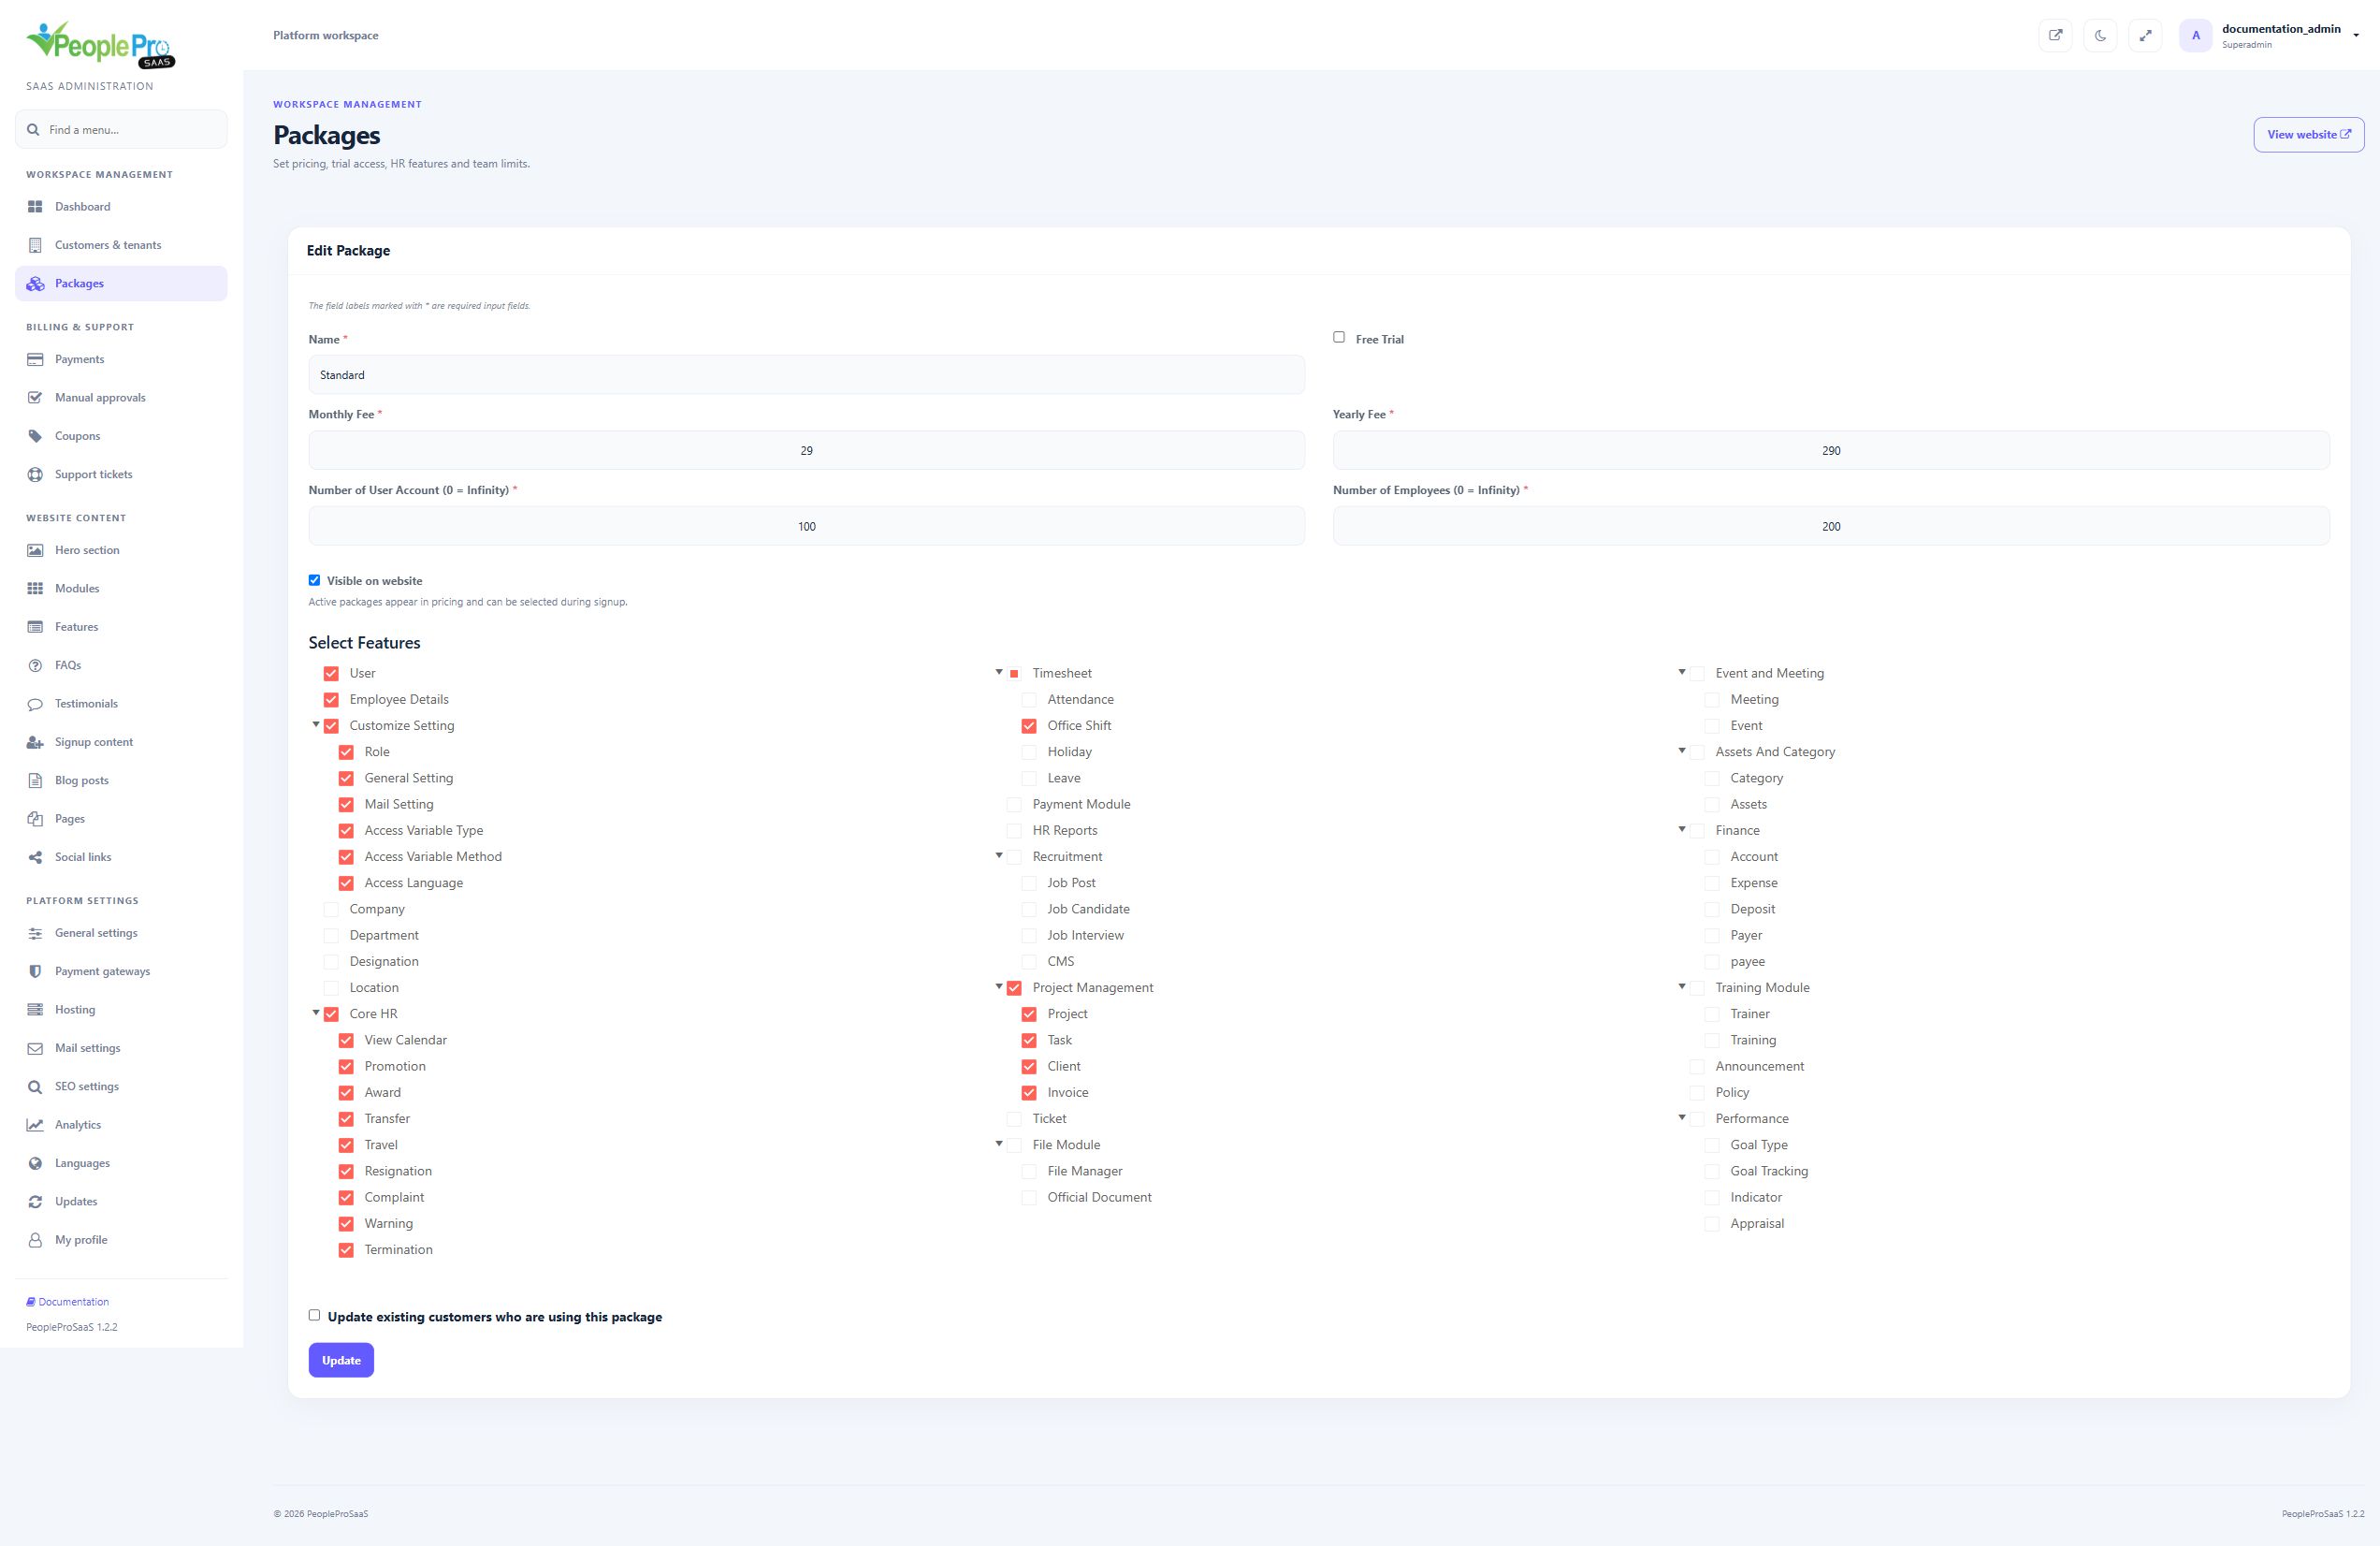
Enable Free Trial only for a package that should provide trial access. The duration comes from General settings > Free Trial Limit, expressed in days. The public pricing card shows the configured monthly or yearly subscription price and a separate free-trial badge. The signup summary explains the free trial before the workspace is created. A trial is time-limited access; it does not automatically charge the displayed subscription fee. Customers choose an appropriate paid plan to continue afterward.
Use Visible on website to control whether a package appears in public pricing and can be selected during signup. Saving an existing package preserves its visibility unless you change that setting. Review the homepage after saving. Hiding a package is different from deactivating a customer workspace; inspect existing subscriptions before removing a plan from your catalogue.
When the editor offers Update existing customers who are using this package, decide whether the change should also reach those customers. Review the impact on limits and modules before selecting it. Existing HR records are separate from the package definition. After changing a live package, check a customer using that package and confirm that the visible modules and creation limits match the intended offer.
Use the delete action on Packages only for a plan you intend to remove, then review the confirmation. A package that still has customer workspaces cannot be removed by this action. Move those customers to an appropriate package through Customers & tenants when retiring a plan. Hiding the old plan from the website can stop new signups while you review existing customers. Do not delete customer workspaces simply to remove a package.
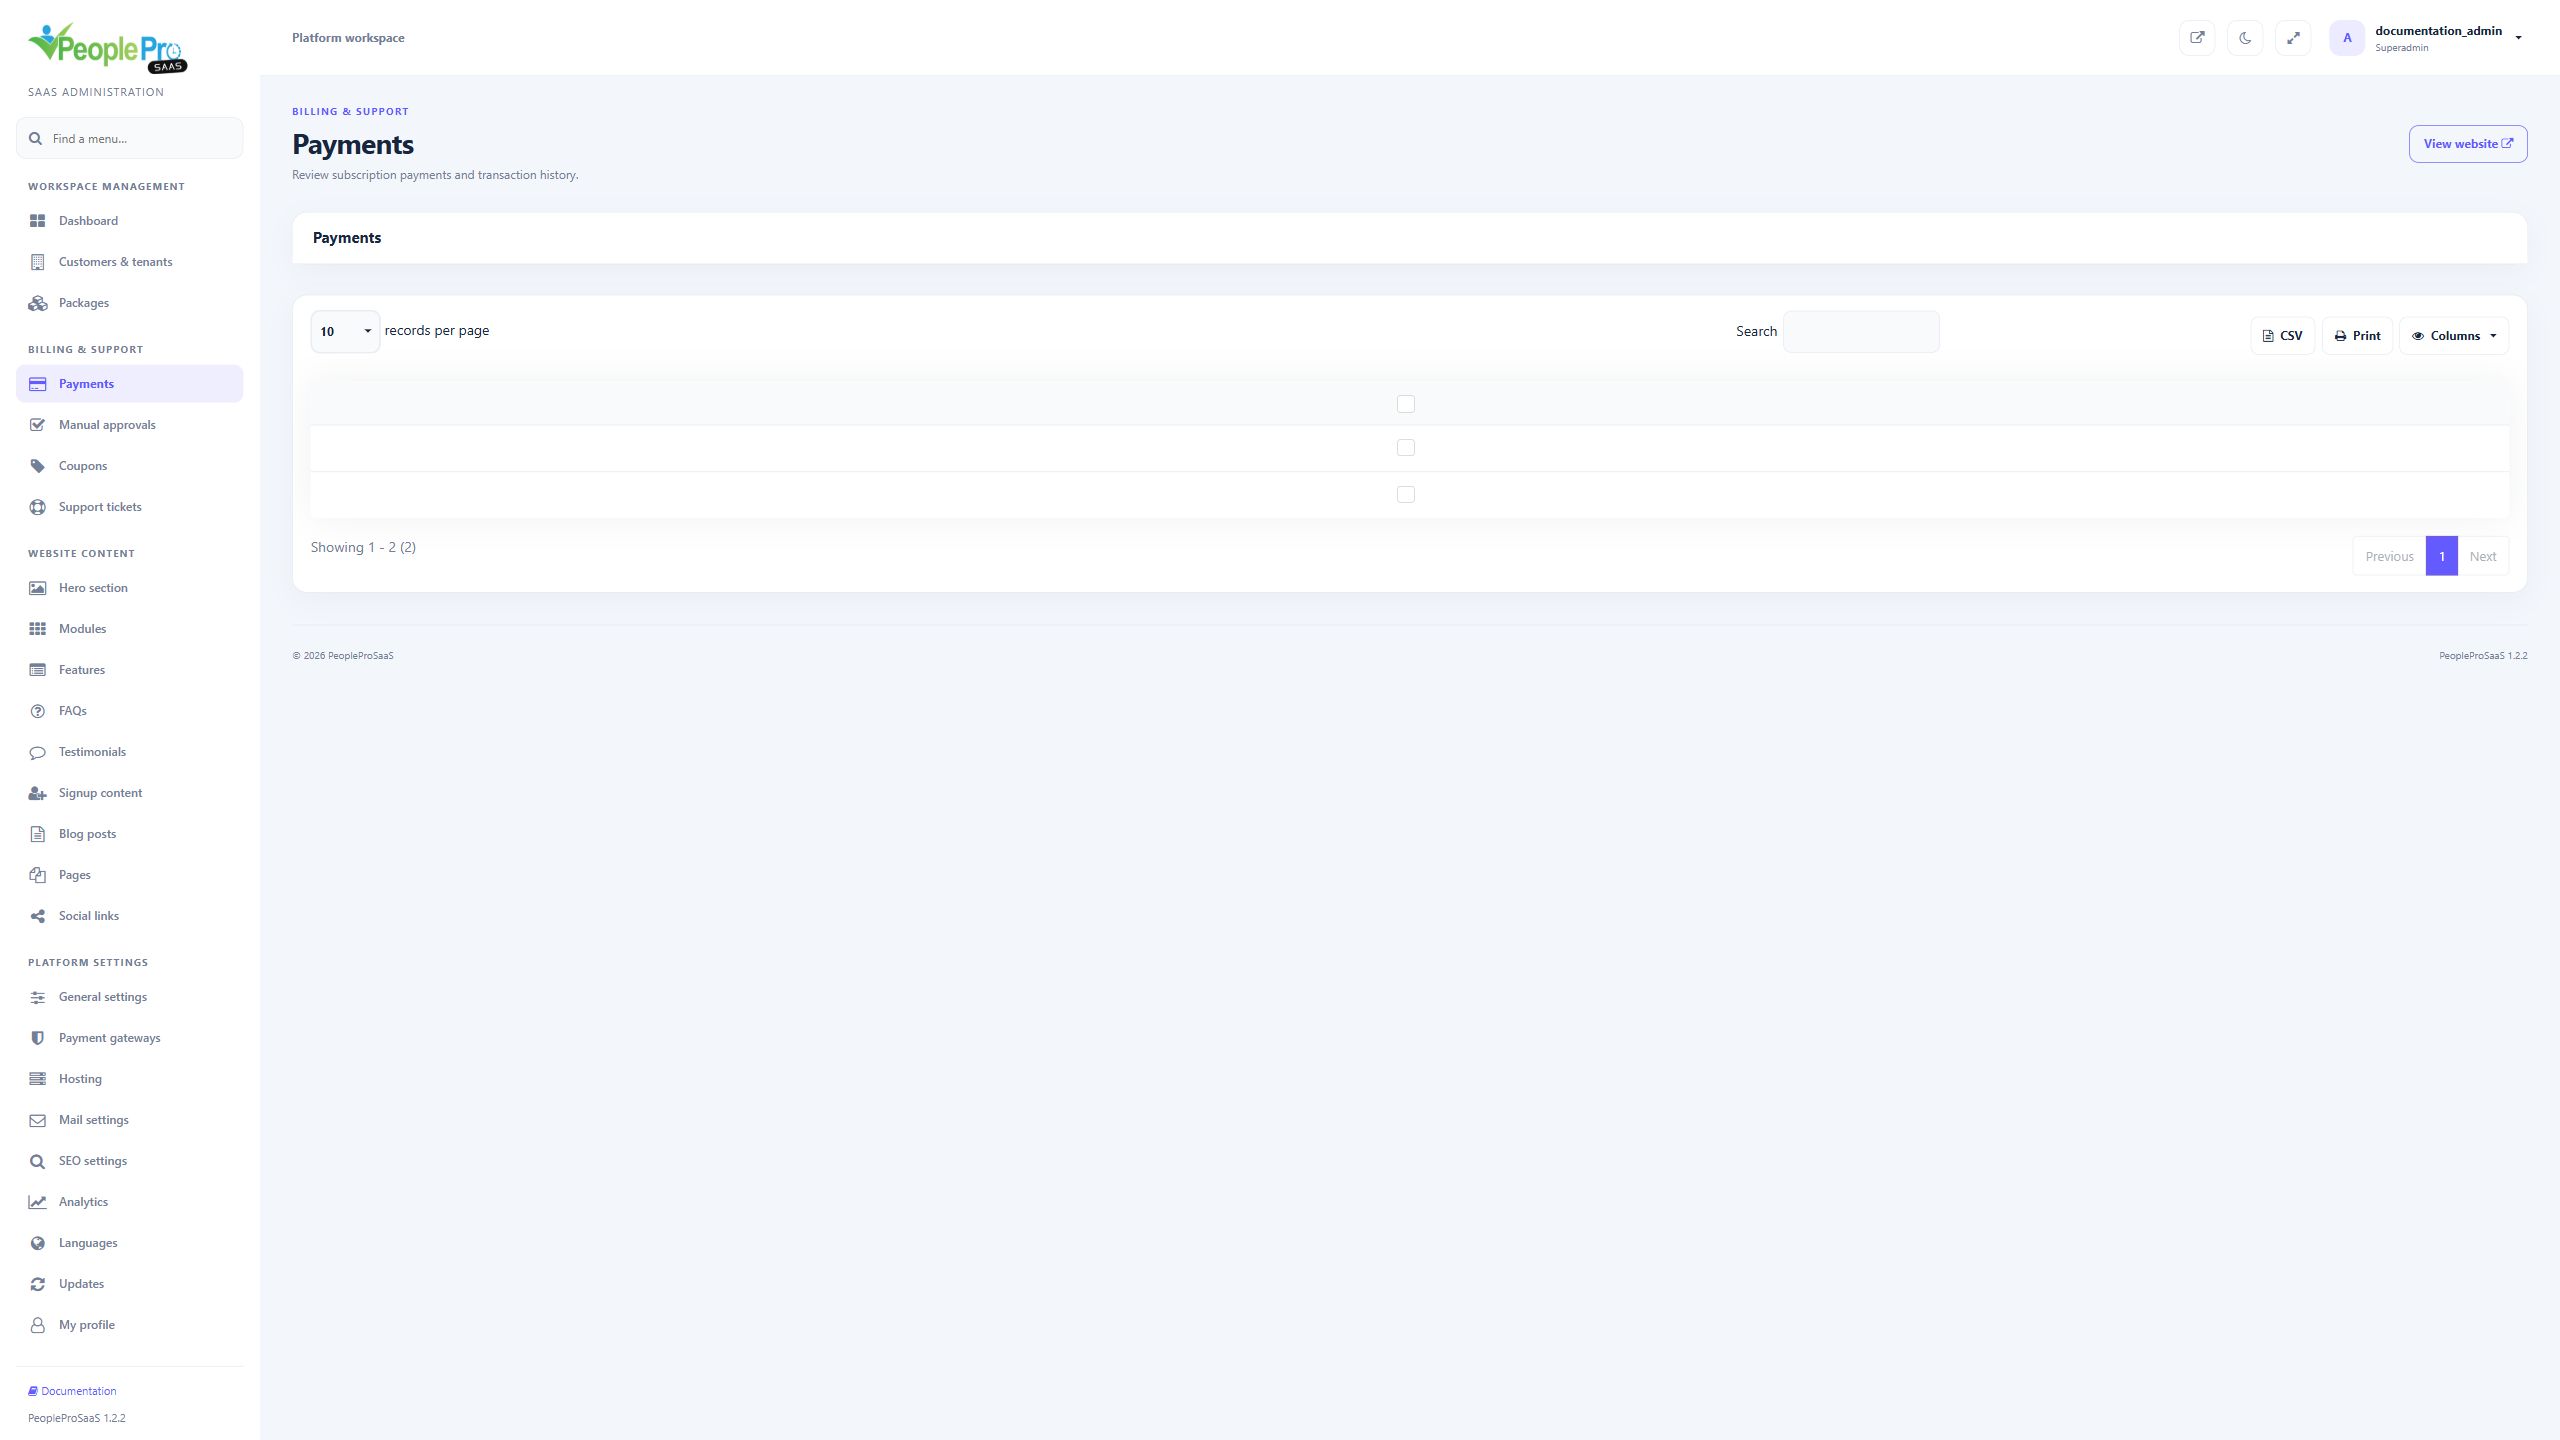
Open Payments to inspect recorded subscription transactions. Search for the tenant or reference and review the package, billing period, amount, method and payment status shown. Use the table export or print controls when needed. A payment record is different from a tenant active-status switch; review both the billing result and the customer subscription when investigating access.
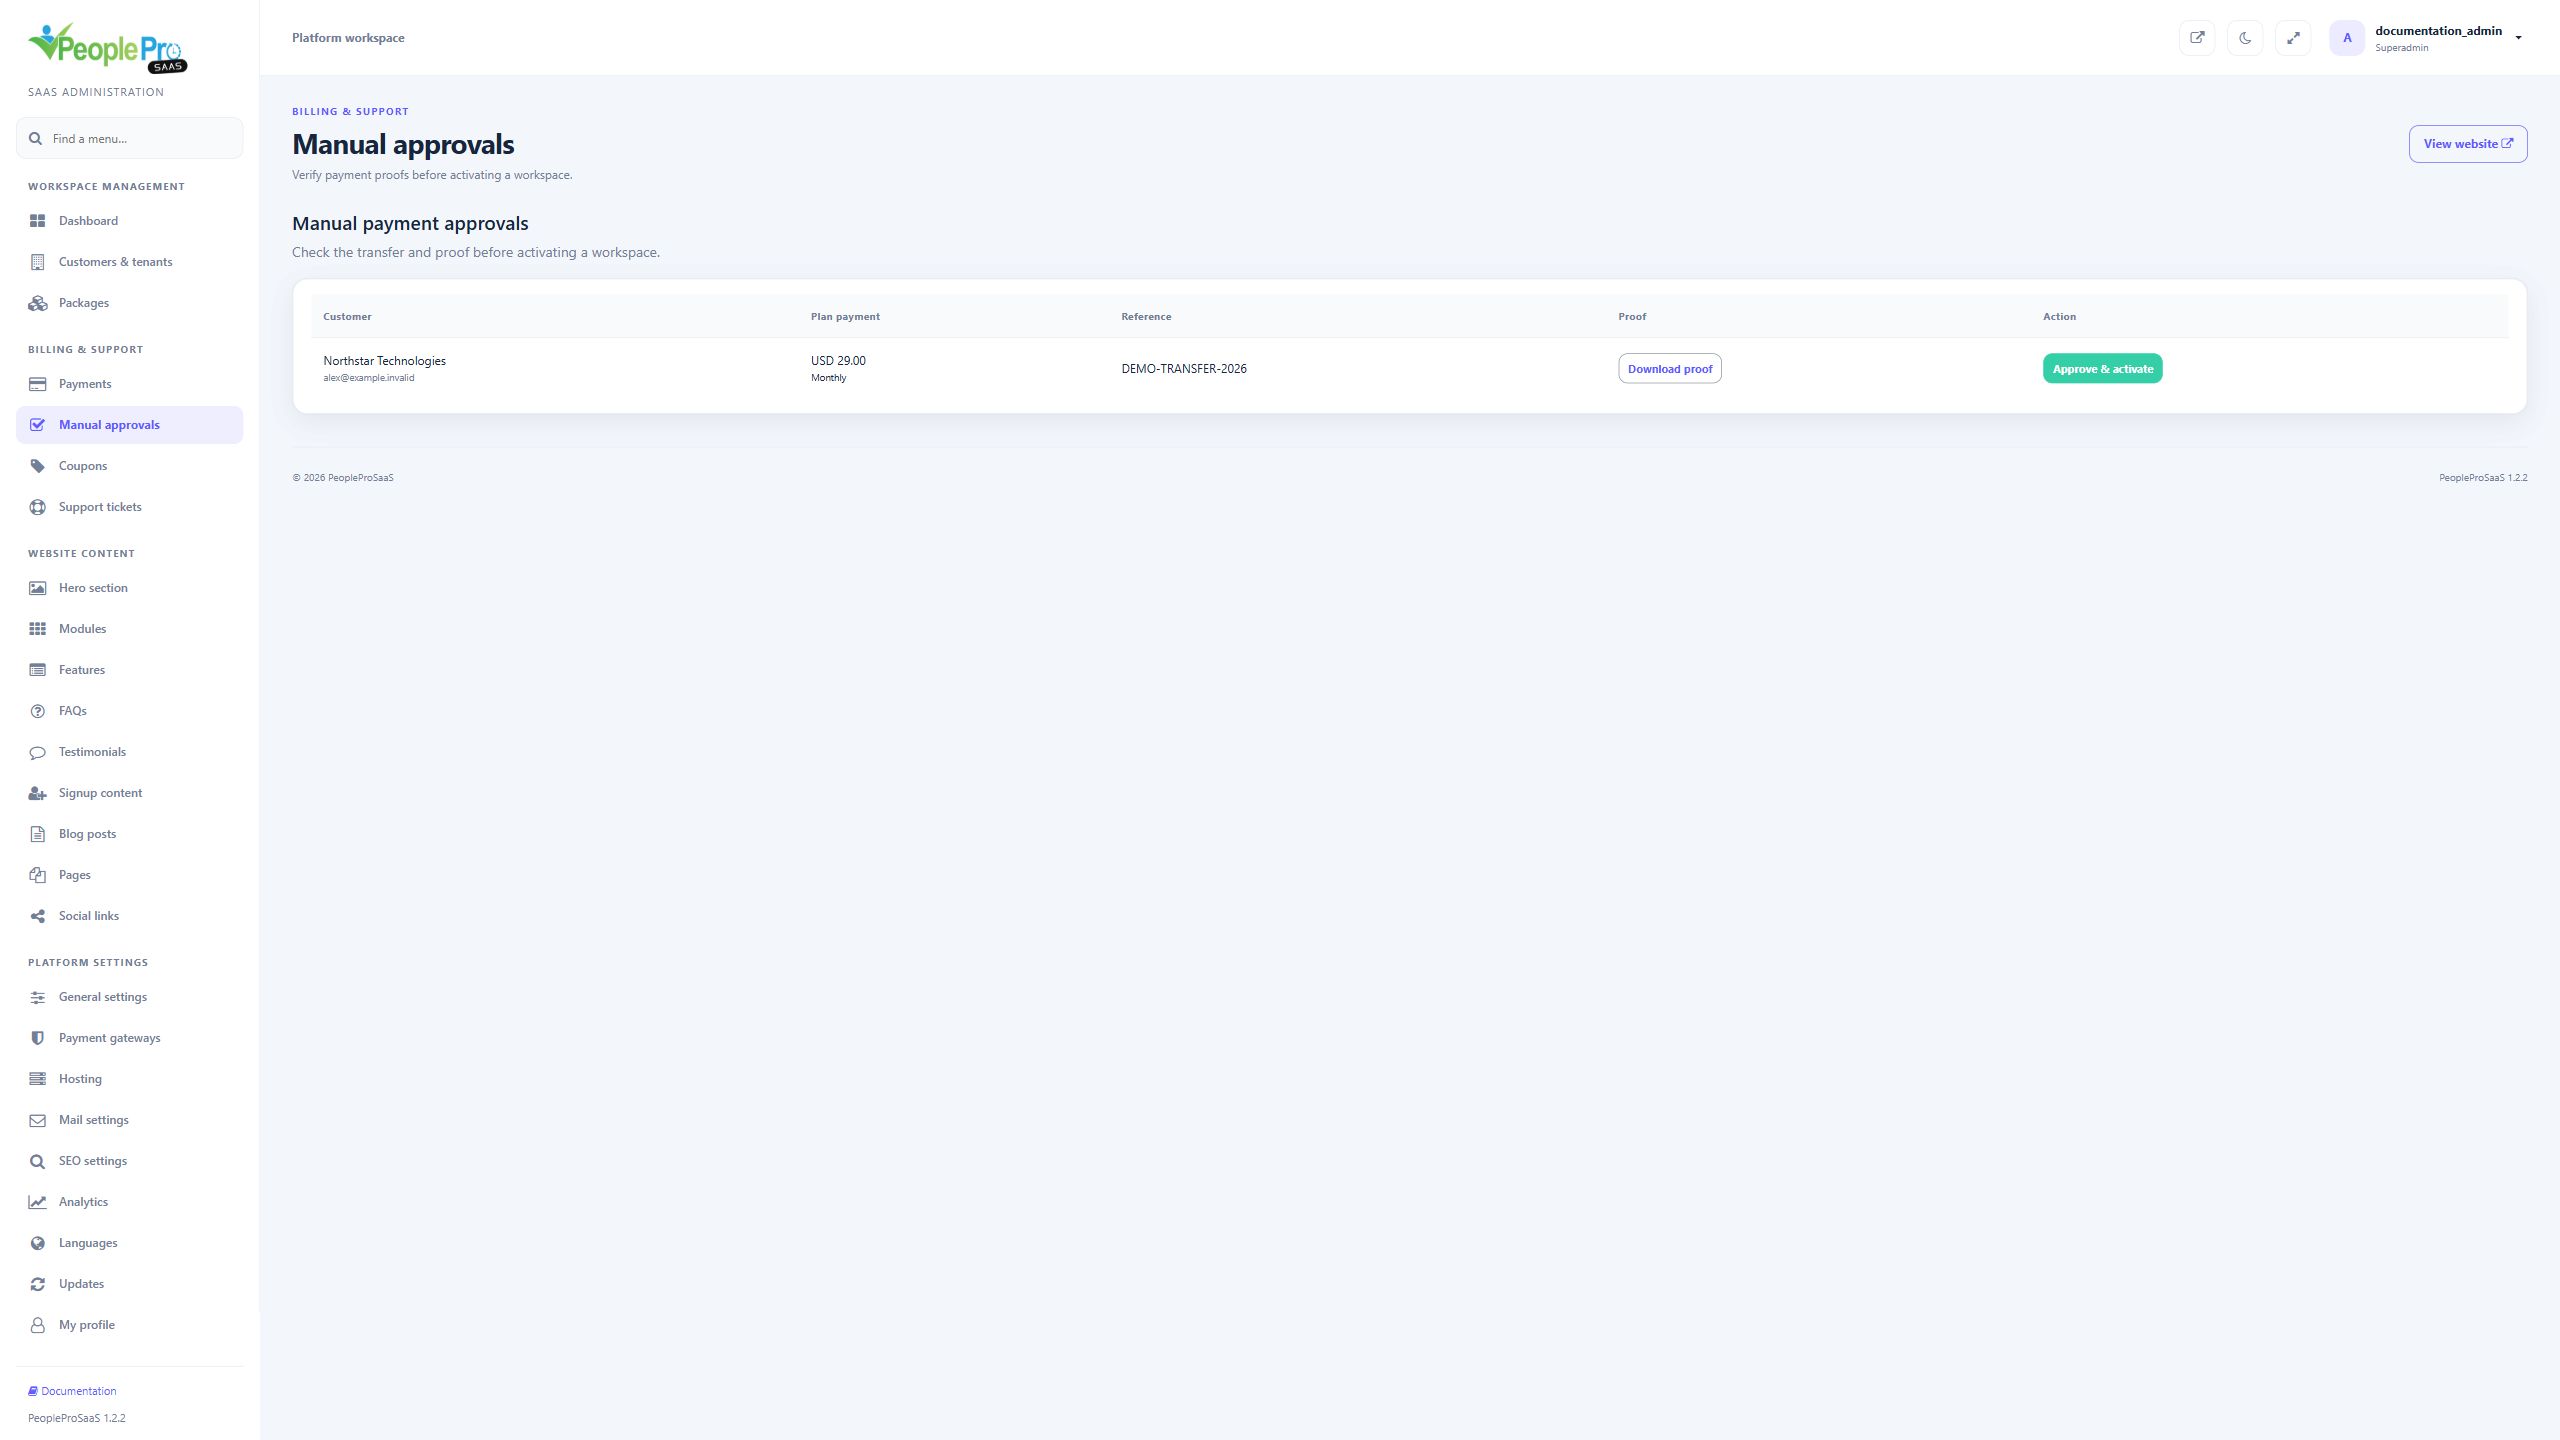
Open Manual approvals. Match the customer, plan amount, transaction reference and downloaded proof against the transfer actually received. Choose Approve & activate only after verification. Approval activates or renews the associated workspace through the checkout flow. Repeating an already completed approval does not create another customer workspace. The screenshots illustrate a pending example; no real transfer was approved for this guide.
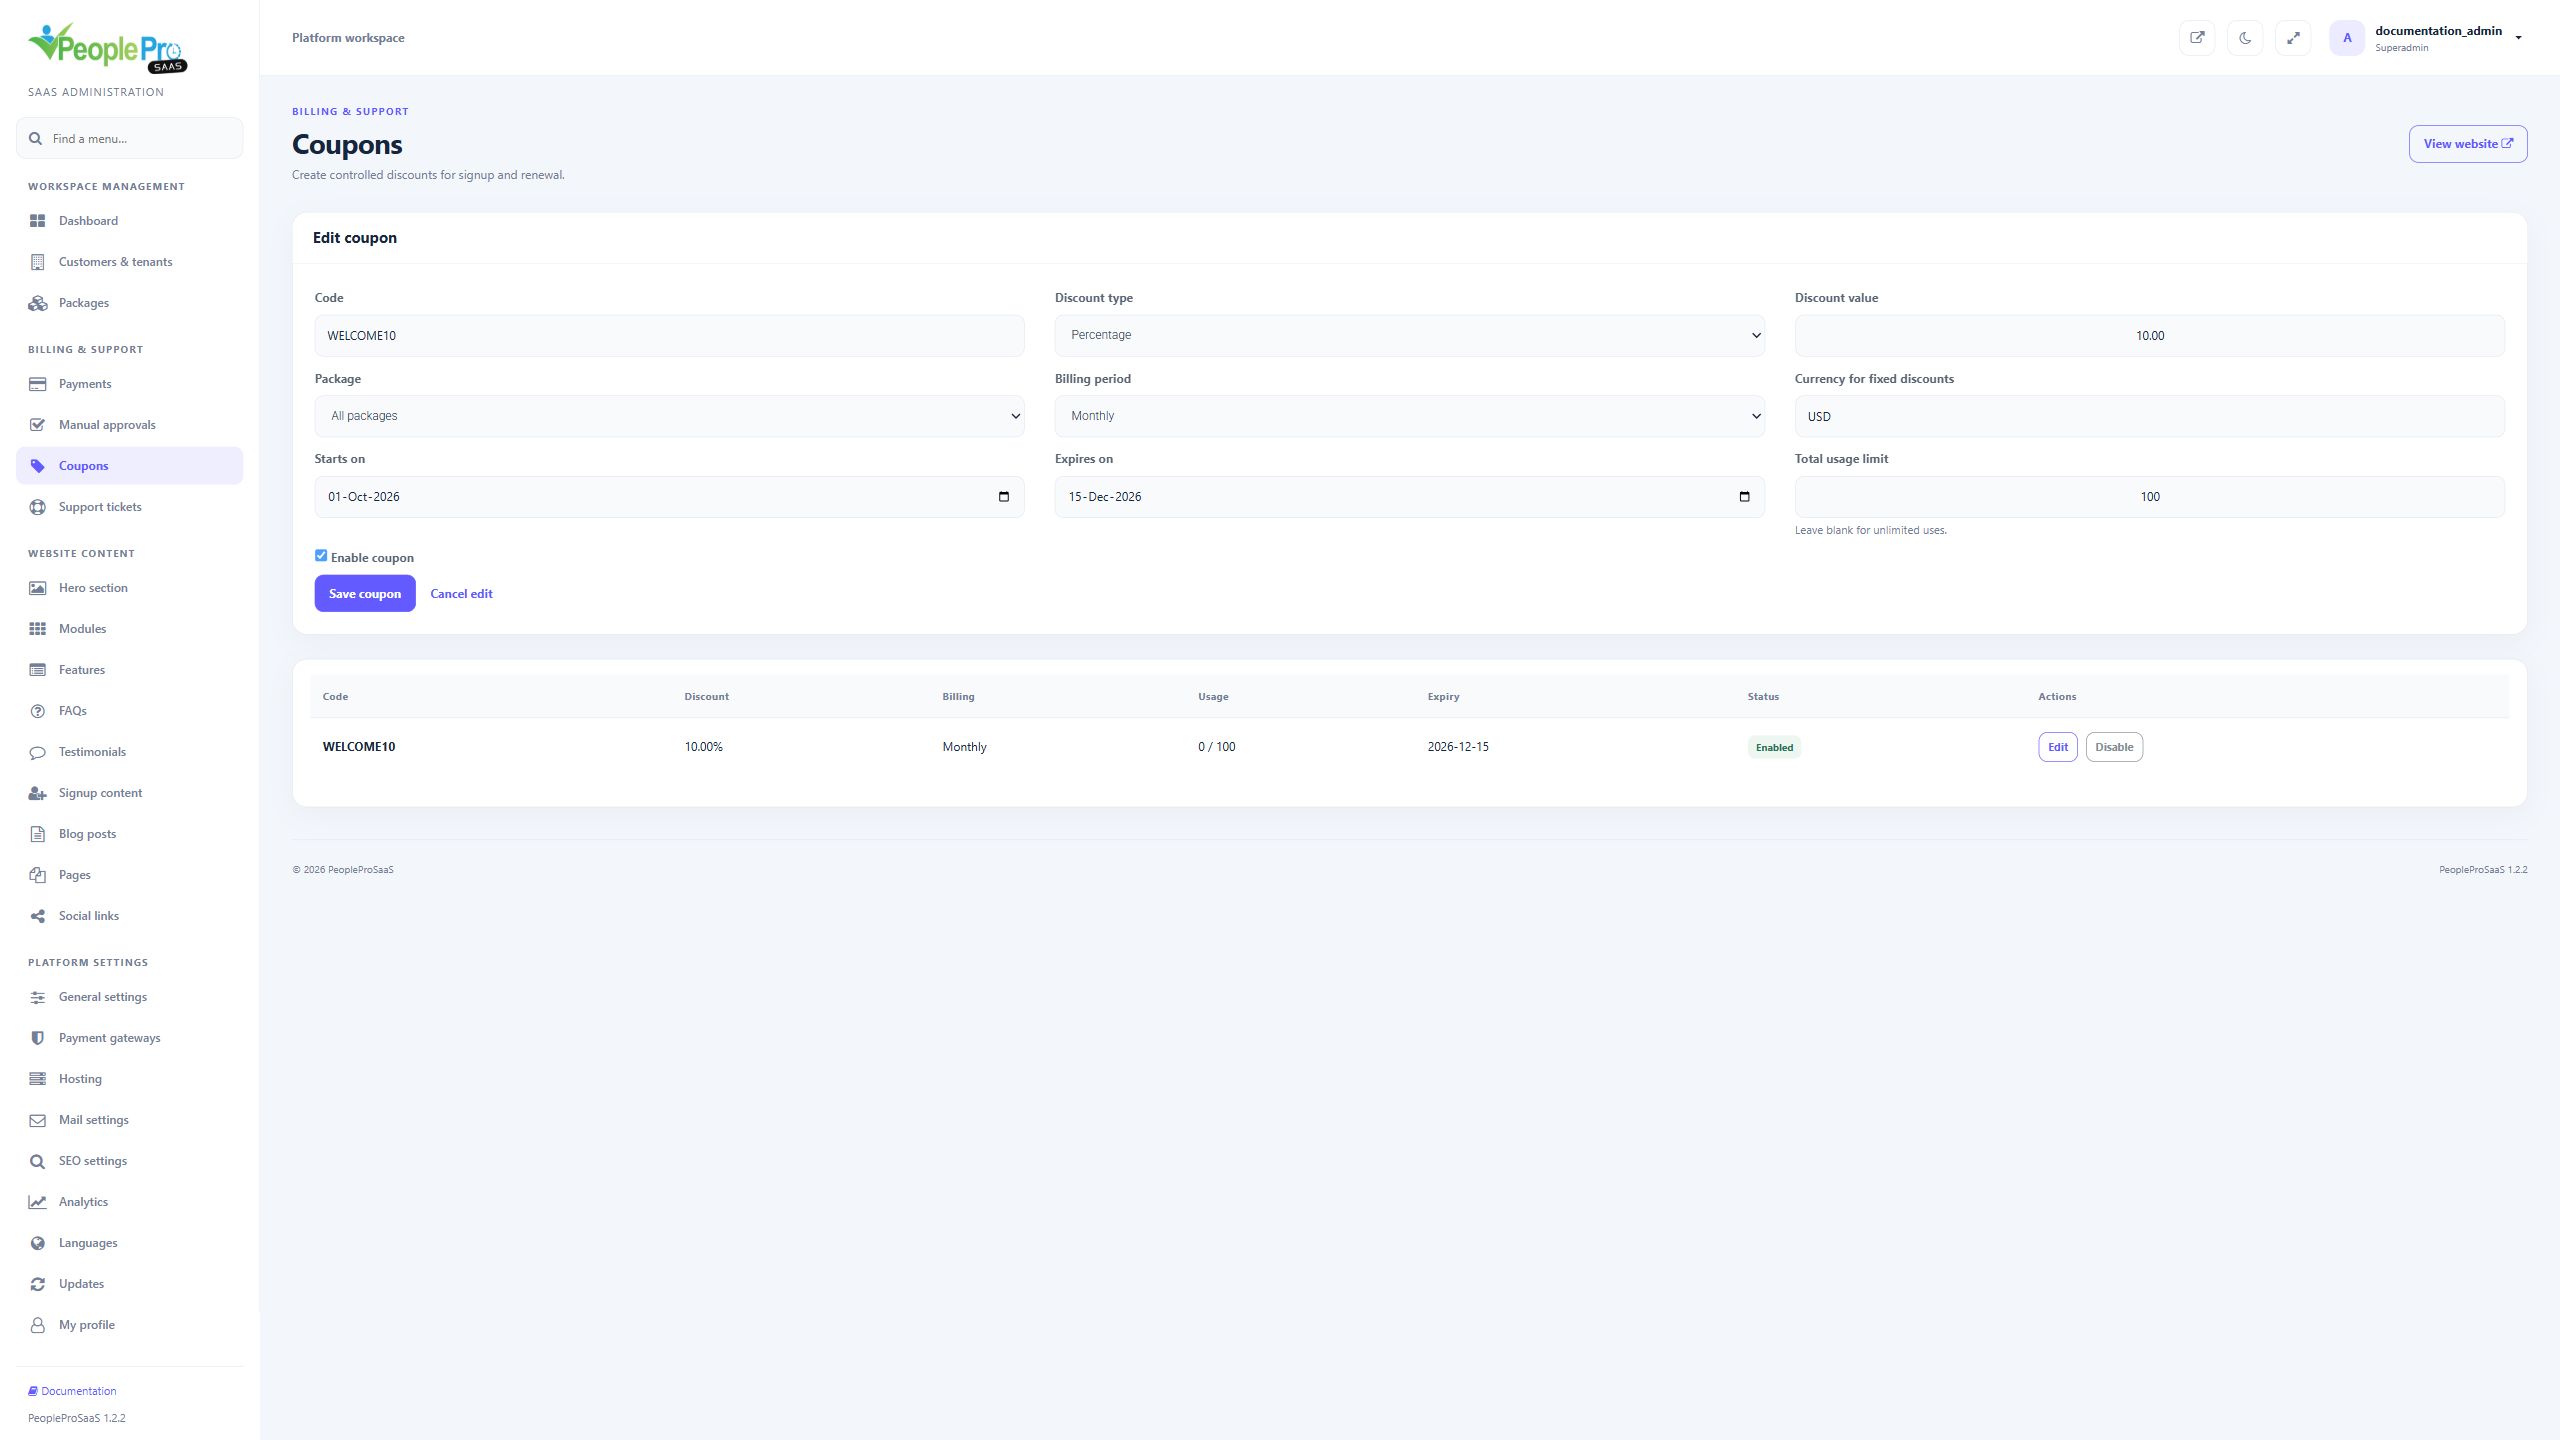
Open Coupons and enter a clear code. Choose Percentage or Fixed amount, then enter the discount value. You can restrict it to a package, monthly or yearly billing, start and expiry dates, and a total usage limit. Fixed discounts need a three-letter currency code. Leave the usage limit blank for no usage cap. Enable the coupon and save, then verify it with an eligible plan before sharing the code.
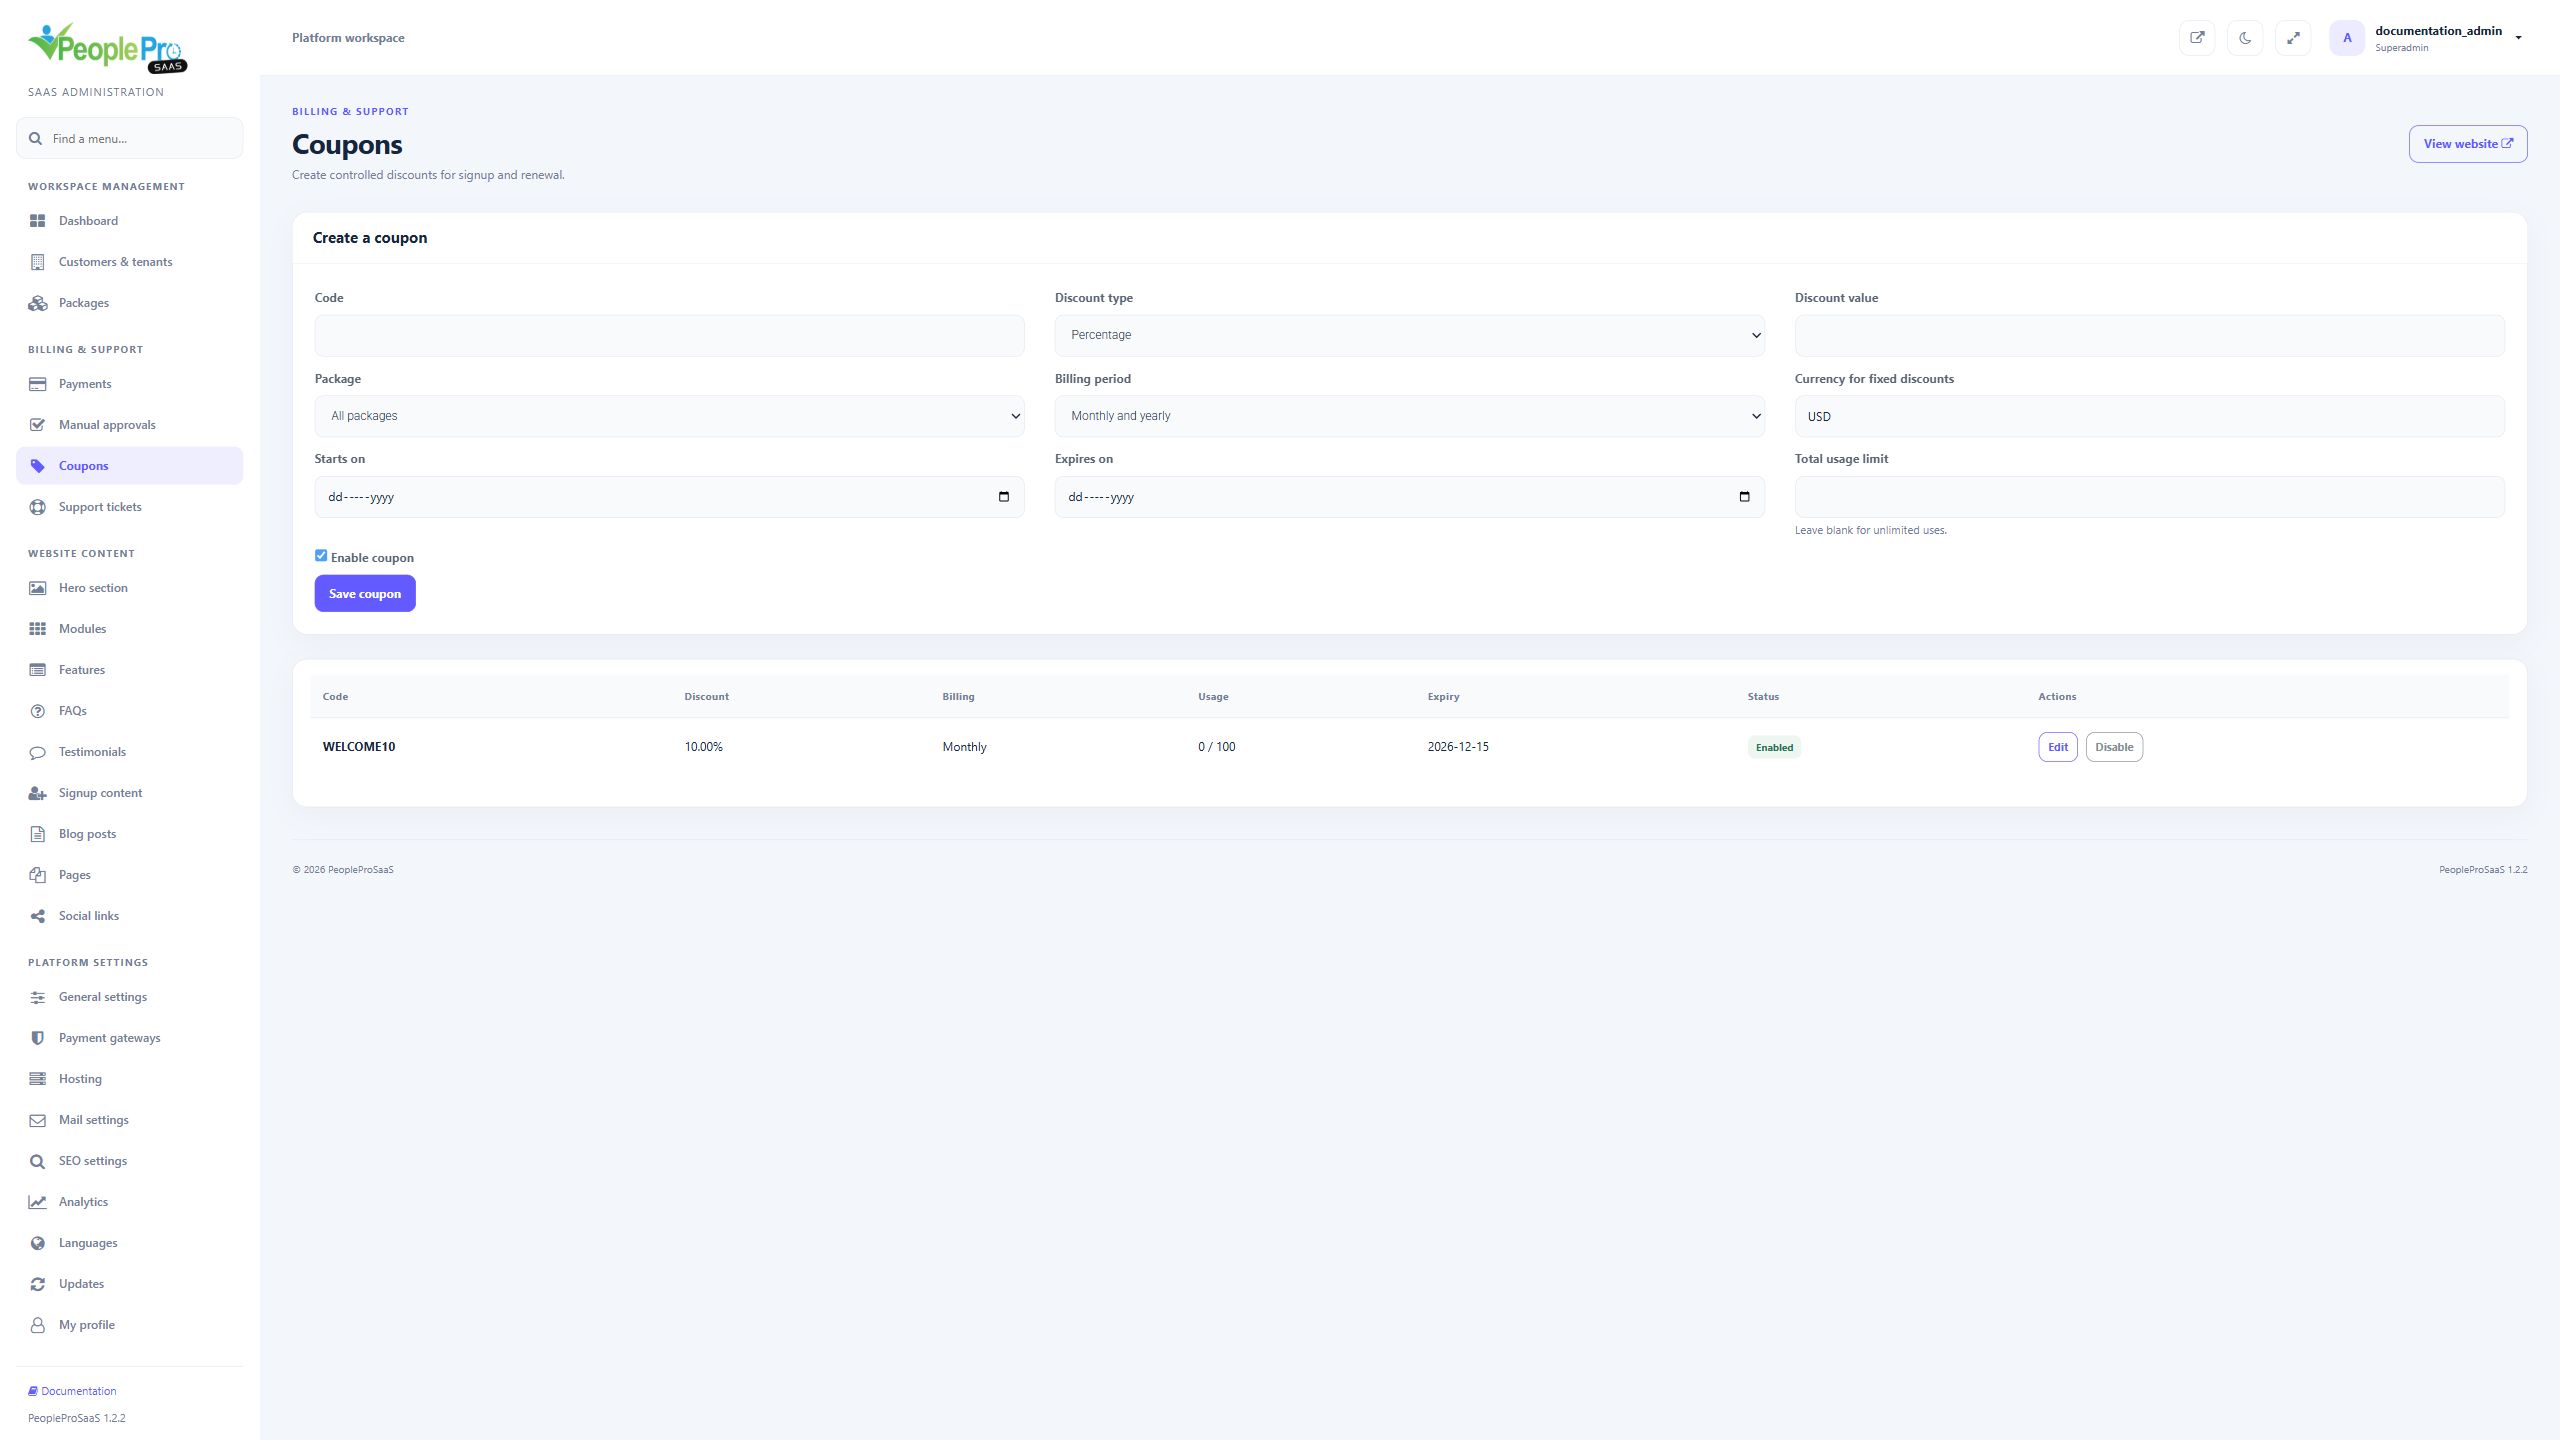
Select Edit beside the coupon to review its rules and update the form. A percentage cannot exceed 100. Use Disable when a promotion should no longer be available; its prior billing history is retained. The usage counter shows how much of a limited offer has been used. Existing completed payments keep their own recorded amounts and discounts.
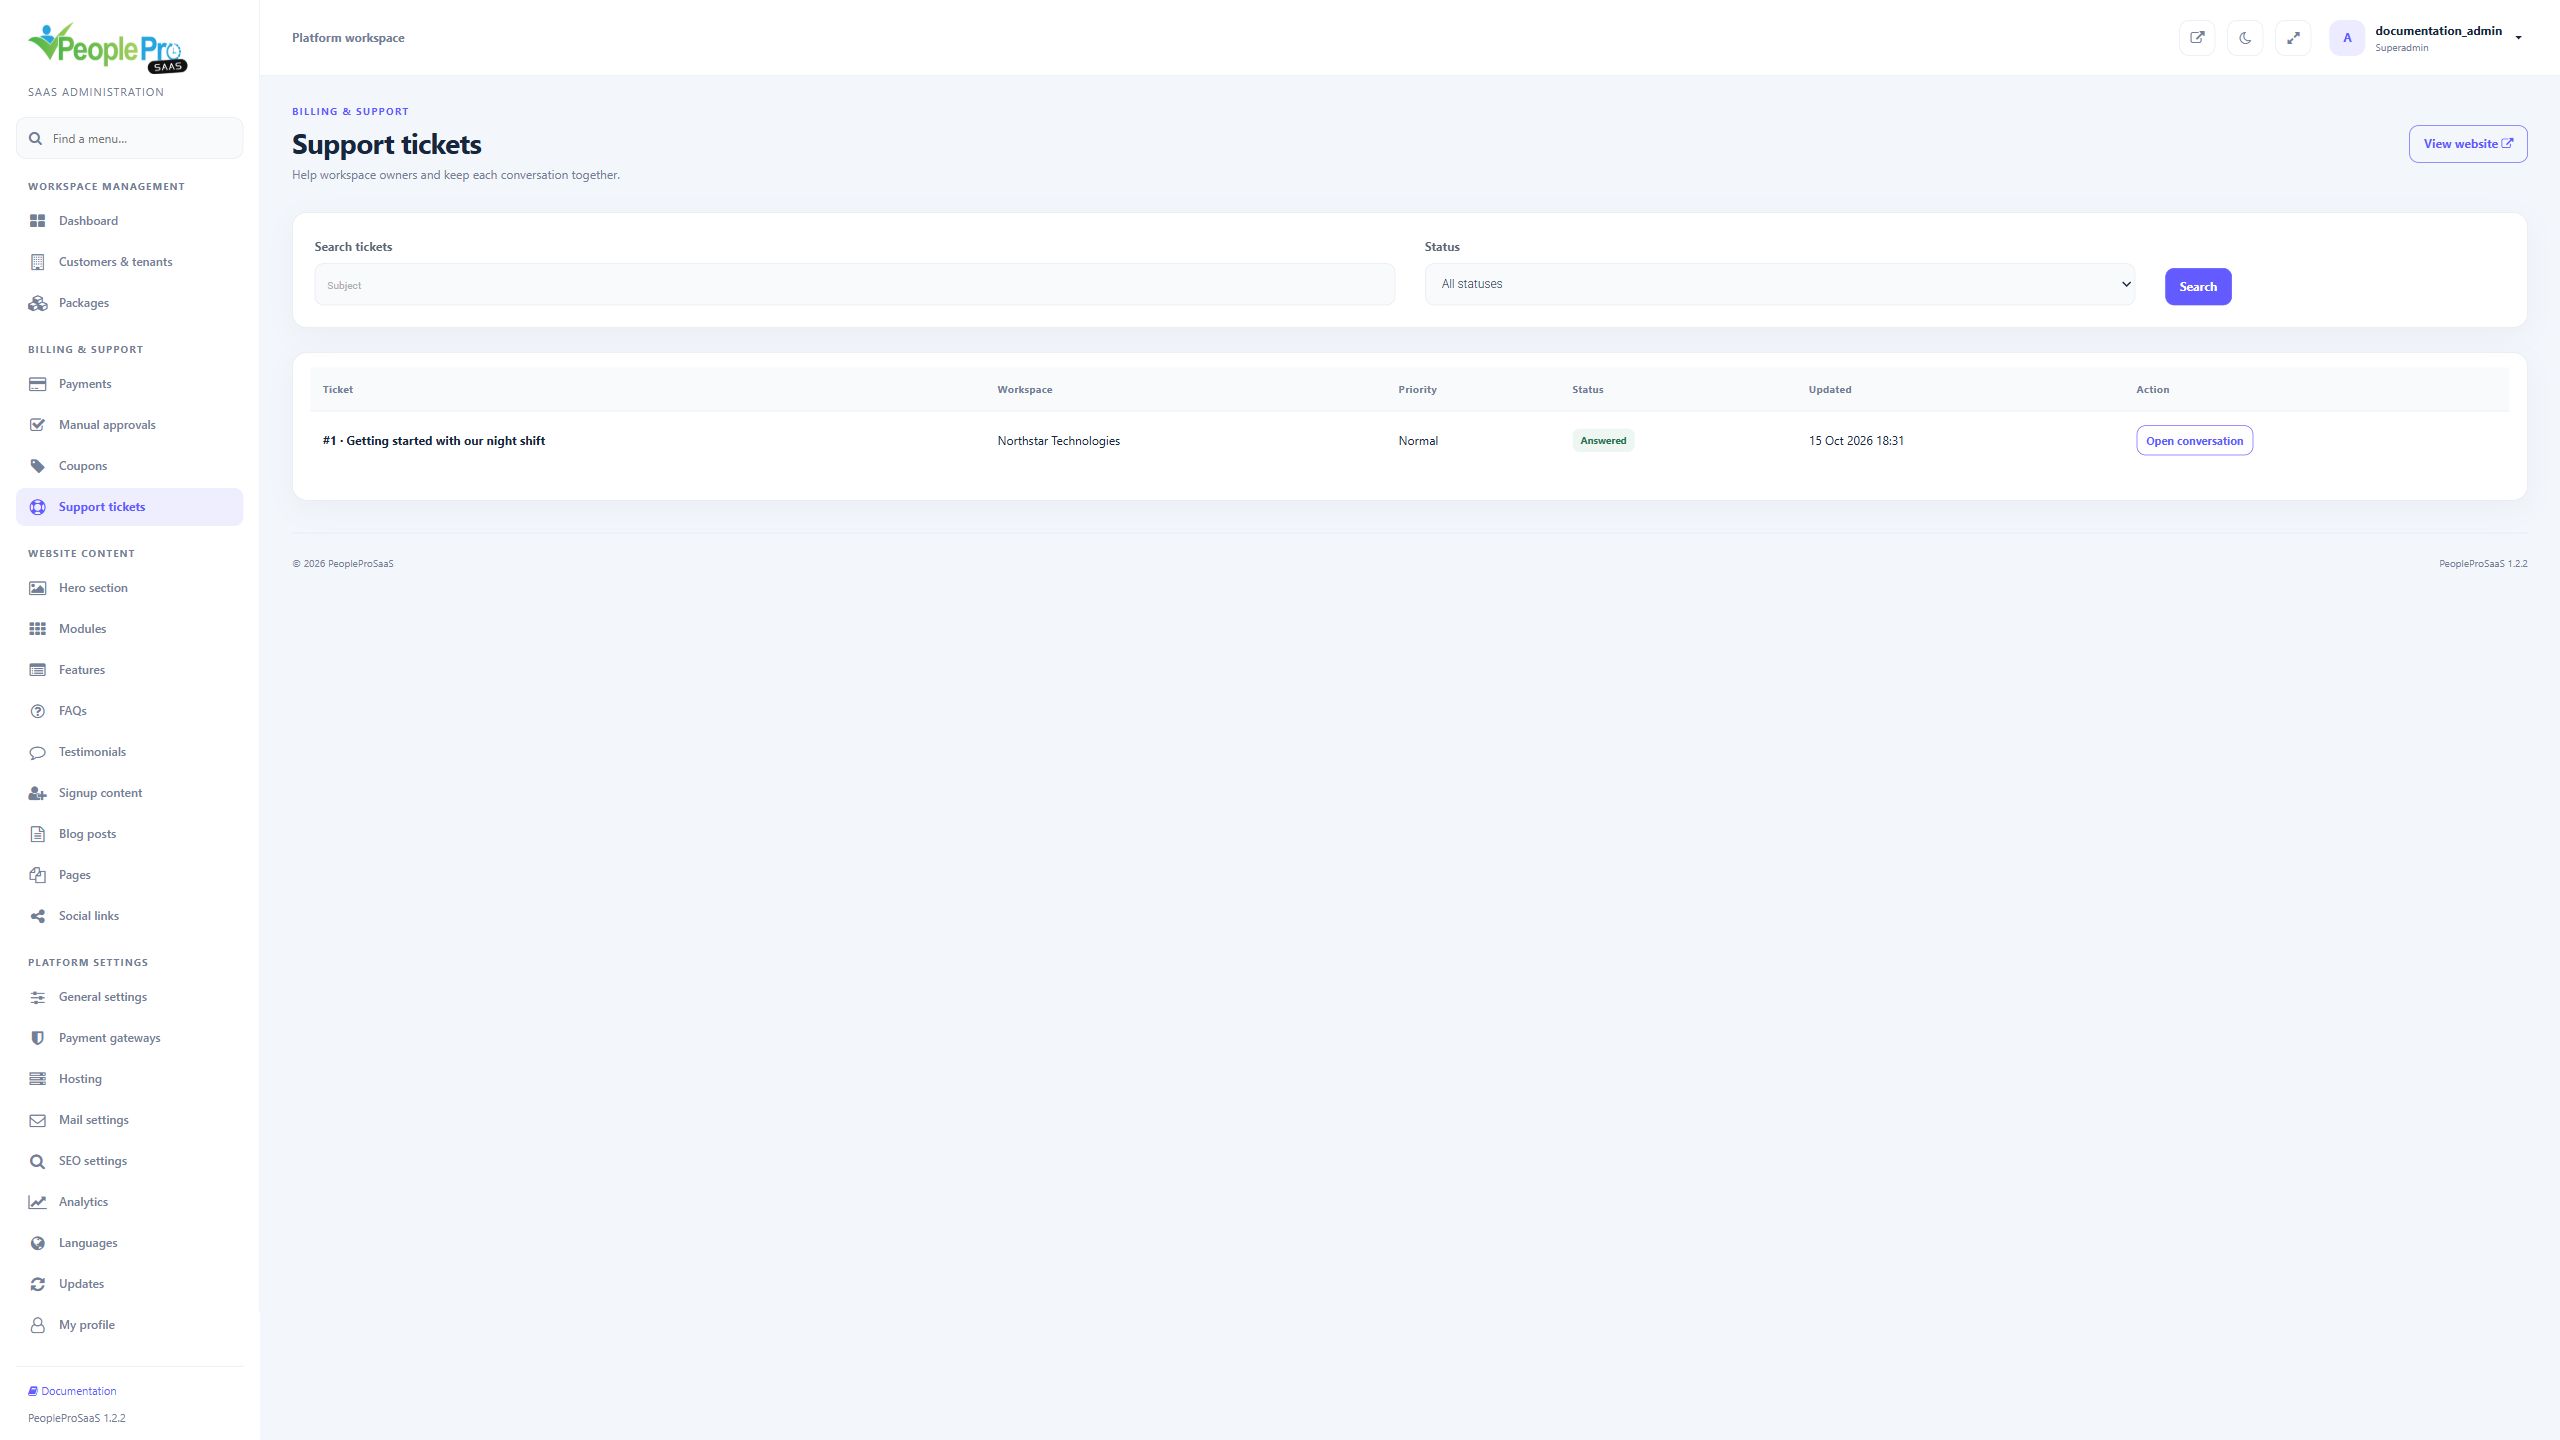
Open Support tickets to find requests from workspace owners. Search by subject or filter by Open, Answered or Closed. Review the organization, subject, priority and latest update before opening a ticket. Support conversations are scoped to the customer workspace; one customer does not see another customer ticket.
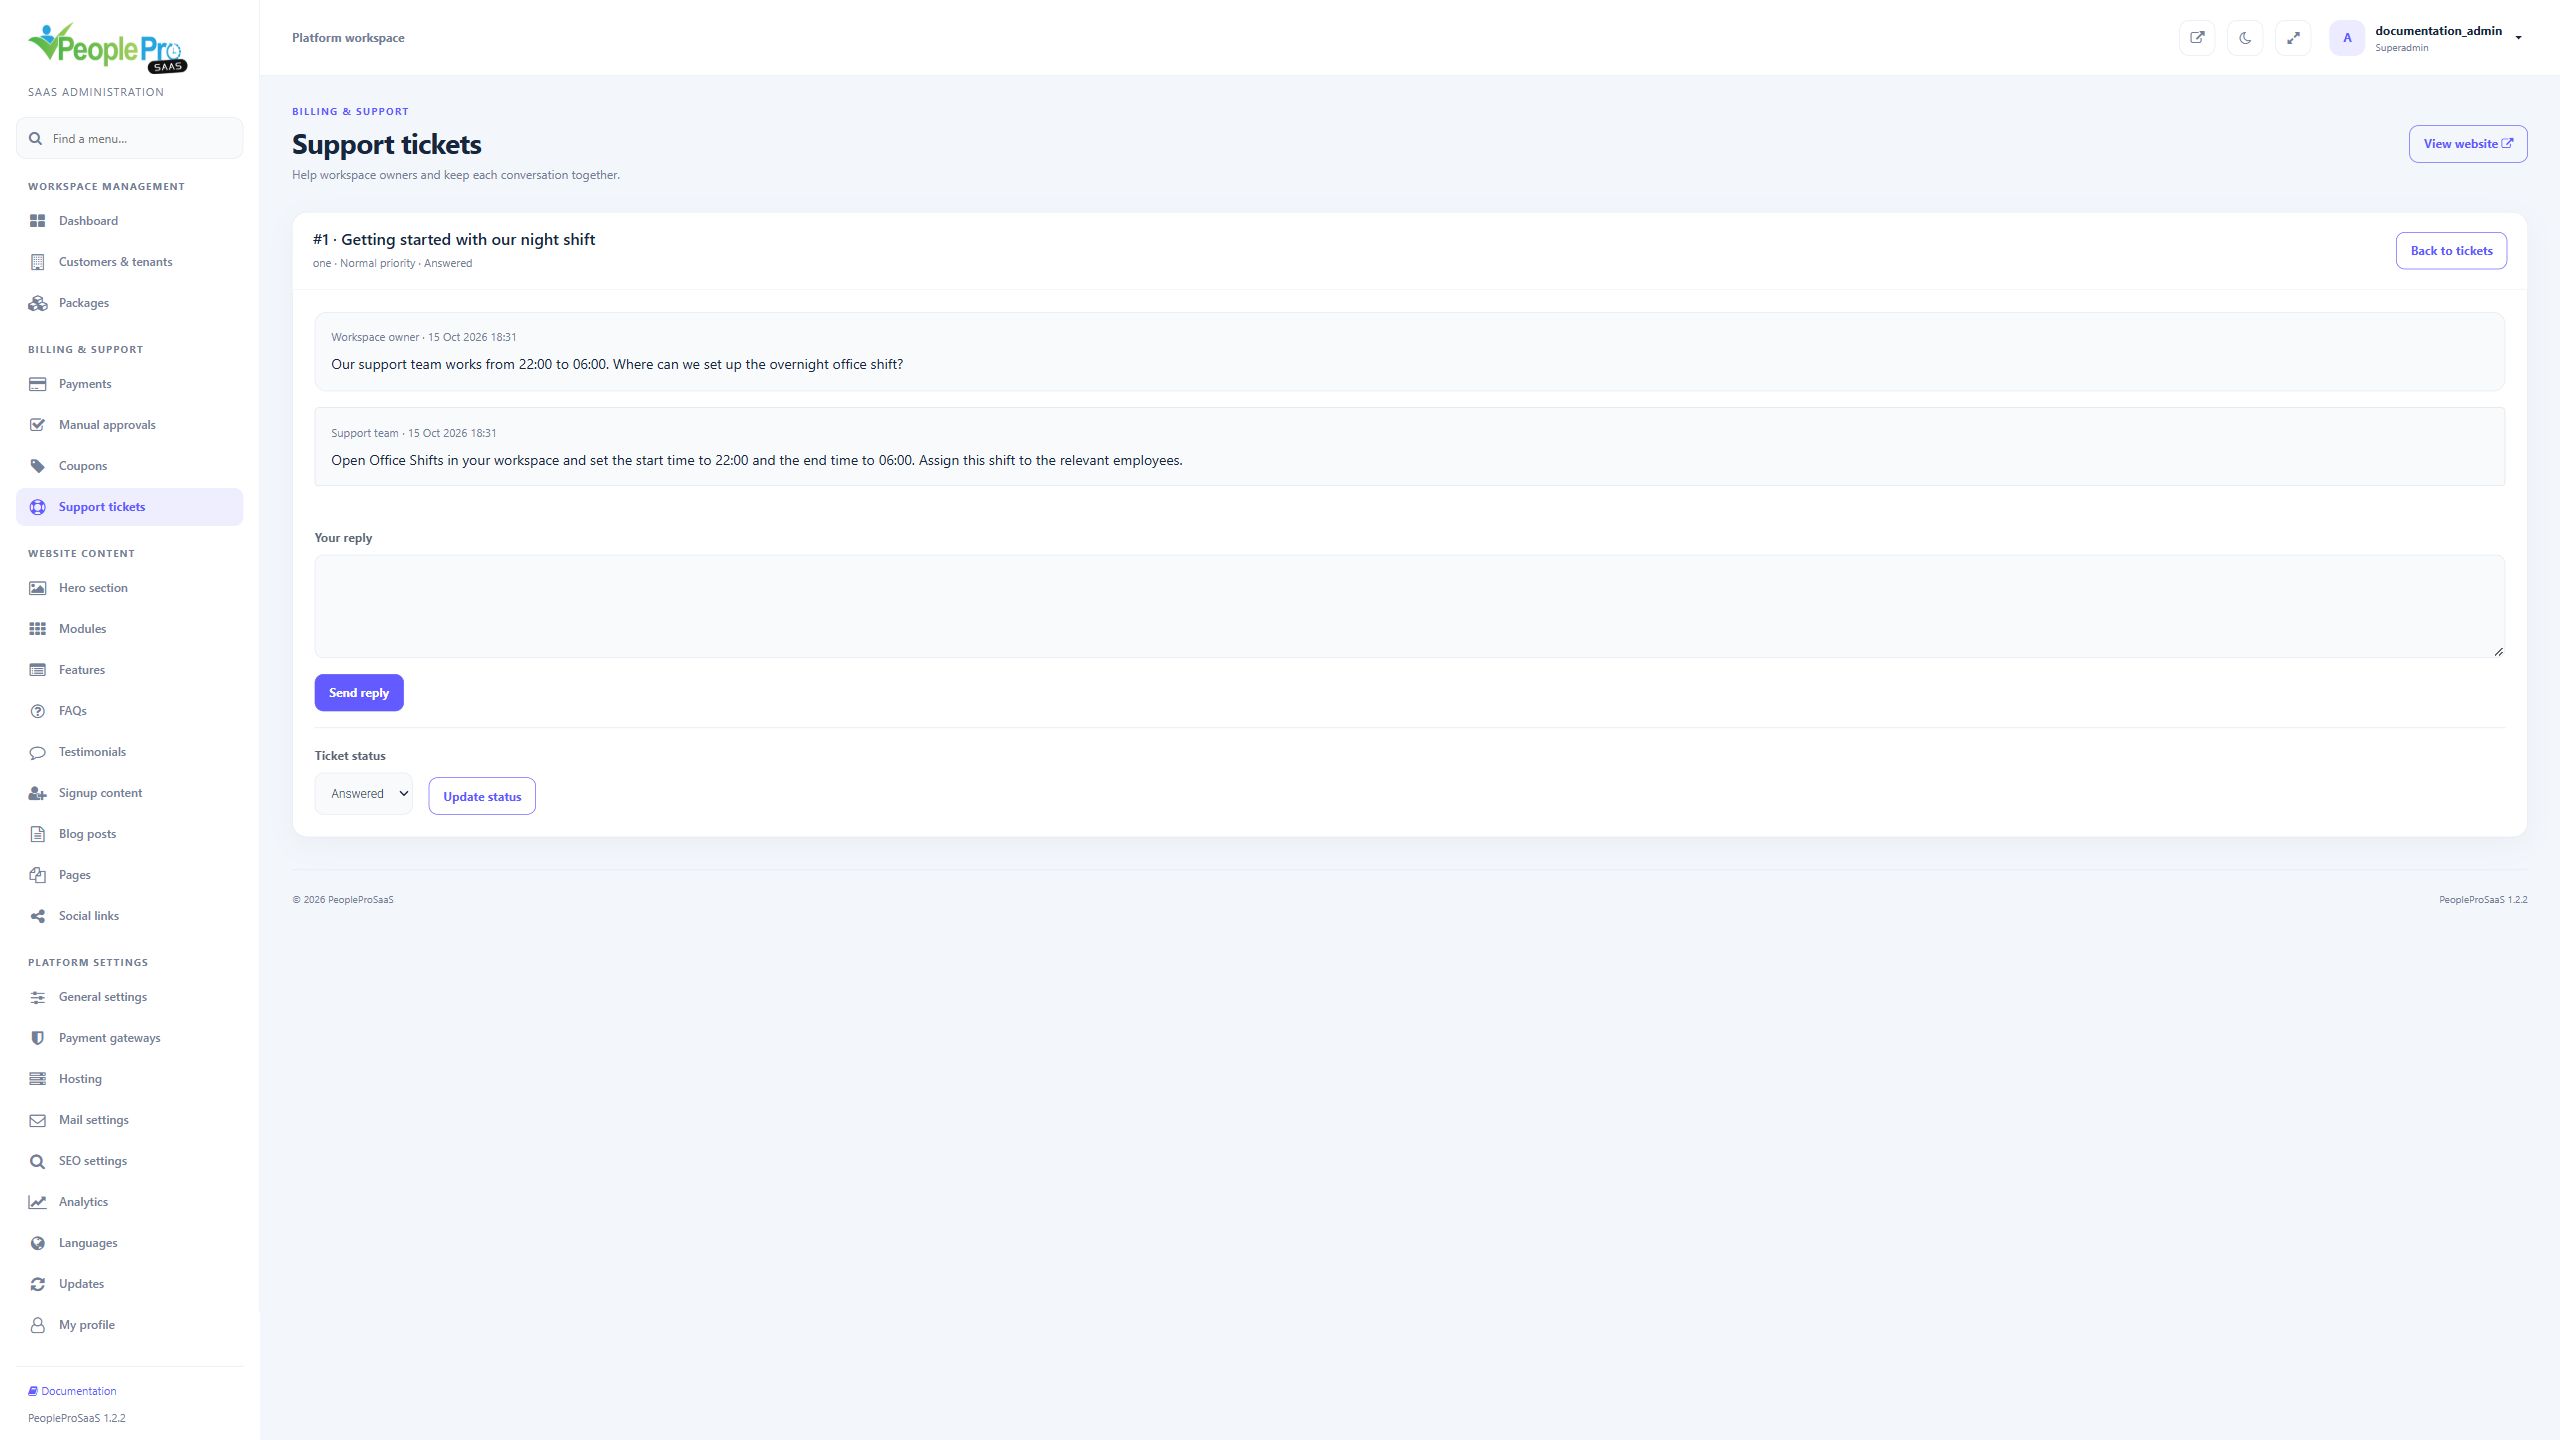
Open a ticket to read the original description and conversation. Enter a helpful reply and submit it once. A platform reply marks the ticket Answered; a customer follow-up reopens the conversation. Use the status control when the request is resolved or needs reopening. The reply appears in the tenant support conversation. Password changes and other account actions must be performed from the appropriate customer administration form.
Open Payment gateways. Each provider has its own credential card and Enable at checkout switch. Complete the provider fields and save that card. Empty credential fields keep saved values; a blank-looking password field does not mean the saved secret was removed. Only enabled methods appear at checkout. Keep sandbox and live credentials consistent with the selected mode, and use a supported package currency. The guide uses blank or fictional credentials; real provider account setup and merchant testing are separate steps.
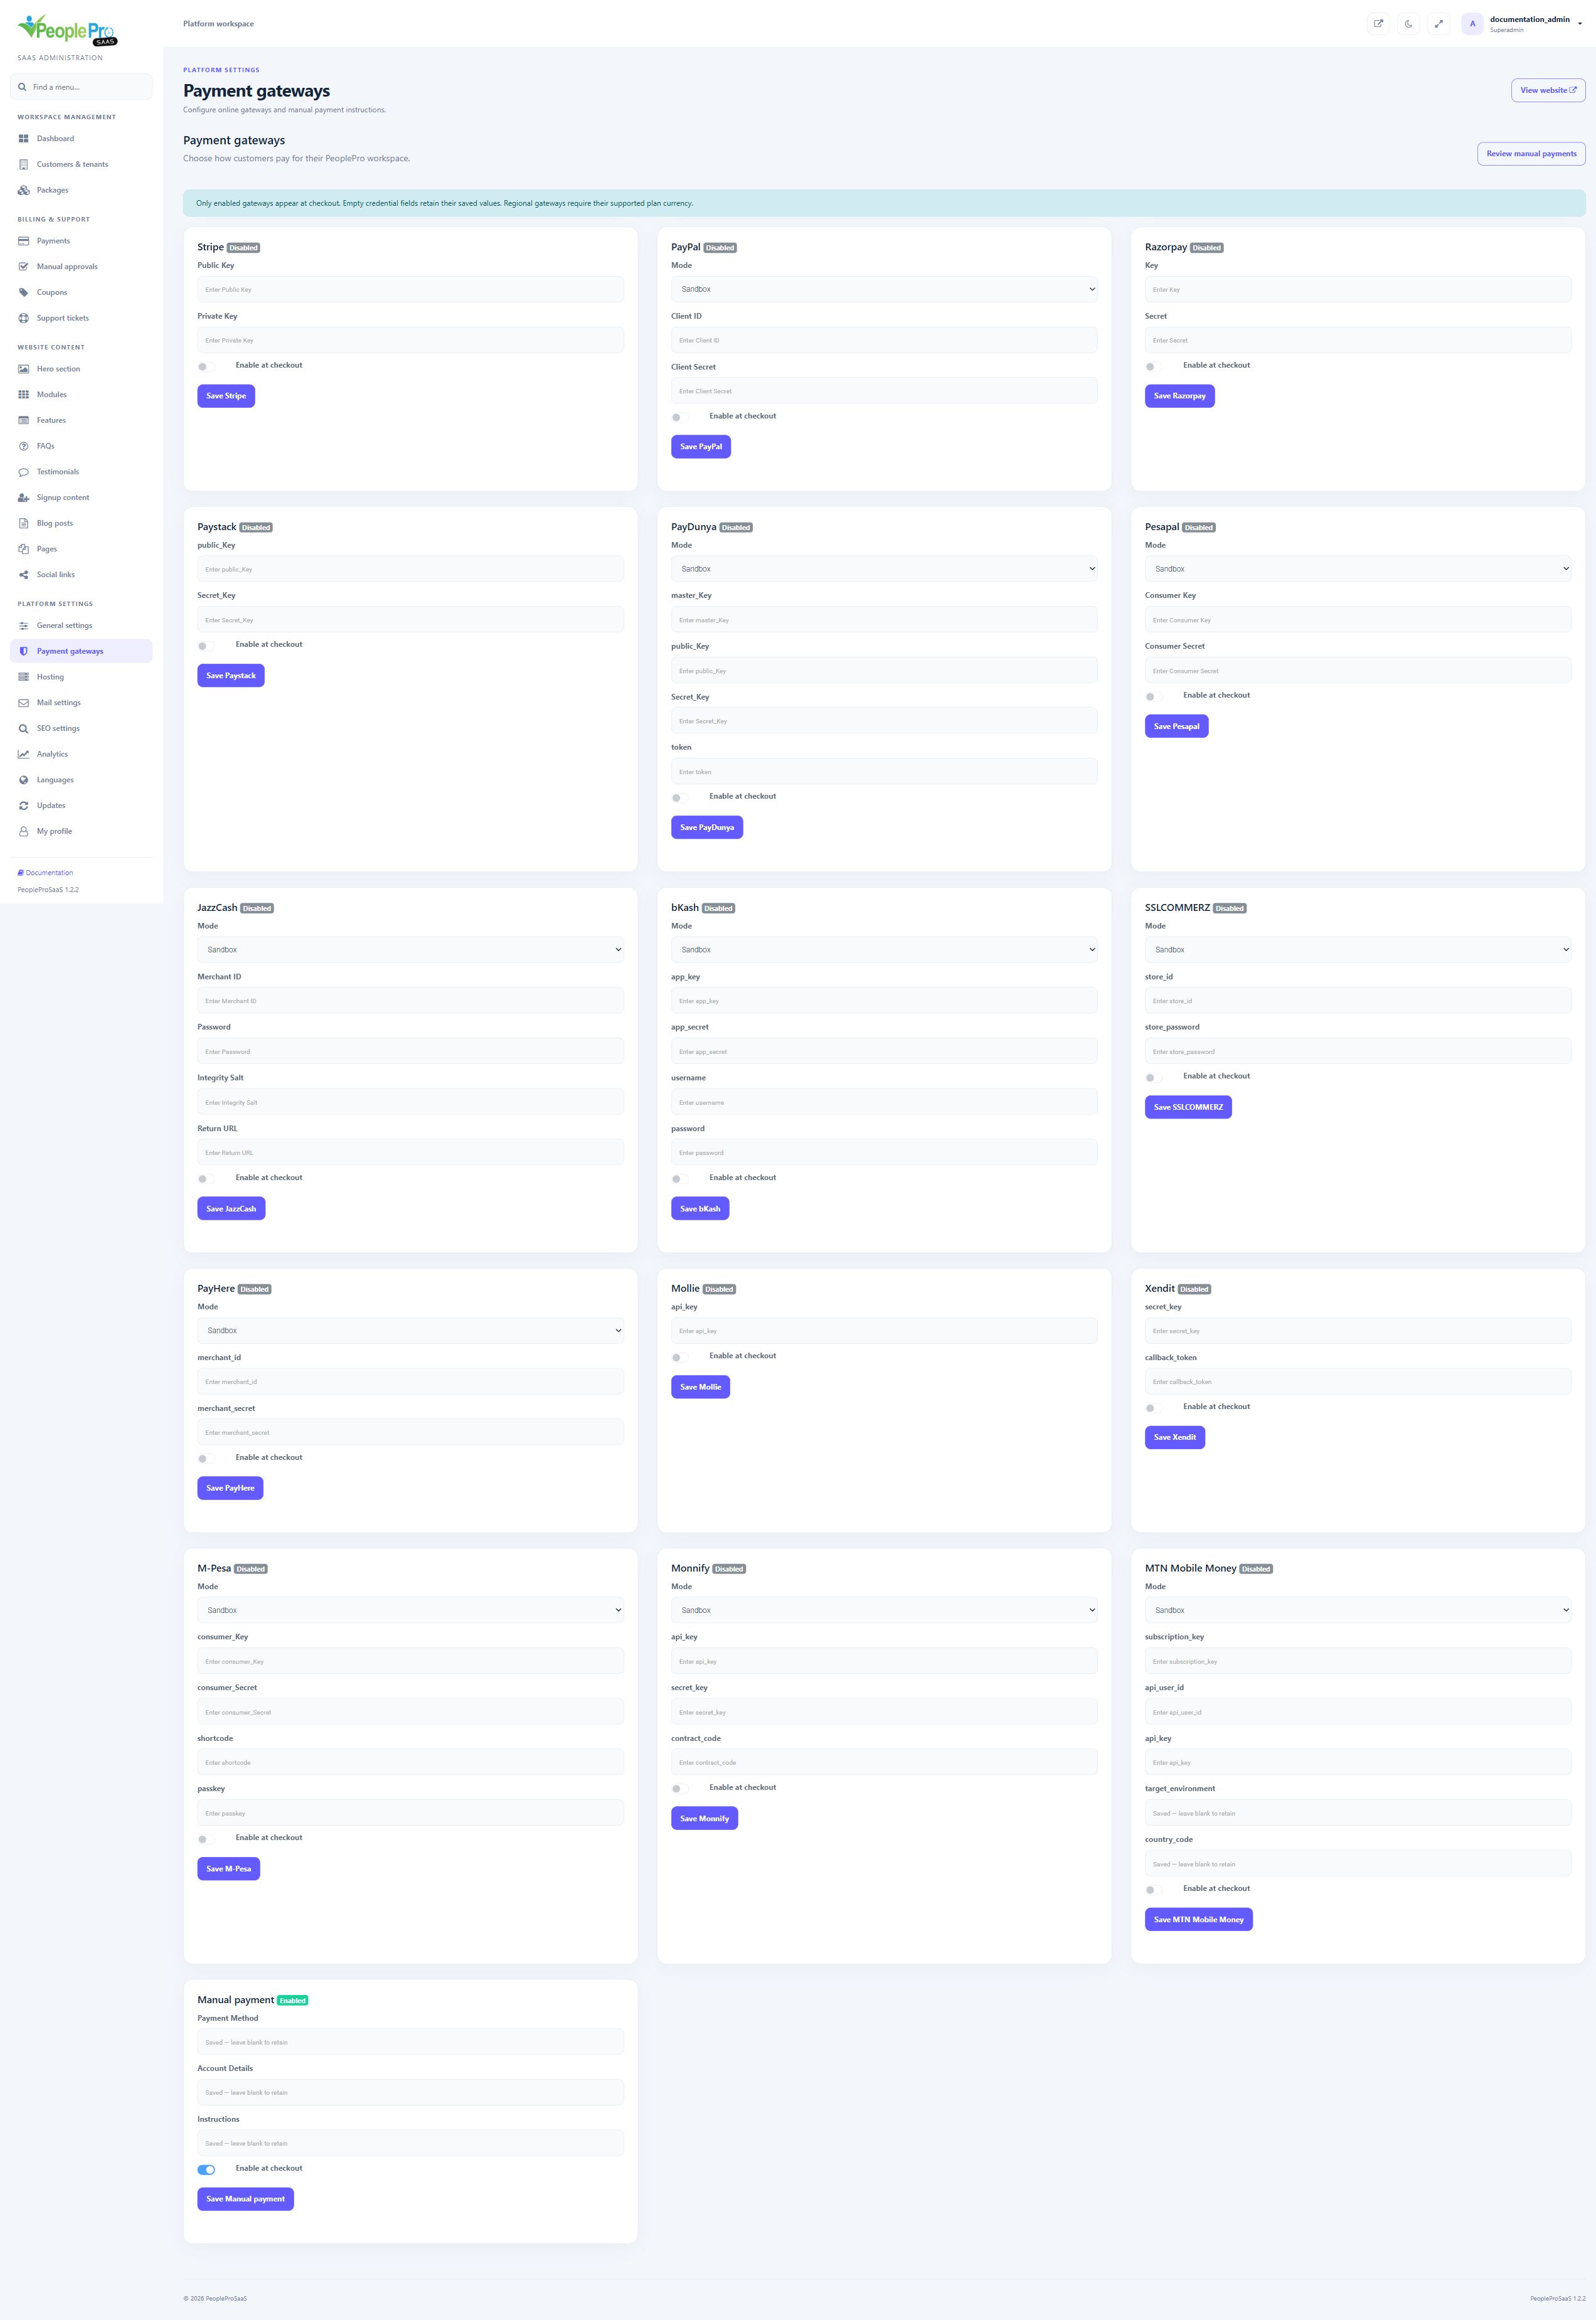
Complete Public Key and Private Key with the matching credentials from your Stripe account. Enable at checkout and choose Save Stripe when the account configuration is ready. Use the credentials intended for your testing or live environment; never mix unrelated key pairs. Review the resulting checkout and payment reference before offering the method to customers.
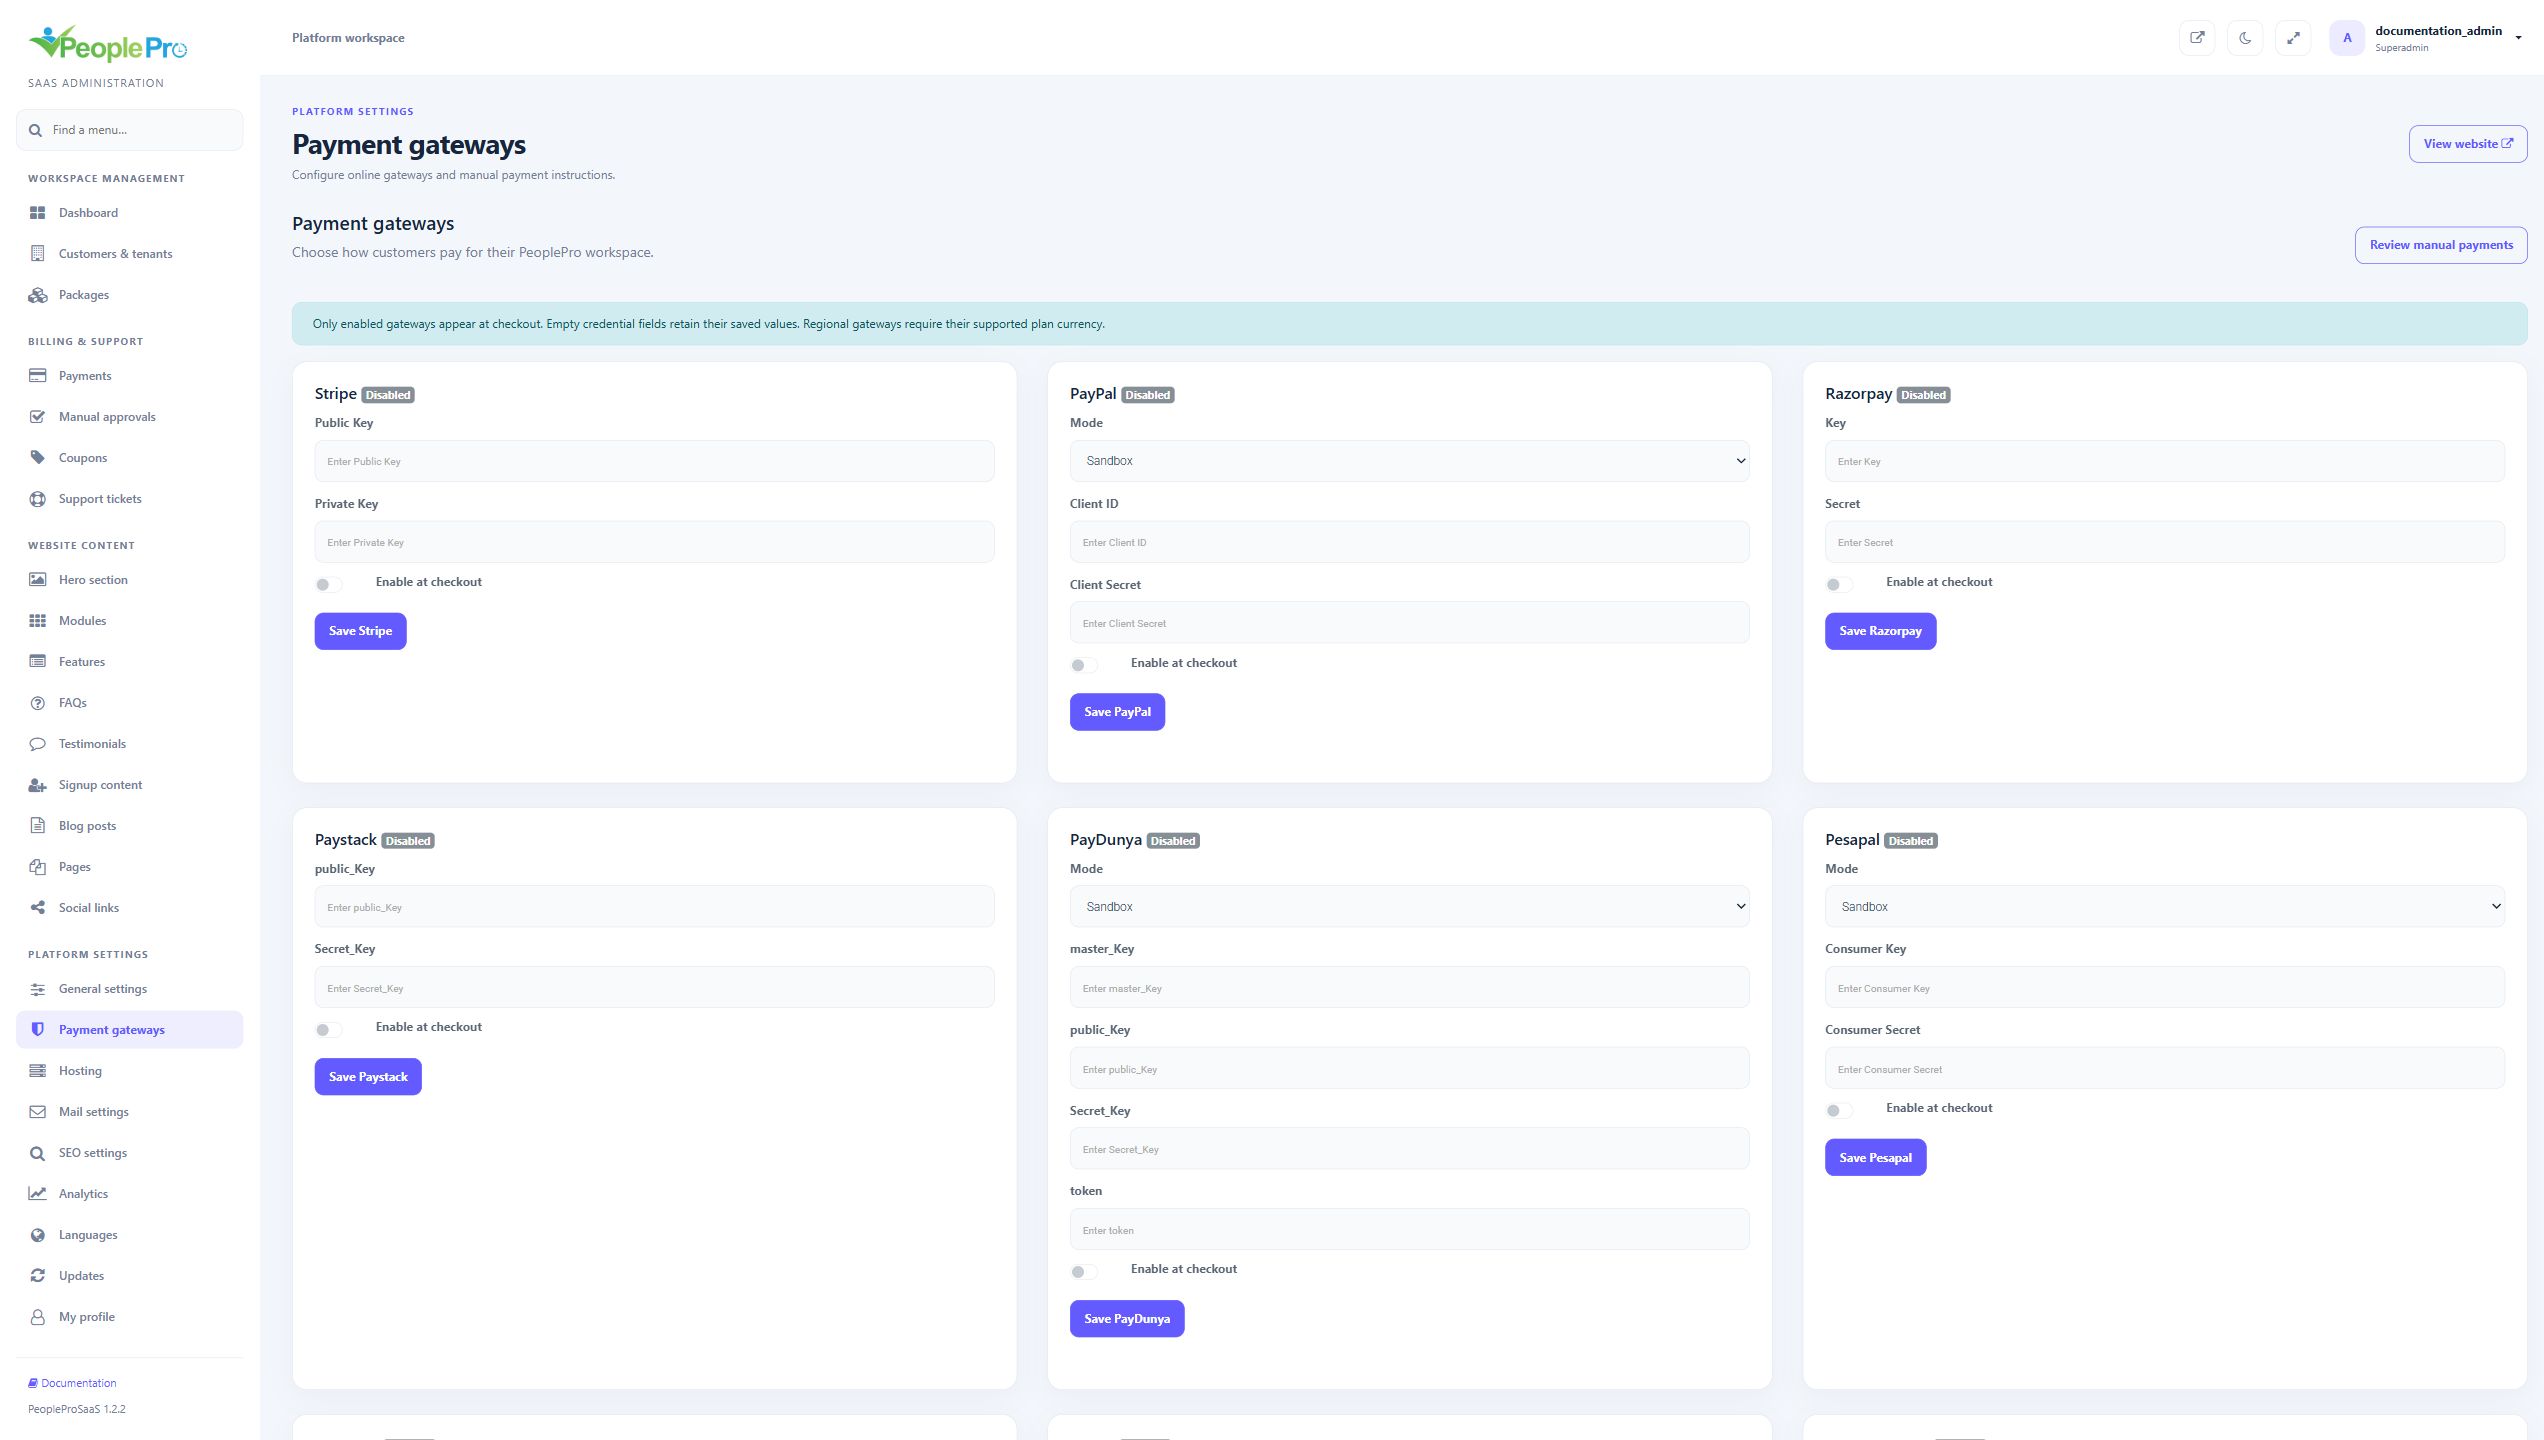
Choose Sandbox or Live, then enter the matching Client ID and Client Secret. Enable the method and save the PayPal card. The selected mode determines which account environment is used. Confirm your merchant account can receive the currency configured for the package before customers attempt payment.
Razorpay uses Key and Secret. Paystack uses public_Key and Secret_Key. Enter each pair only on its own provider card, enable the intended method and save it. Keep the provider account and package currency compatible. A successful browser redirect is followed by server verification before a tenant is activated.
For PayDunya, choose the mode and complete master_Key, public_Key, Secret_Key and token. For Pesapal, choose the mode and complete Consumer Key and Consumer Secret. Save each provider separately after completing its merchant setup. If the provider requires a return or notification address, use the integration address for your own HTTPS platform domain rather than a demonstration domain.
Choose the mode and complete Merchant ID, Password, Integrity Salt and the Return URL requested by the card. The integration uses PKR packages. Enable and save only after the account and return-address configuration are ready. Verify the callback reaches your platform as part of merchant testing.
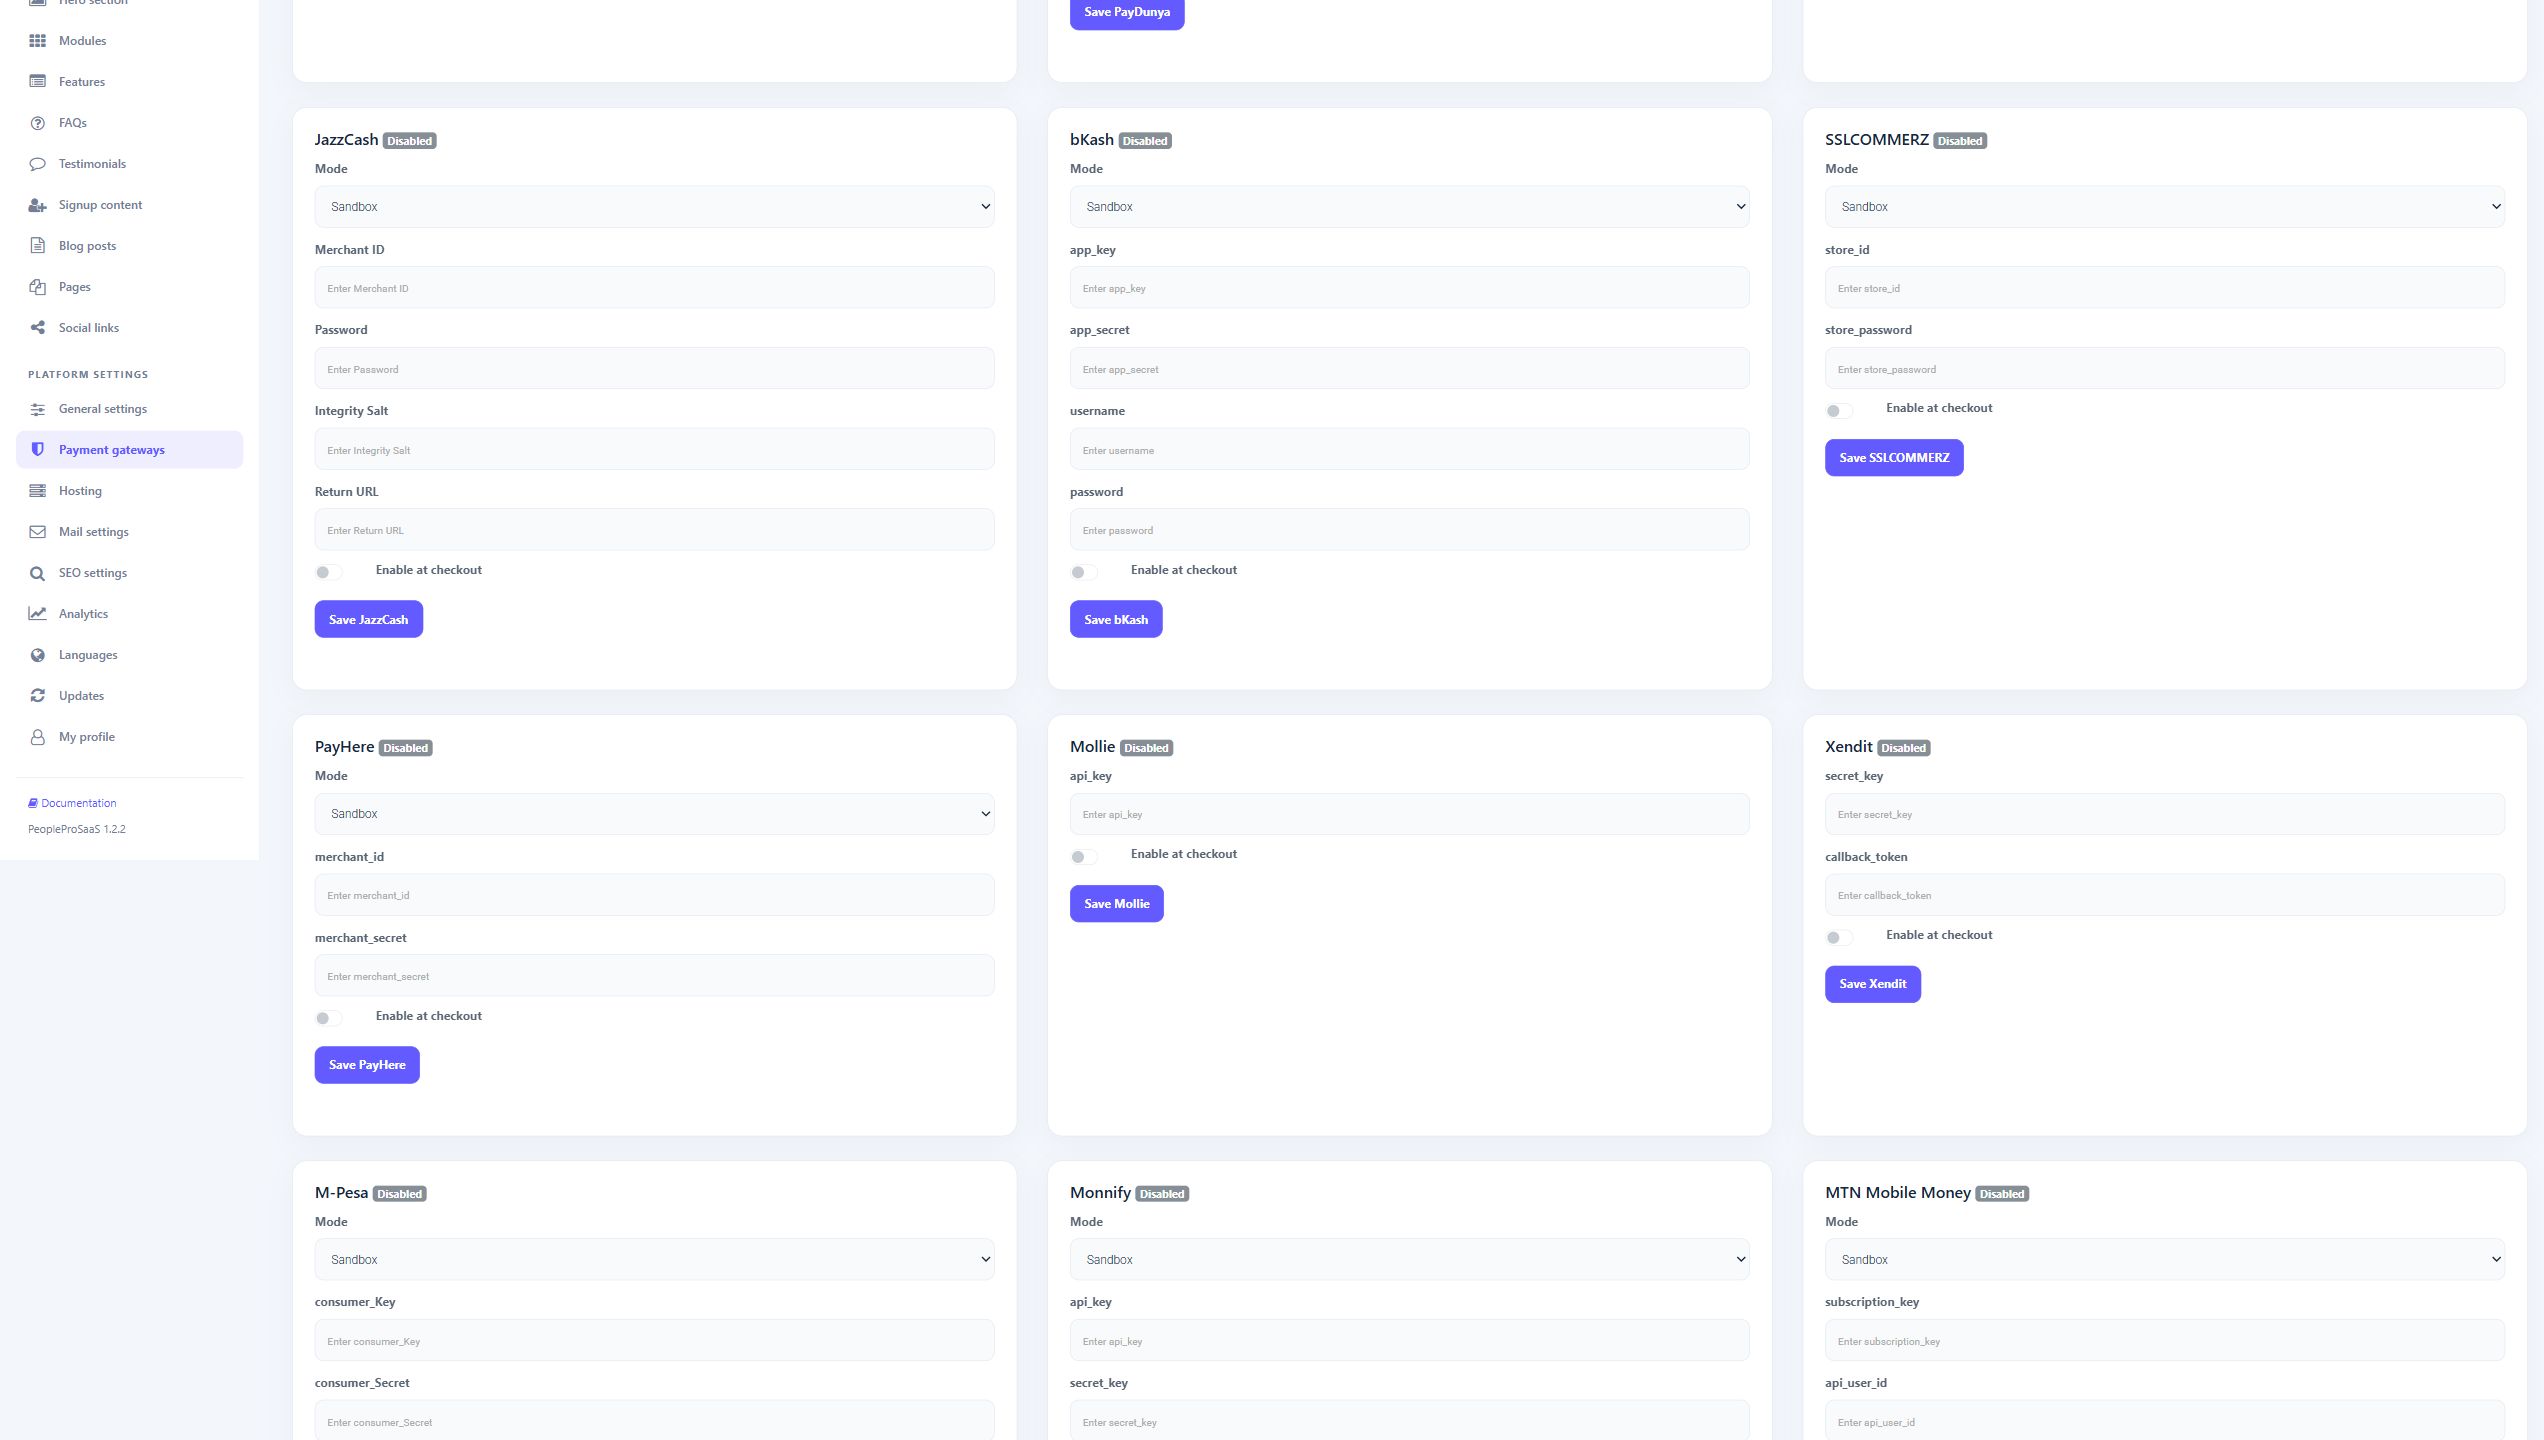
These integrations require BDT packages. For bKash, select the mode and complete app_key, app_secret, username and password. For SSLCOMMERZ, select the mode and complete store_id and store_password. Save the appropriate provider card and test with its matching environment before allowing customers to use it.
PayHere uses a mode, merchant_id and merchant_secret. Mollie uses api_key. Xendit uses secret_key and callback_token. Complete the fields on the intended card and save it. Ensure any required provider return or notification configuration uses your platform domain. Xendit callback verification uses the configured callback token.
Choose the mode and enter consumer_Key, consumer_Secret, shortcode and passkey. This integration requires KES packages. Customers may need a payment phone number at checkout. Save and enable the method after completing the matching merchant setup and confirming that payment callbacks can reach your HTTPS platform.
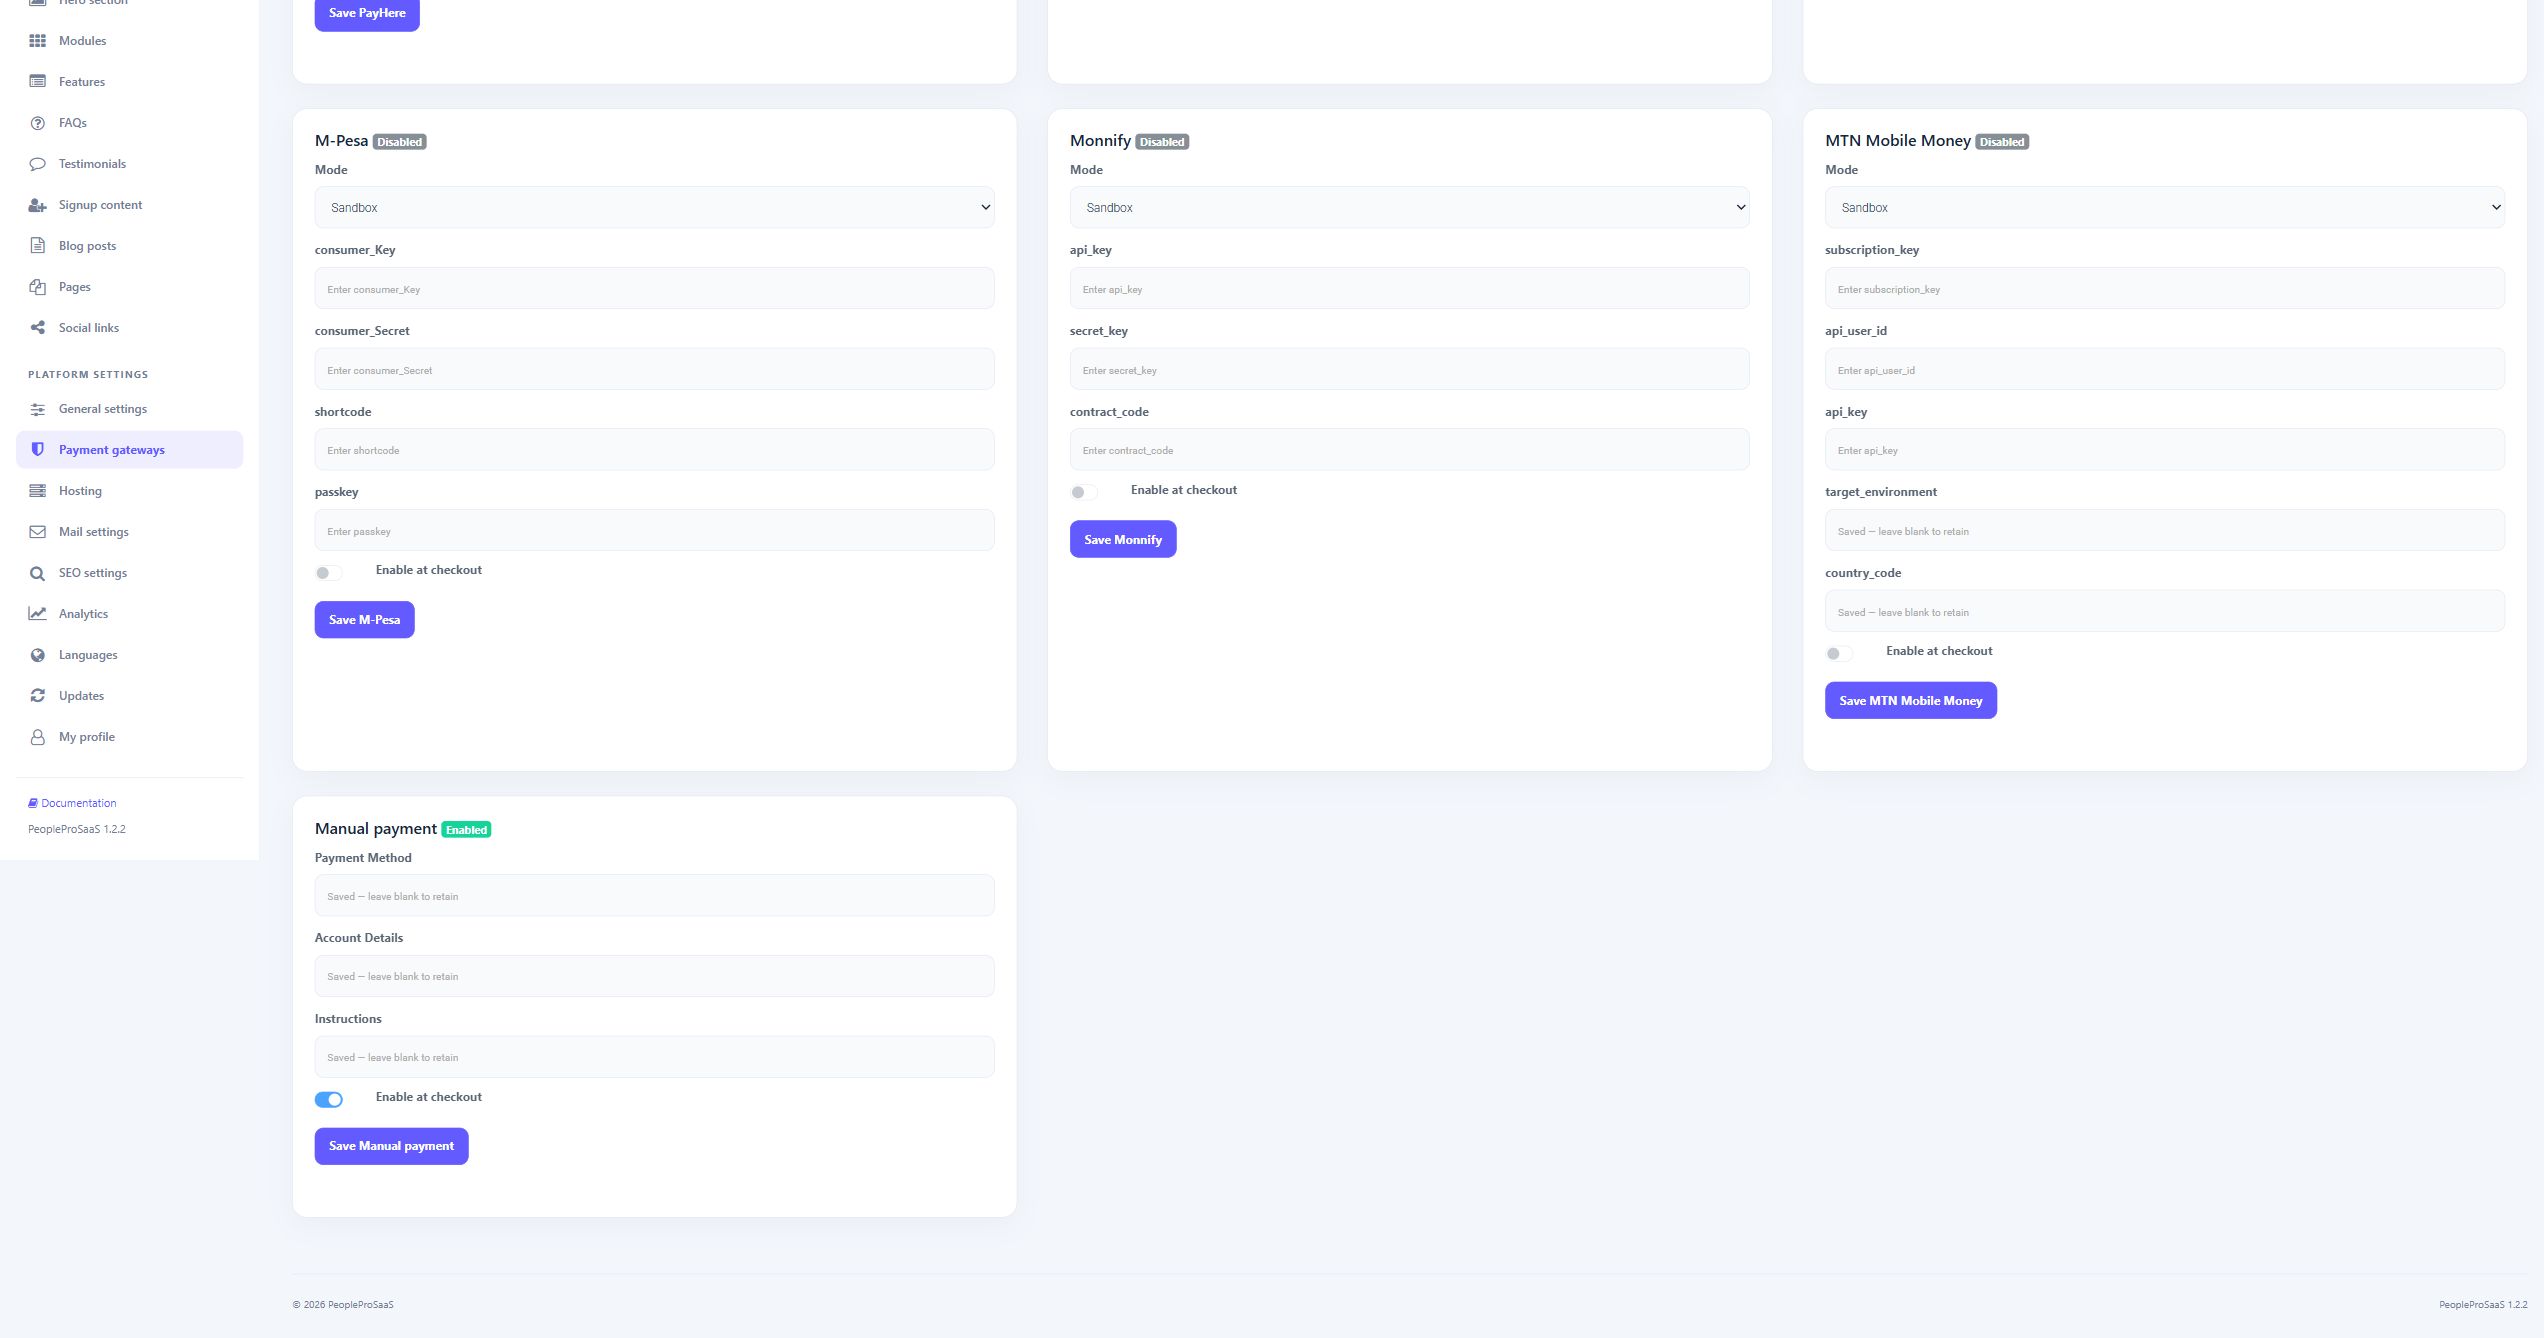
Choose the mode, then complete api_key, secret_key and contract_code. This integration requires NGN packages. Save the card and verify the merchant configuration and notification flow before enabling it for customers. Review the transaction reference when checking a payment result.
Choose the mode and complete subscription_key, api_user_id, api_key, target_environment and country_code. Keep the target environment consistent with your MTN account and the selected mode. Mobile money checkout uses the customer payment phone number, so explain the expected number format to your customers when setting up the service.
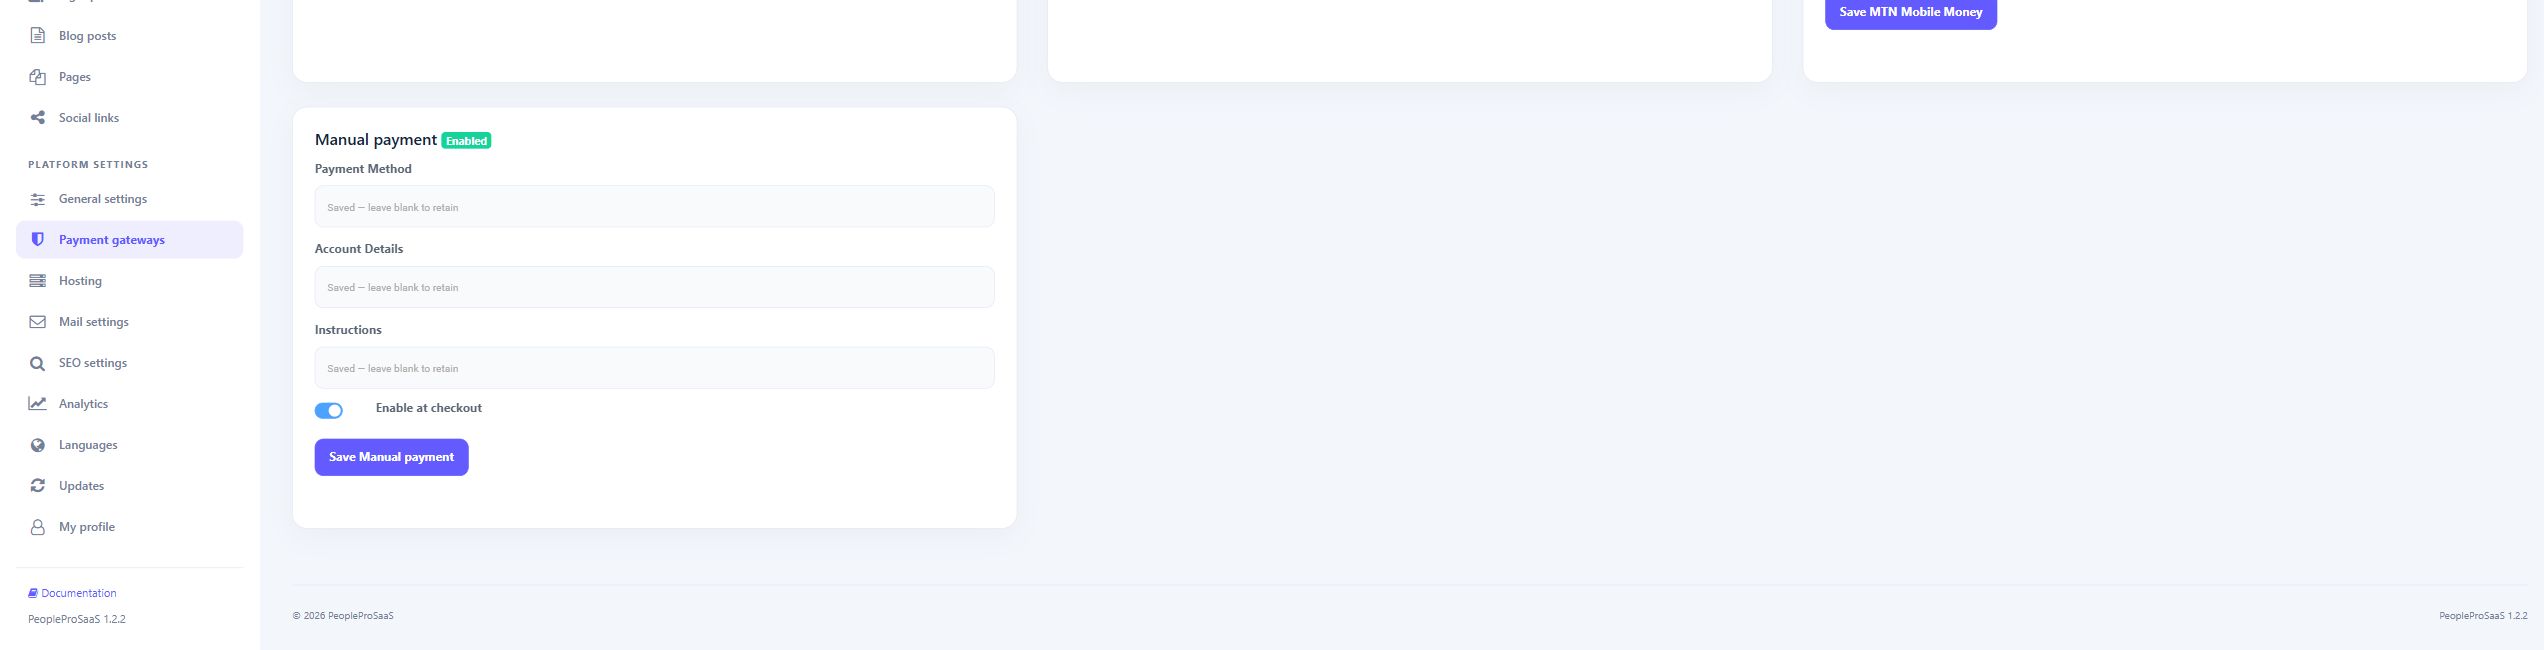
Enter Payment Method, Account Details and Instructions for the offline payment arrangement you actually accept. These details are shown to a customer who chooses manual payment. Enable and save the card. Review pending proofs through Manual approvals rather than recording an unrelated payment or activating a different tenant.
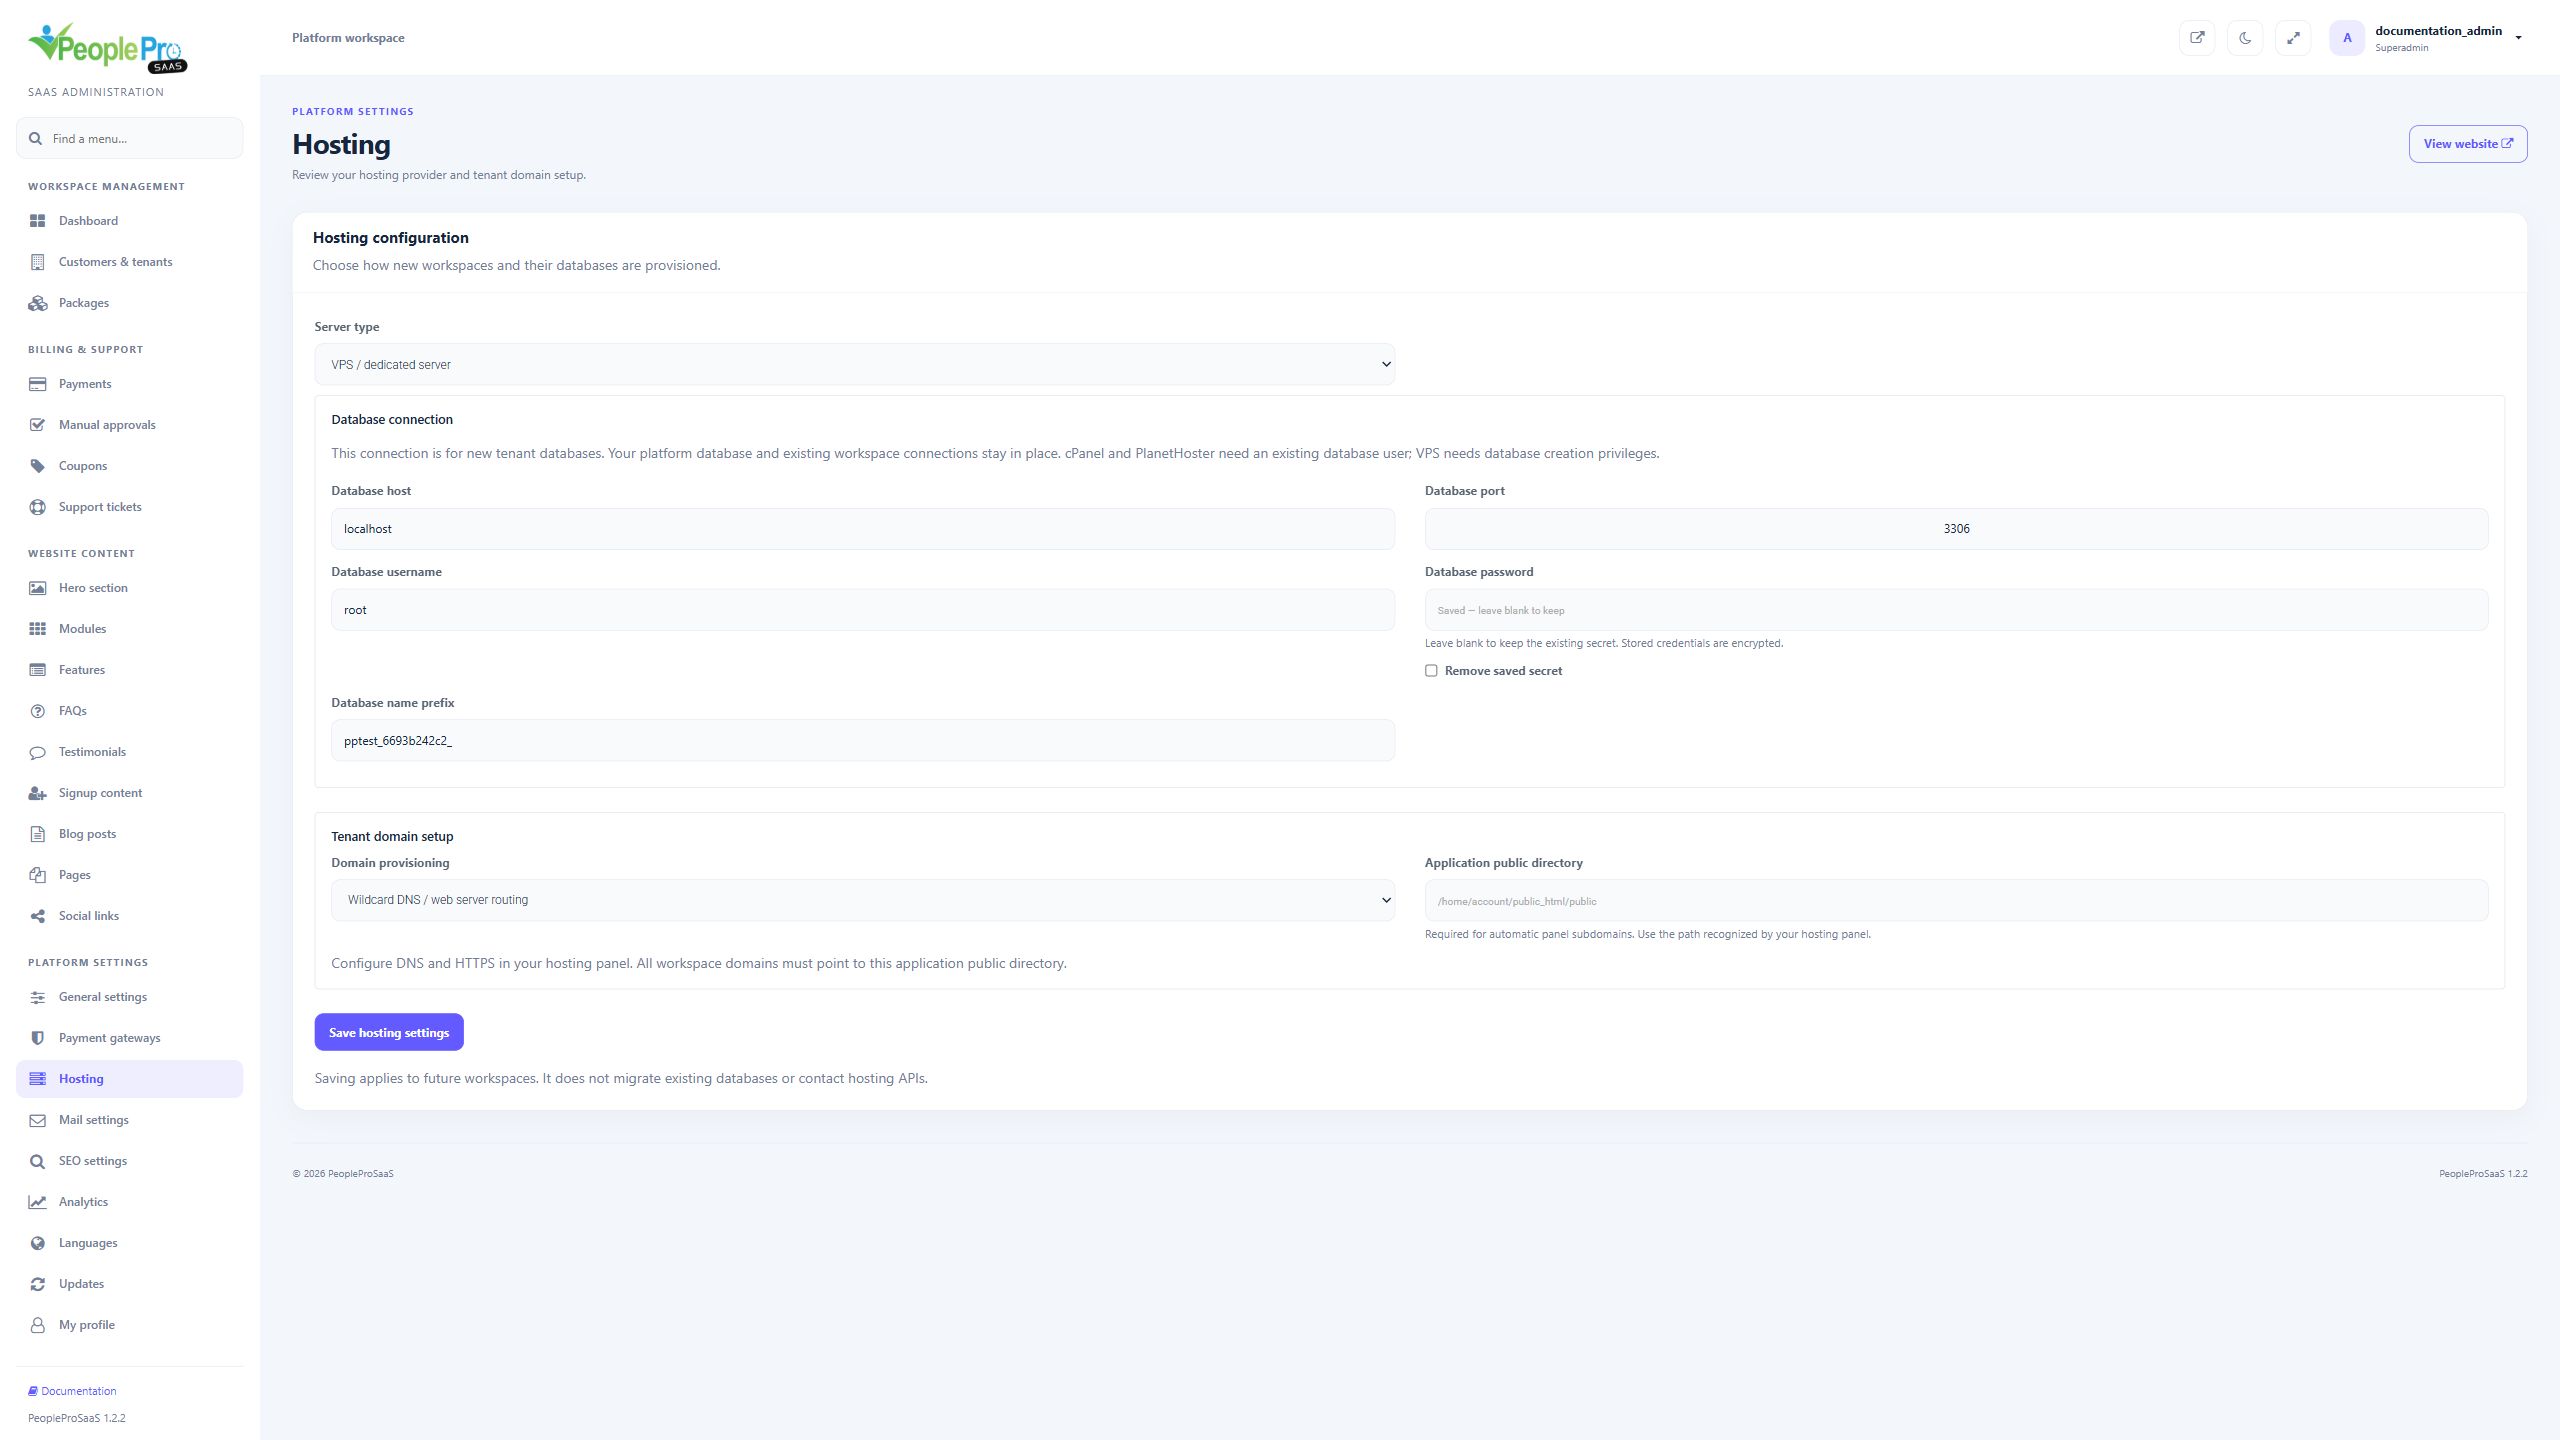
Open Hosting to configure how future workspaces and their databases are provisioned. Choose the provider, review the database connection and prefix, then complete that provider settings and the domain setup. Saving these settings does not move existing tenant databases or call the hosting API immediately. Existing workspaces retain their saved connections. Verify a small test workspace before relying on a new hosting configuration.
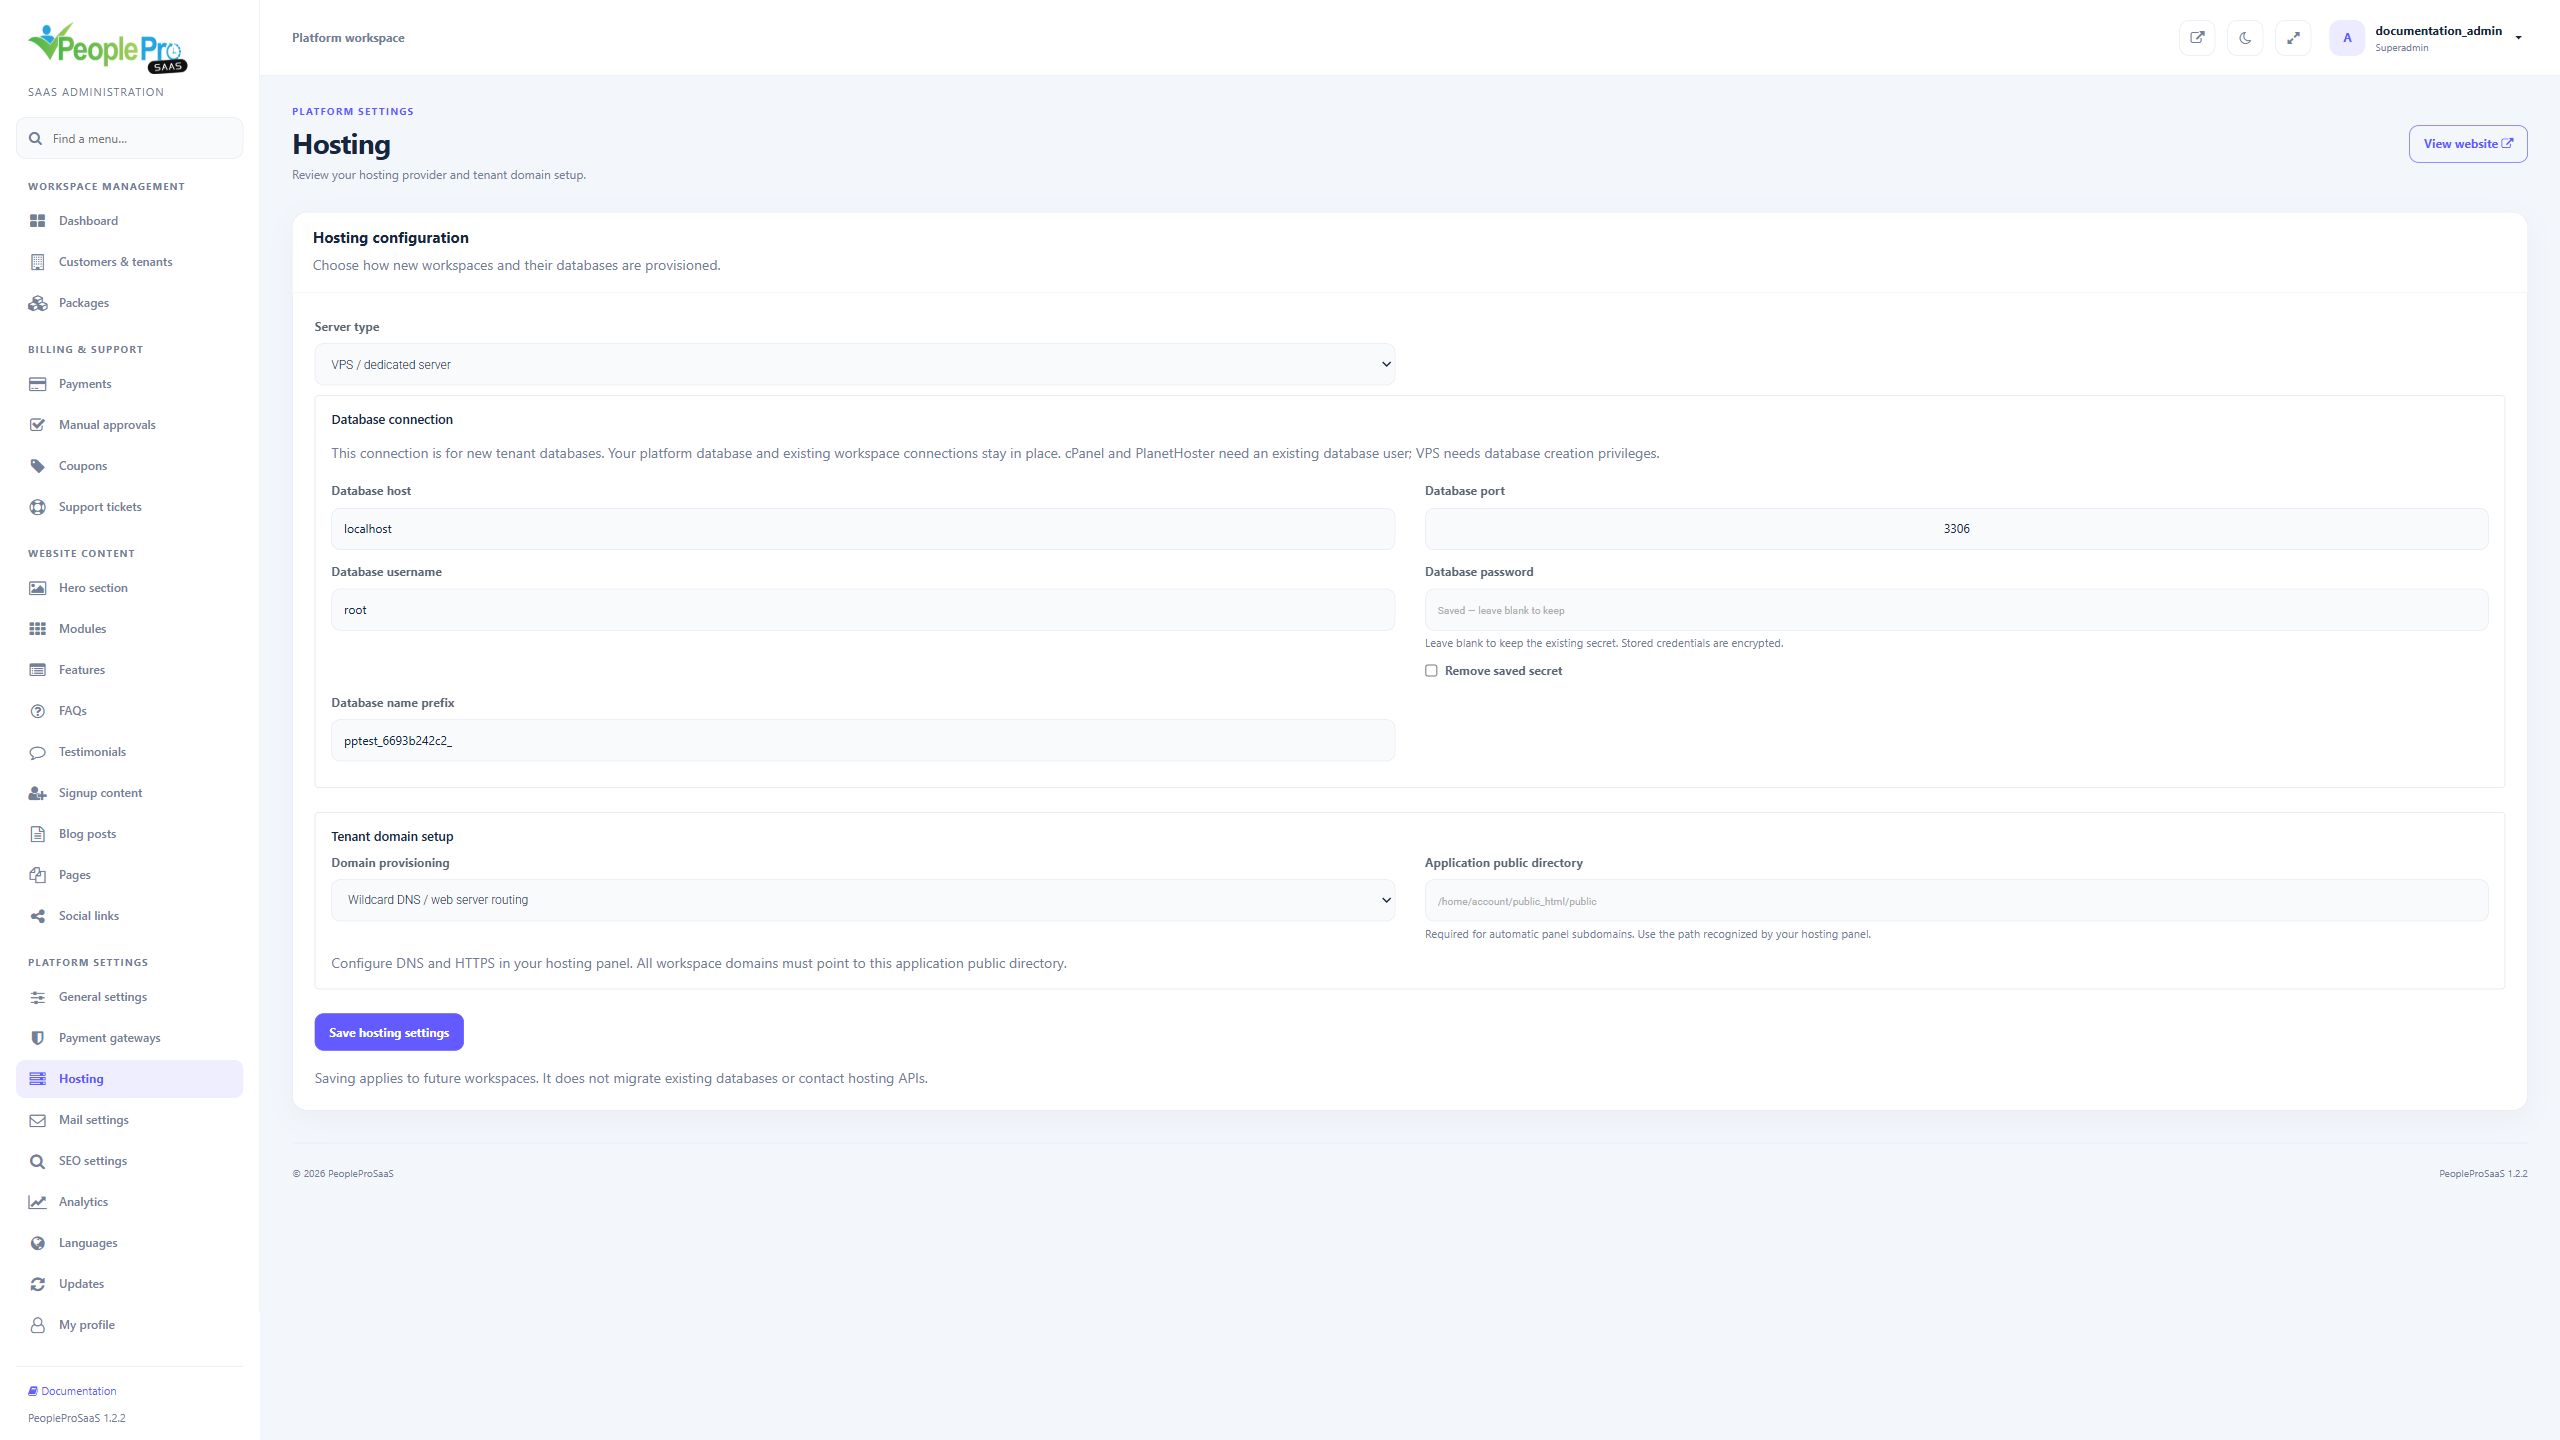
Choose VPS / dedicated server. Enter the database host, port, username, password and the prefix used for new tenant databases. The database account must have the required permission to create and manage those databases. Configure wildcard DNS, your web-server virtual host and HTTPS so tenant domains point to the application public directory. This is also the provider choice for a dedicated MySQL arrangement.
Choose cPanel and complete the shared database connection, Panel hostname, cPanel username and API token. Use an account allowed to create databases and assign the intended existing database user. Include the hosting account prefix where cPanel requires it. Use wildcard routing, or choose automatic panel subdomains with the correct public directory. The panel hostname needs a trusted HTTPS certificate.
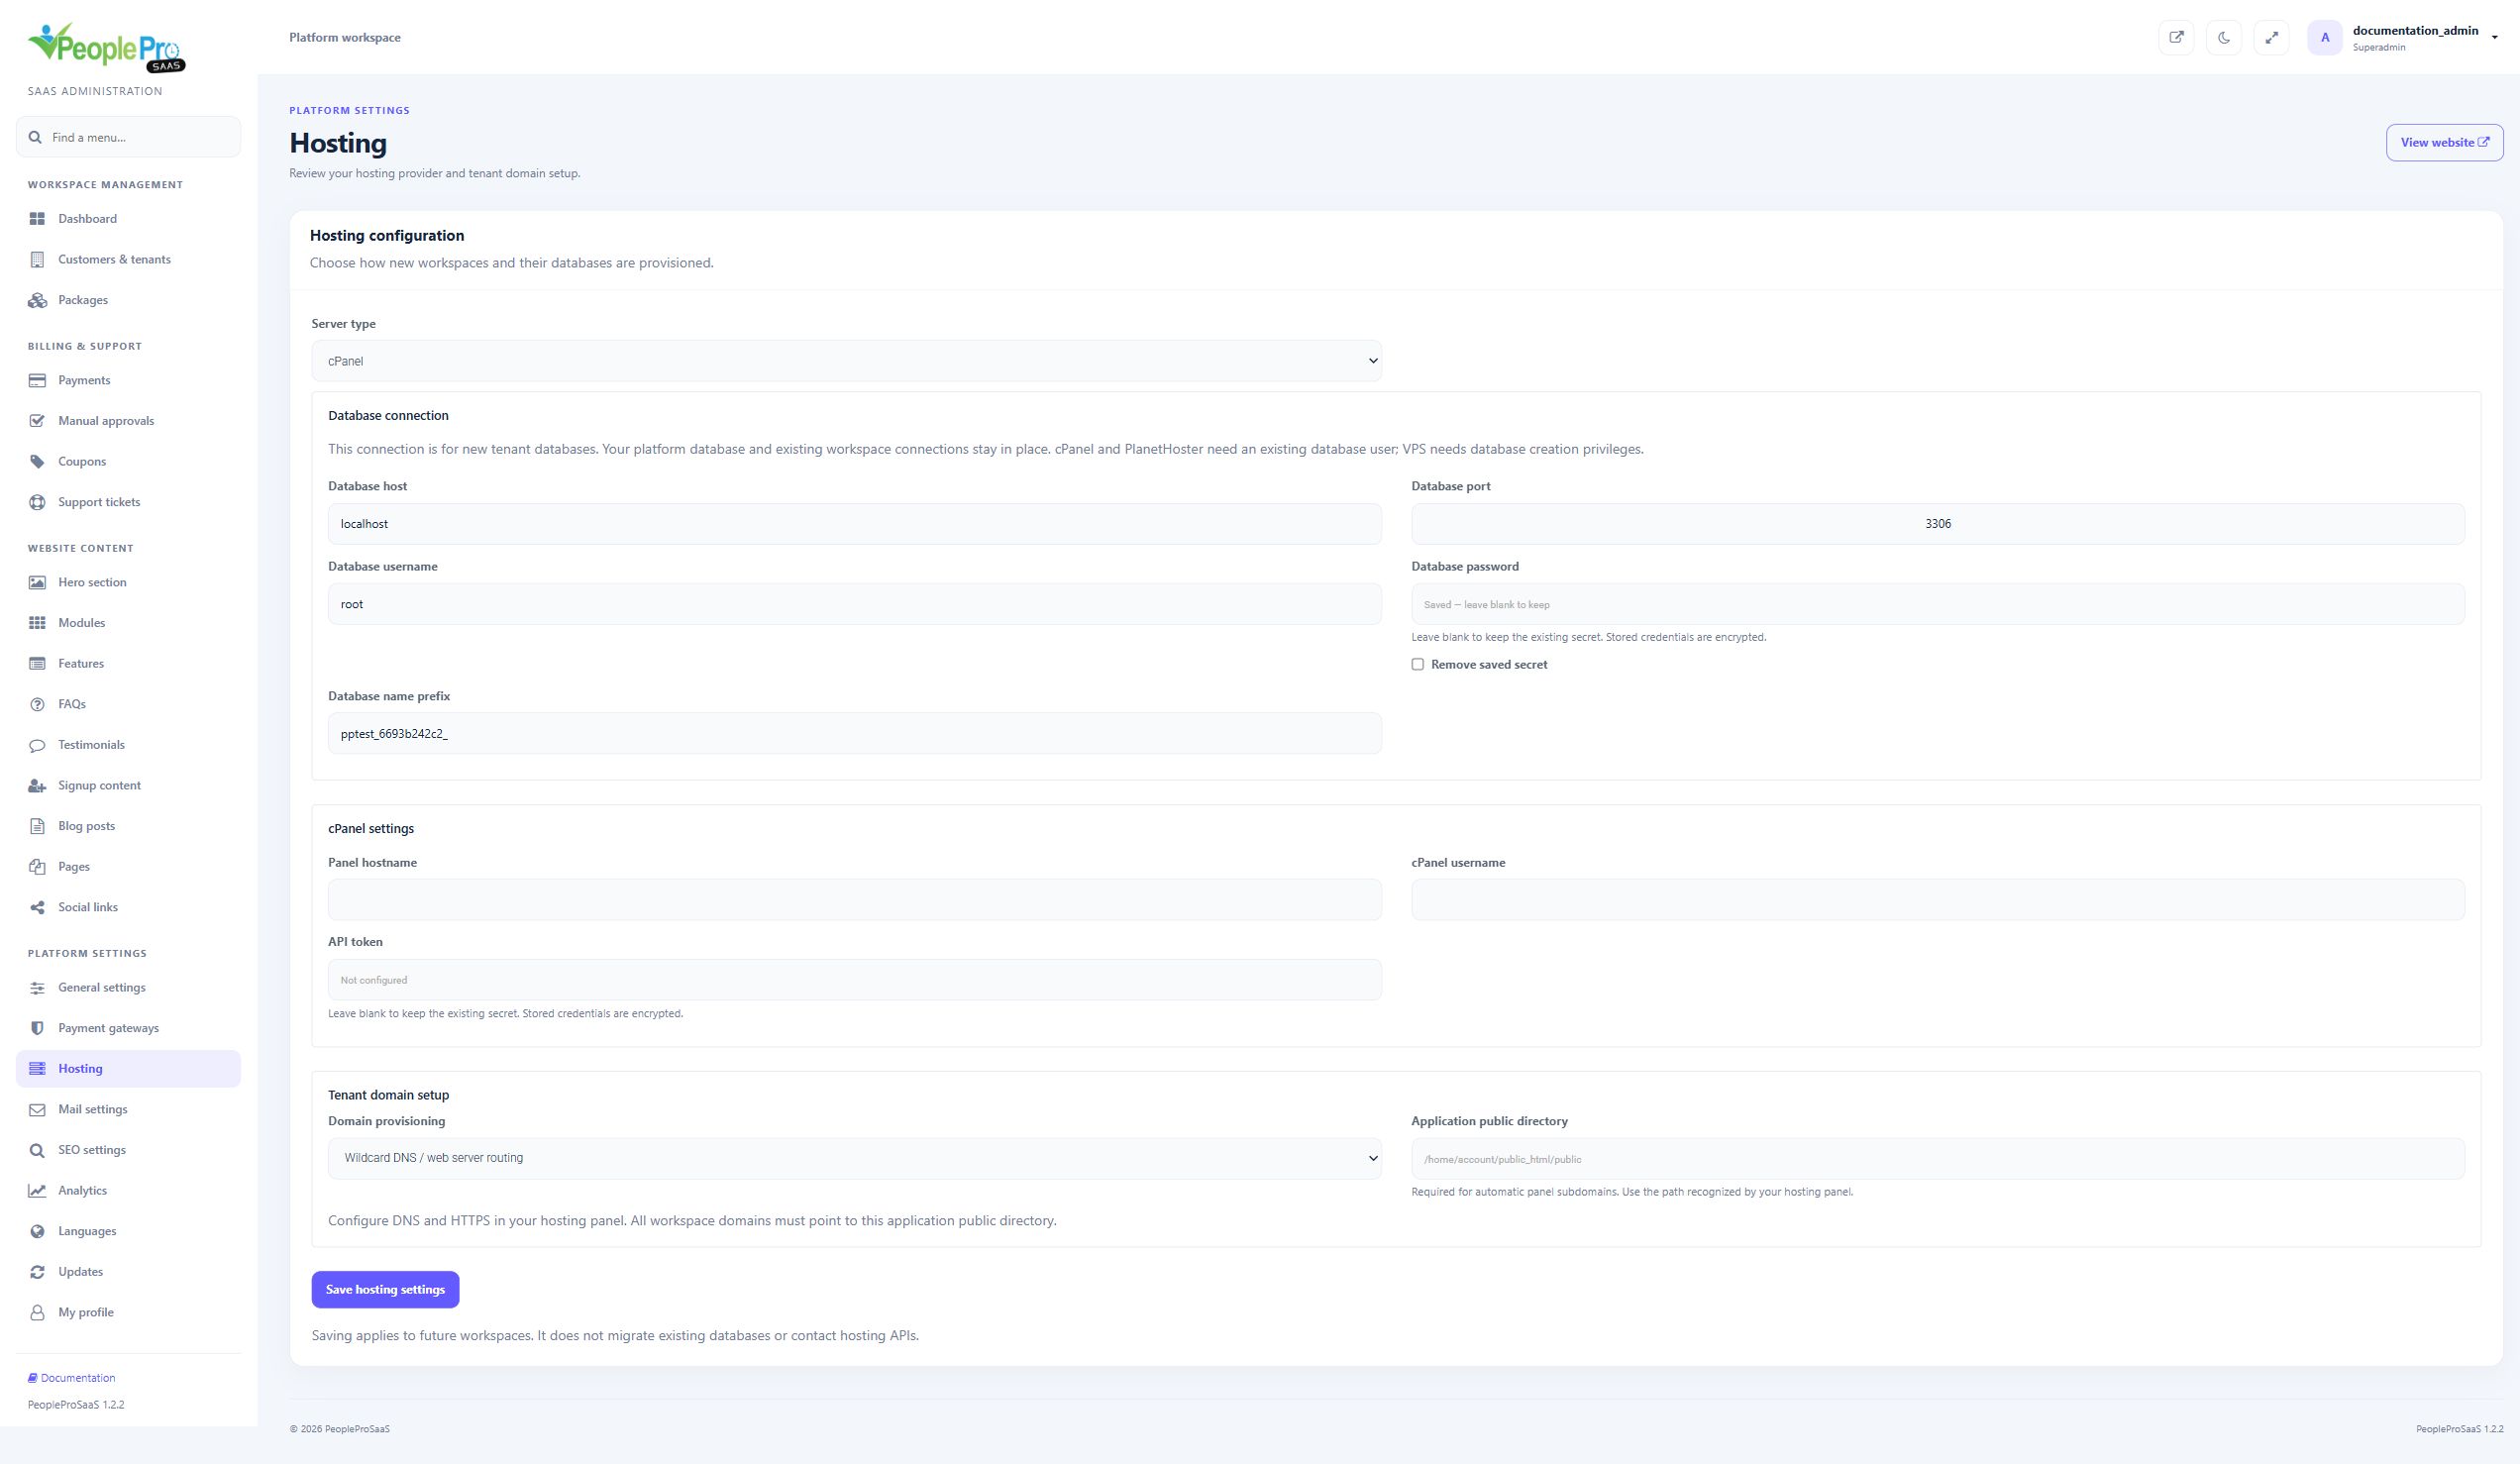
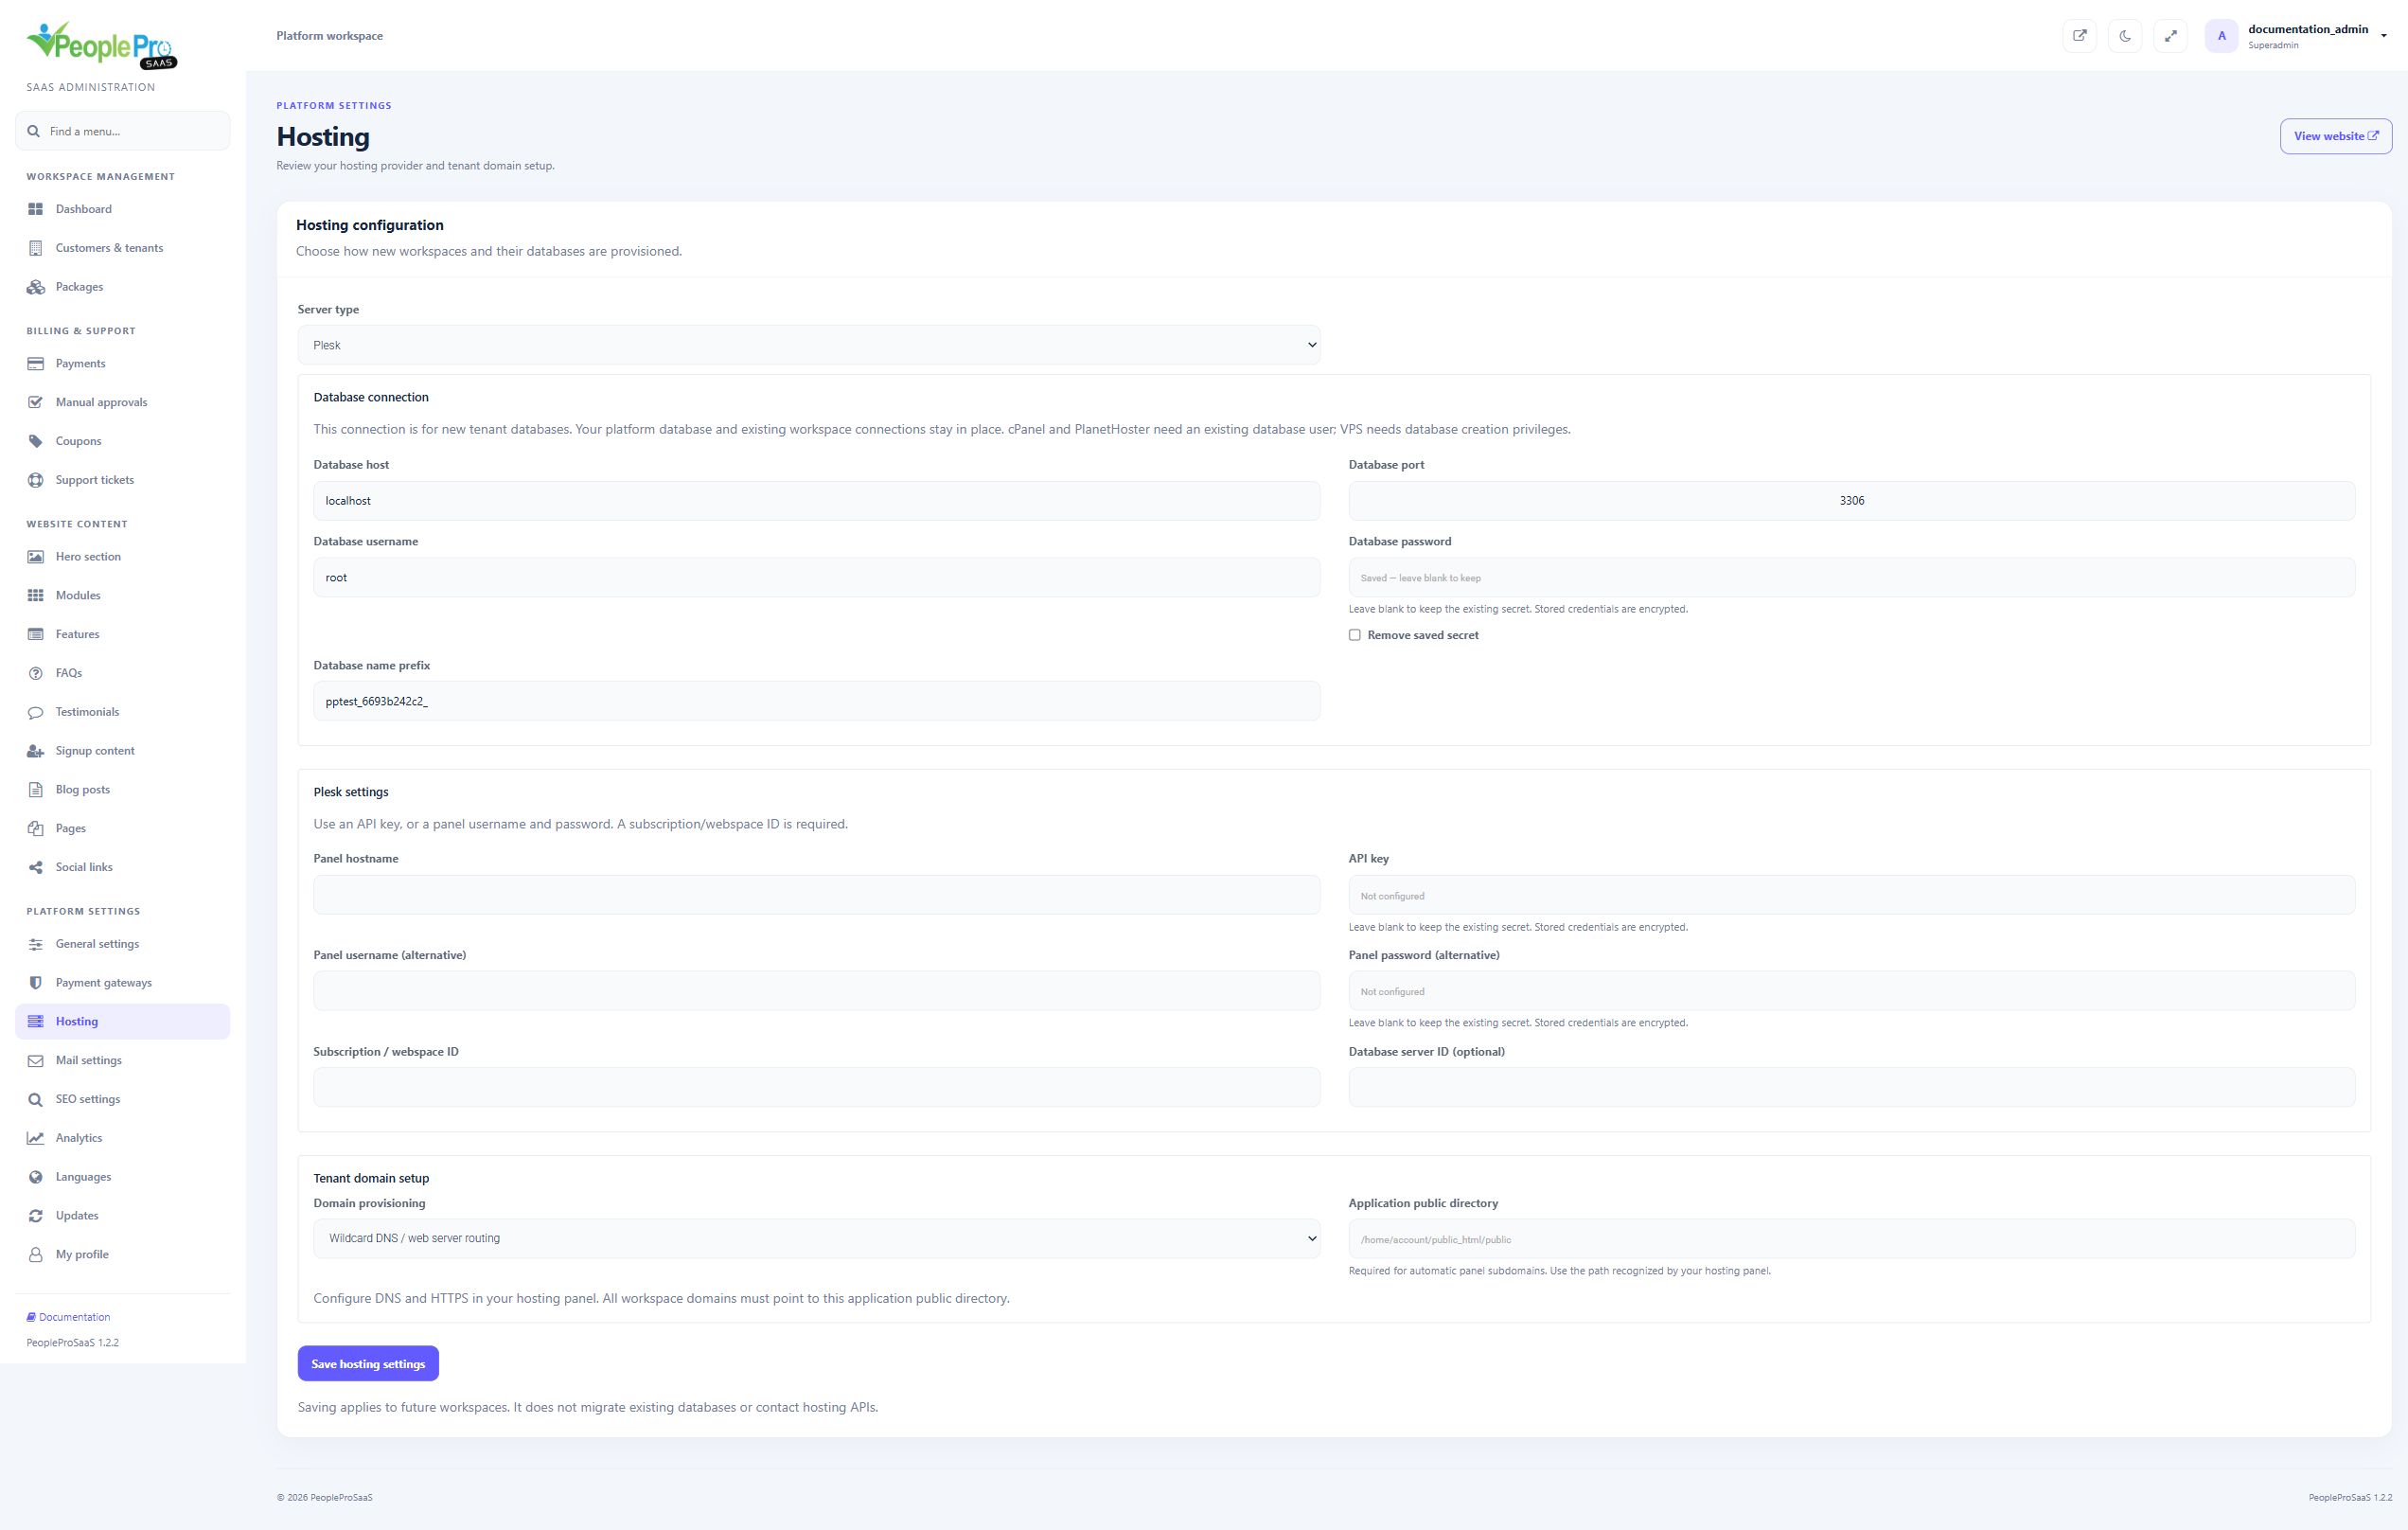
Choose Plesk and enter the database connection and panel hostname. Provide an API key, or the alternative panel username and password. Enter the Subscription / webspace ID; supply Database server ID if your hosting configuration requires it. Plesk provisions a separate database user for a new tenant. Automatic panel subdomains also need the public directory recognized by the subscription.
Choose PlanetHoster N0C and enter the database connection, API user, API key and Hosting account ID. The integration uses N0C API v4 and expects the intended database user to exist on that hosting account. Use wildcard DNS and web-server routing for tenant domains. The application public directory must serve the platform and customer addresses.
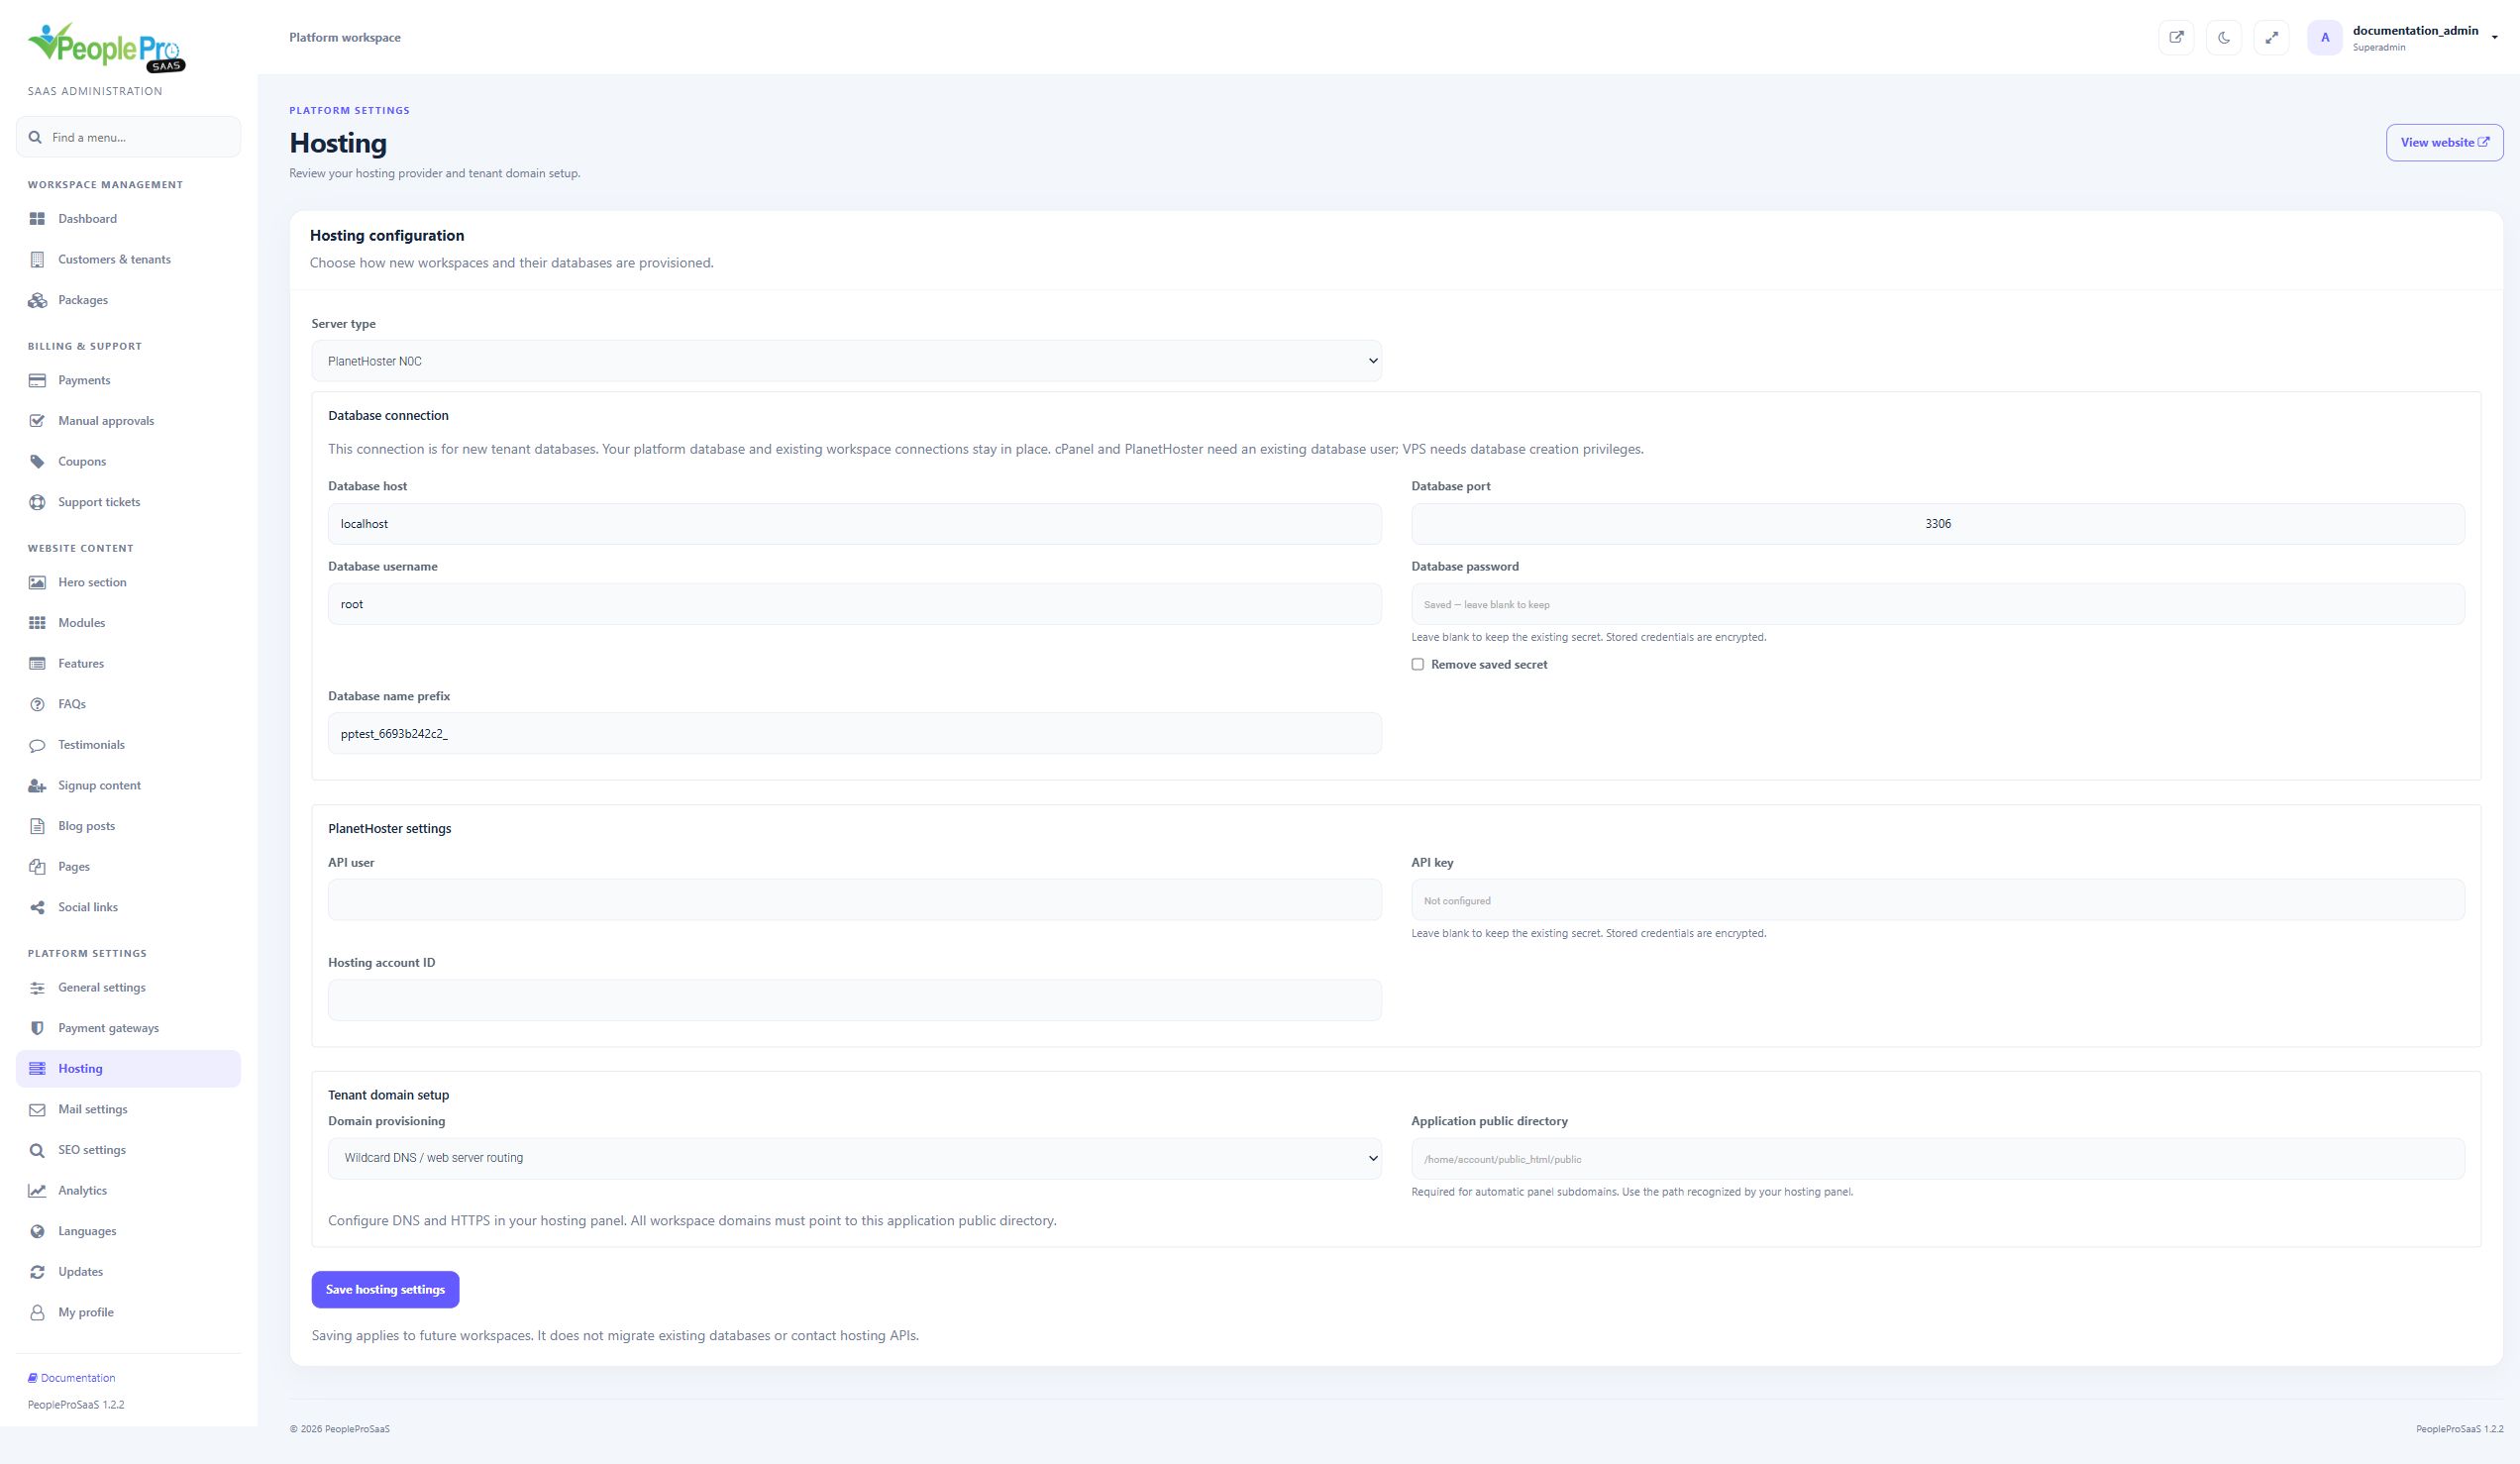
Choose Wildcard DNS / web server routing when all tenant domains are already routed to the application. Automatic panel subdomains are available for cPanel and Plesk, and require the hosting application public-directory path. VPS and PlanetHoster use wildcard routing. Domain registration inside PeopleProSaaS and hosting DNS/certificate configuration are separate tasks.
Secret fields show Saved — leave blank to keep when a value already exists. Leave the field blank to retain it, or enter a new value when rotating that credential. Use Remove saved secret only when you intend to clear it. Hosting secrets are stored encrypted. Check all required fields for the selected provider before saving; changing the provider does not migrate existing workspaces.
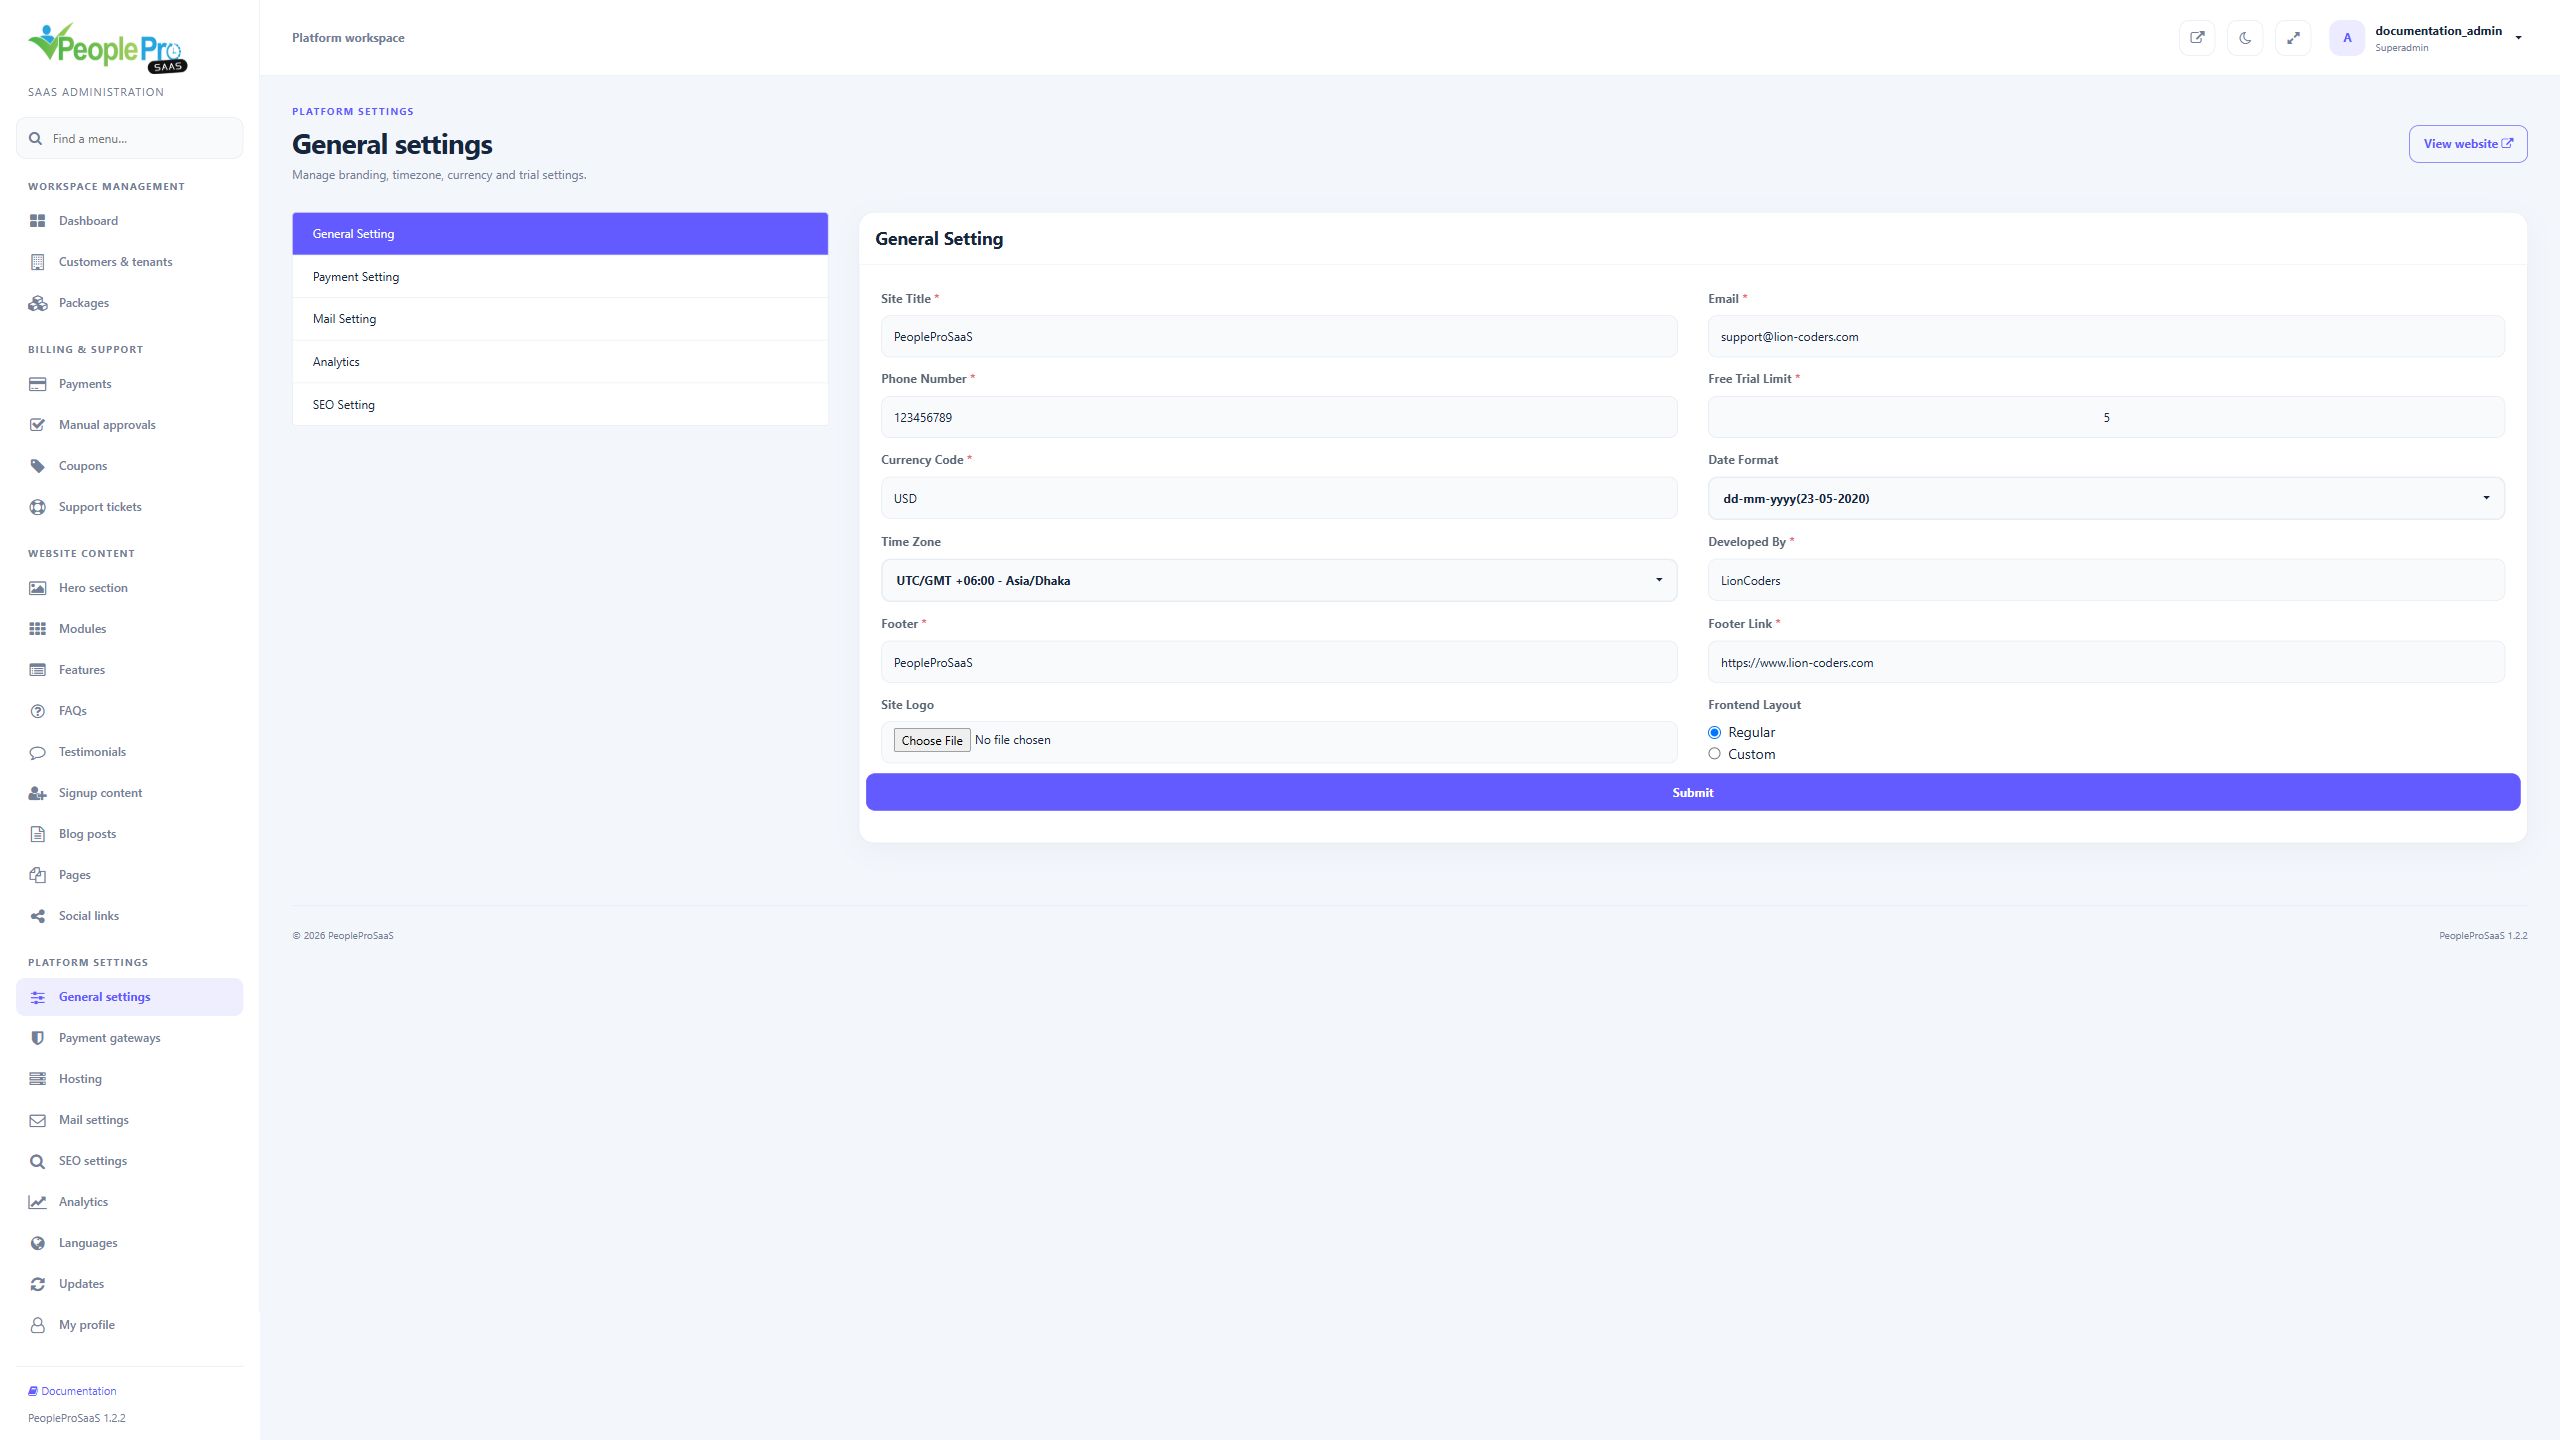
Open General settings to review Site Title, Email, Phone Number, Free Trial Limit, Currency Code, Date Format, Time Zone, Developed By, Footer, Footer Link and Site Logo. Use your actual platform contact details. Currency Code controls the currency used when preparing new checkouts; changing it does not convert historical payments. Free Trial Limit is the number of trial days shown to new customers. Review date and time settings before relying on expiry dates or reports.
Site Title names the platform. Email and Phone Number provide its contact details. Choose a Site Logo image when replacing the saved brand; leaving the file input empty keeps the saved image. The superadmin sidebar reads that saved logo and falls back to the supplied PeopleProSaaS logo. Developed By, Footer and Footer Link hold the credit text and its website address. Submit the form and check the panel. The installer uses the supplied SaaS logo independently of these saved settings.
Free Trial Limit is the number of days used for packages with Free Trial enabled. Currency Code identifies the currency for new checkouts; it does not convert past payments. Date Format changes date presentation, and Time Zone should match the platform operating location. Frontend Layout offers Regular and Custom for earlier website layouts. The current curated product homepage is not replaced by that older layout choice. Review the public page after changes.
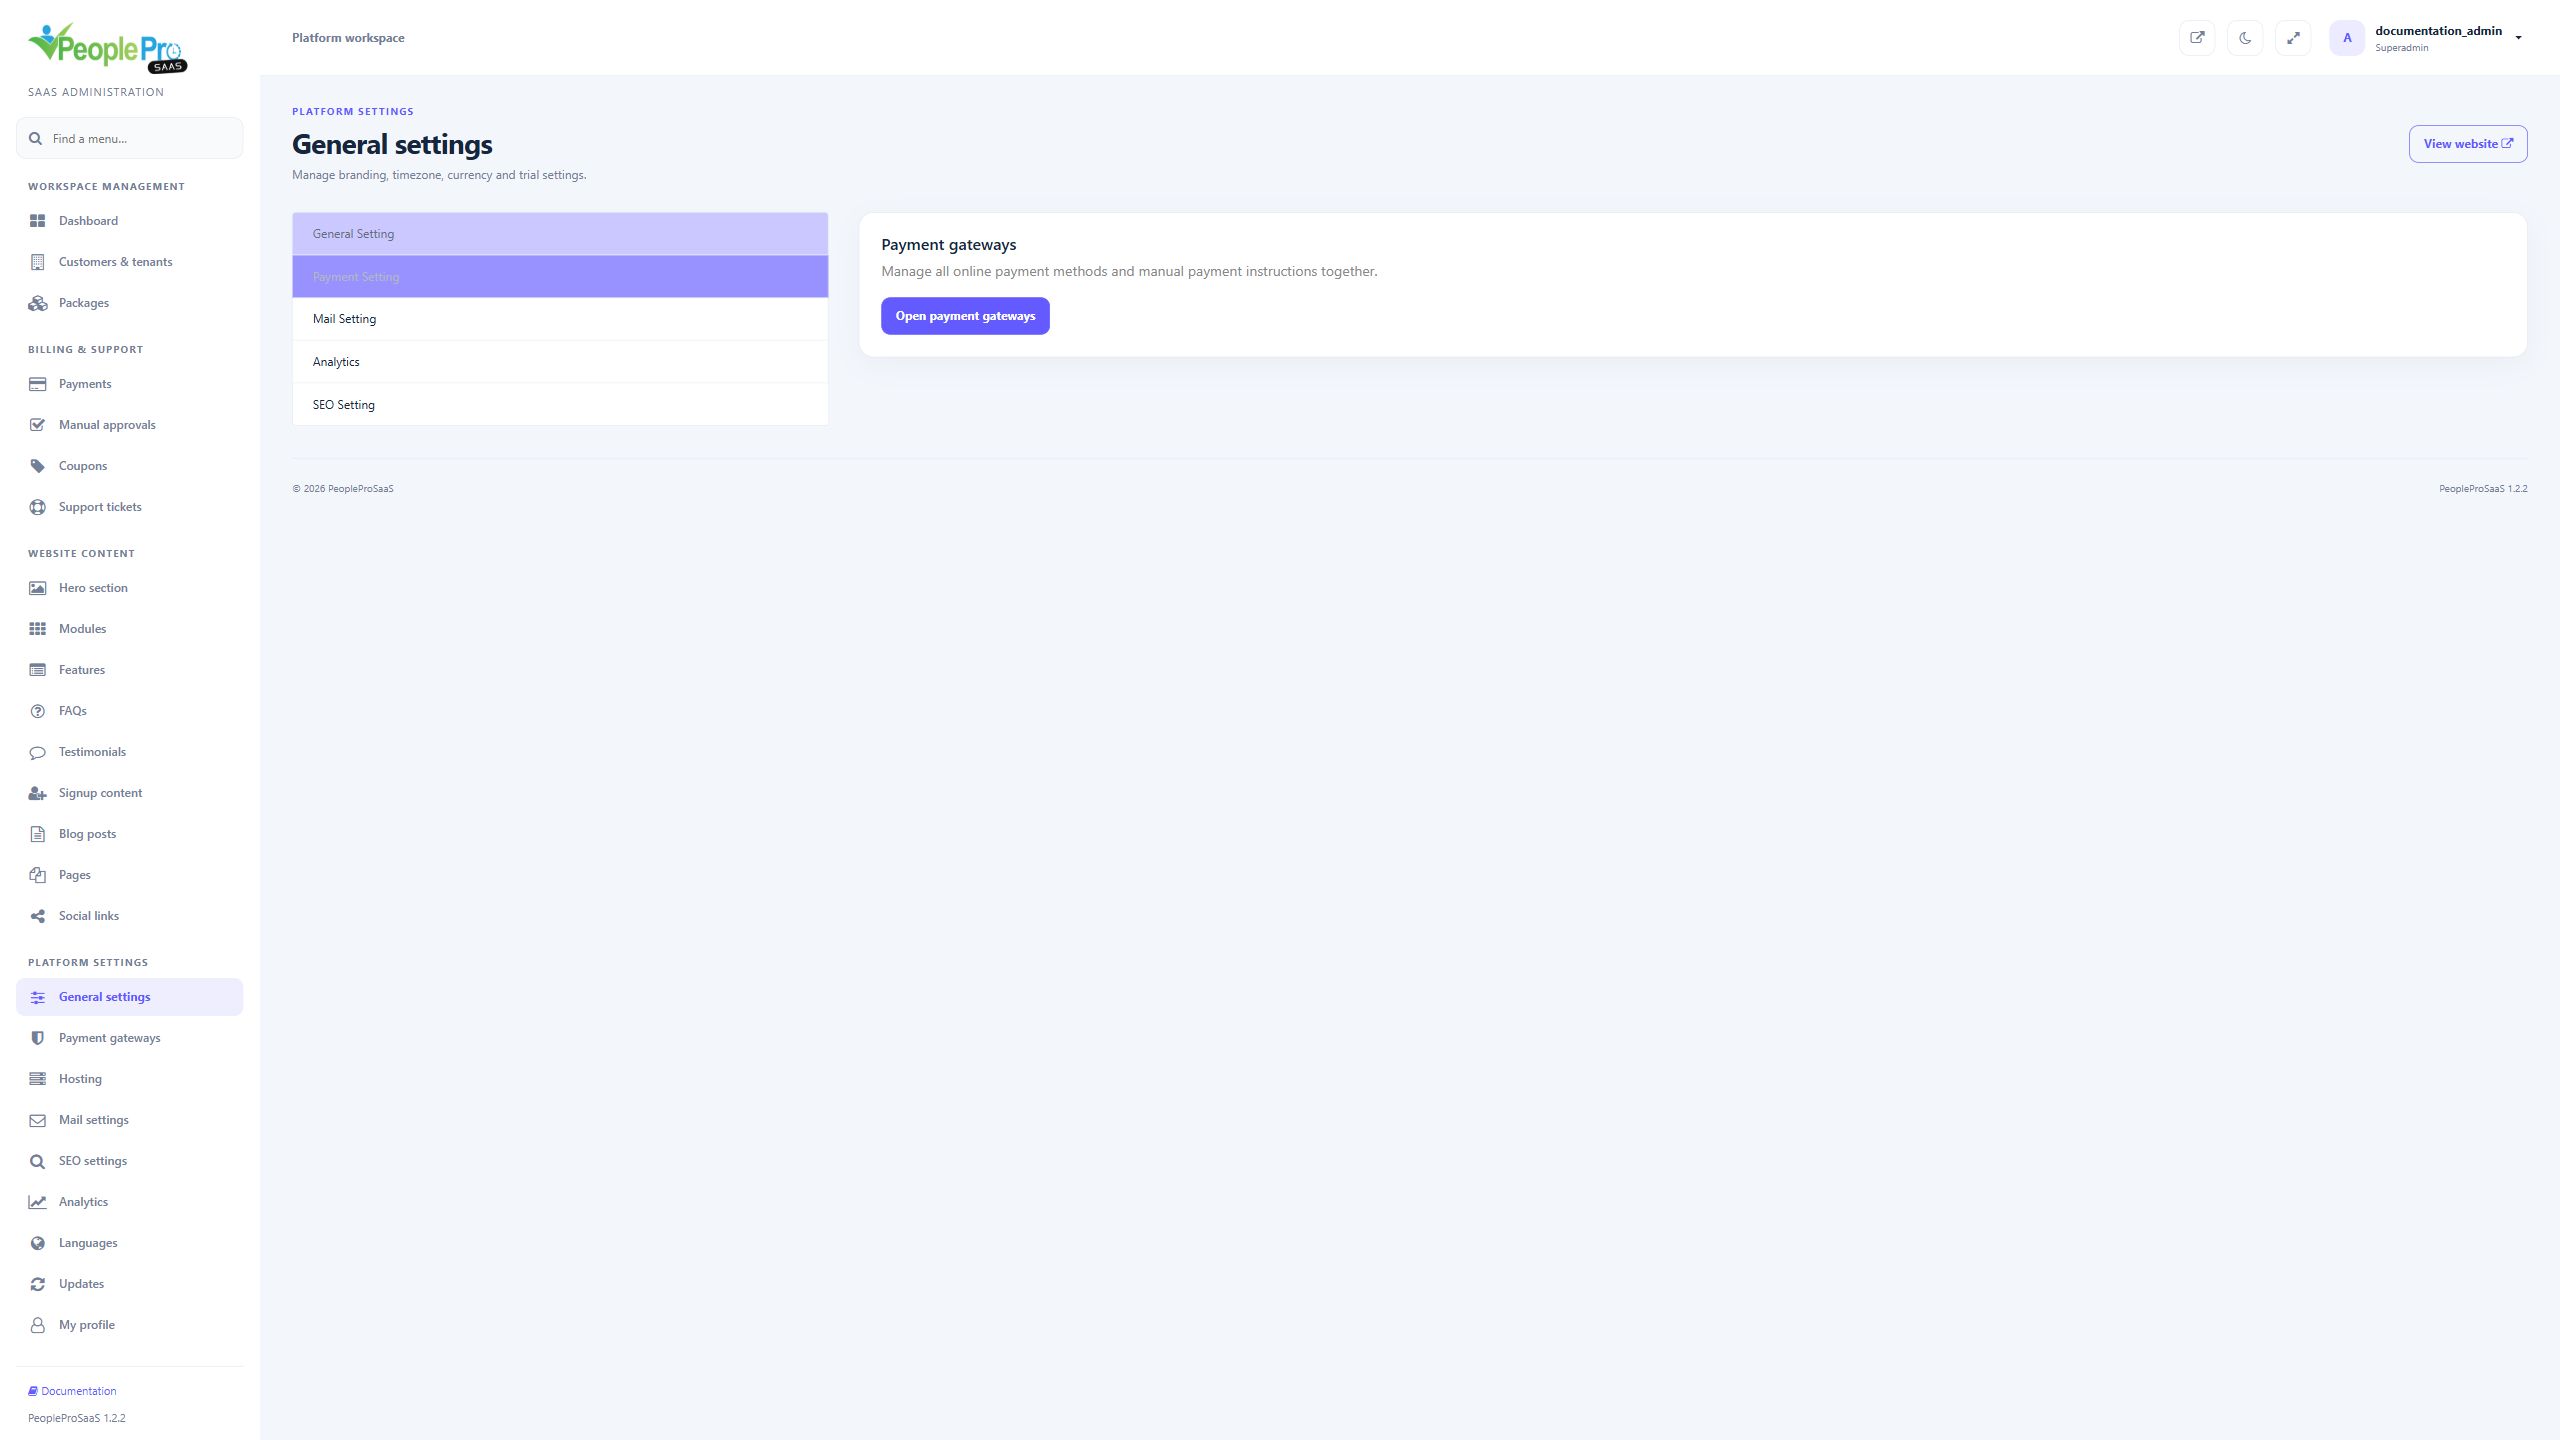
The Payment Setting tab inside Settings is a shortcut rather than a second payment-credential form. Choose Open payment gateways to manage enabled online methods and manual payment instructions in one place. Use Payments for transaction history and Manual approvals for transfer proofs. These three pages have different purposes.
The public homepage uses the curated PeoplePro product theme. The older Frontend Layout choice and some CMS image or button fields remain available for earlier website content. Changing them does not replace the current product explorer. Platform settings and tenant company settings are separate. Review the page you intend to publish after changing branding or content.
Open Mail settings. Enter the mail driver, host, port, sender address and sender name. Complete the username and password required by your mail service and choose the matching TLS or SSL encryption. Set the active option as intended and submit. Confirm delivery using an appropriate test message or password-reset workflow after configuration. Tenant workspace mail settings are separate from the platform configuration.
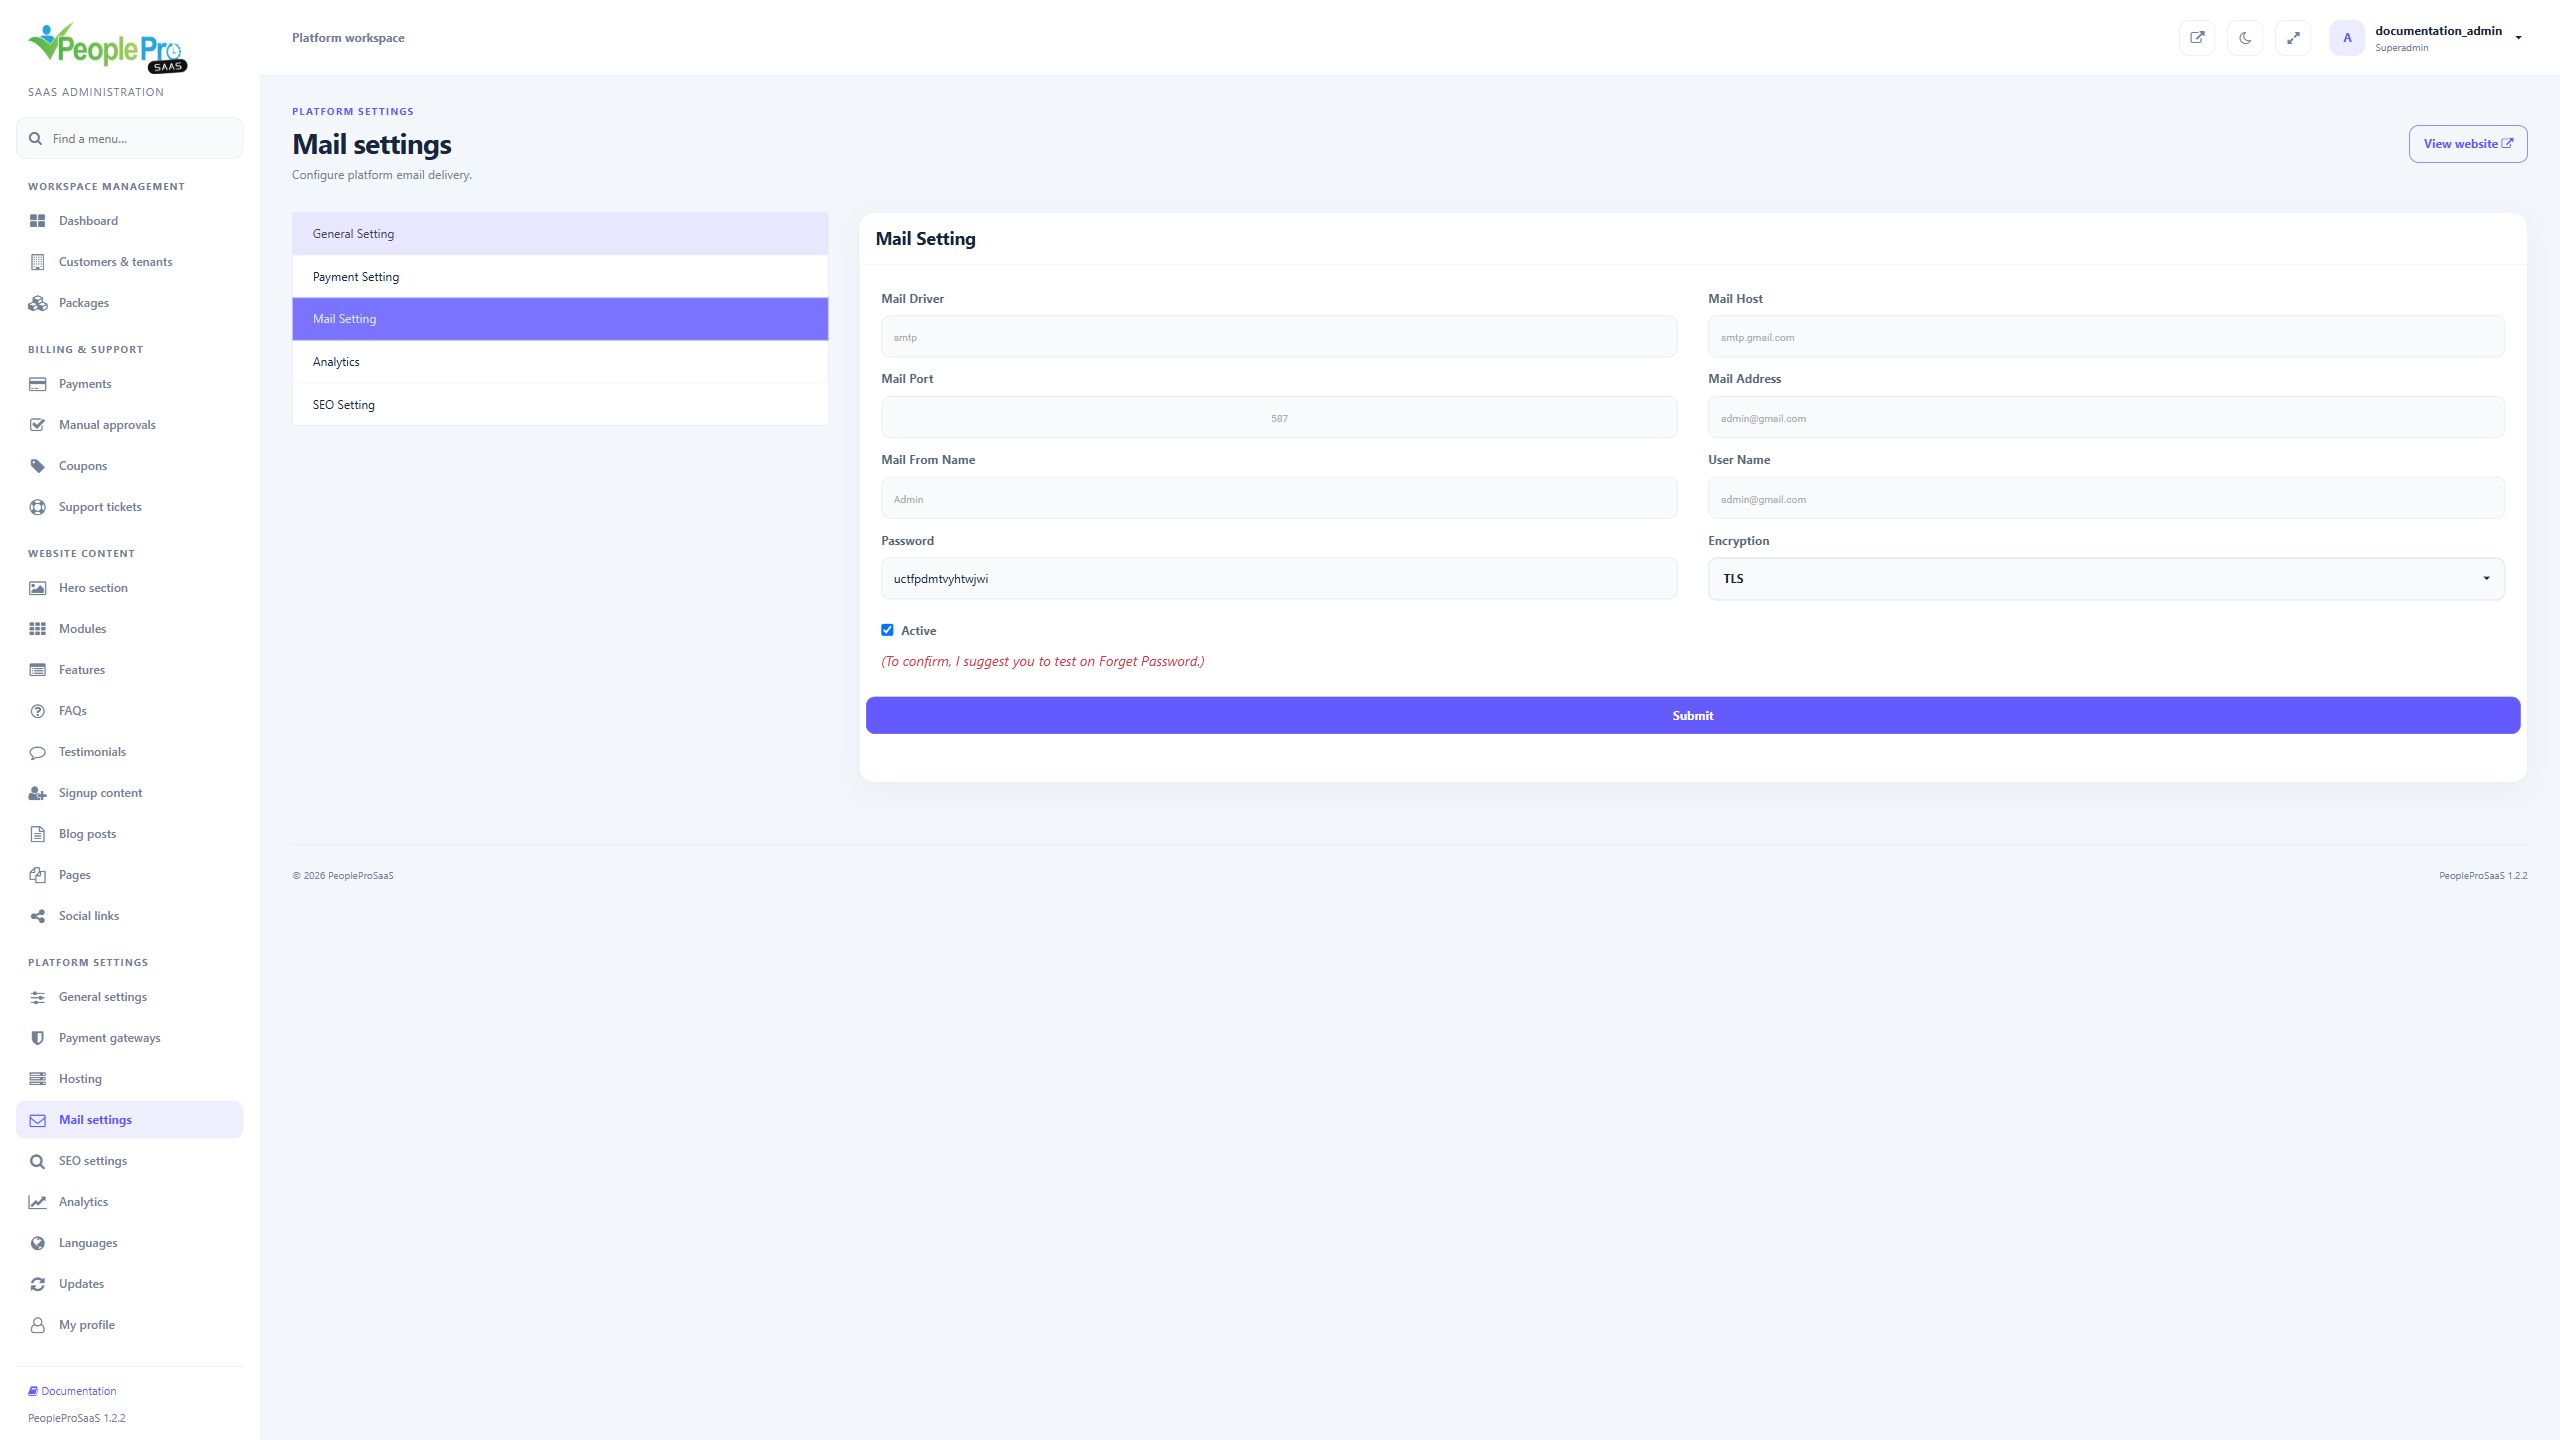
Mail Driver selects the sending transport. Mail Host and Mail Port identify the outgoing service; use the values supplied by your mail provider. Mail Address and Mail From Name control the sender recipients see. User Name and Password authenticate the sending account. Encryption must match the service TLS or SSL configuration. Active controls the enabled setting. Complete the required fields and submit once, then check an ordinary test or password-reset email. Tenant mail configuration is separate.
SEO settings contains Meta Title, Meta Description, Open Graph title and description, and an OG image for the earlier public content layouts. The current homepage uses the translated product title and description in its theme. To change those current phrases, use platform Languages > English > translations and search the displayed text. Preview the intended public page and its source metadata after changes rather than assuming that every theme uses the older SEO fields.
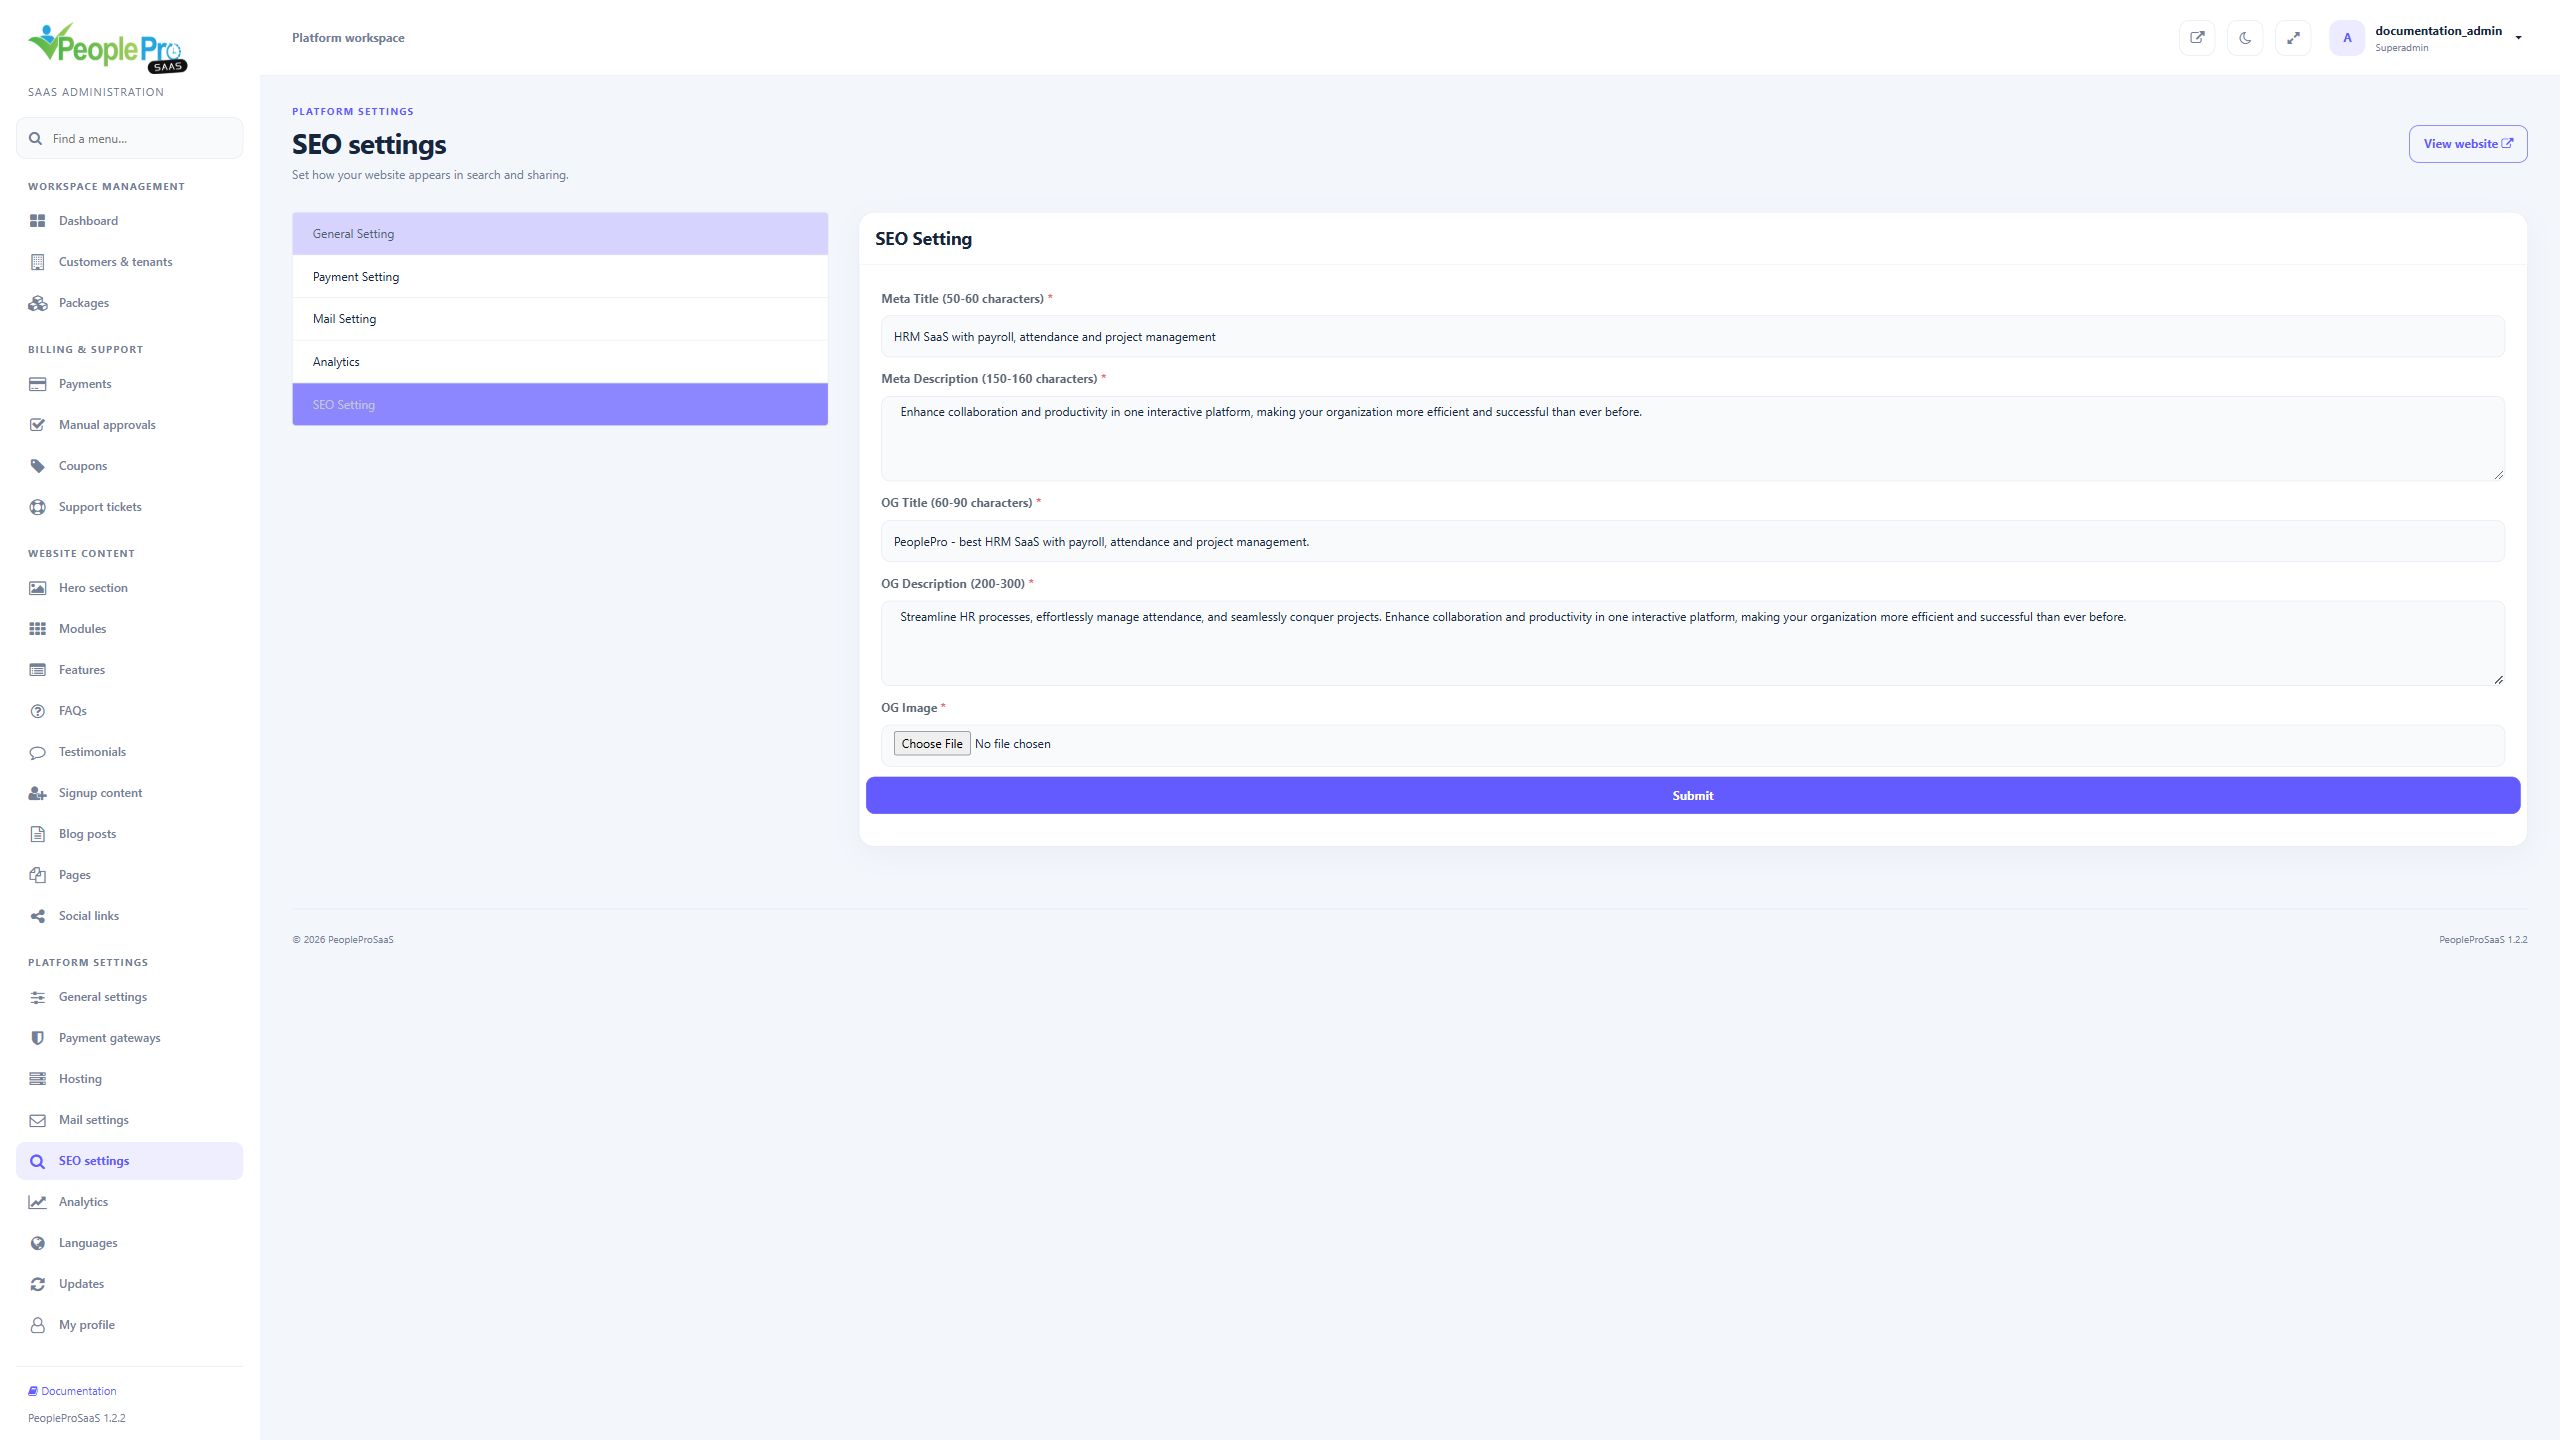
Meta Title and Meta Description describe the page for the earlier SEO-enabled layout. The form suggests 50–60 characters for the title and 150–160 for the description. OG Title, OG Description and OG Image supply social-sharing information; the form suggests 60–90 characters for the OG title and 200–300 for its description. Choose an appropriate image before submitting when required by the form. The current curated homepage uses its theme metadata, so check the intended page before assuming these legacy fields are published there.
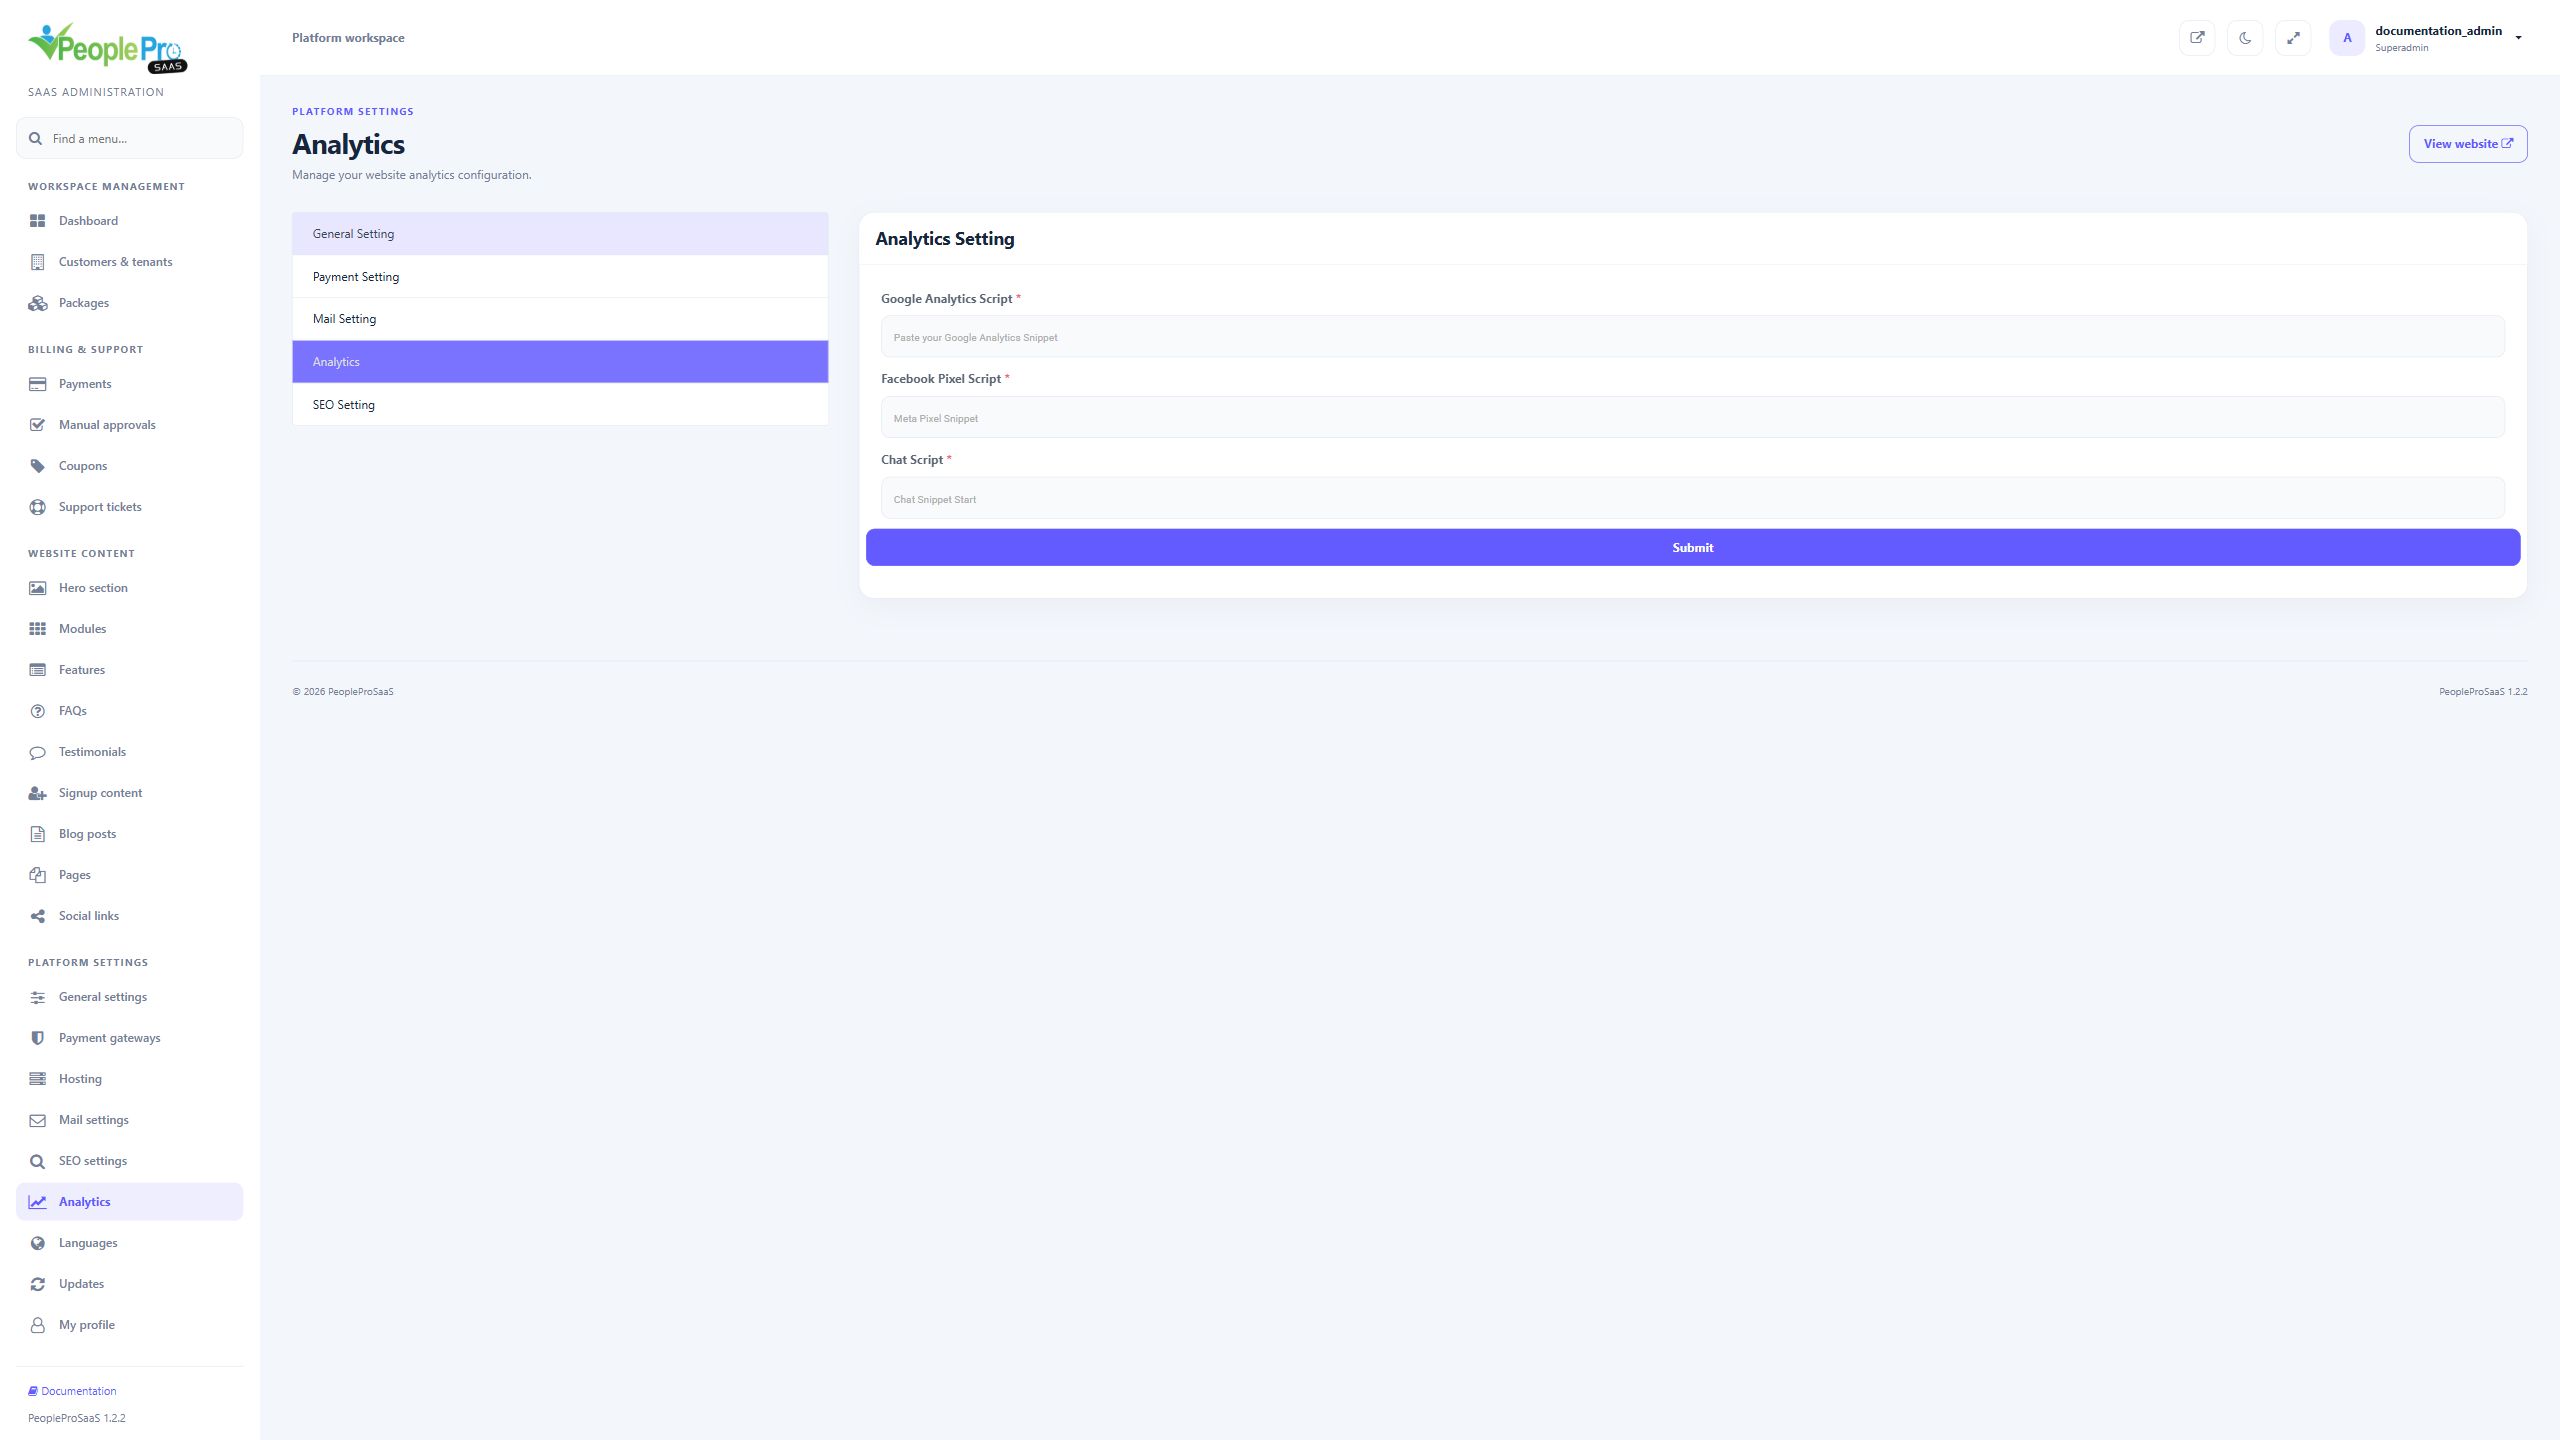
Google Analytics Script stores the analytics snippet, Facebook Pixel Script stores the Meta tracking snippet, and Chat Script stores a website chat integration snippet for the earlier public layout. The current curated homepage does not automatically insert these legacy script fields. If tracking or chat is needed there, have your maintainer add the intended integration and verify it on the published page. Saving these fields alone does not confirm that a tracking service is active.
Open Languages and choose Add Language. Select one of the supplied language packs; arbitrary new language codes are not offered. The language entries are added to the platform translation database, where you can review and edit their values. A fresh workspace starts with English. Platform languages and each tenant language catalogue are separate, so enabling a language centrally does not automatically change every tenant preference.
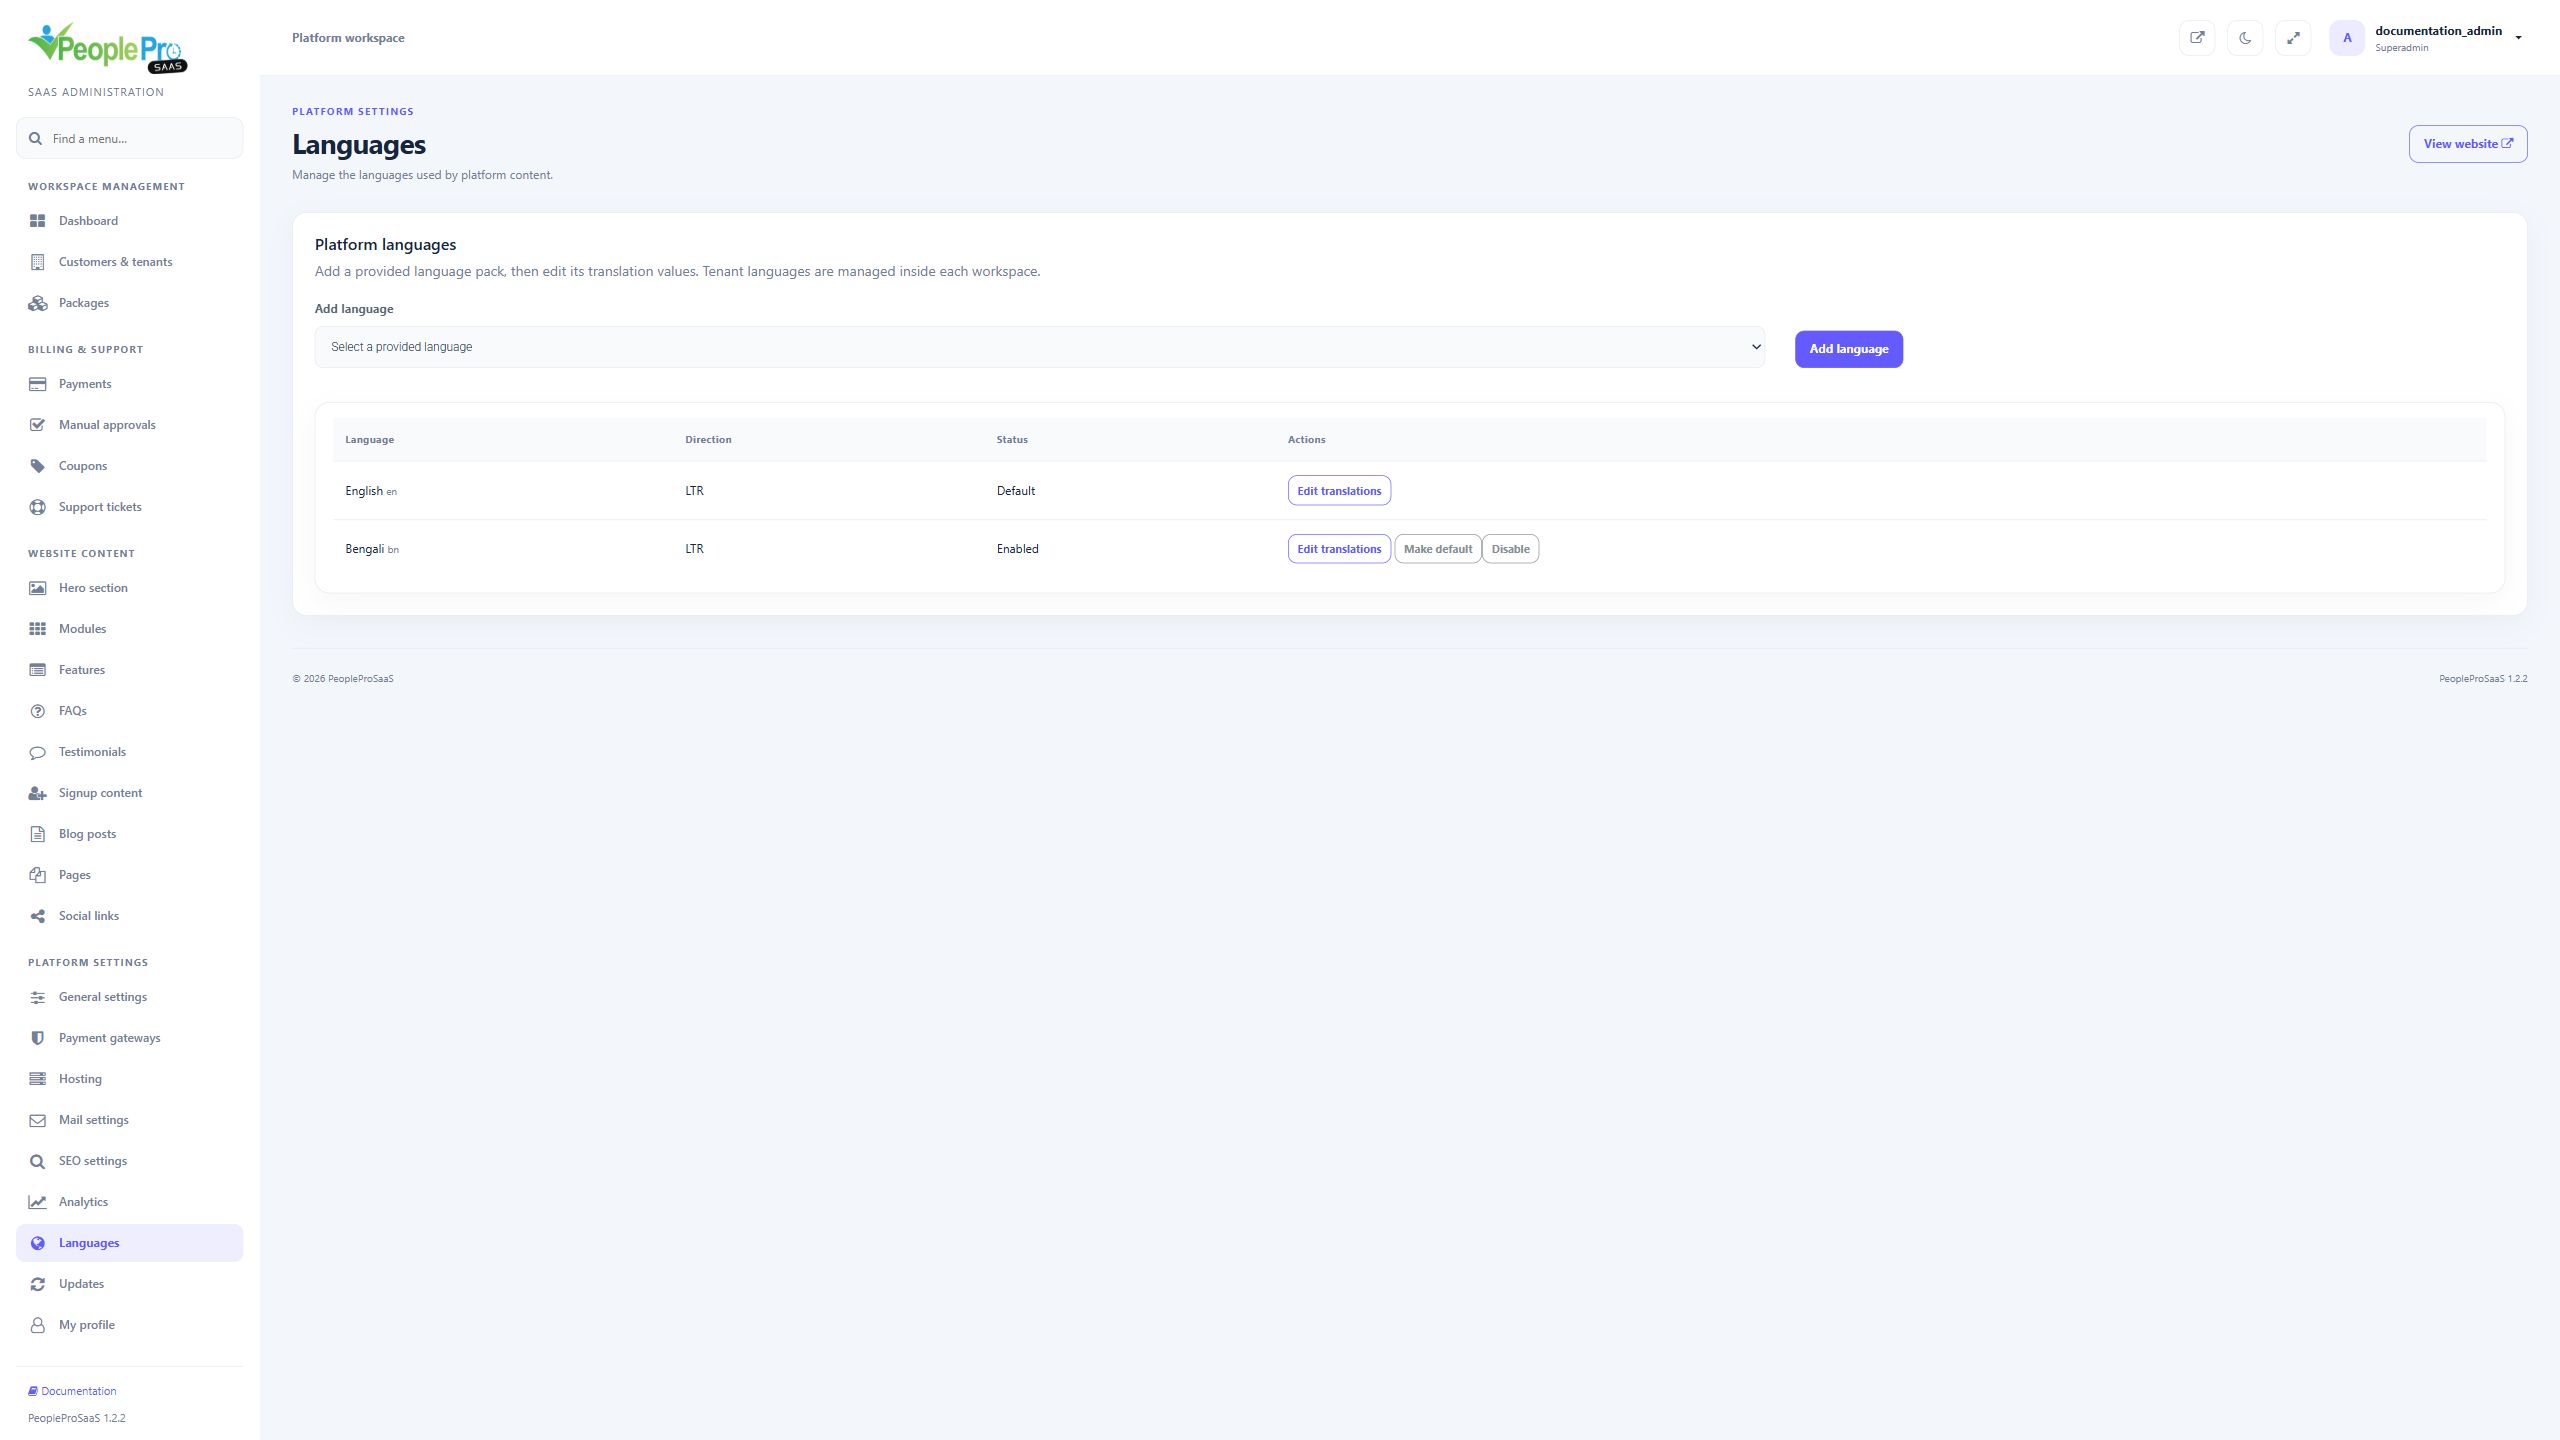
Choose a language from Add language and select the Add language button once. The dropdown contains the provided packs that are not already installed; it does not accept an arbitrary language name or code. After installation, the table shows its direction, status and translation action. The illustration shows a selected example without submitting an installation.
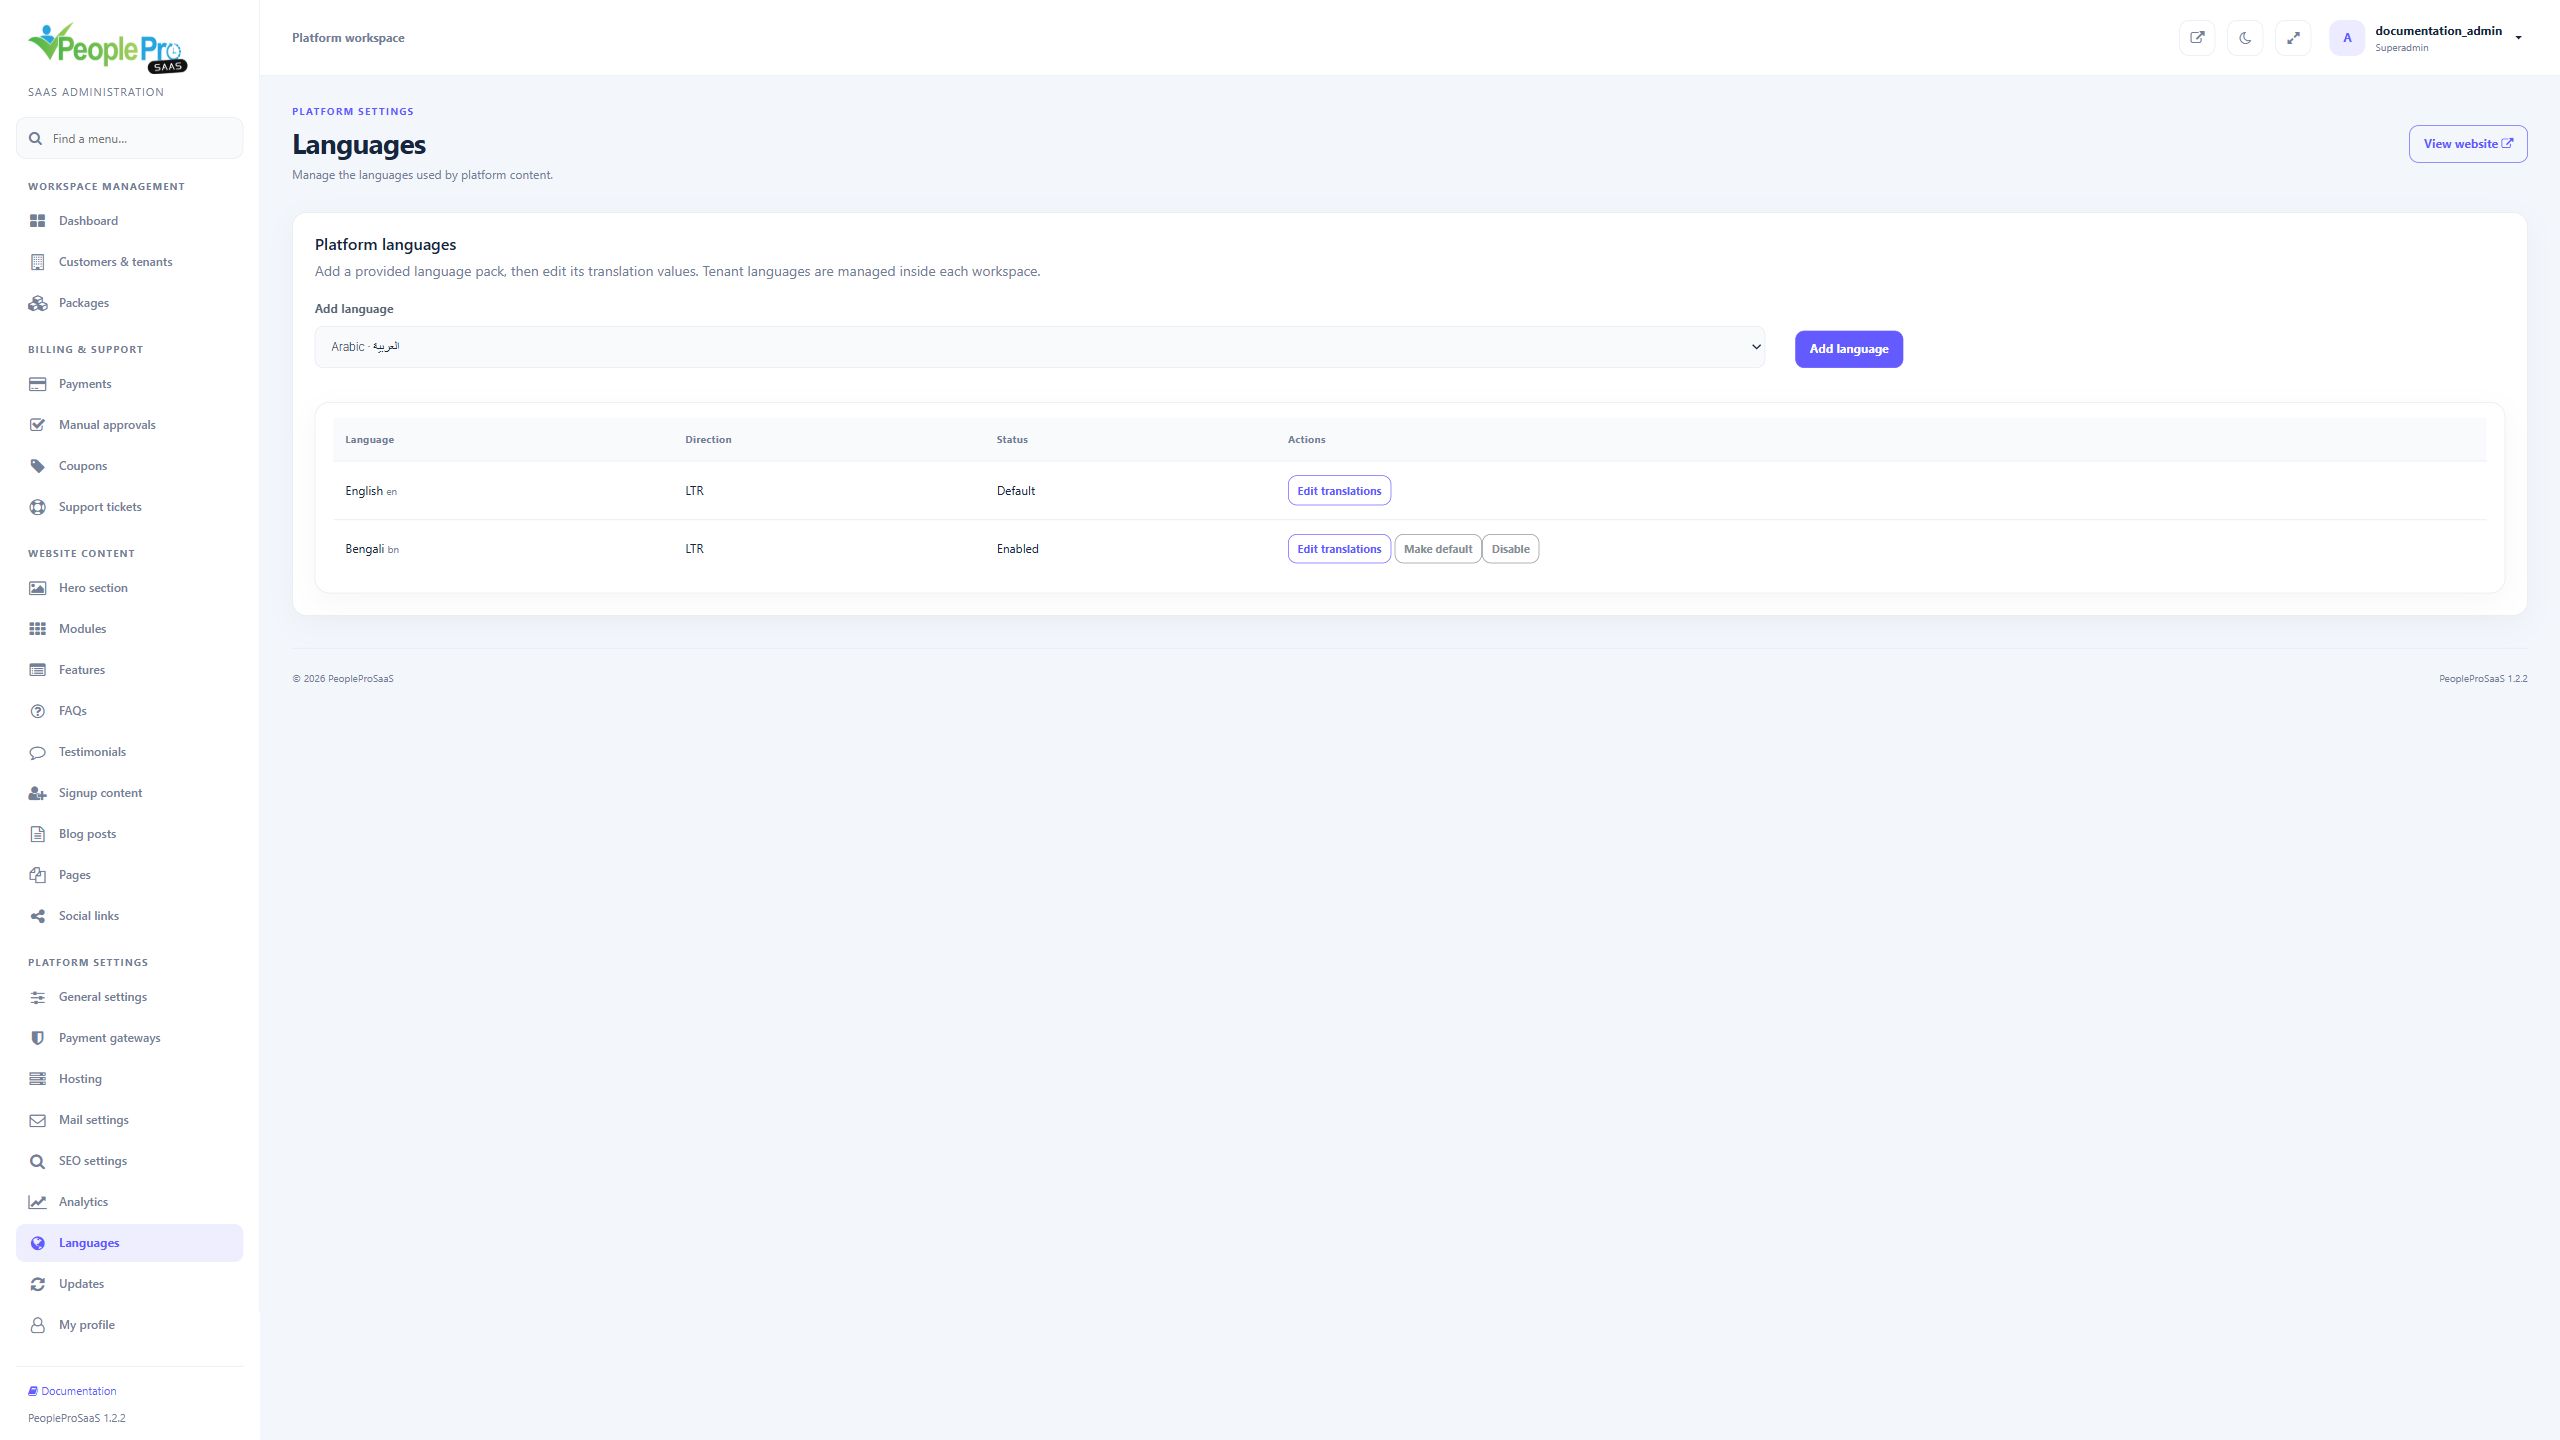
Use the language actions to choose the platform default or enable an installed language. Enabled languages can be selected from the relevant public or administrator language control. A personal or session selection is different from changing the platform default. Review the public homepage and administrator pages after changing language settings. A language with right-to-left direction also changes the supported layout direction.
Open translations beside the intended installed language. Type the word or phrase in search; matching entries update as you type. Edit the value and save the entry. For the current homepage, the module headings, explanations and other provided wording are editable this way, including the English values. Keep any placeholders such as :days or :count intact. Provided-pack updates retain your custom values.
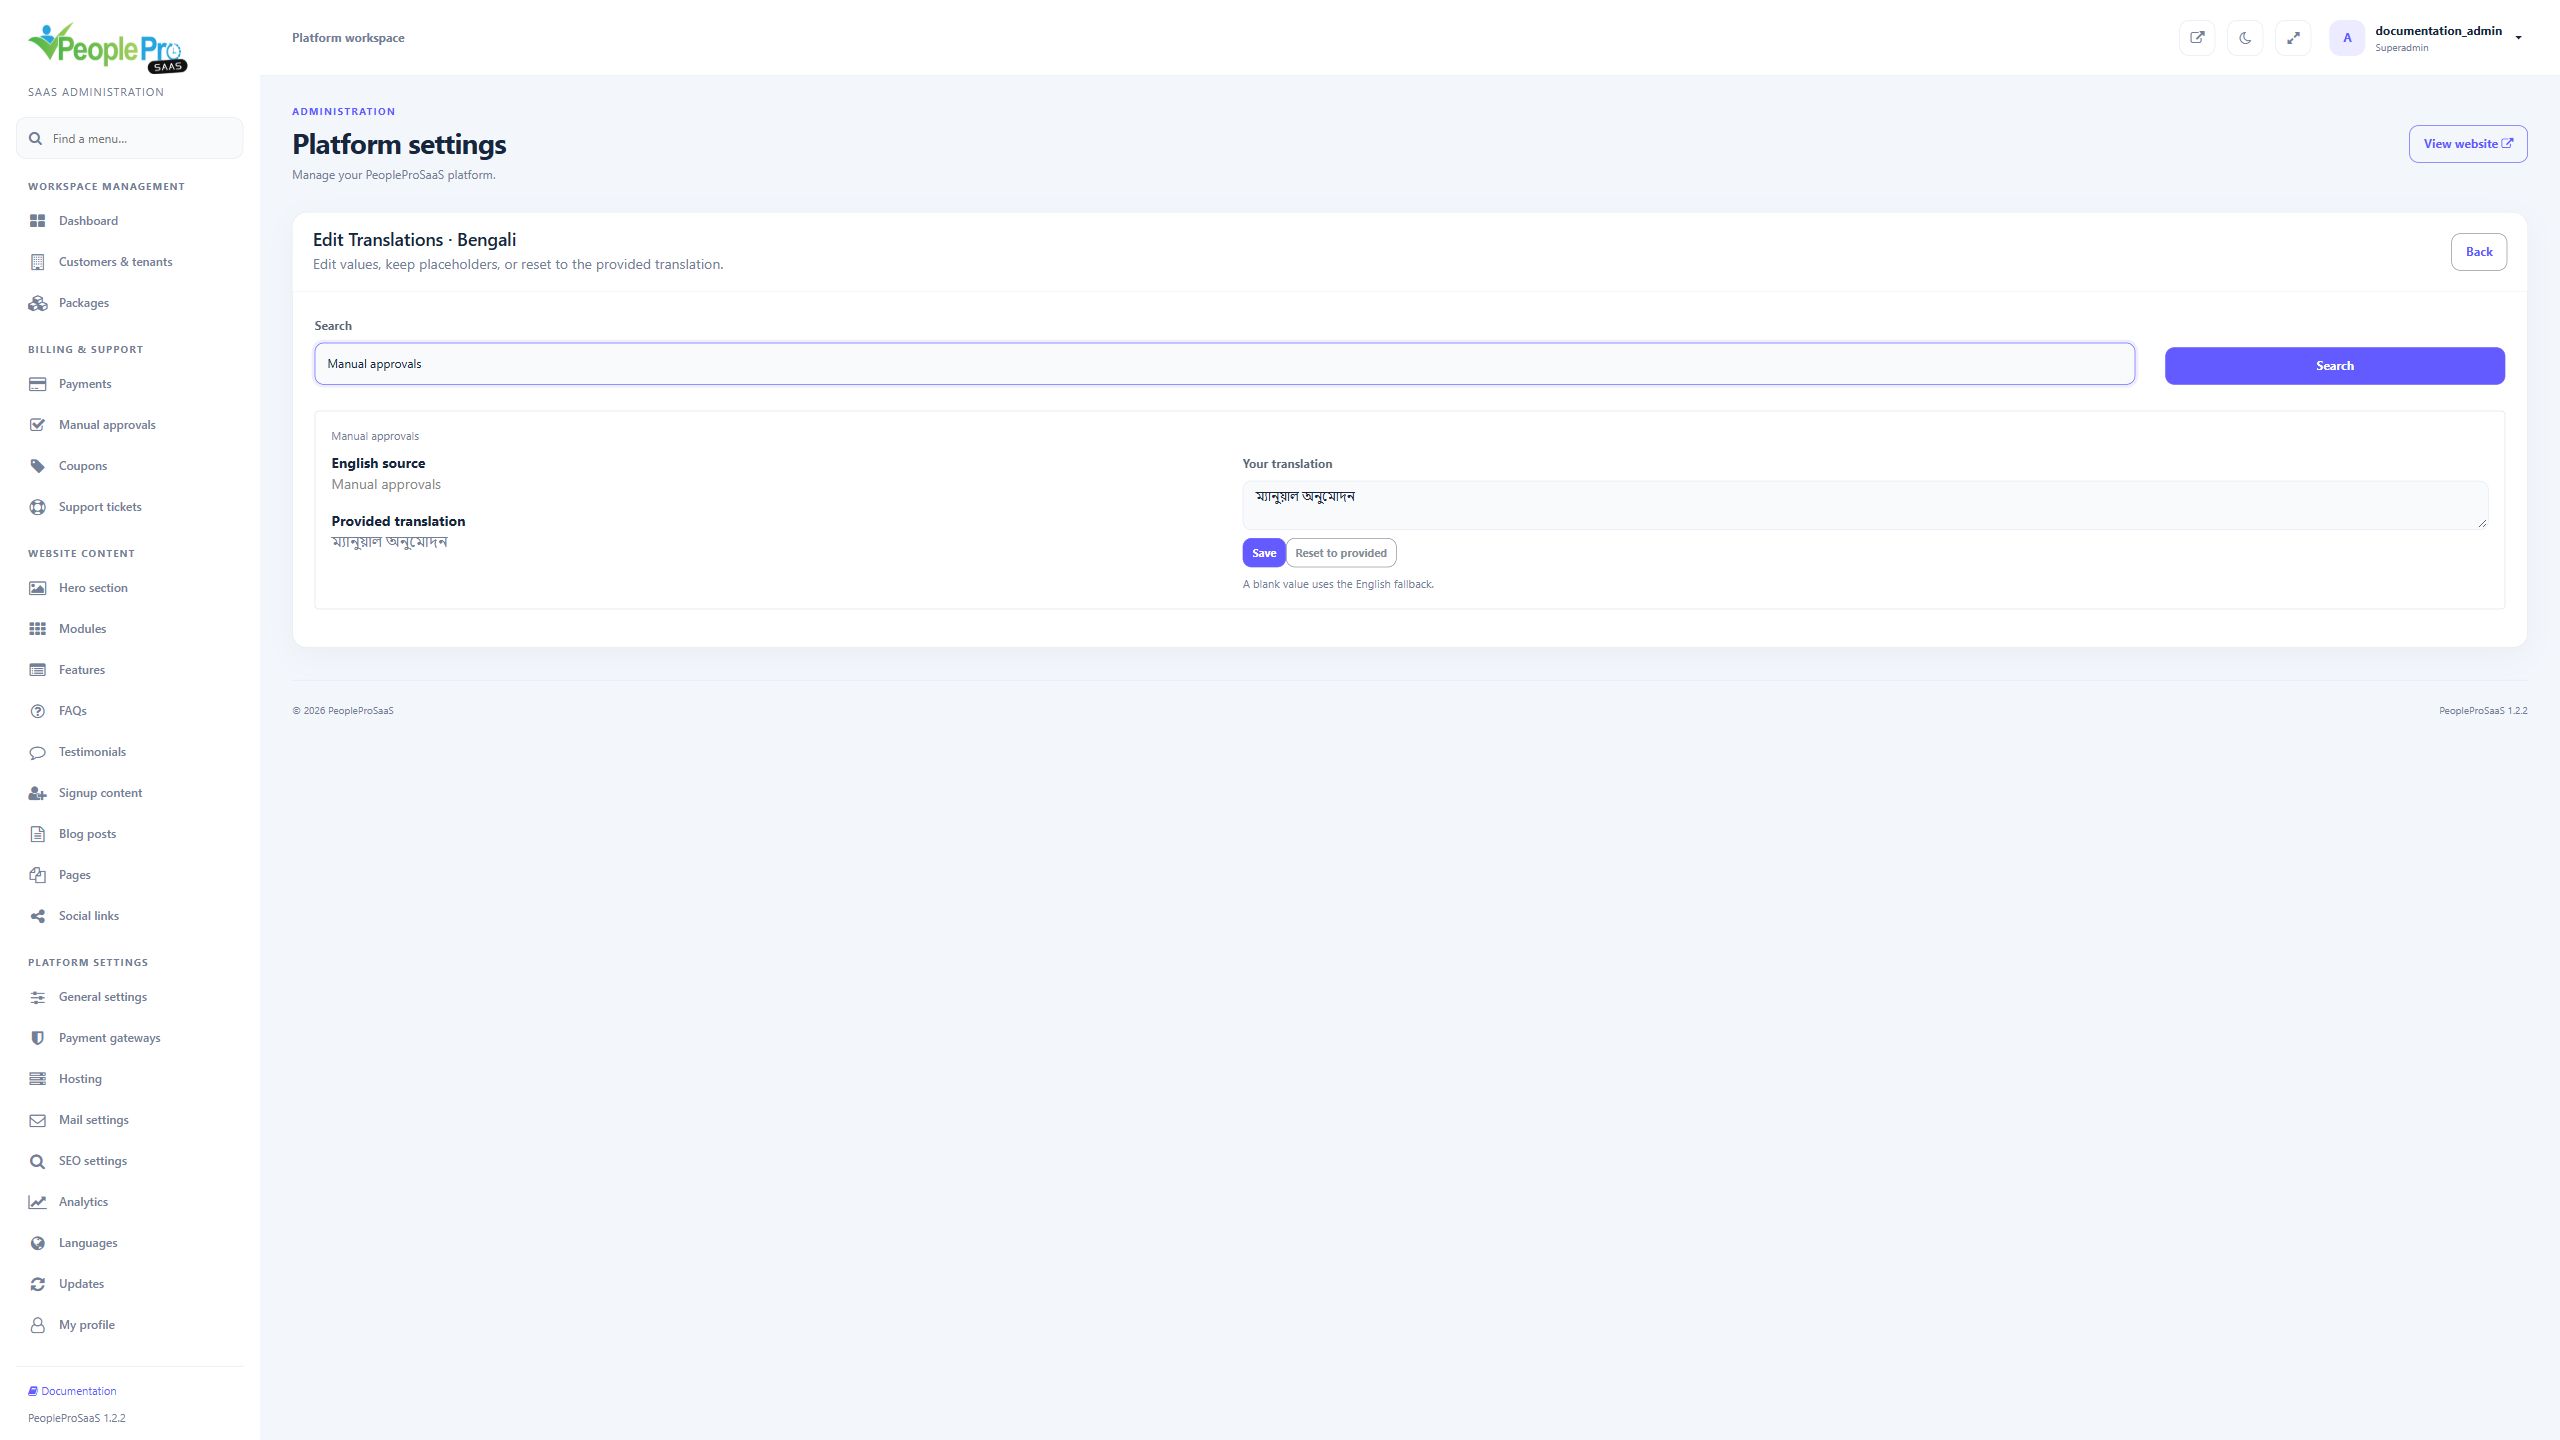
Each result shows English source, Provided translation and Your translation. Save applies your edited value for that entry. Reset to provided restores the supplied value for that entry. A blank custom value uses the English fallback. Customized marks an edited entry; Needs review identifies an entry that should be checked after a supplied-pack change. Keep placeholders such as :days and :count exactly as written. Search narrows results as you type, and pagination shows further matches.
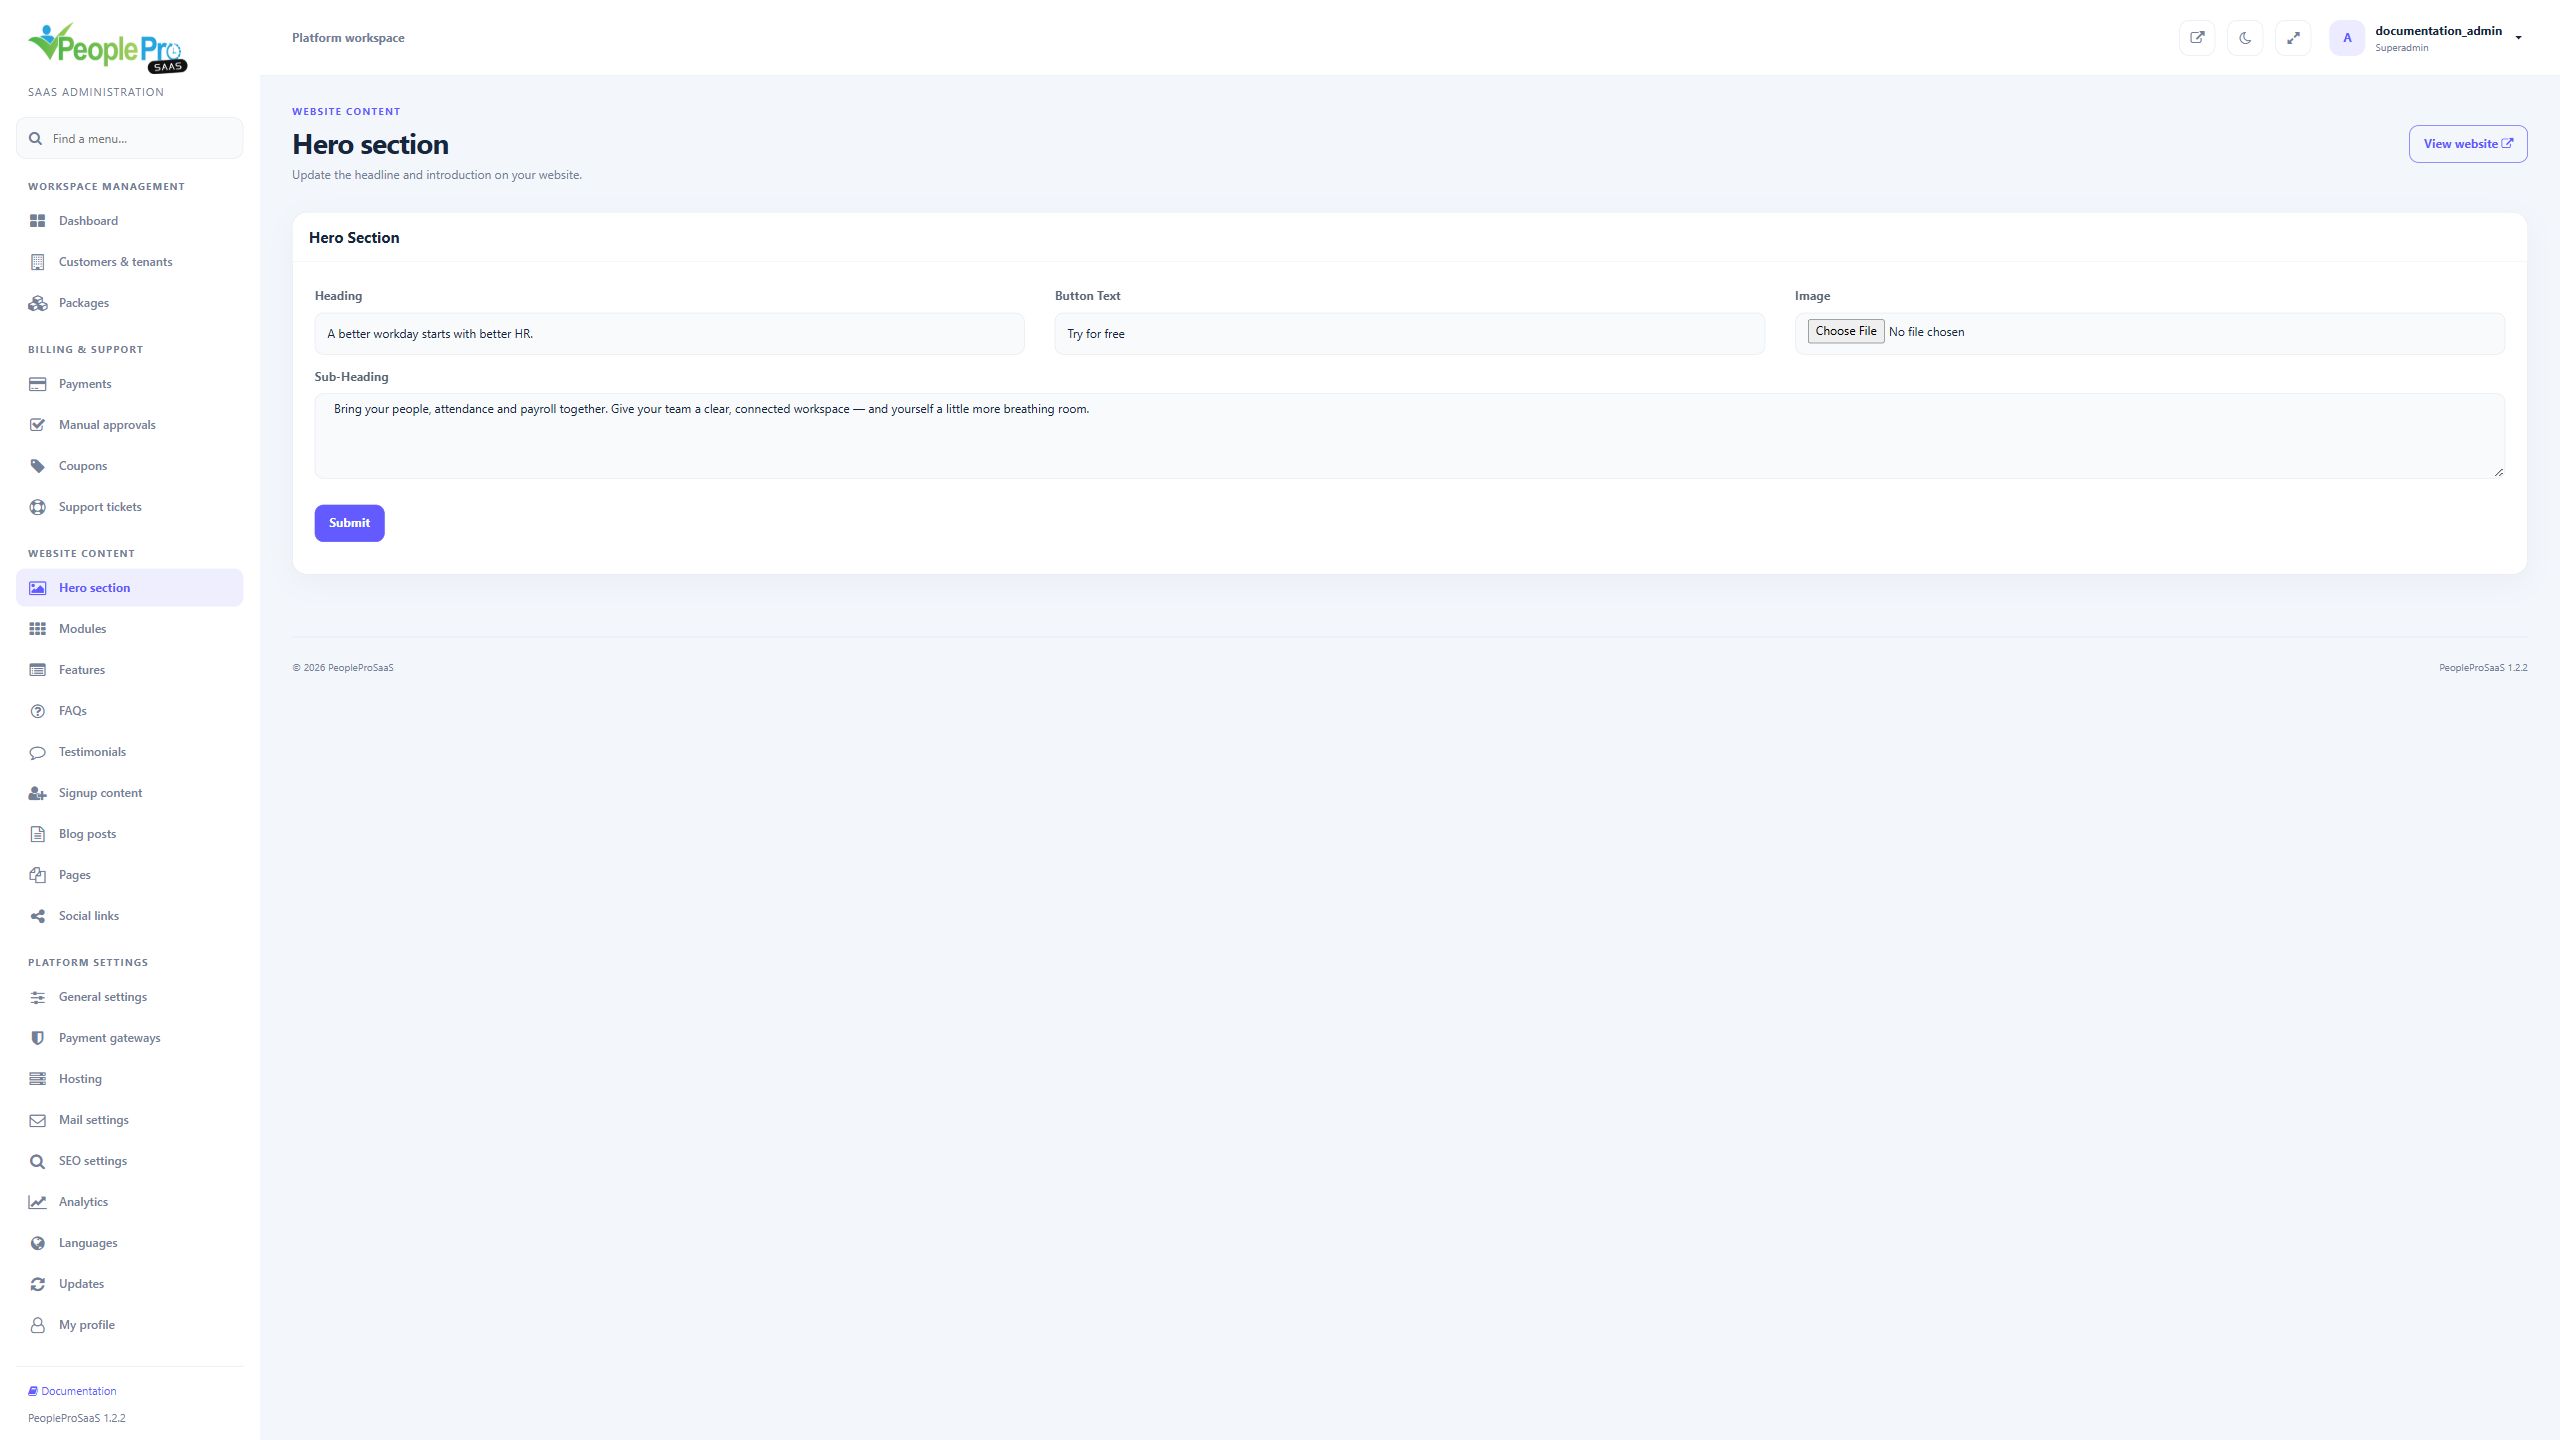
Open Hero section and choose the language context offered by the panel. Change Heading and Sub-Heading, then submit and preview the homepage. Custom text is retained. Recognized older default headings use the new theme headline. The new homepage product previews and plan-aware call-to-action labels are supplied by the theme; the legacy Image and Button Text fields do not replace them.
Modules retains the section heading, image, subheading and module-detail records for the older website content. Its detail list offers icons, names and editing actions. The current homepage uses the reviewed eight-module product explorer instead of automatically publishing this legacy list. To adjust the new explorer wording, edit the corresponding platform translation values. Review and replace any old demonstration content before using a legacy content layout.
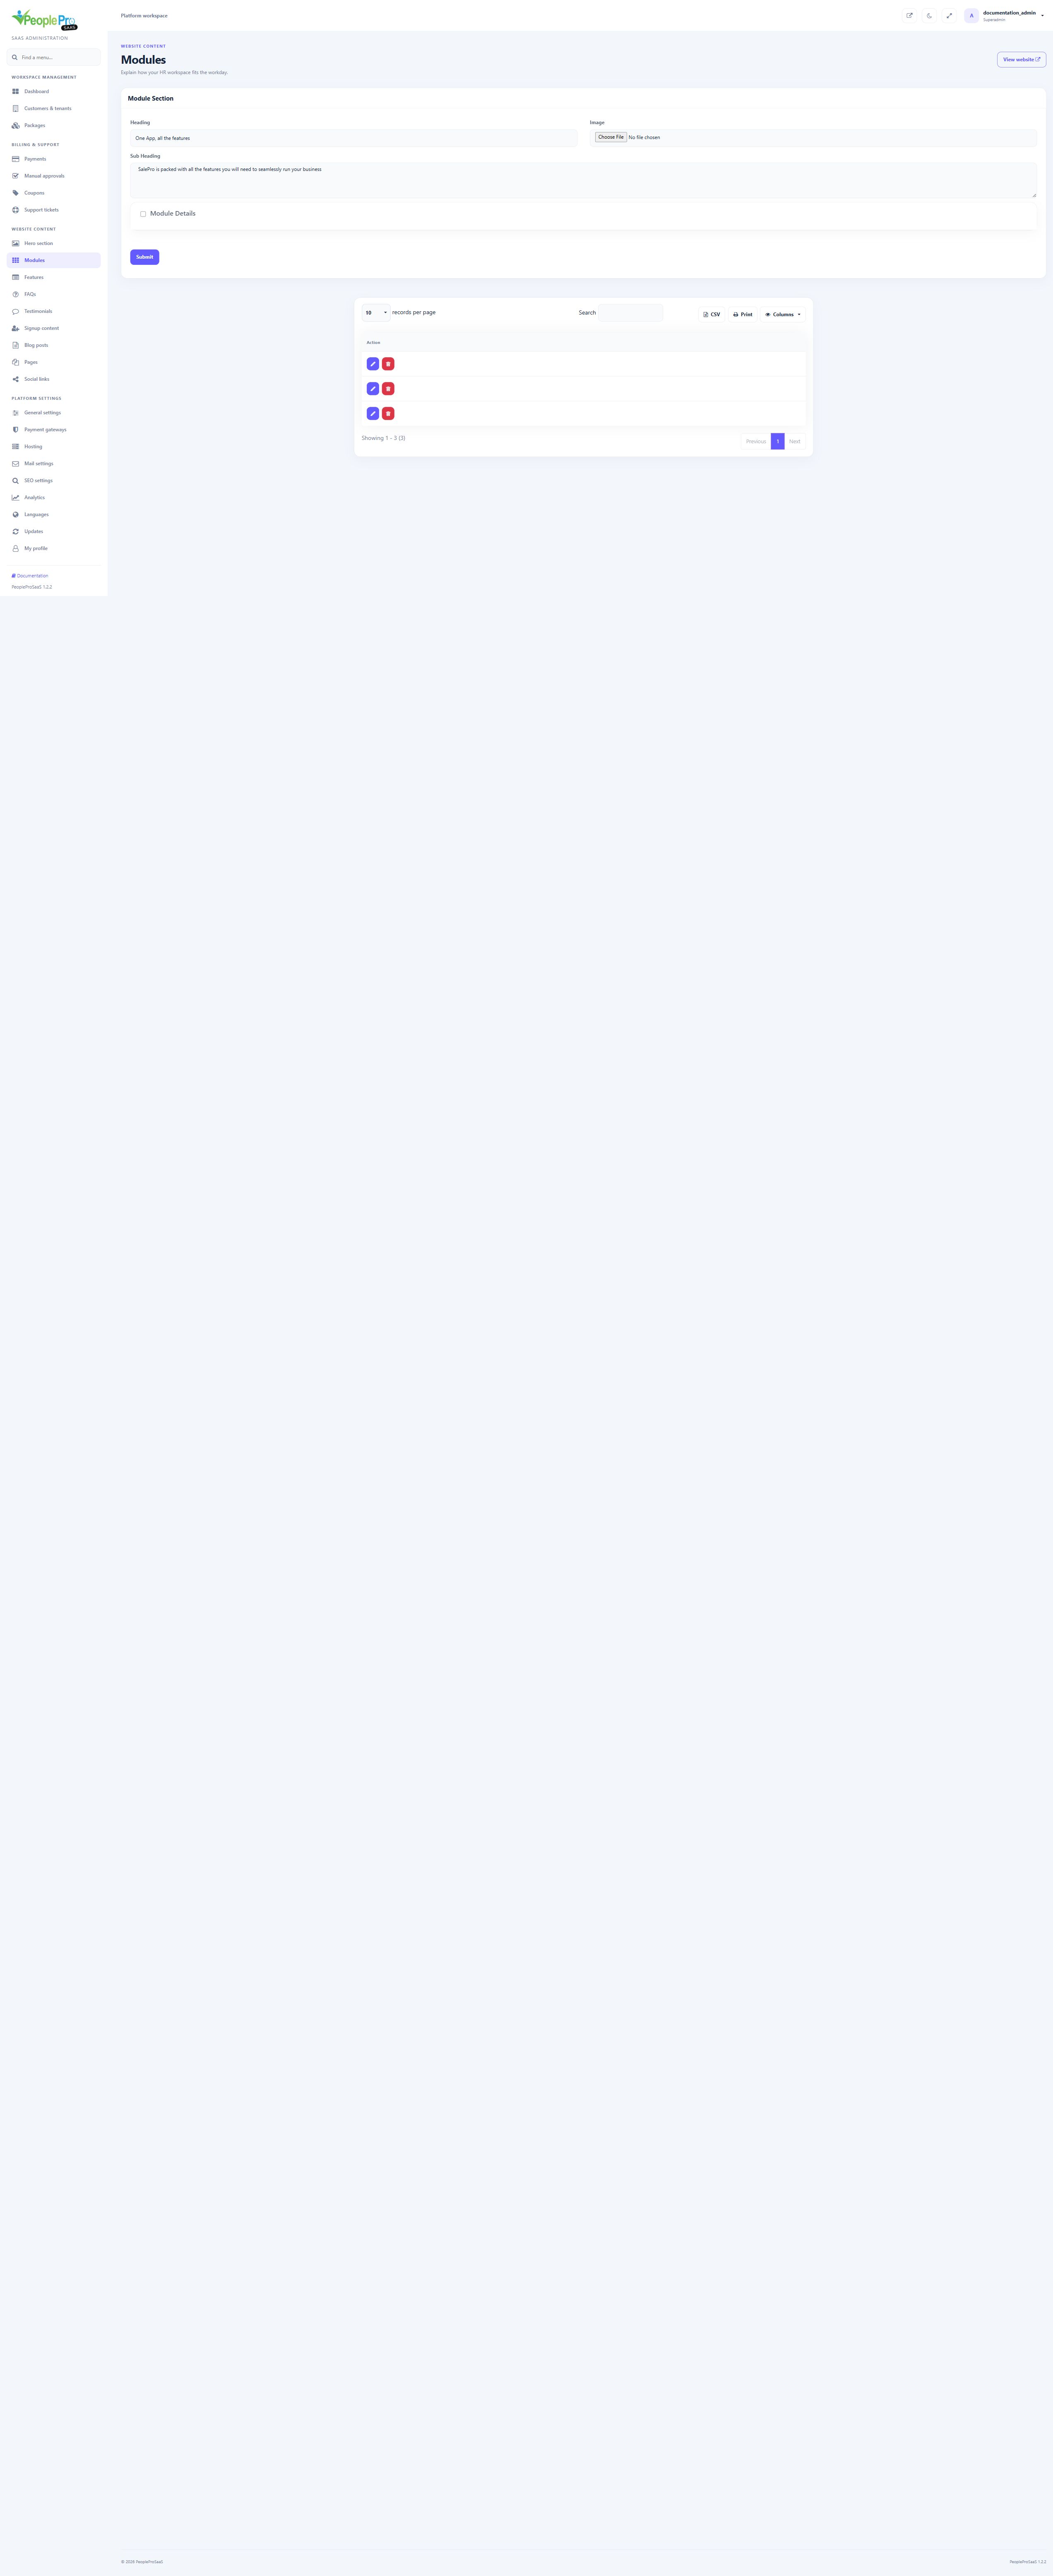
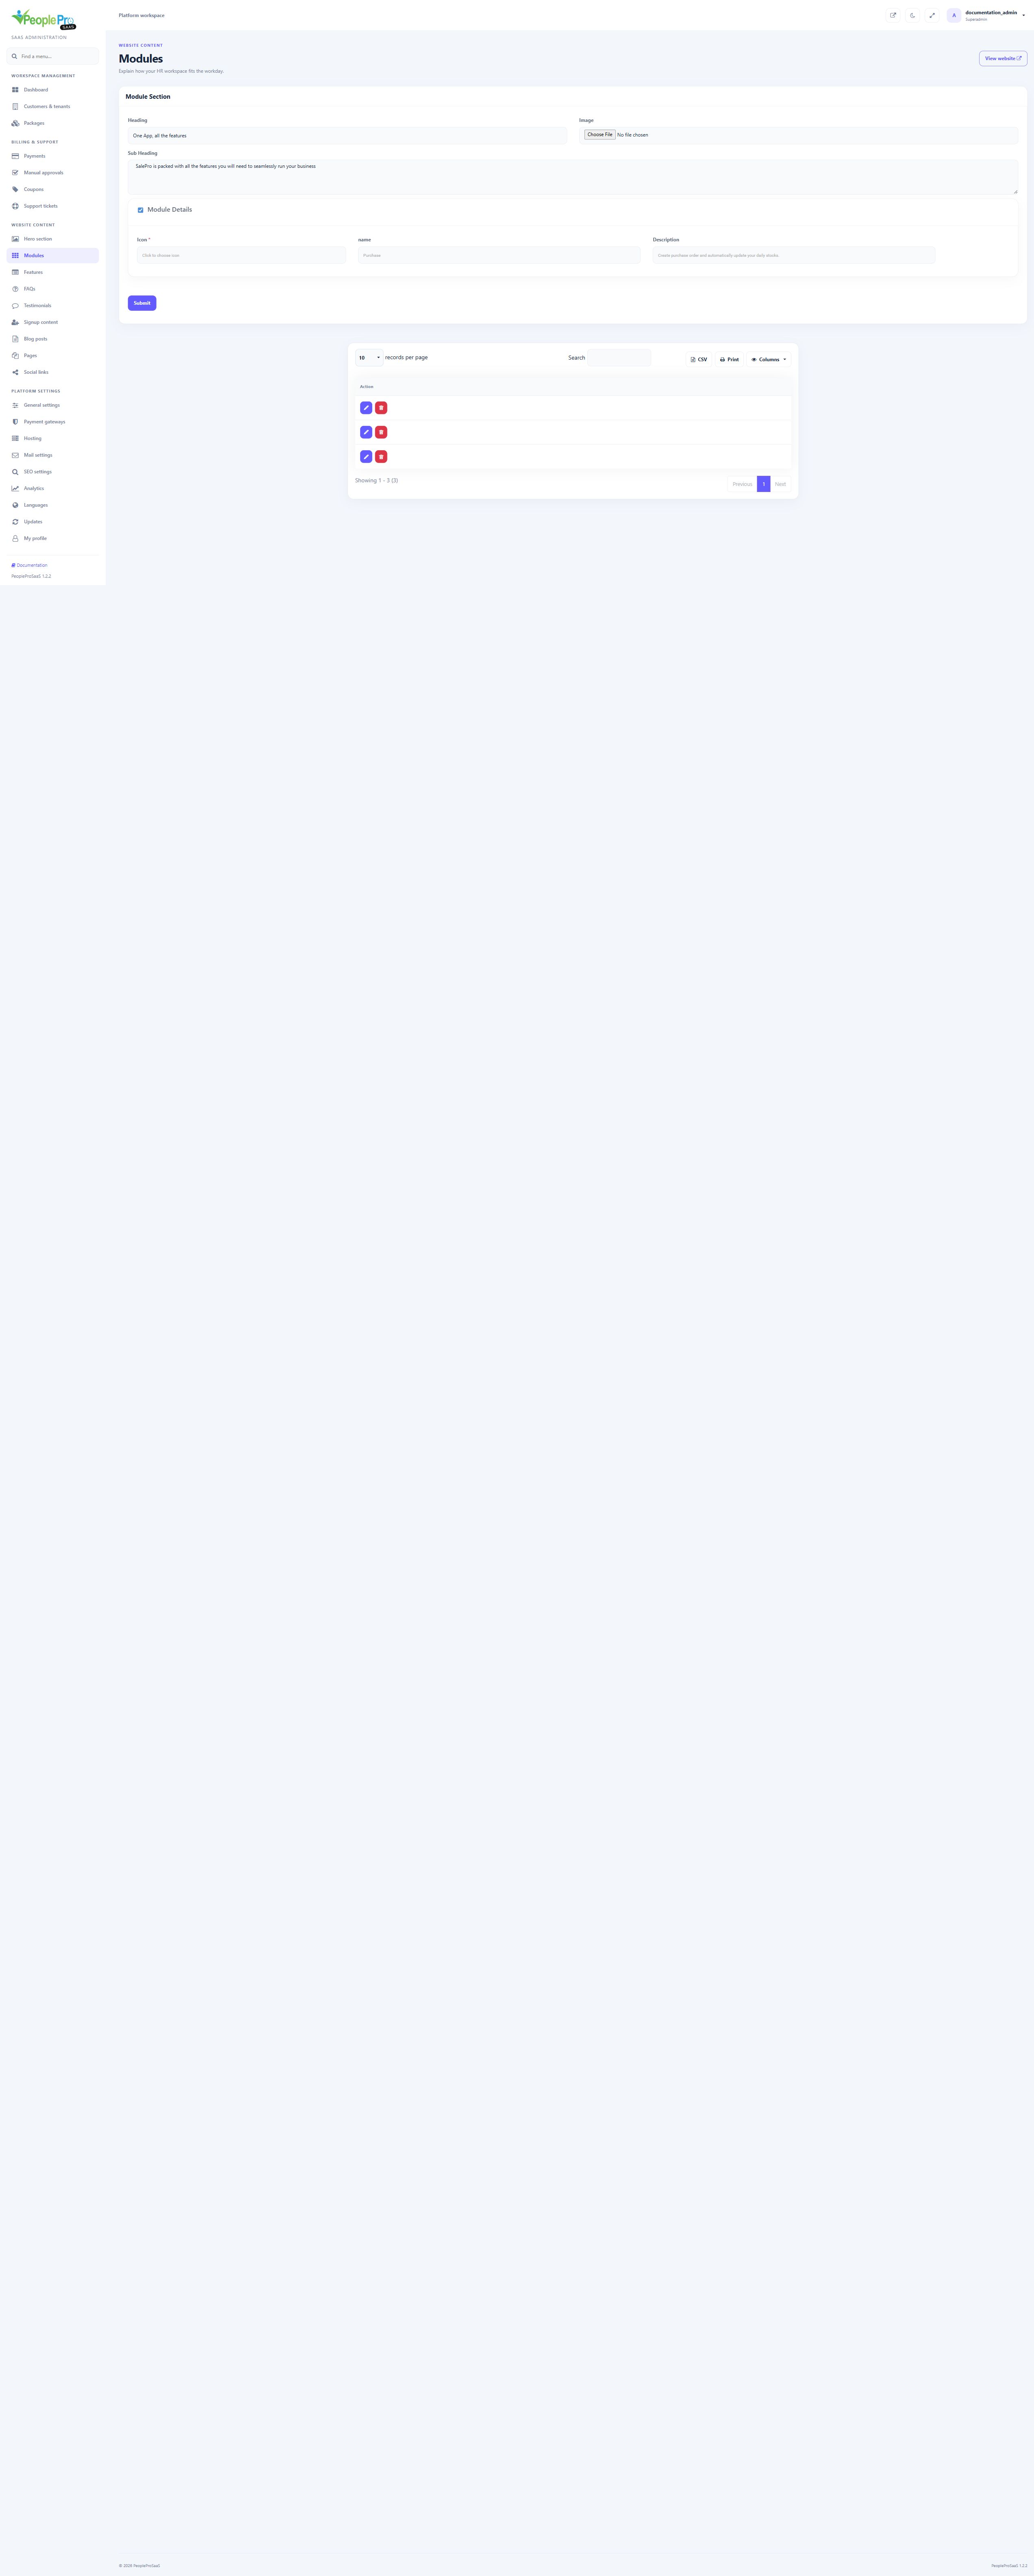
Maintain the section Heading, Image and Sub Heading. Enable Module Details to reveal Icon, name and Description for a detail entry. Choose a meaningful icon, enter a concise HR feature name and explanation, then submit after checking the section and detail fields. These legacy website descriptions do not grant package permissions or change the current curated explorer.
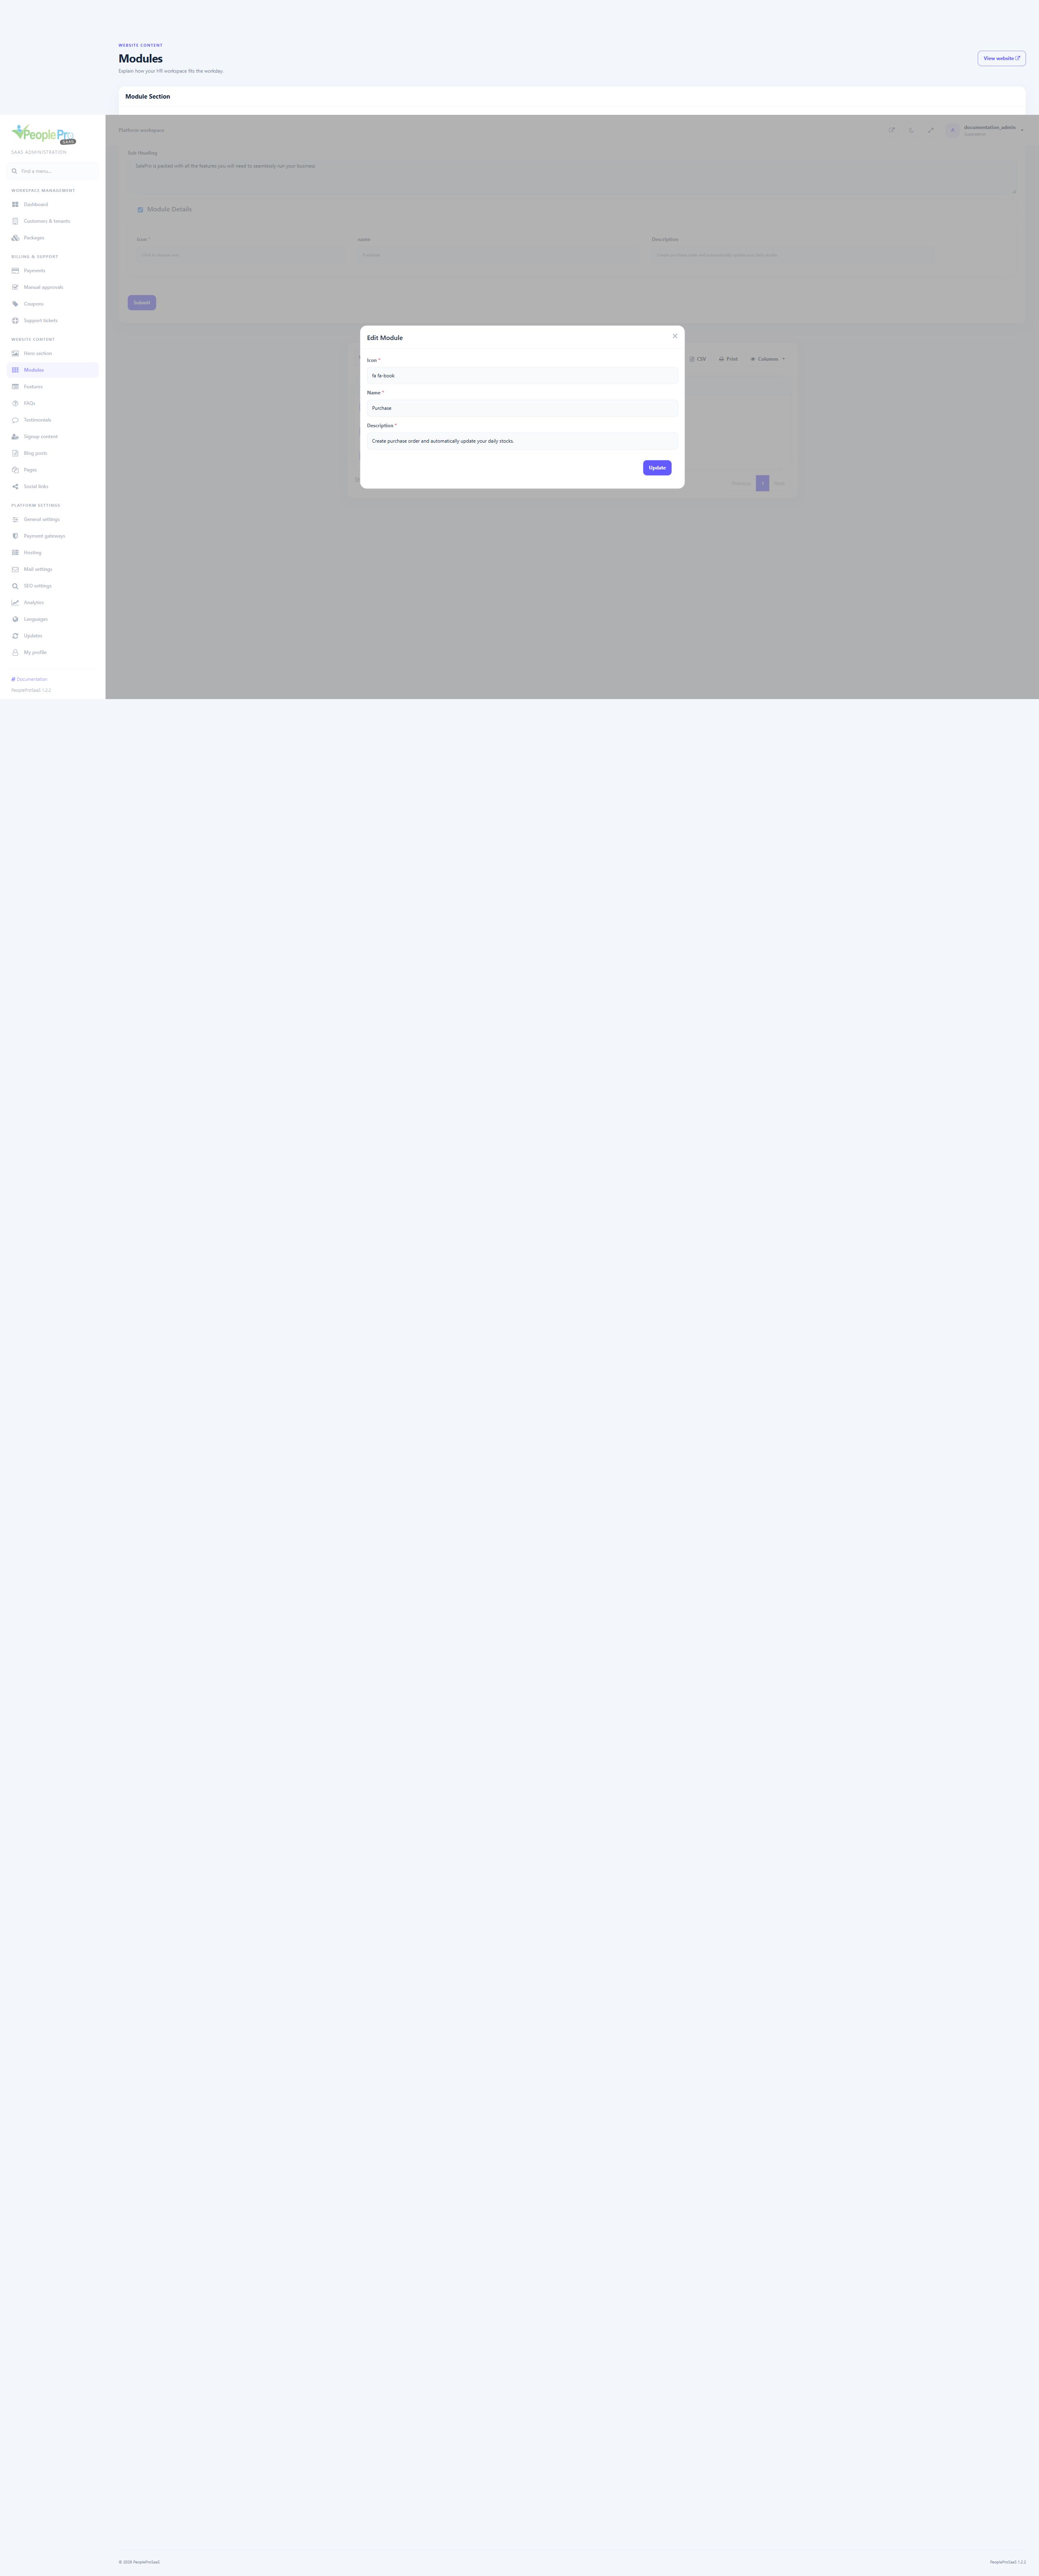
Use the row edit button to open the selected module detail. Review Icon, Name and Description, then choose Update. Confirm the selected row before deleting a detail. Its section heading and image are maintained in the main form above the table. Editing a marketing detail does not change an employee record or a subscription feature.
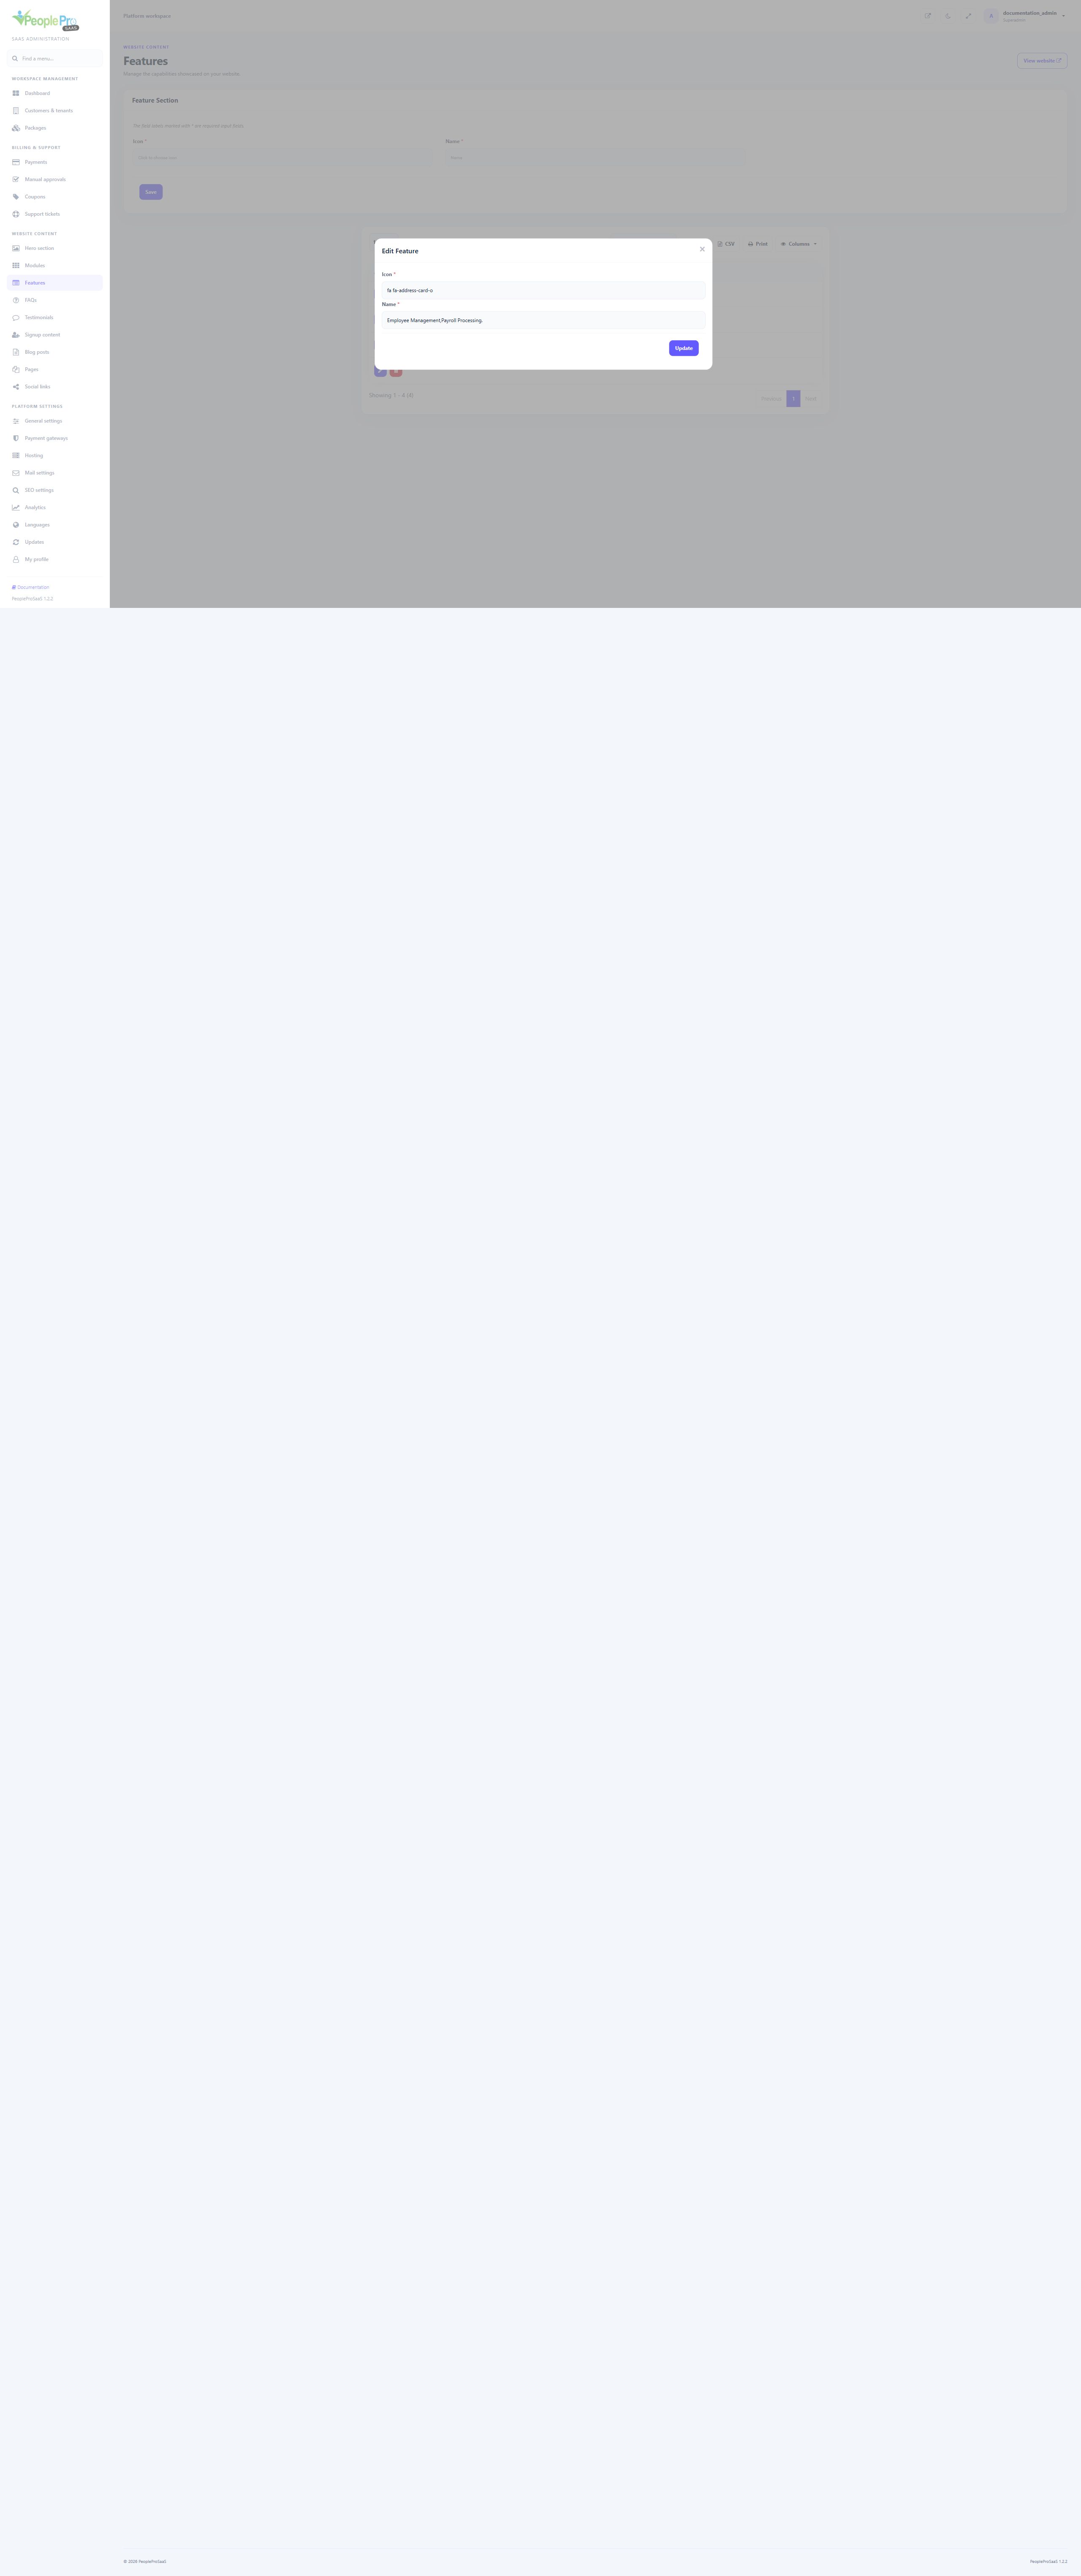
Features maintains icon and name records for earlier feature-list content. Add a clear feature name and choose the offered icon before saving, or use the list actions to edit an existing record. These records do not control package entitlements. The current homepage capability text is provided by the theme and can be customized through platform translations.
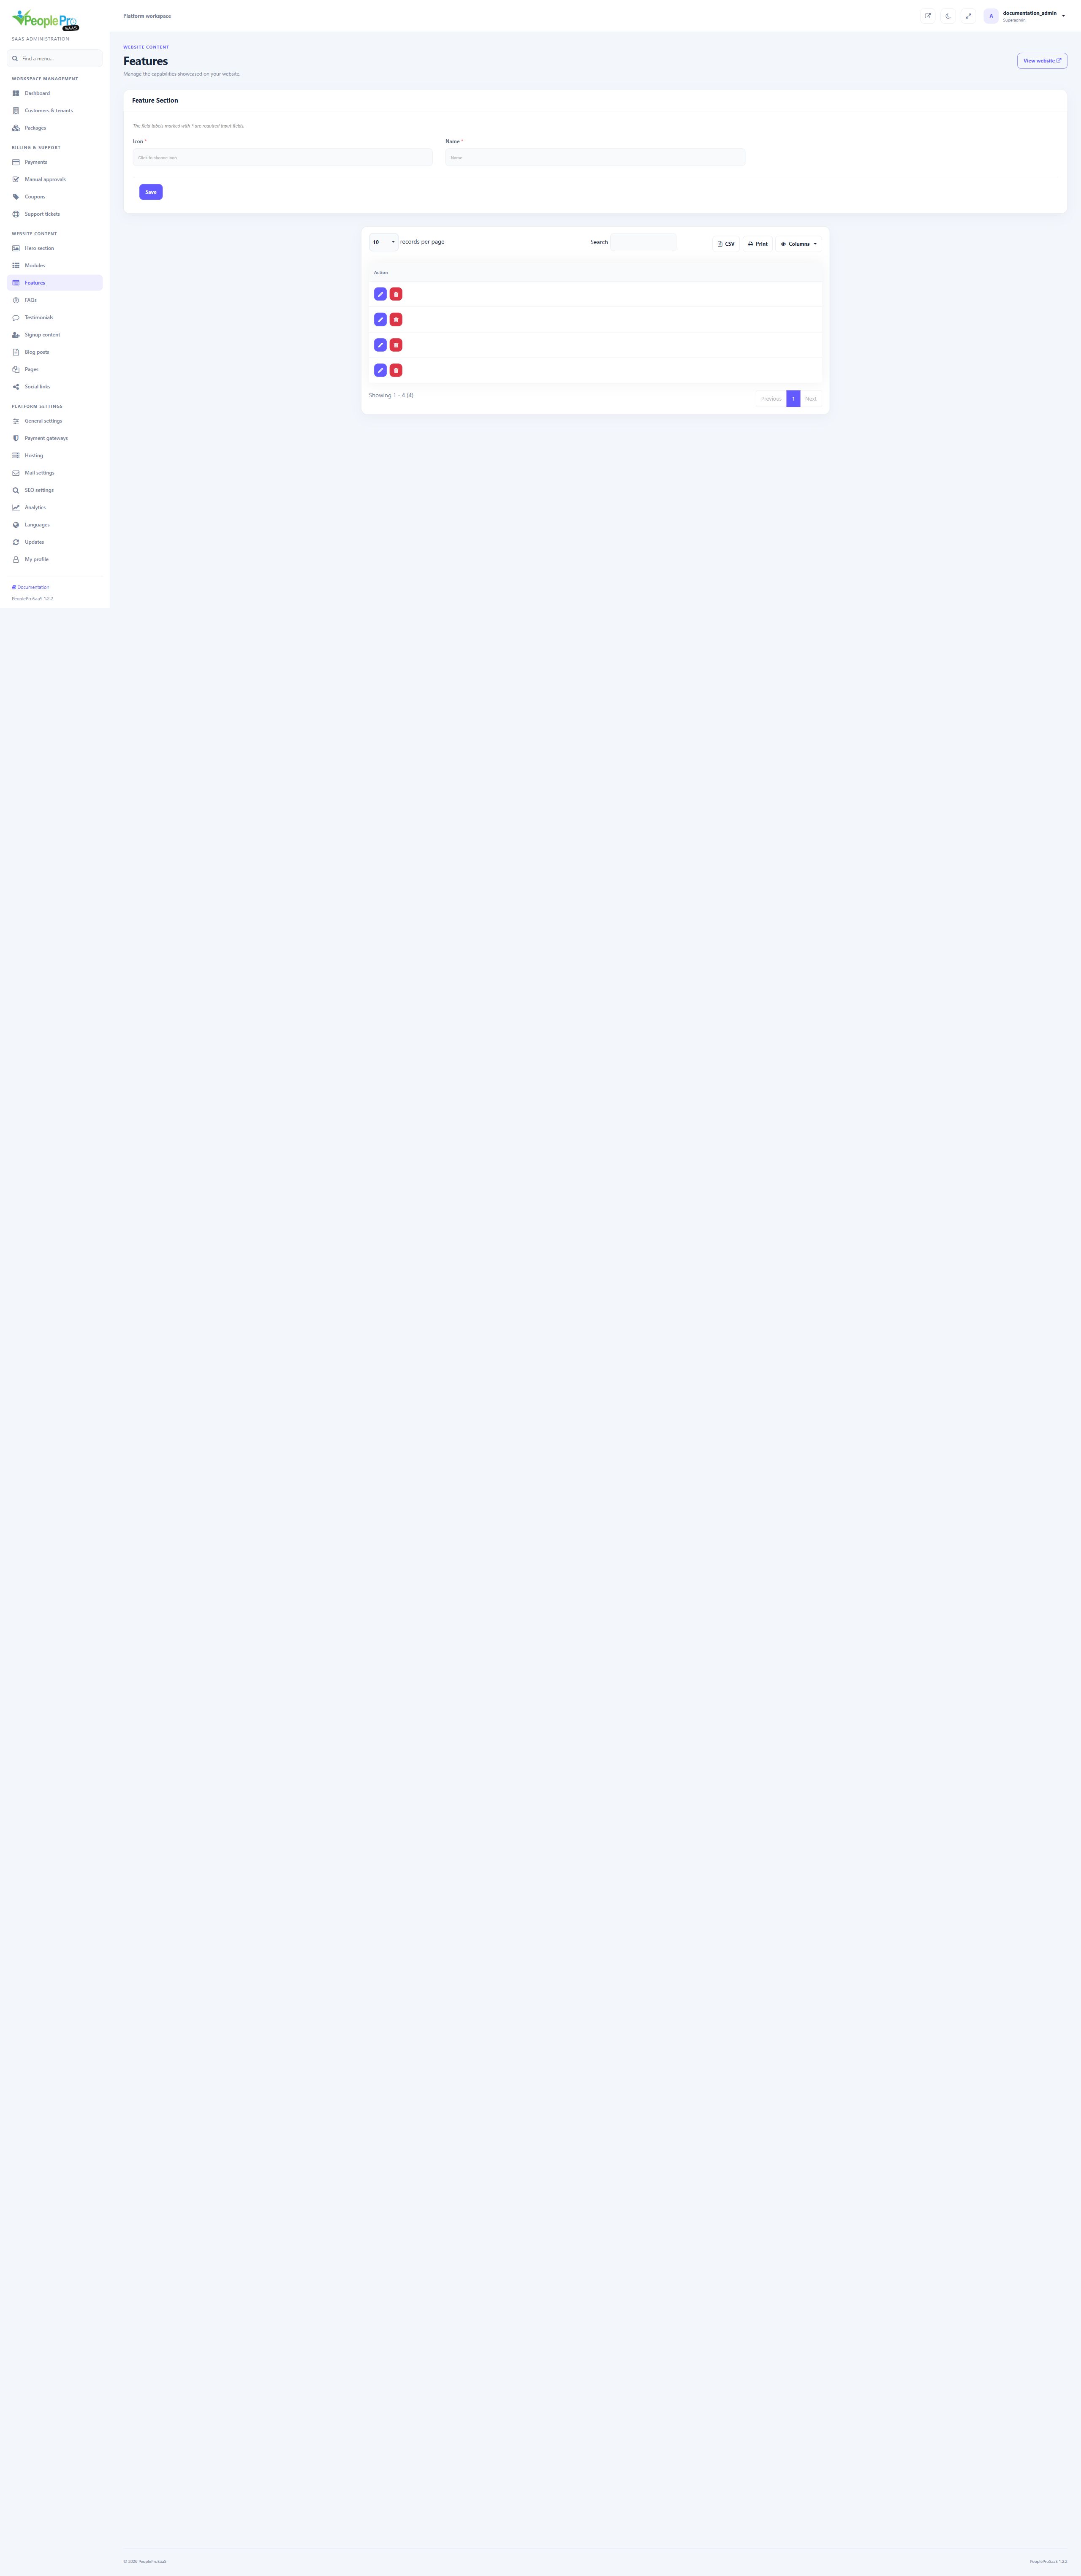
The Features page has Icon and Name fields for adding an item and a table for existing items. Select an icon through the offered picker. Use a row edit action to change its icon or name and choose Update. Use the delete control only for the intended marketing item. Feature-list content is separate from the Select Features tree in the package editor.
Open FAQs to maintain the section and its question-and-answer details. Edit a question or answer, save and check the public FAQ section in the intended language. Write for customers subscribing to HR workspaces: explain trial duration, included modules, night shifts, languages, renewal and support. Existing customized FAQs are retained when supplied defaults are updated.
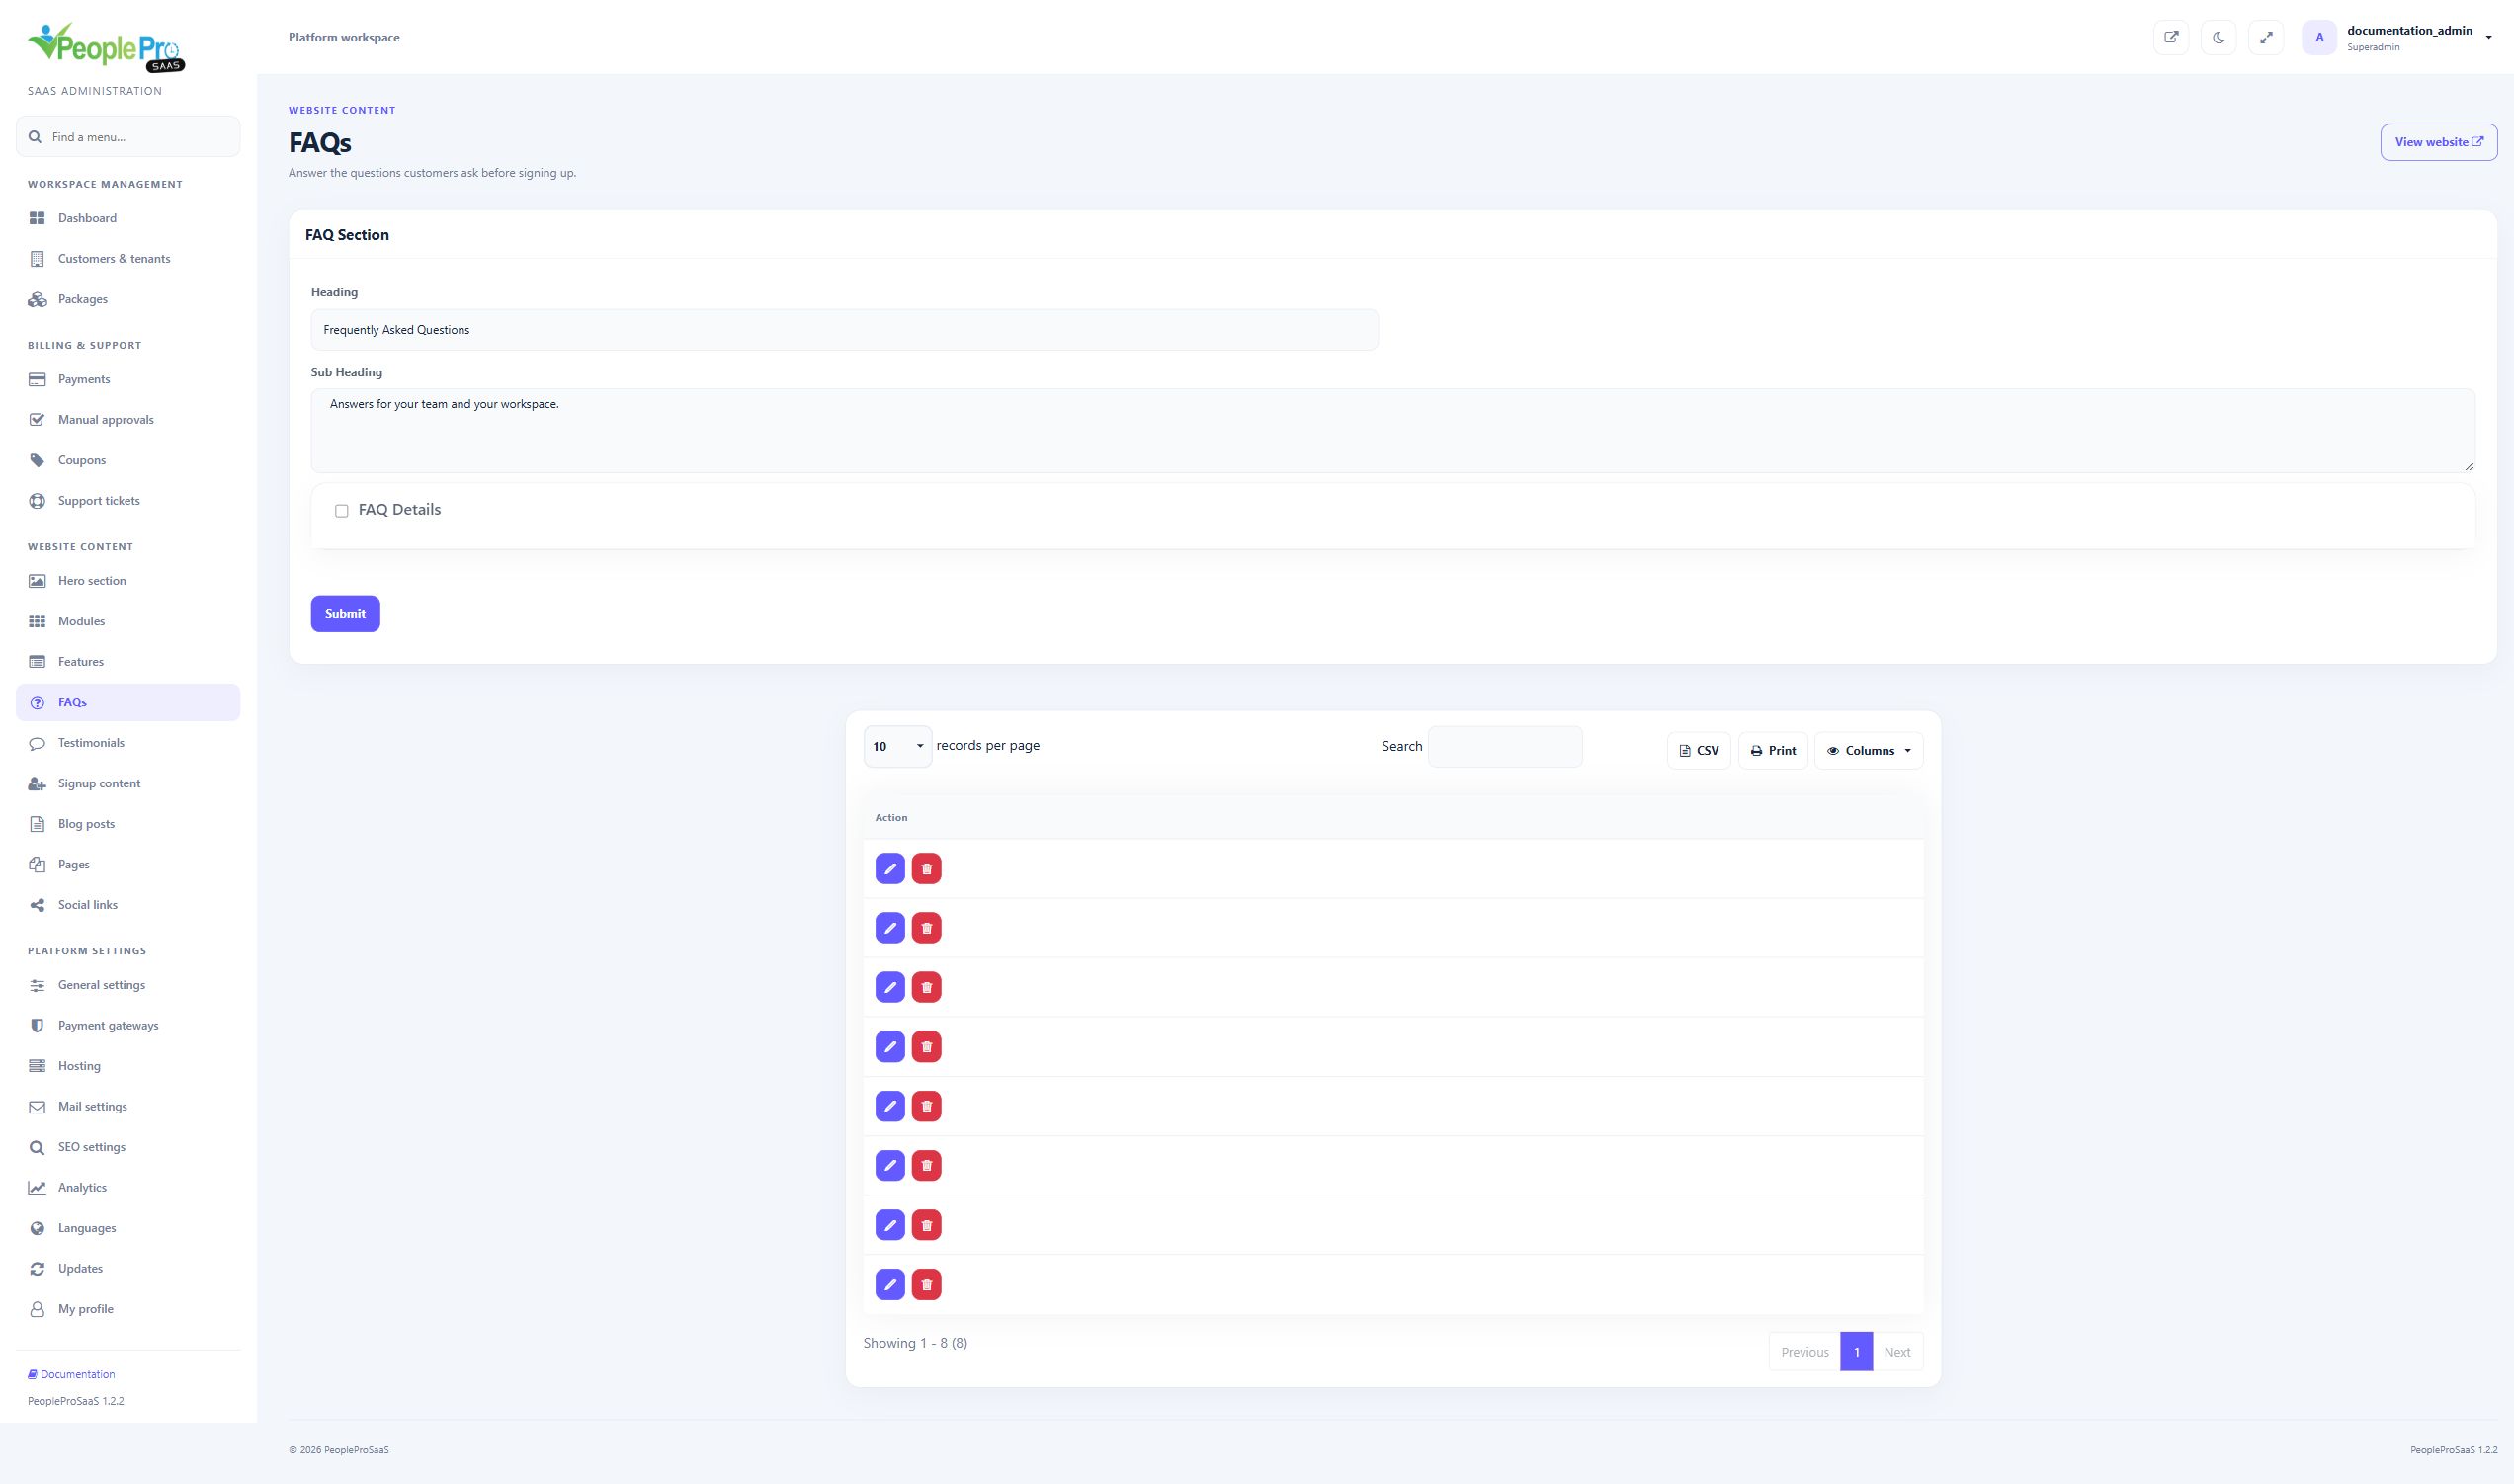
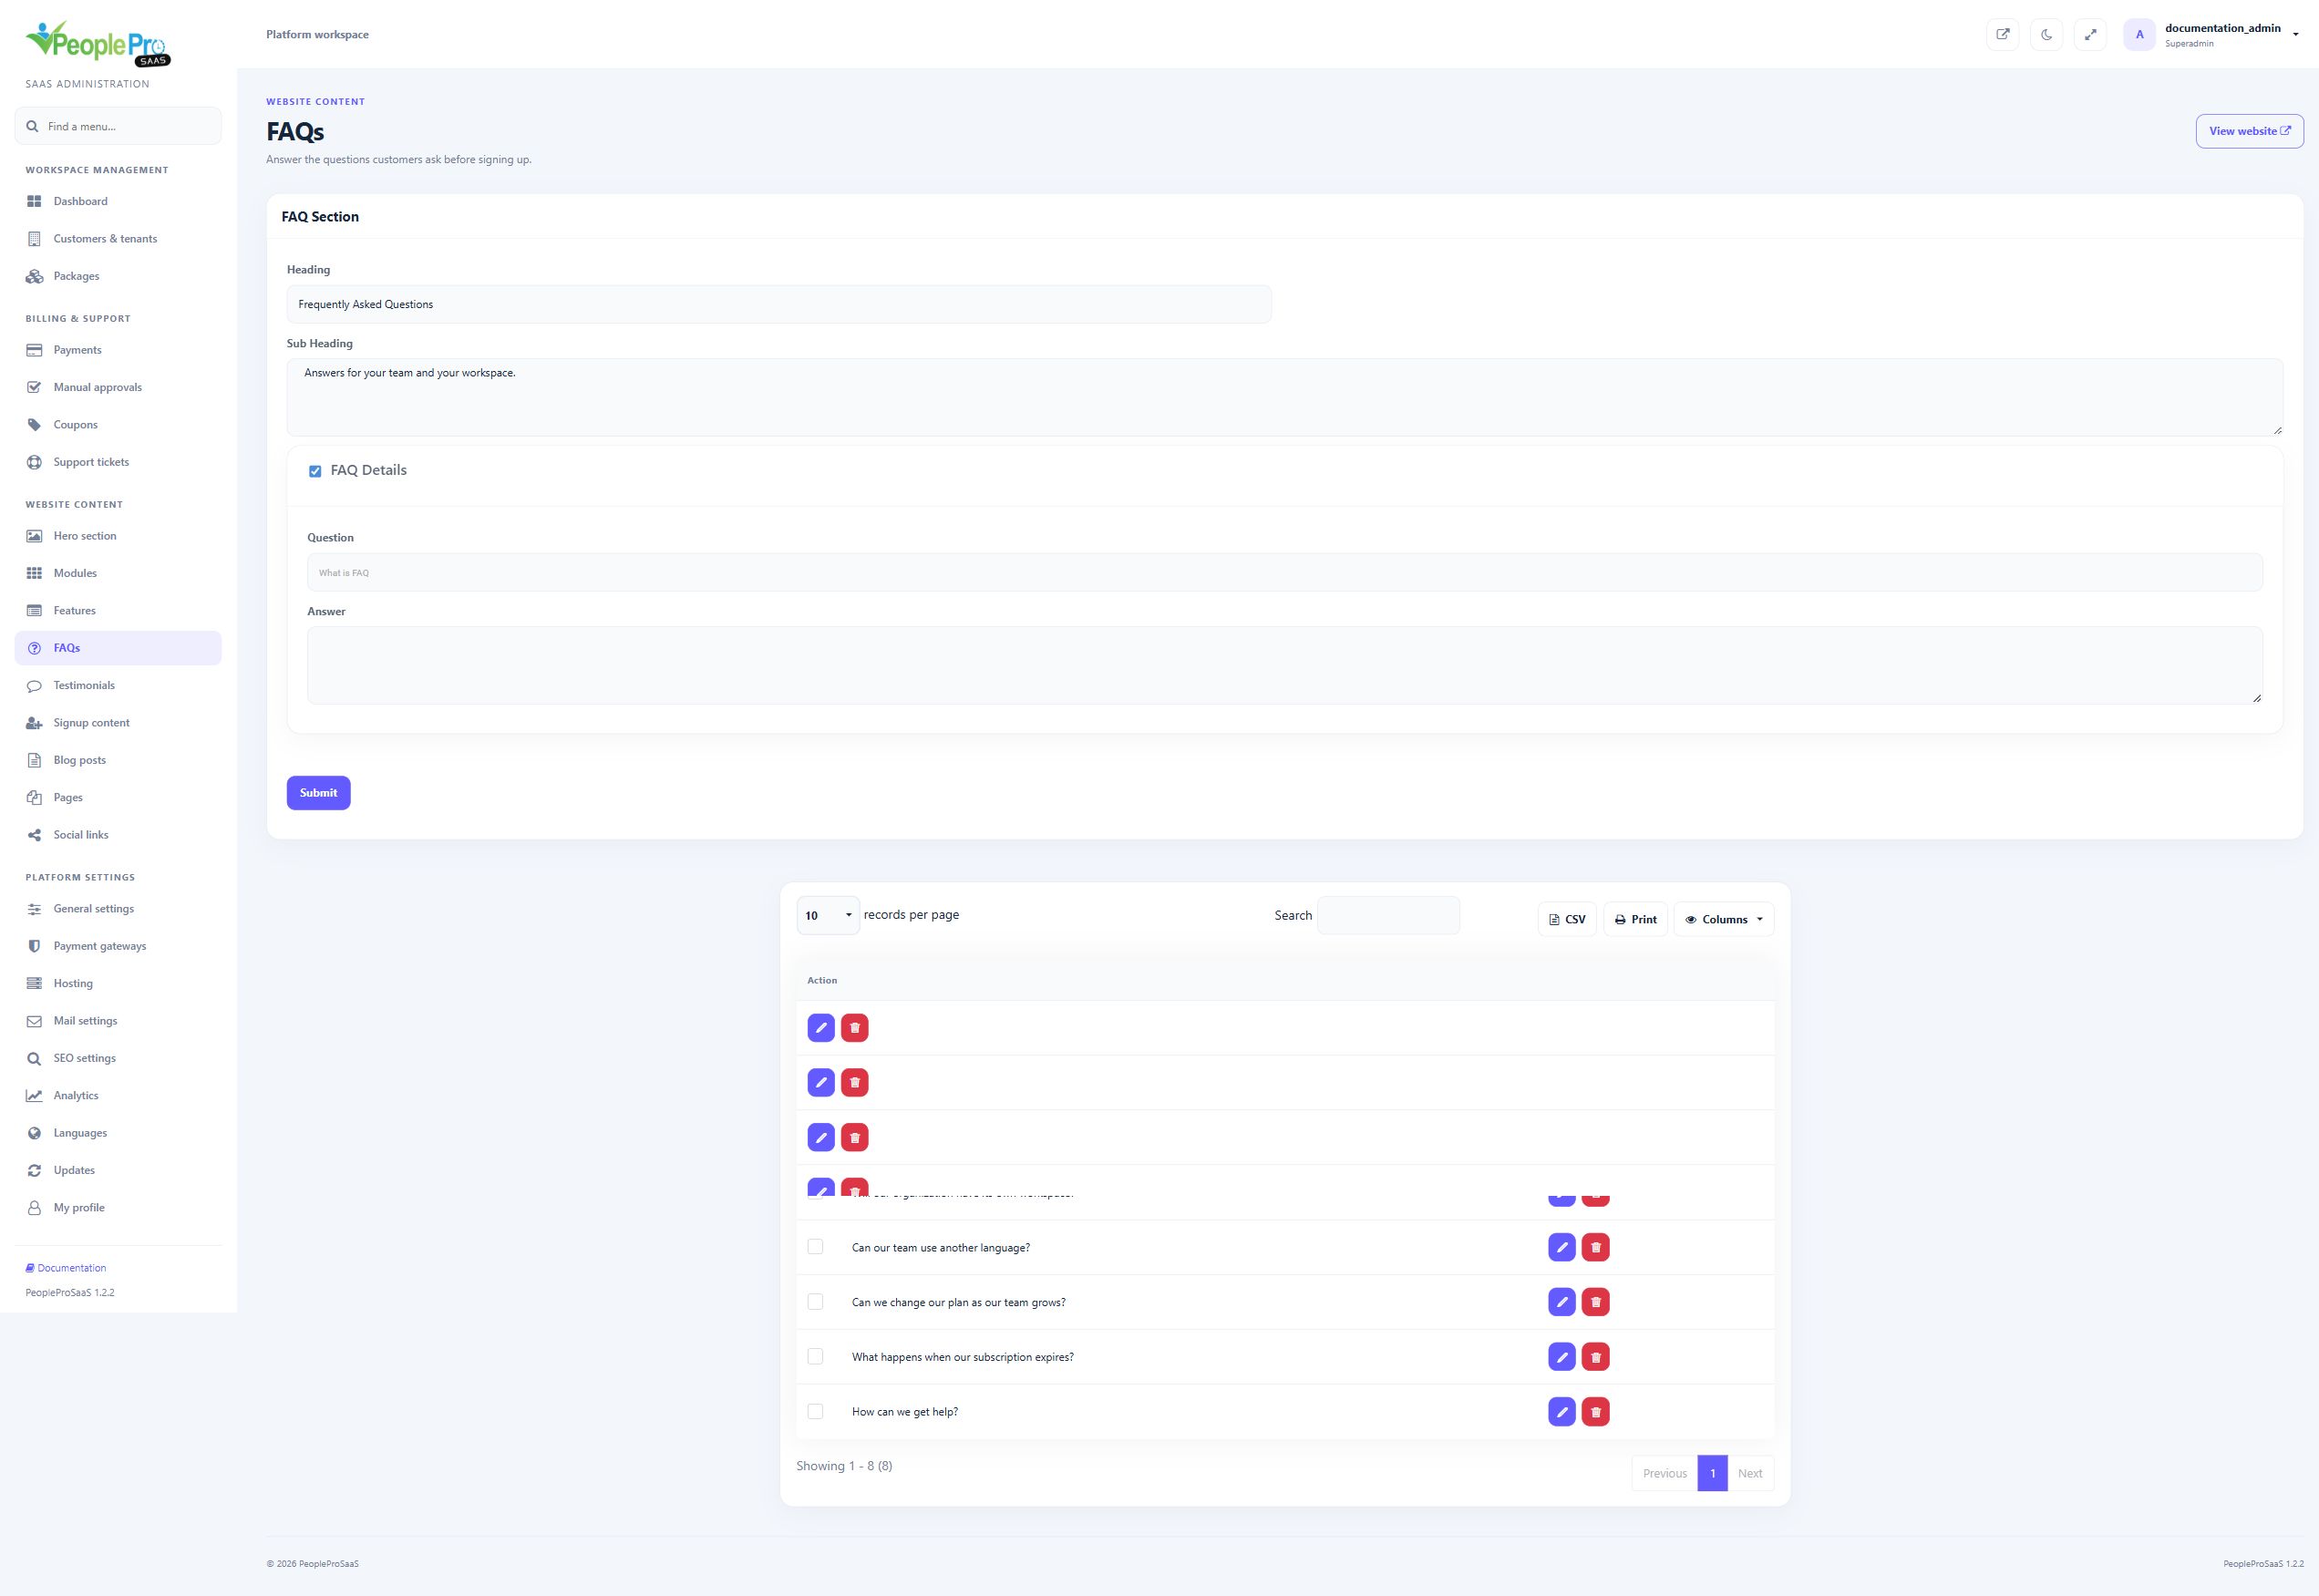
Maintain the FAQ section Heading and Sub Heading. Enable FAQ Details to reveal Question and Answer. Write one clear customer question and a practical answer, then submit. Useful topics include trial access, plan limits, customer workspaces, renewal and support. Check the published FAQ in the intended content language.
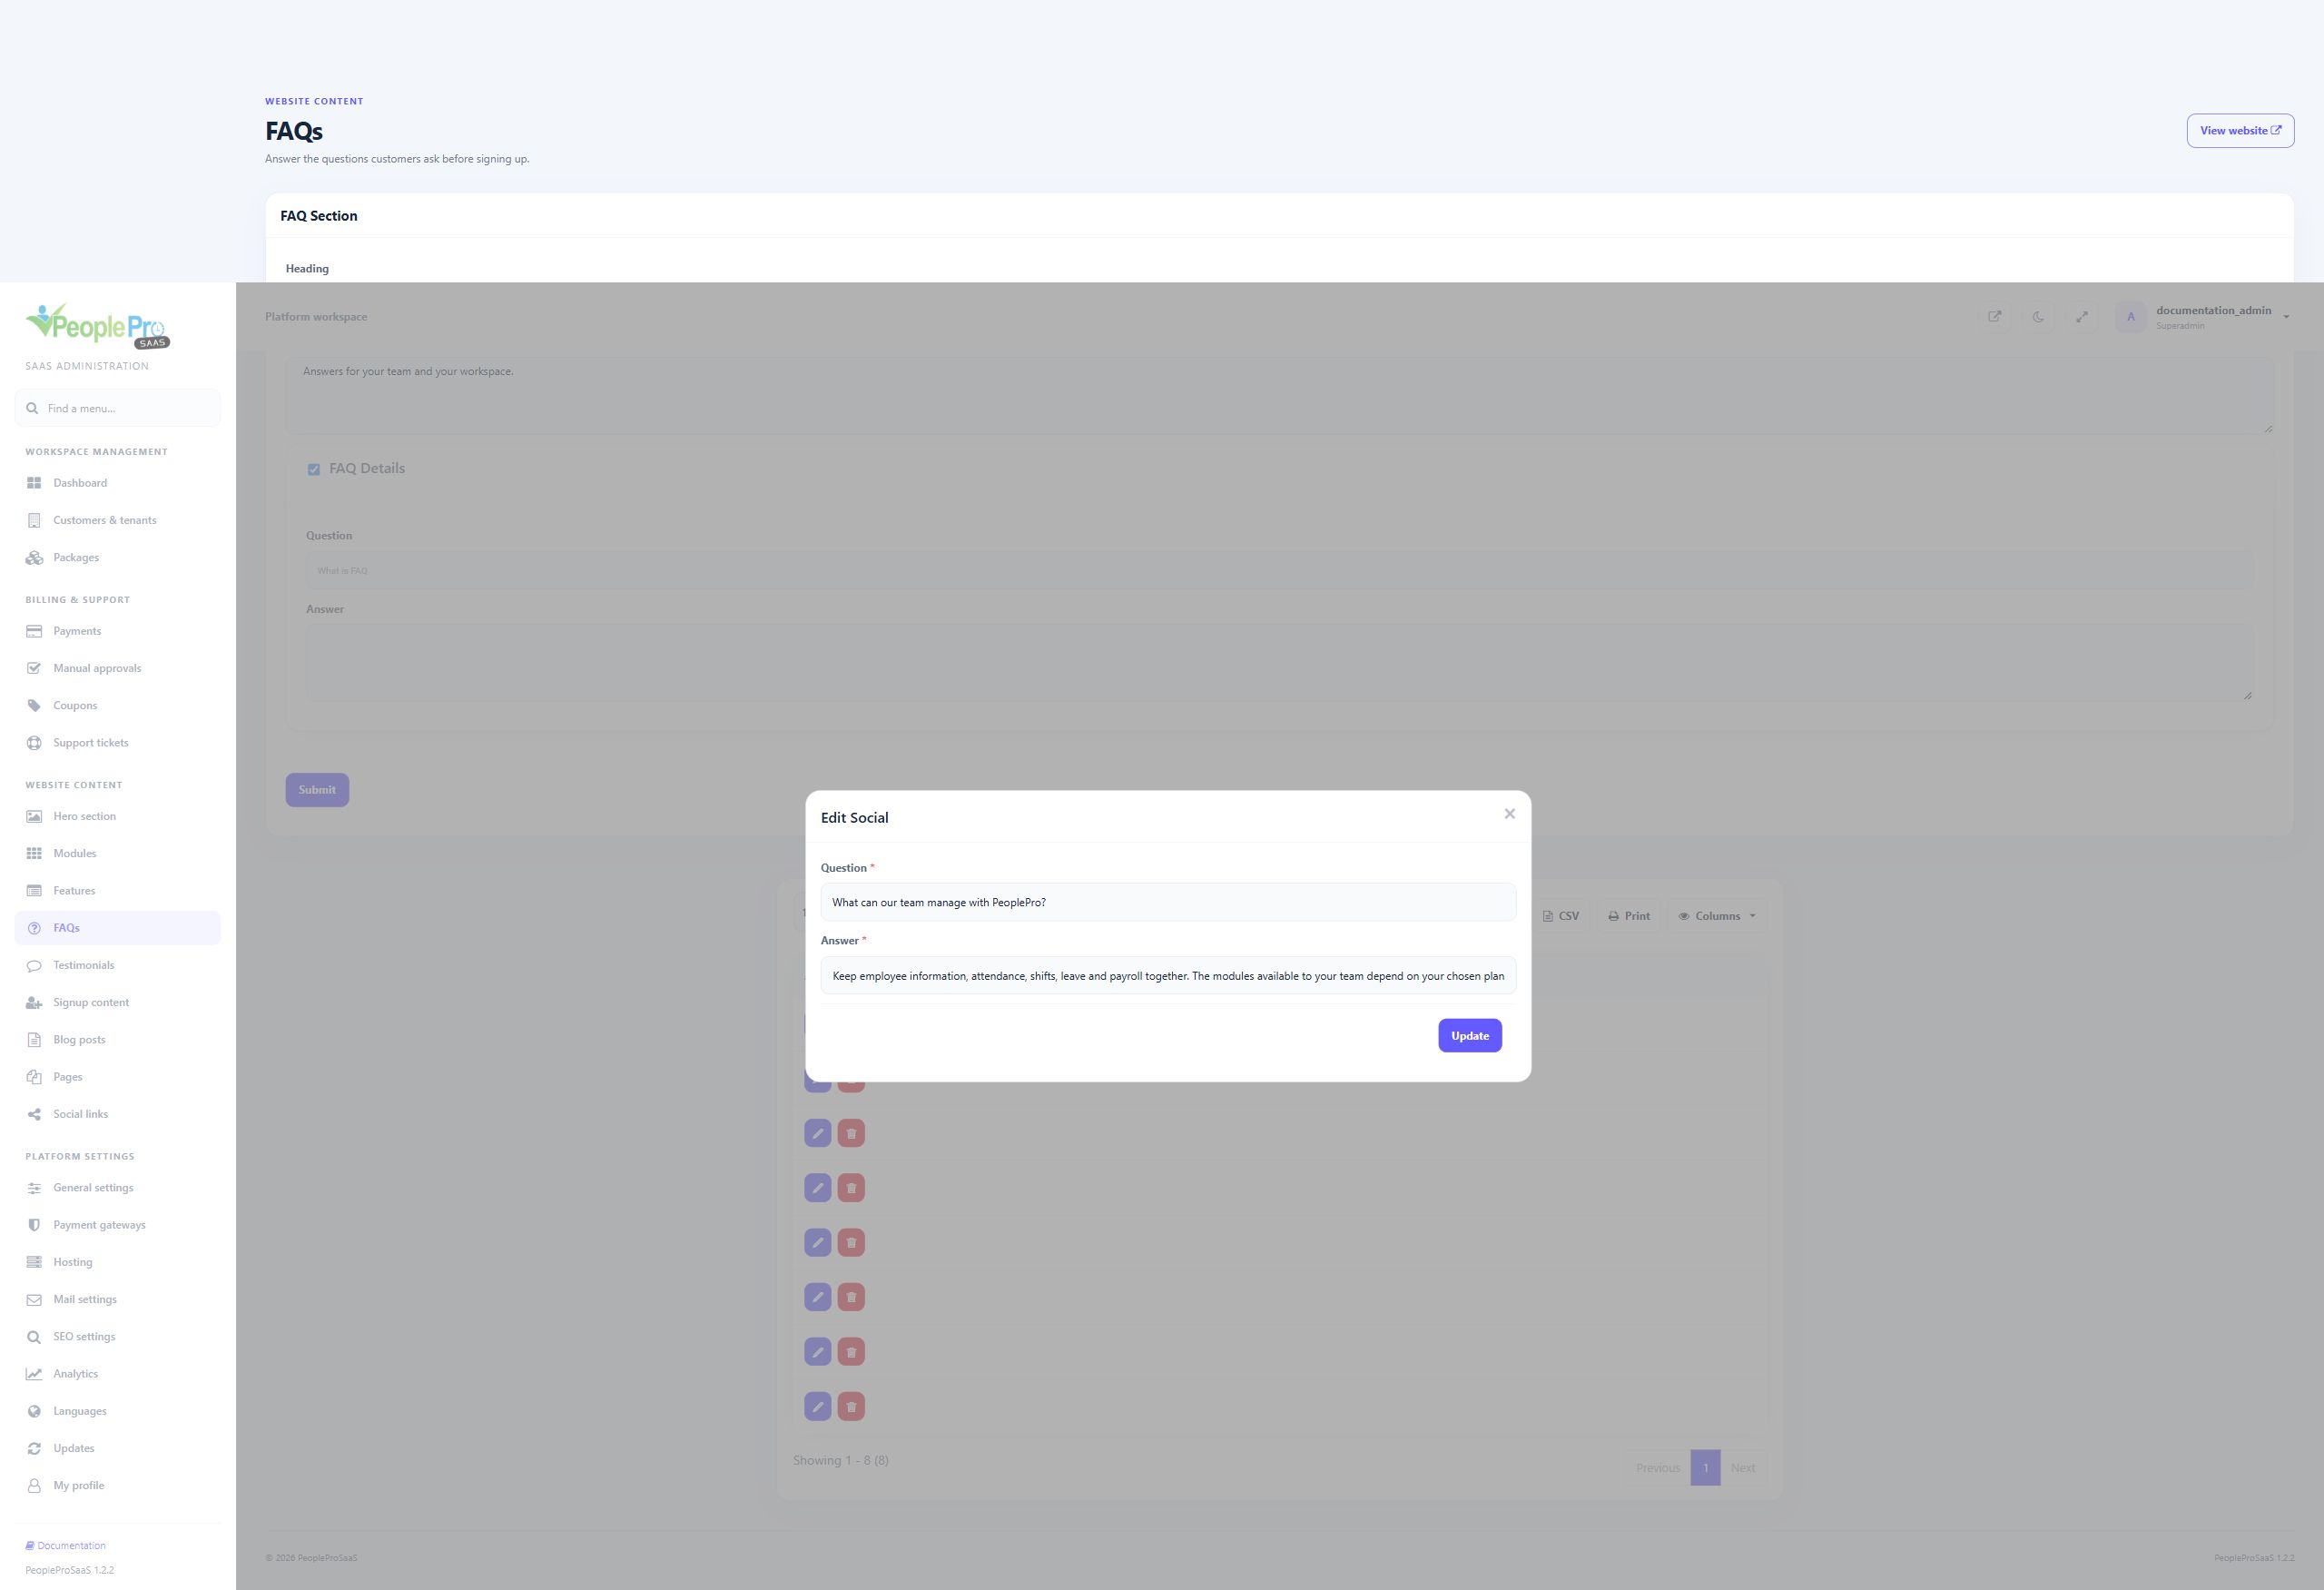
Select the row edit control, revise Question or Answer and choose Update. Use the delete action when that individual FAQ should be removed, after confirming the row. Changing the section heading is handled by the main form above the list. A FAQ explanation does not itself change billing, trial duration or package limits.
Testimonials contains Name, Business Name, Image and Description. The form above the list adds a customer story; the row edit button changes an existing one. Use feedback you are authorized to publish. The current curated homepage does not automatically display this legacy collection. There is no display-order field in the current form.
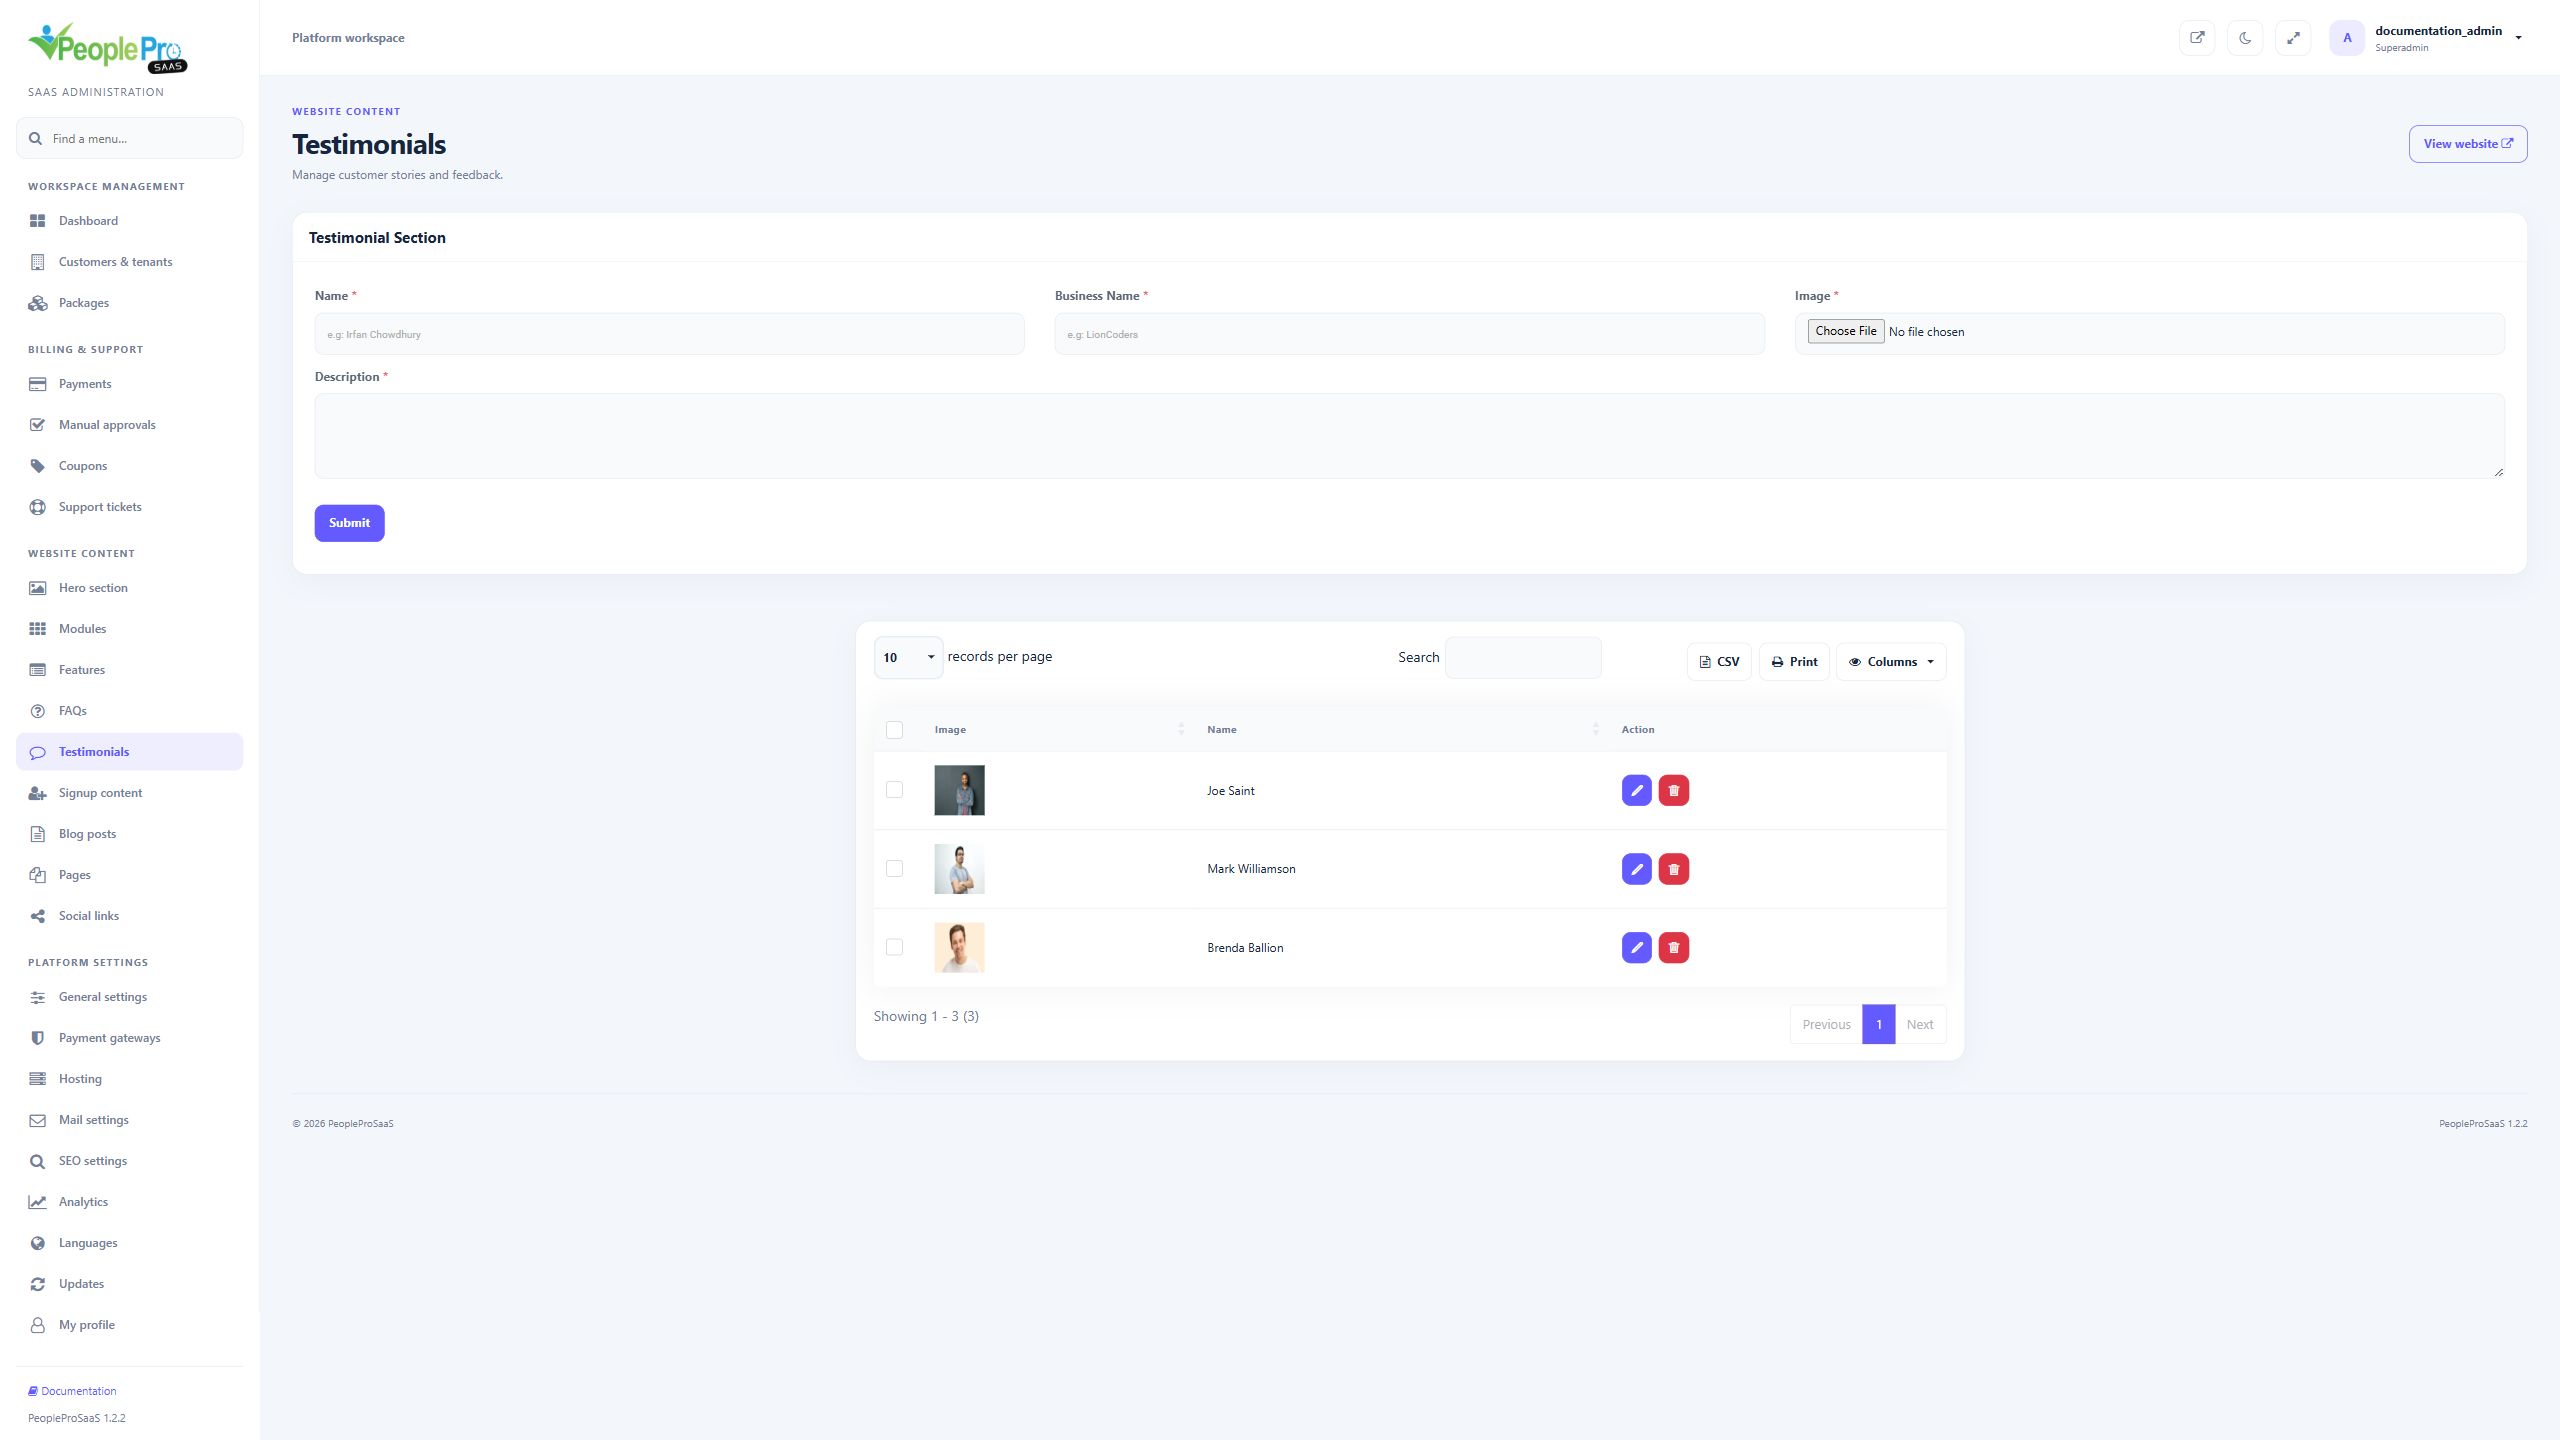
The main form adds Name, Business Name, Image and Description. The row edit dialog updates those same details. Review the selected person and business, write the approved feedback and save the intended record. Upload a replacement image when needed; the edit form can retain the existing image. Use the row delete action only when that story should be removed. This remains a legacy website-content collection.
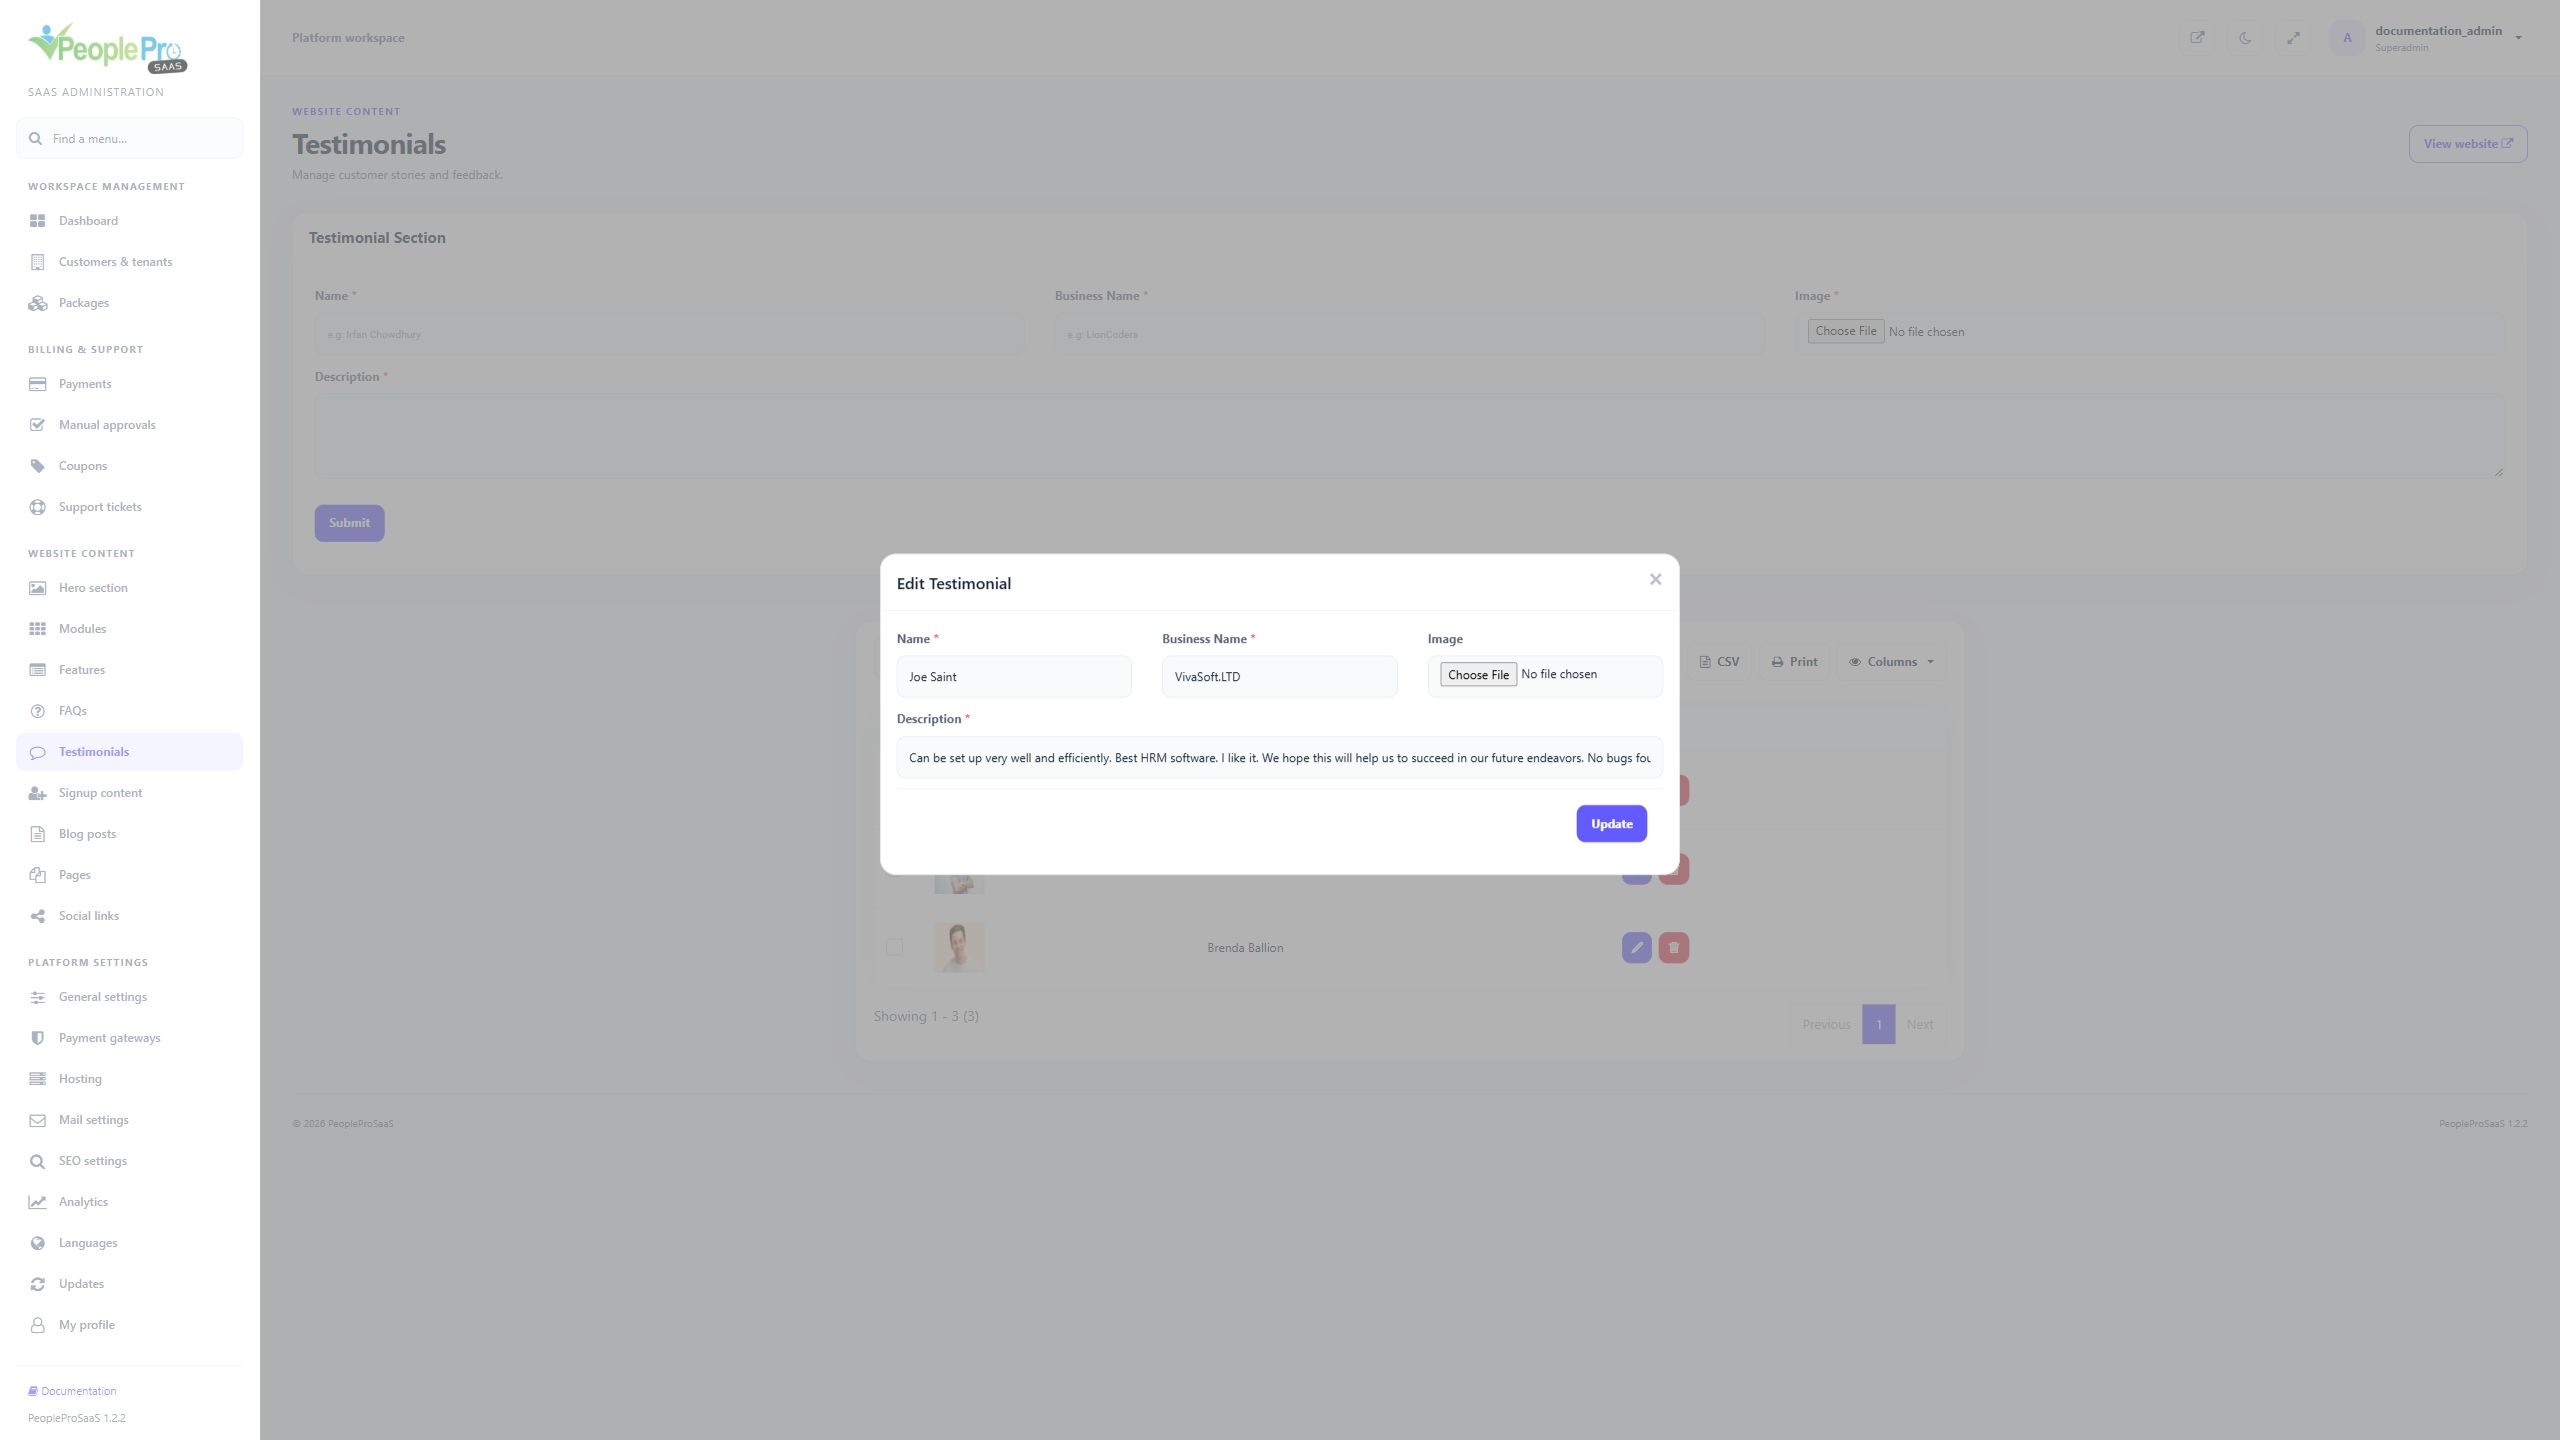
Signup content keeps the heading and subheading used by earlier signup content. The current signup page uses its provided translated introduction and form labels. Use the platform translation editor to change that current wording. Editing a description does not change the actual signup requirements, package limits or payment verification.
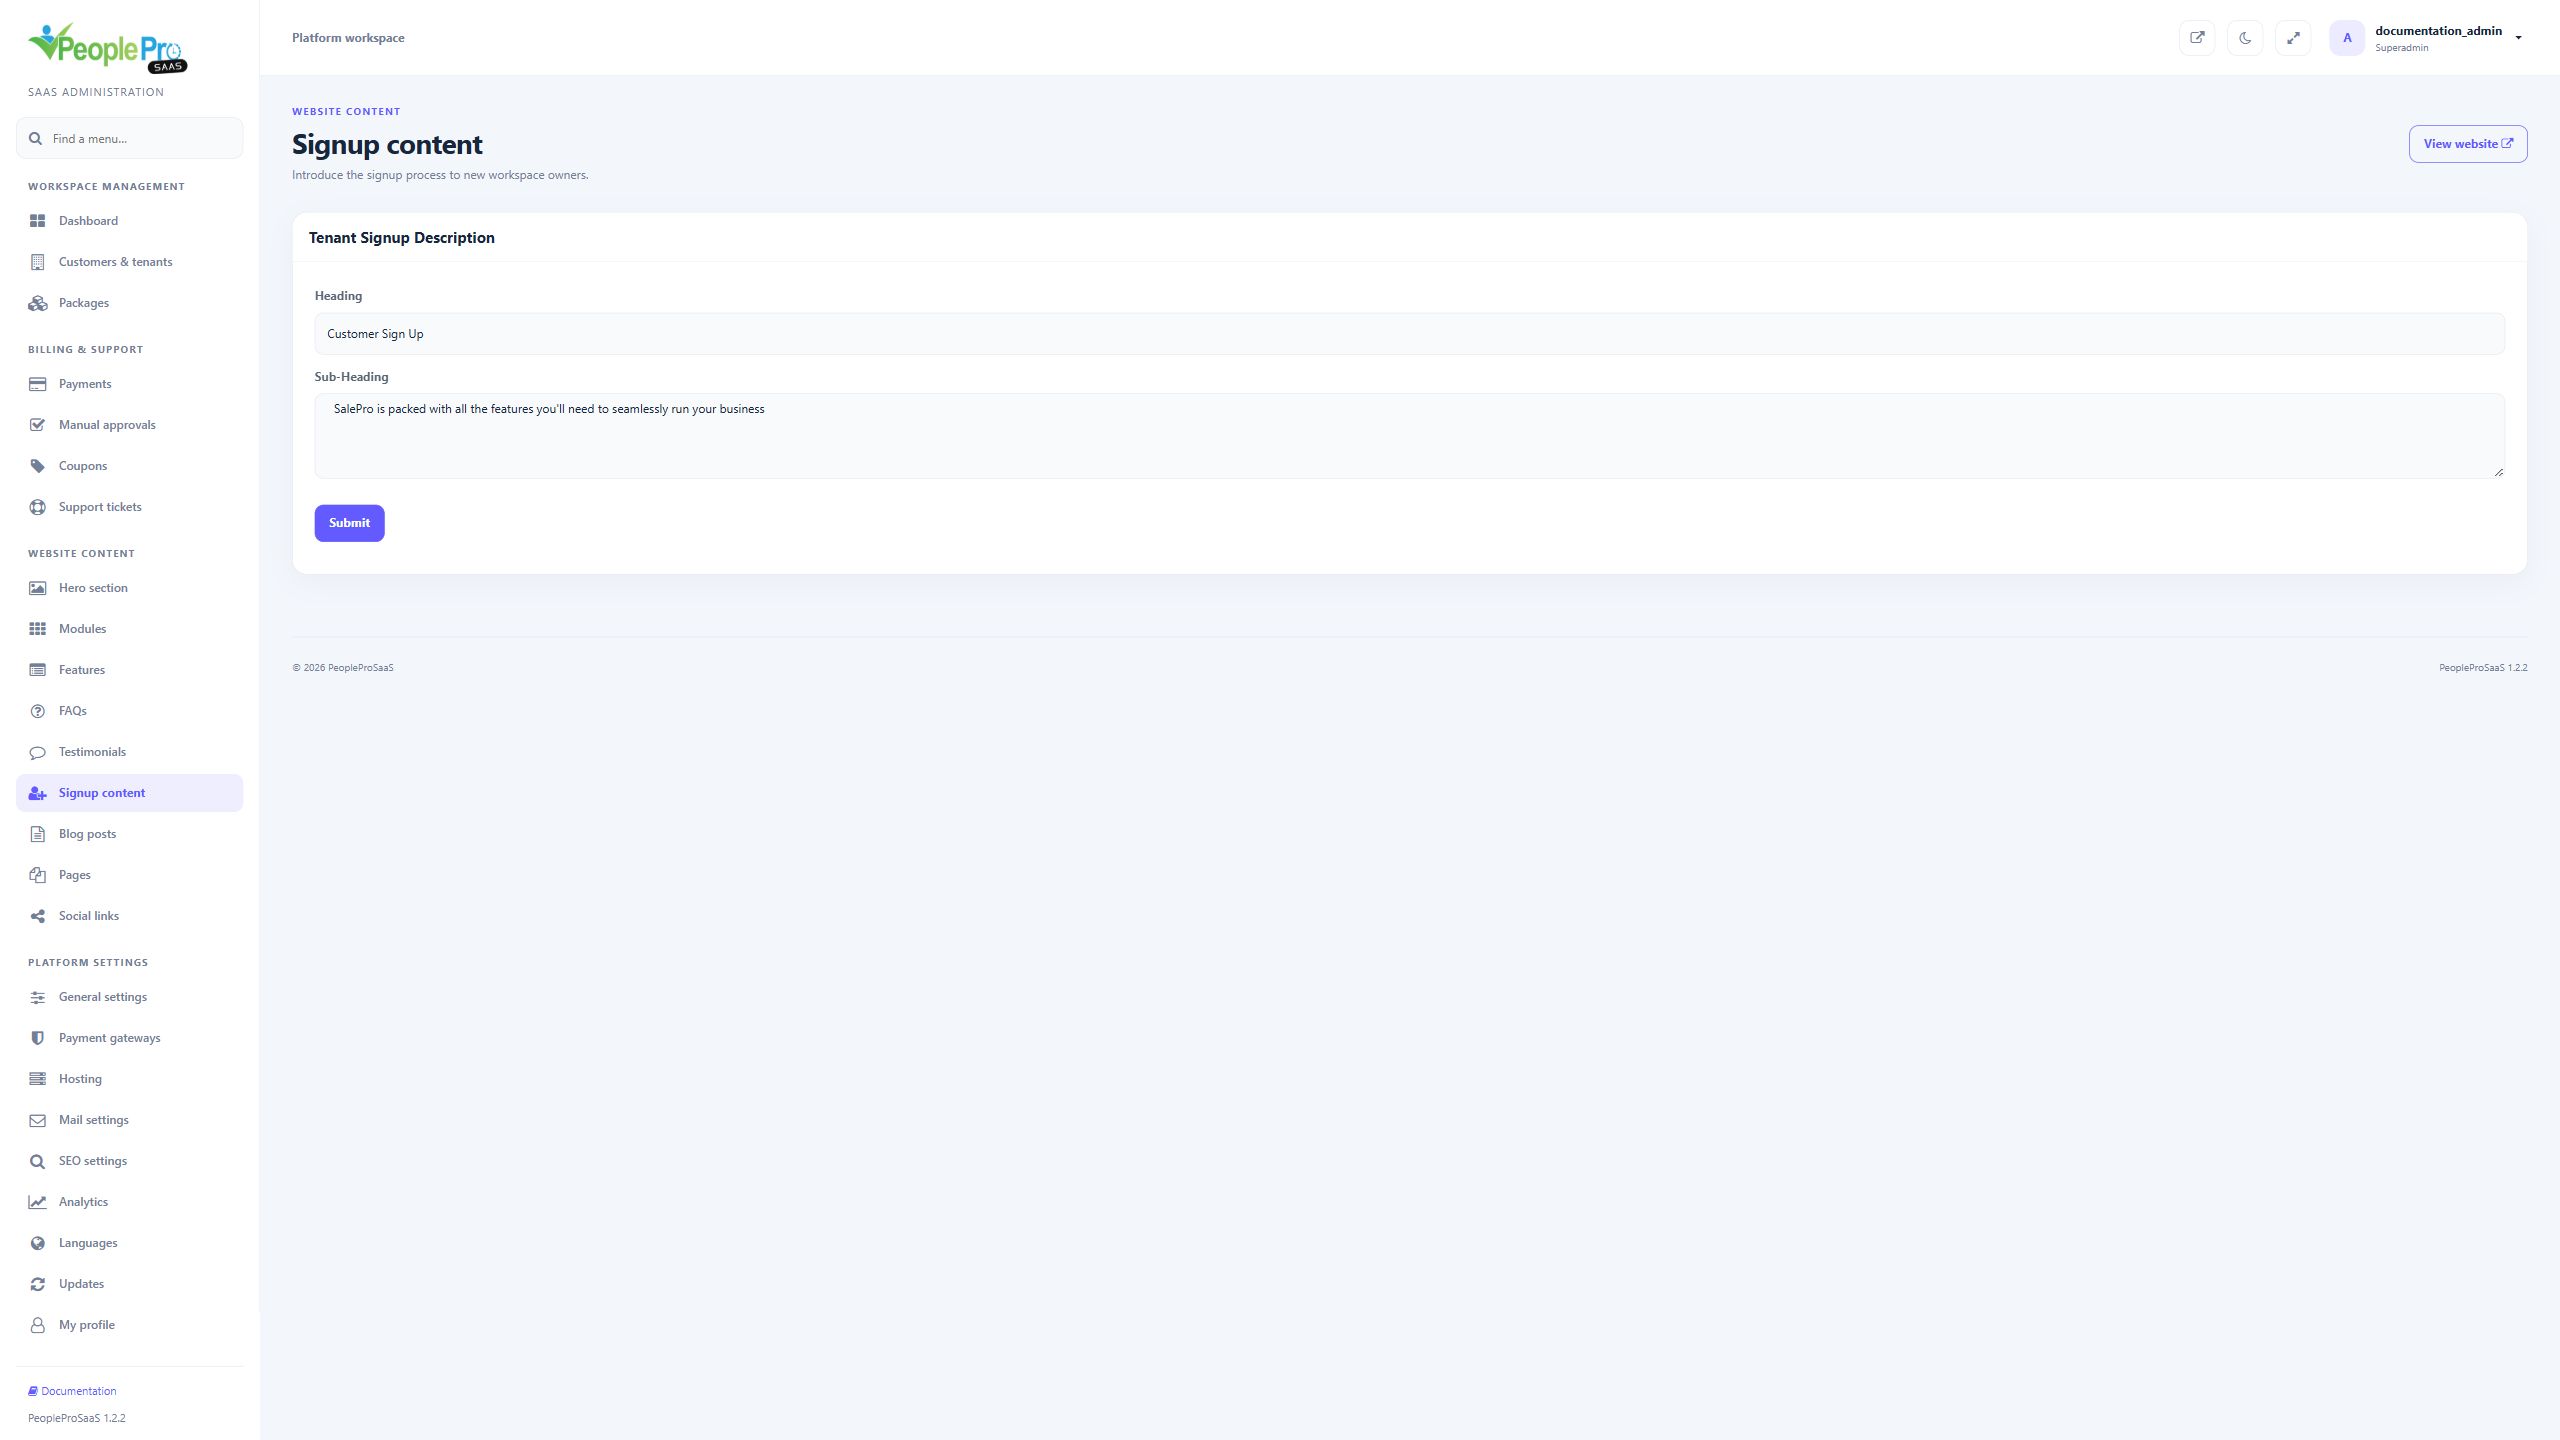
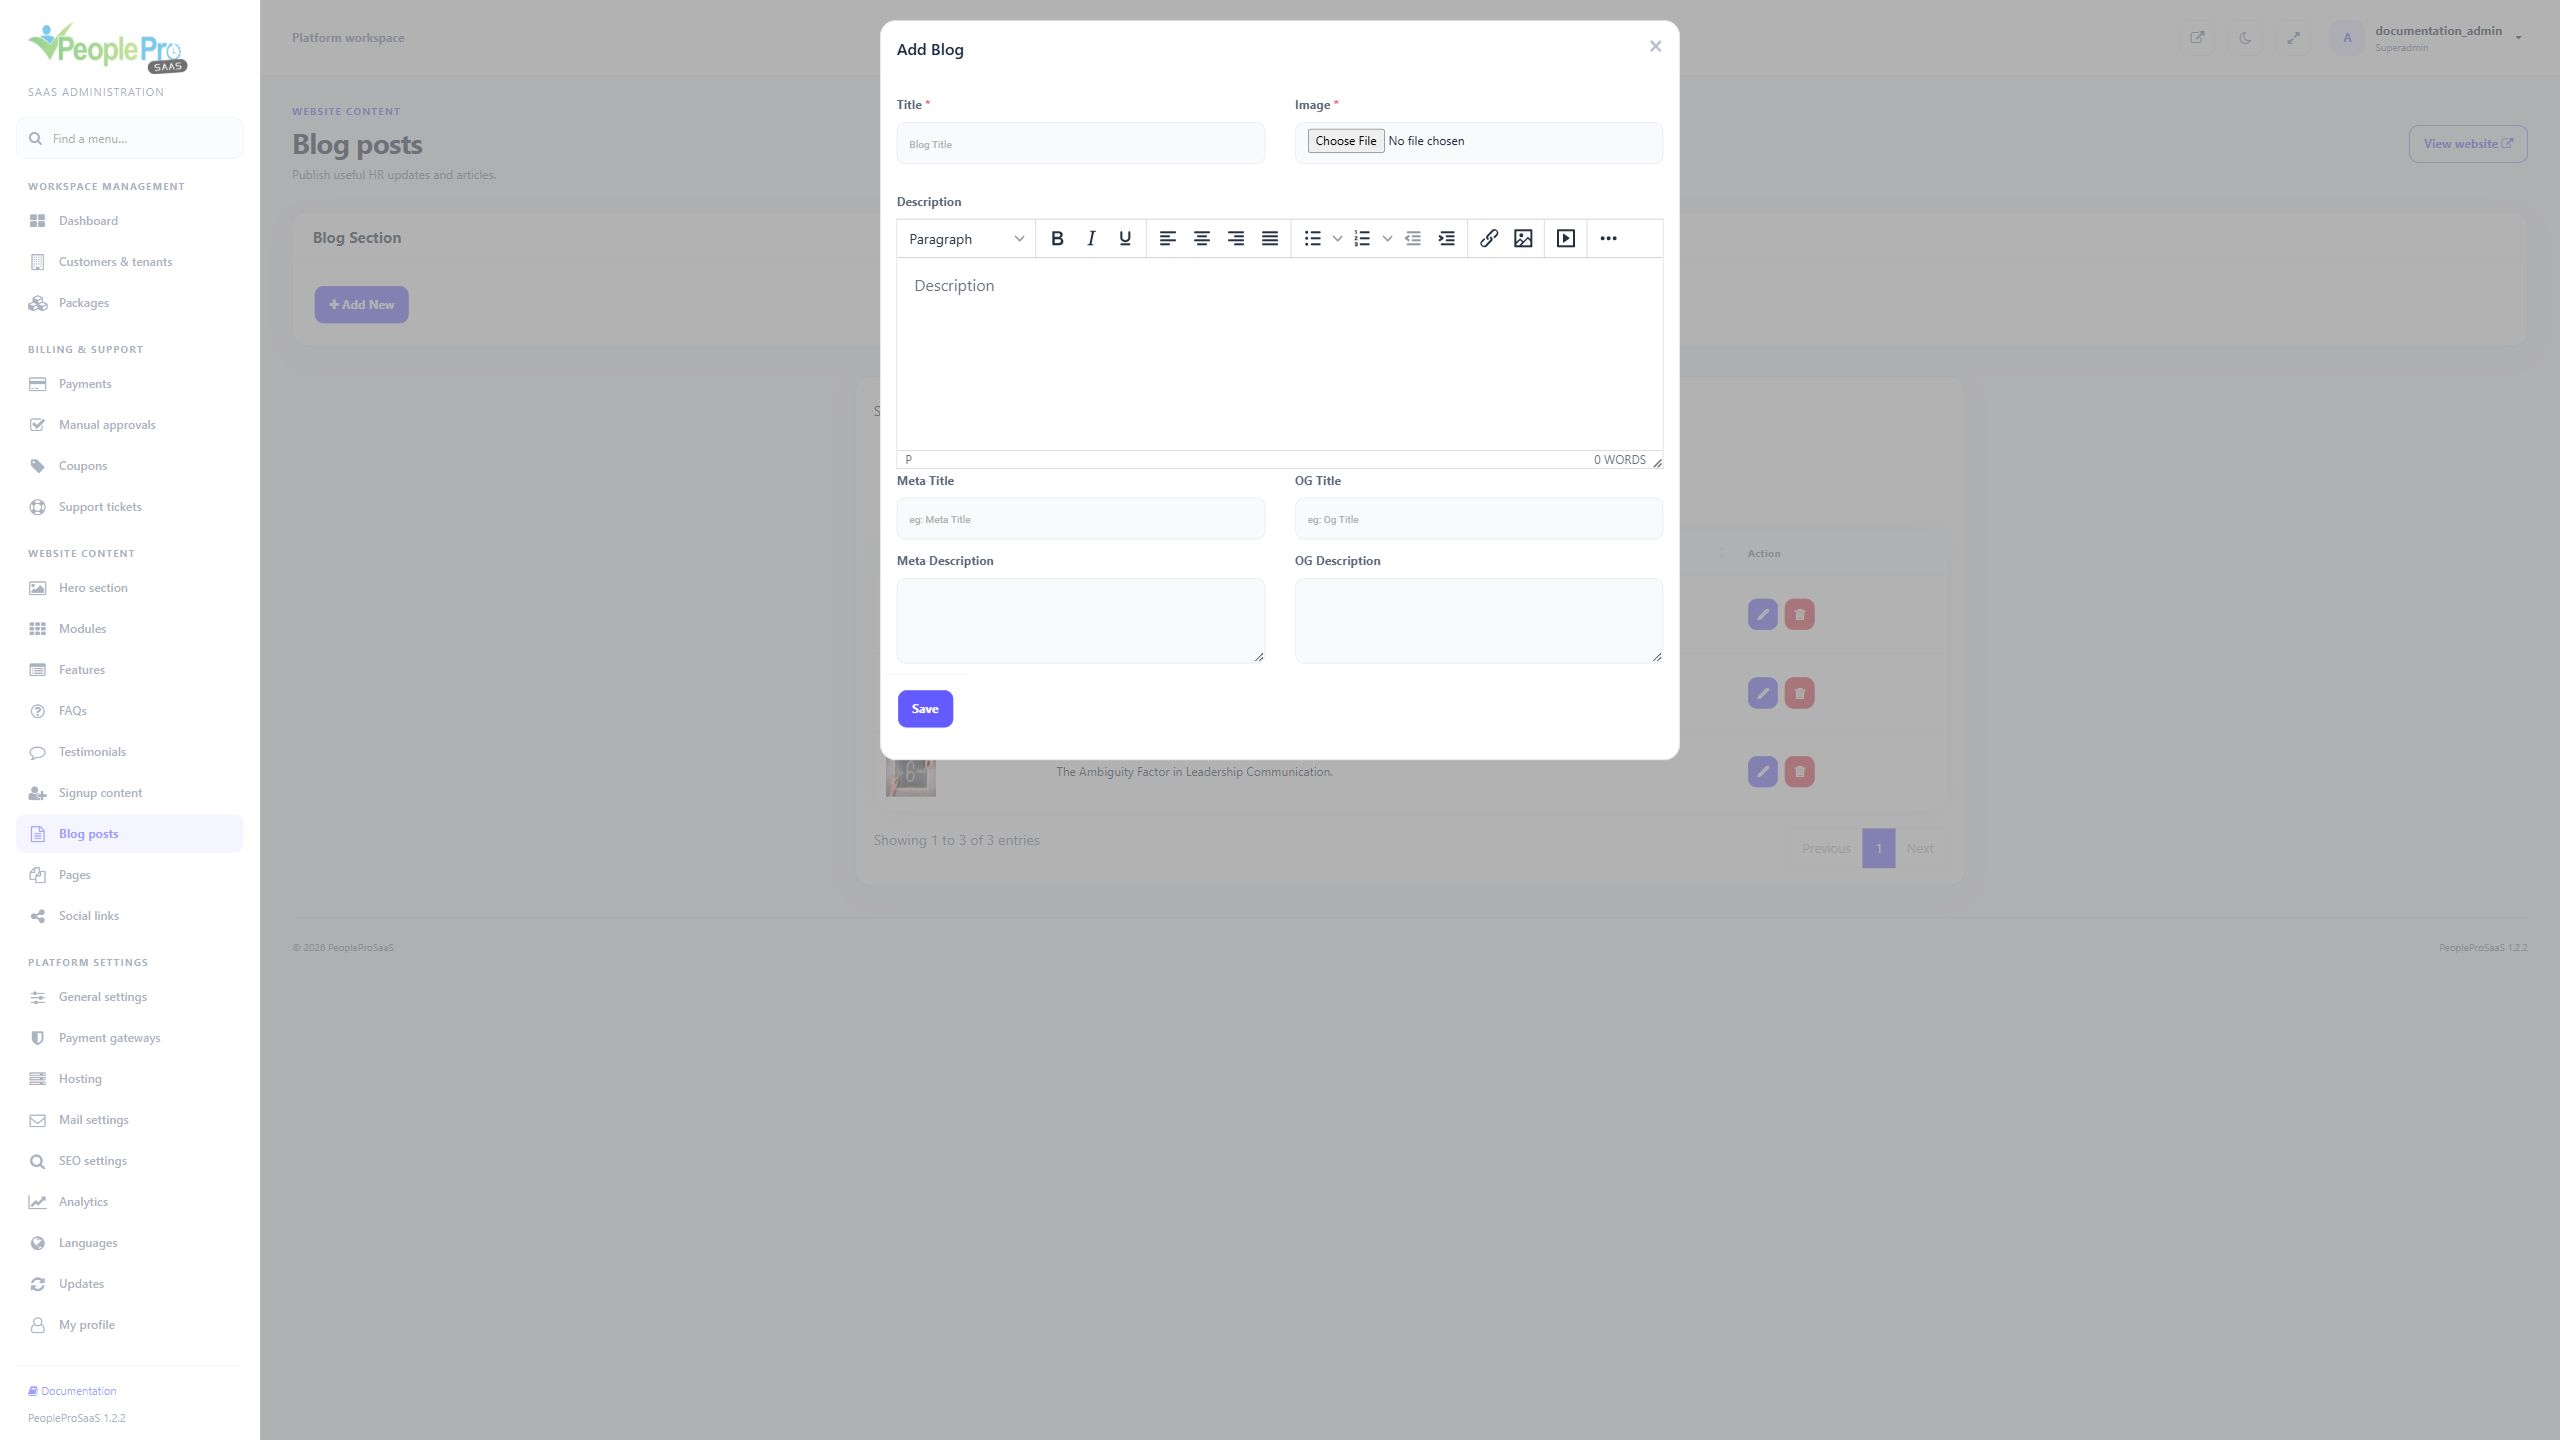
Open Blog posts to maintain public articles. Add New opens the title, image, description and optional metadata fields. The application generates the public address from the title; there is no separate slug input. Review the public article after saving. Changing a title can change its address, so check links you have already shared.
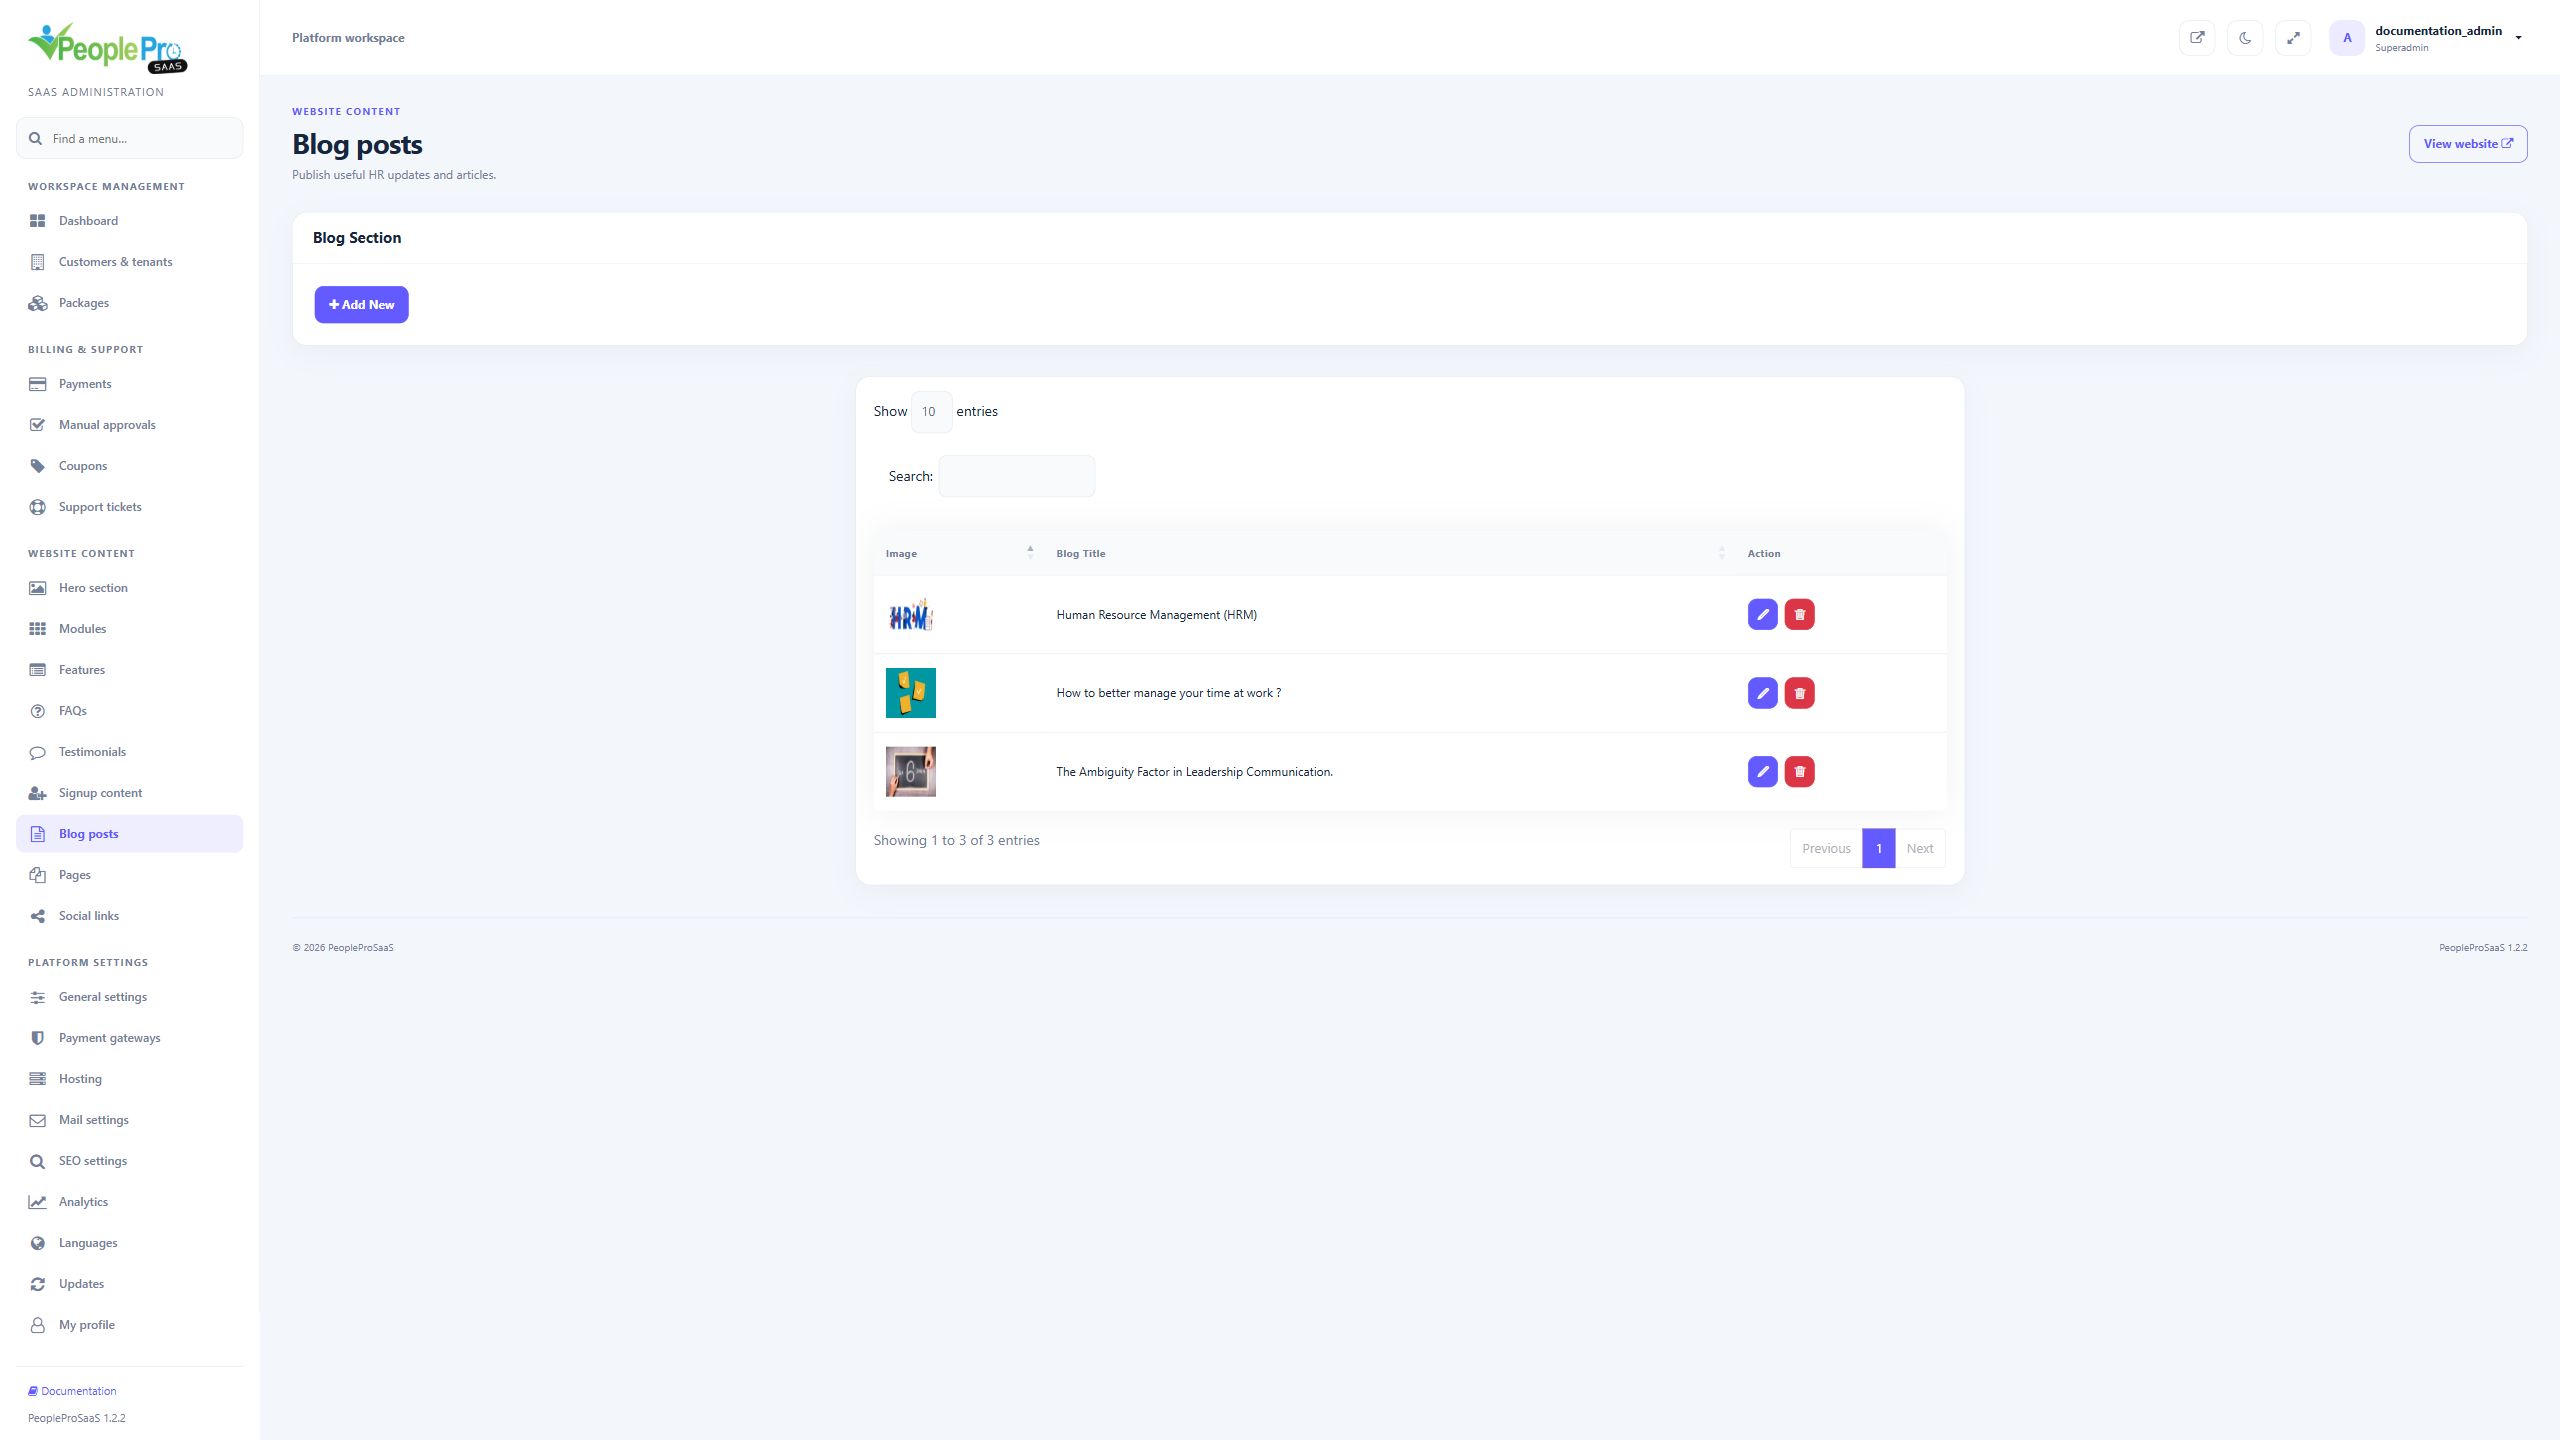
Choose Add New. Enter Title, upload Image and write the article in Description. Meta Title, OG Title, Meta Description and OG Description are optional metadata fields in this form. Select Save after reviewing the article. The public address is generated from Title; no manual slug input is provided. These articles are managed centrally by the superadmin.
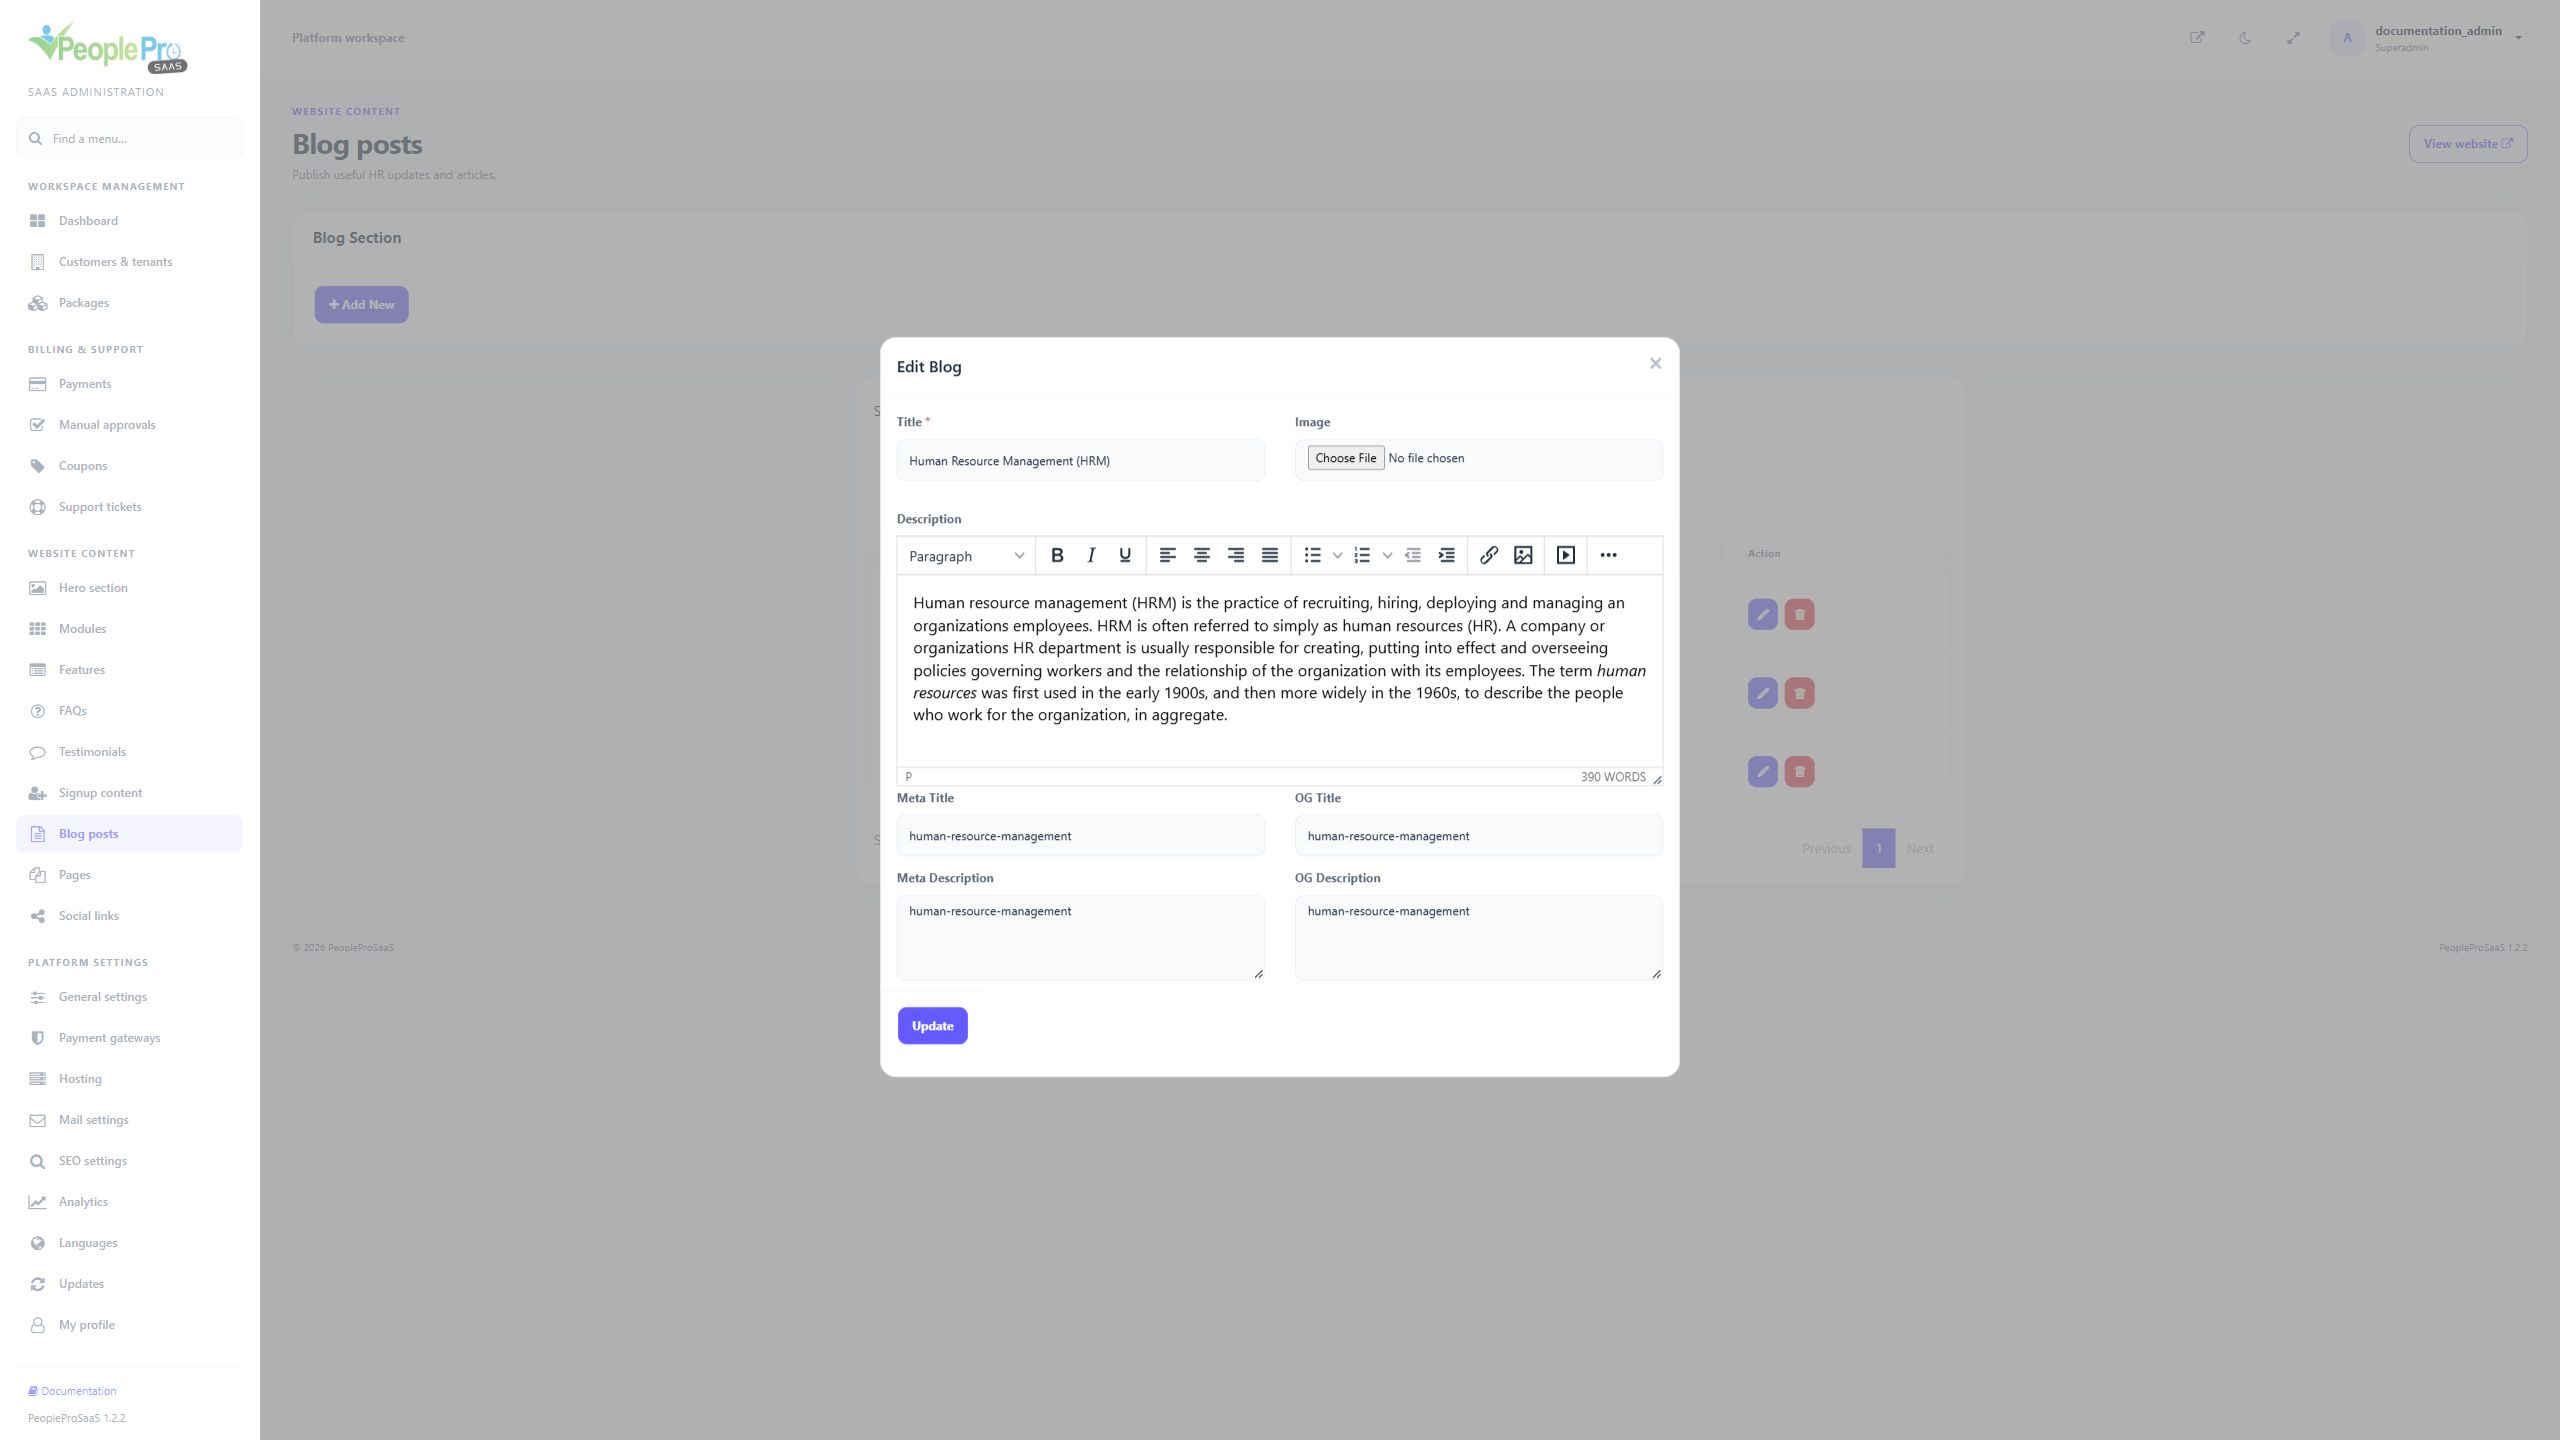
Use the row edit button to review the title, current image, description and metadata, then choose Update. Choose a new image only when replacing the existing one. Review the public article address after changing its title. The delete action removes the selected article and its associated images; use it only for content you intend to withdraw. No delete action was performed for the guide.
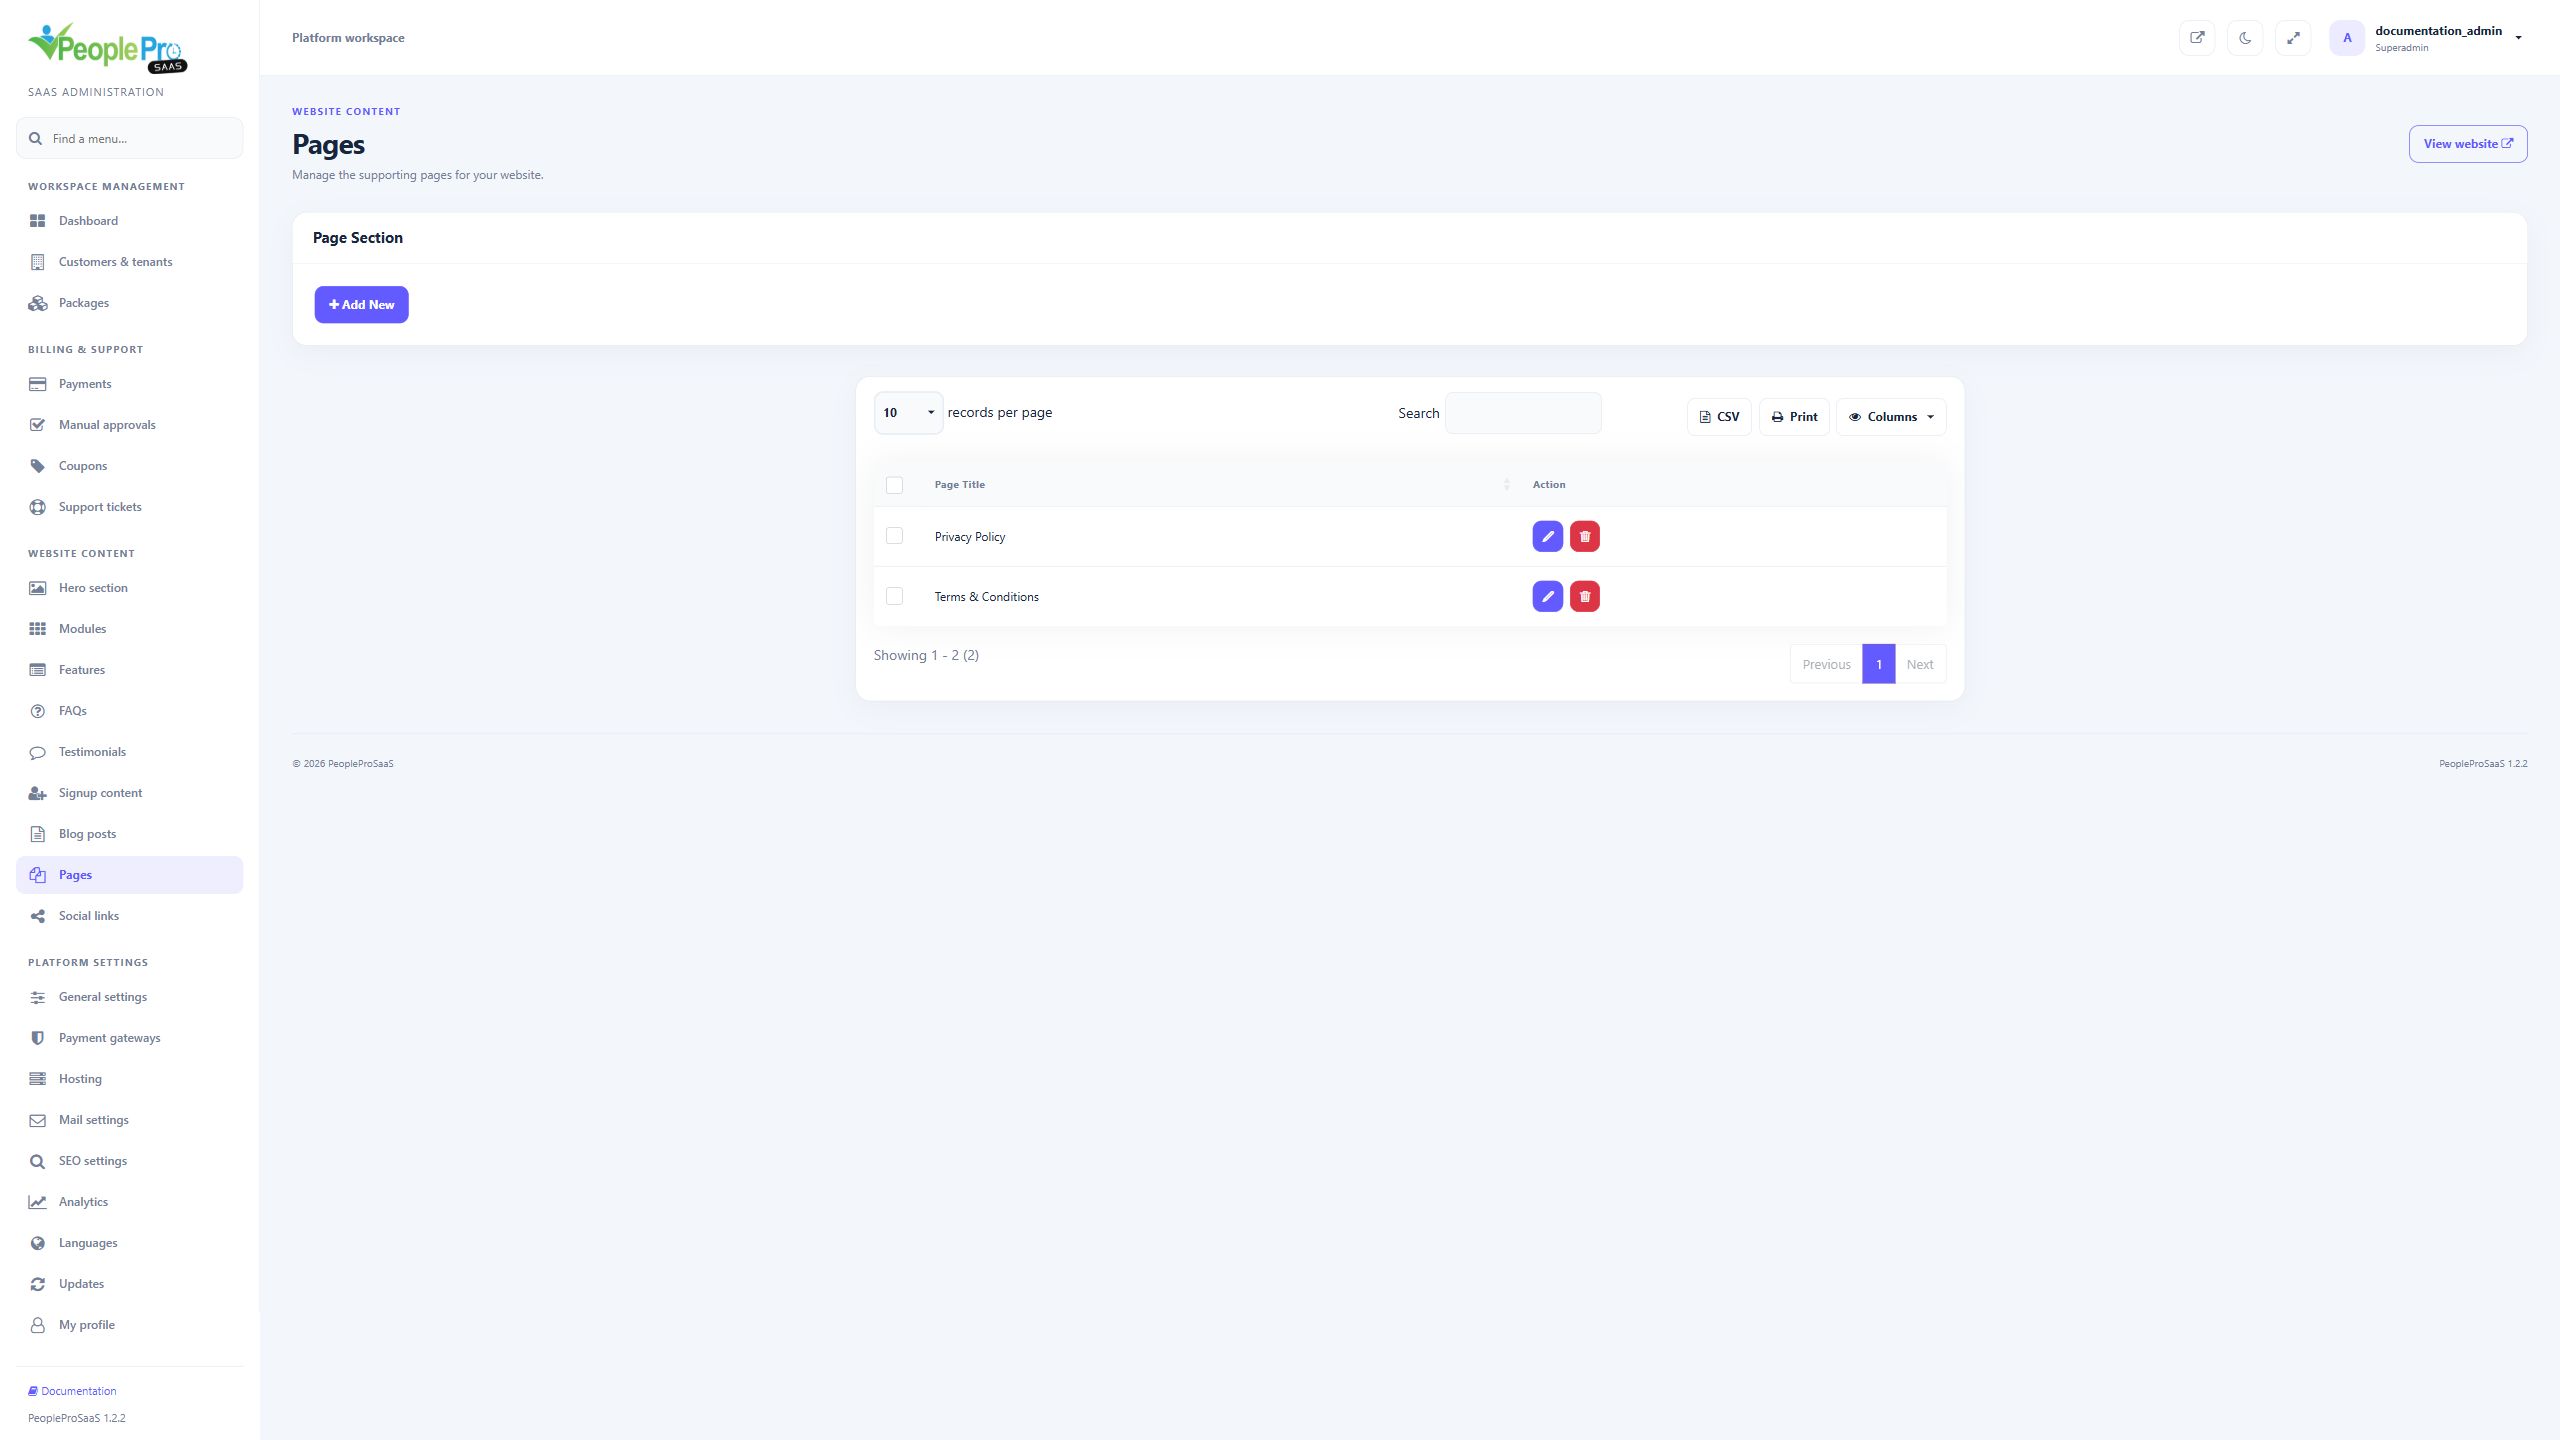
Use Pages to maintain supporting content such as company information or customer policies. Add New opens Title, Description, Meta Title and Meta Description. The application generates the public address from the title; no slug field is shown. Review the public page after saving. Creating a page does not automatically add it to the current homepage navigation.
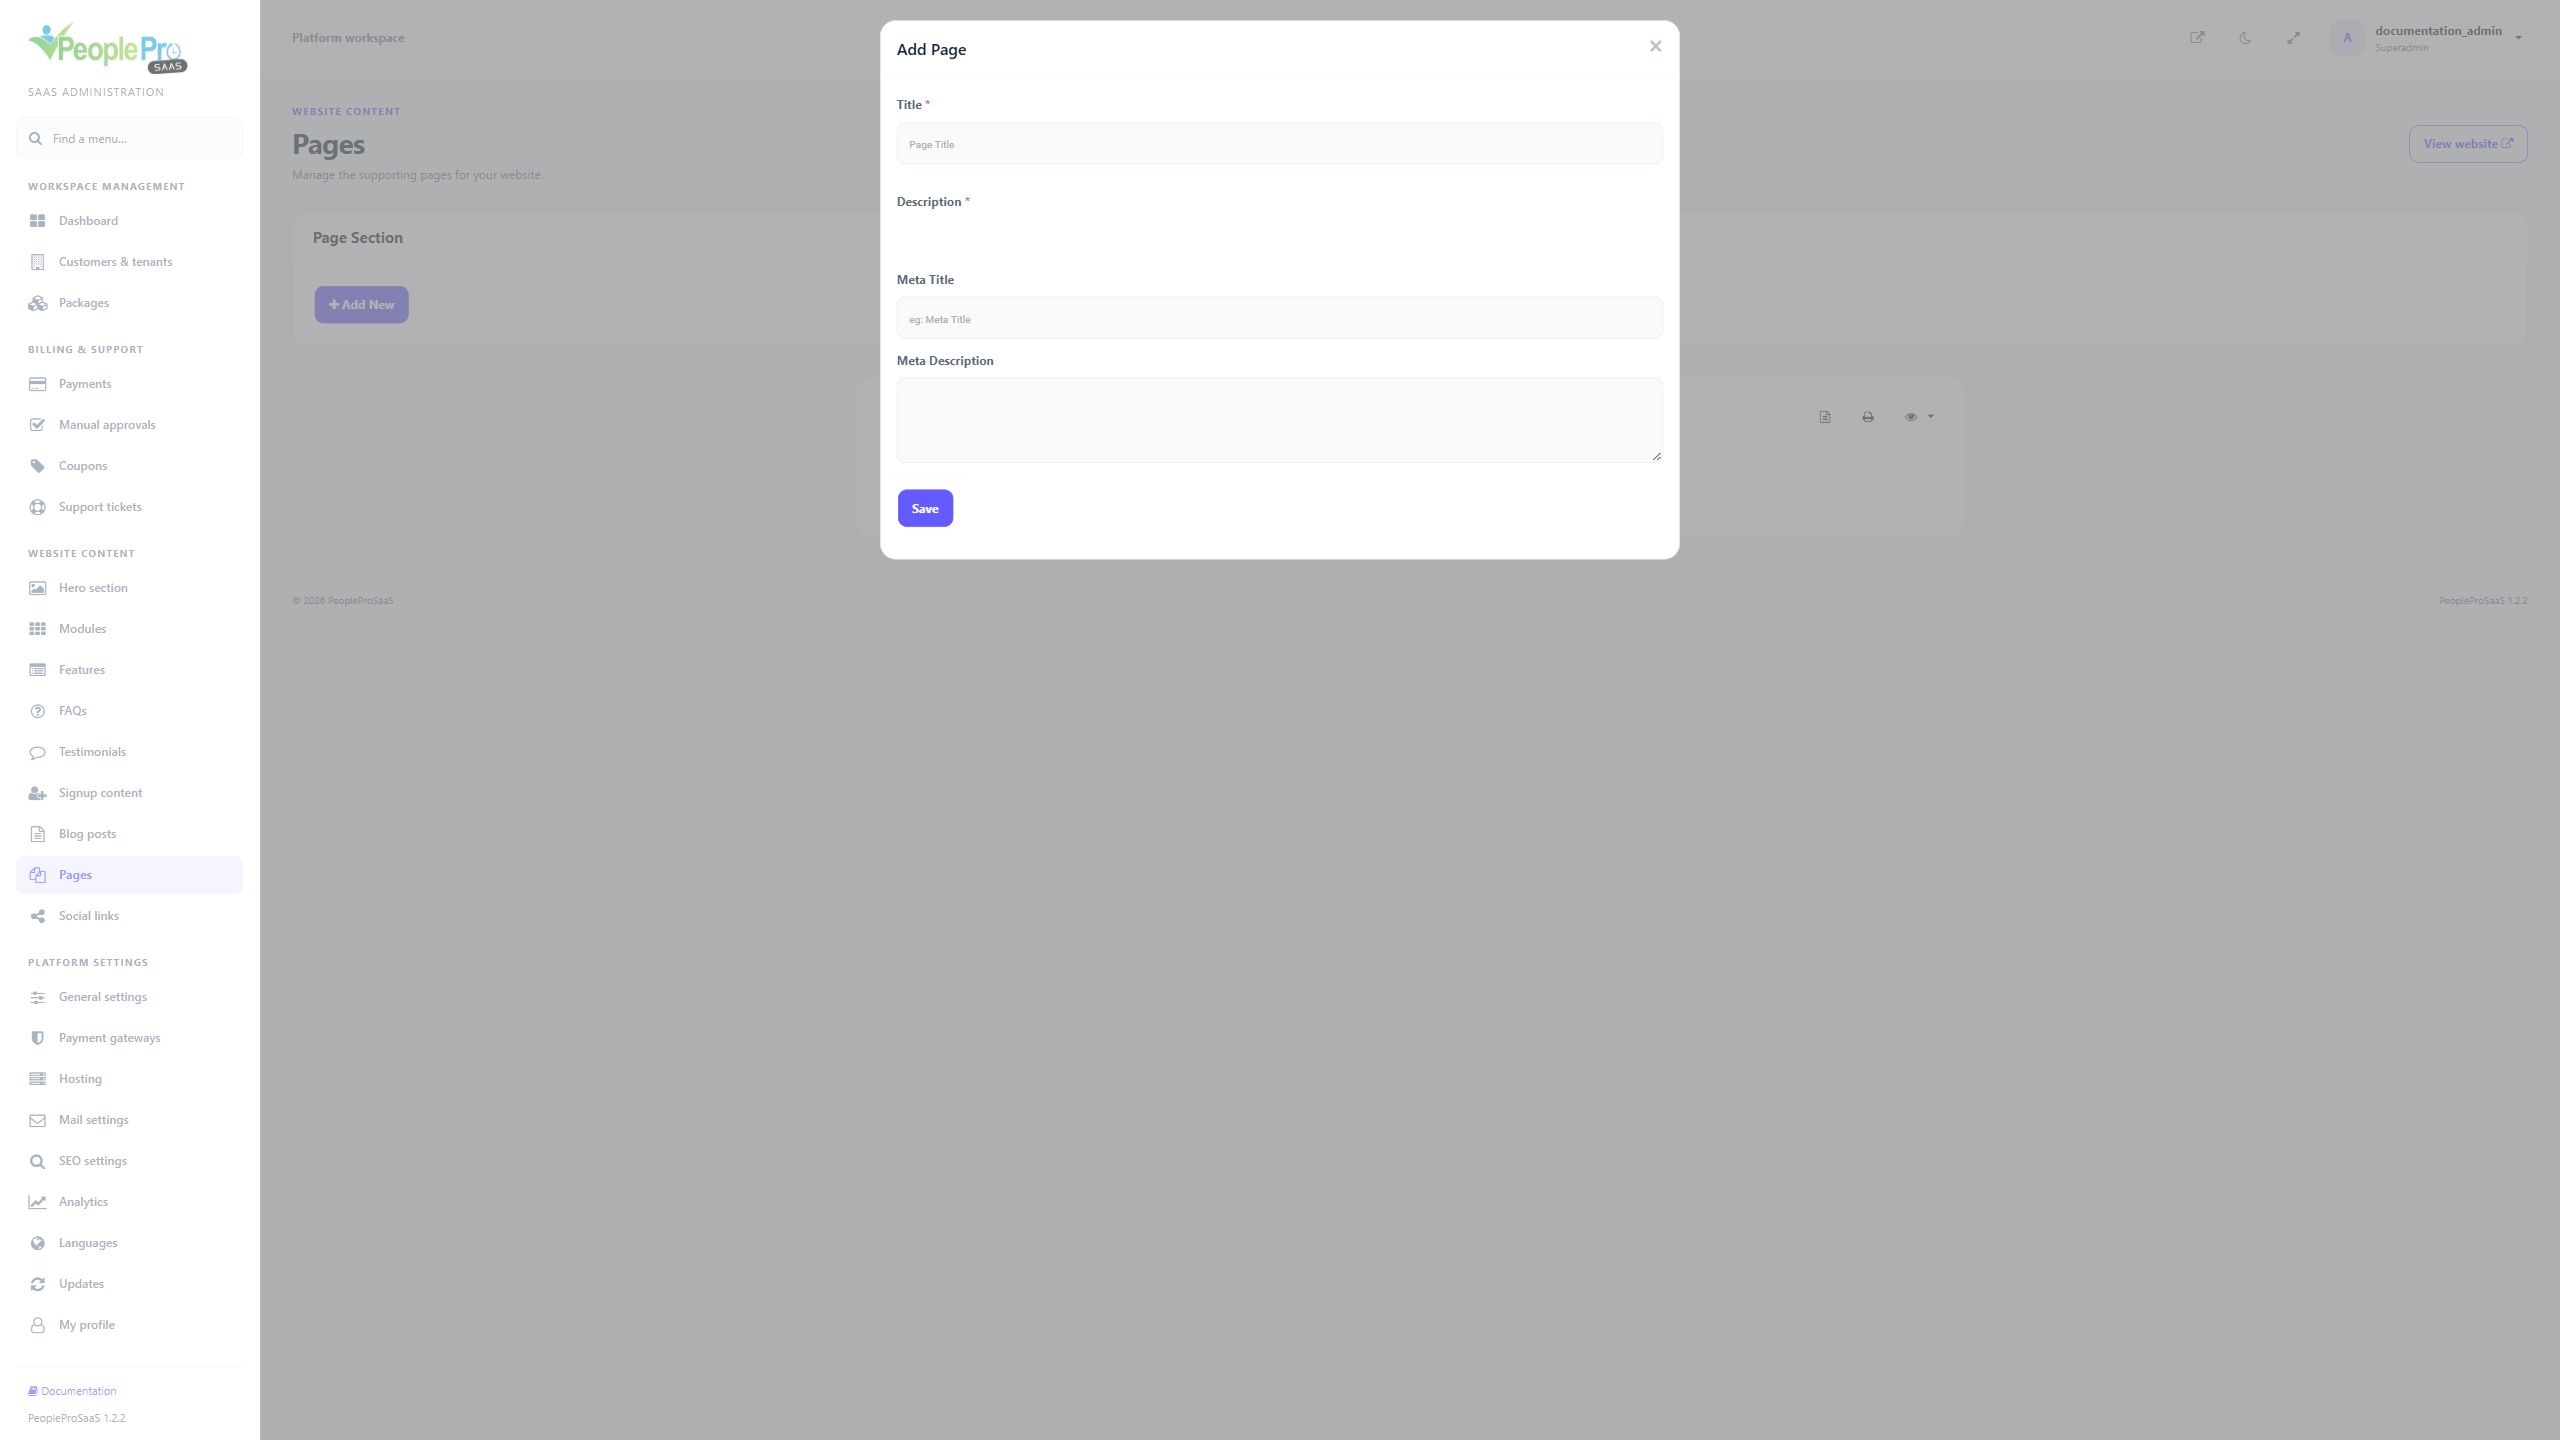
Select Add New in Pages. Enter Title and the required Description, then add Meta Title and Meta Description when needed. Use Save to create the central website page. Its address is generated from the title. Review the resulting page content and decide how visitors will reach it, because the current homepage does not automatically add every page to its navigation.
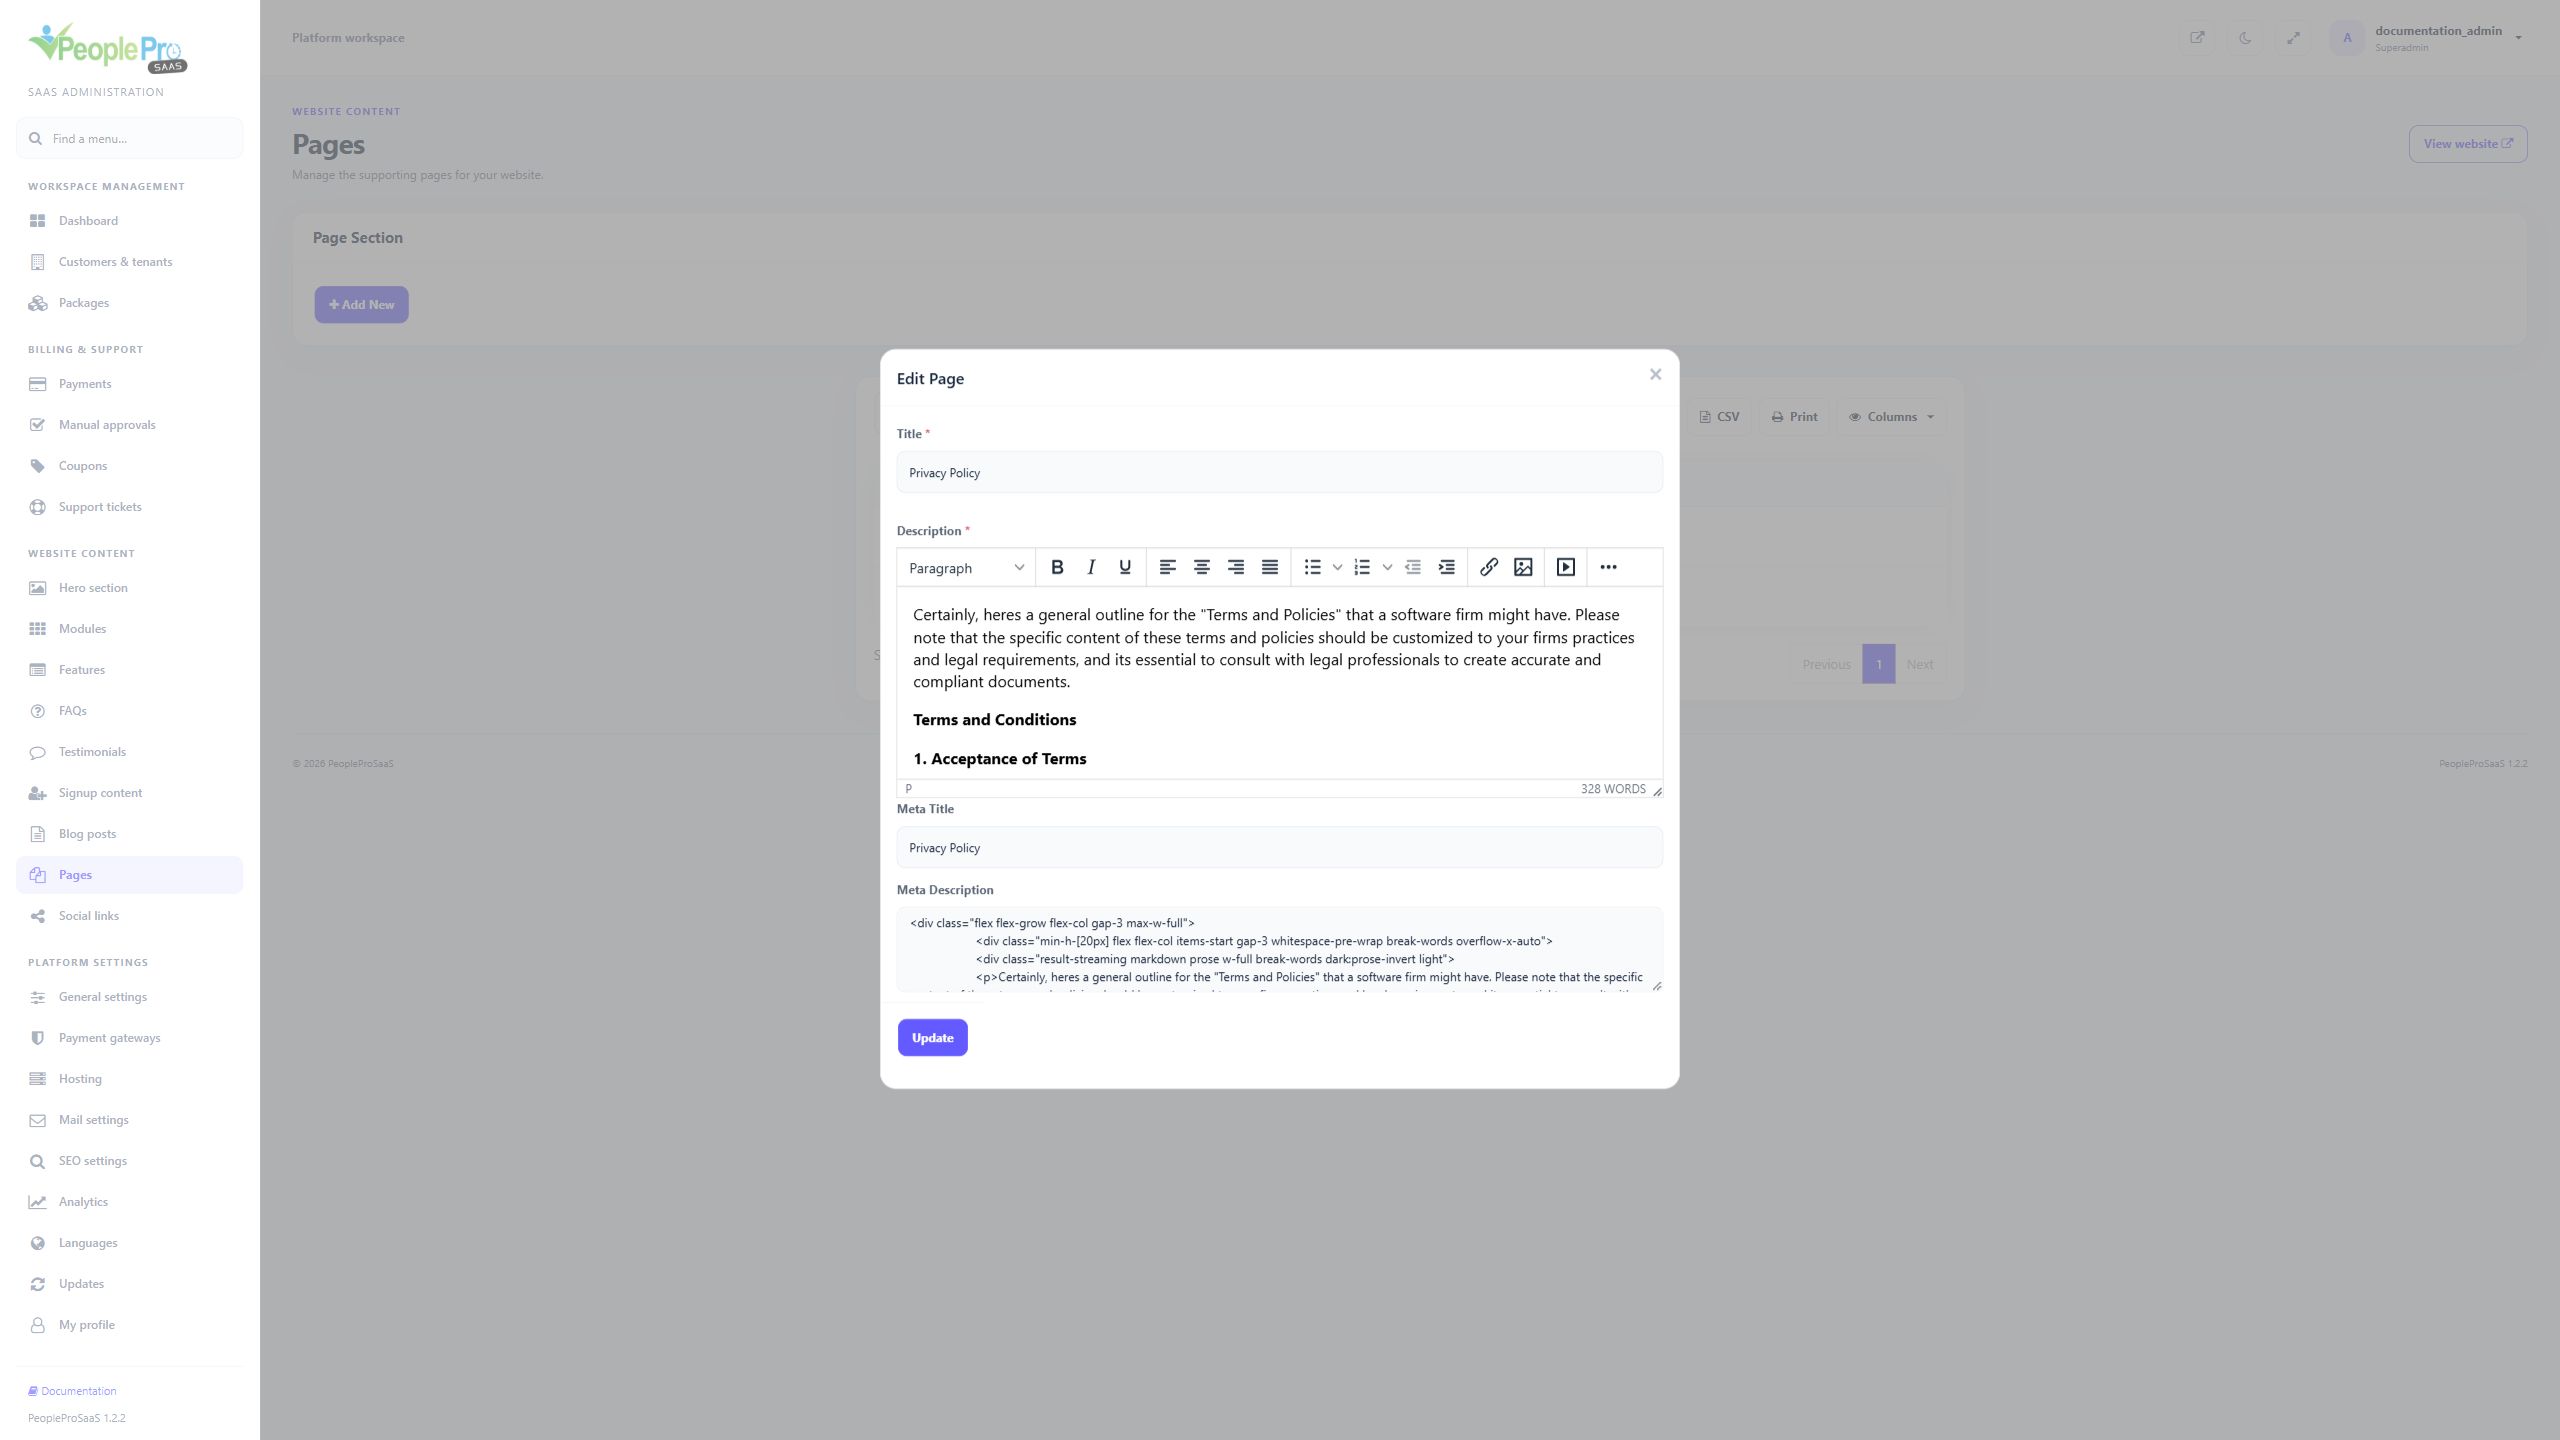
Choose the row edit action to change the title, page content or metadata, then select Update. Recheck links after a title change. Delete applies to the selected supporting page, so confirm the intended row first. Use this area for platform website content; it does not edit a tenant company policy or HR document.
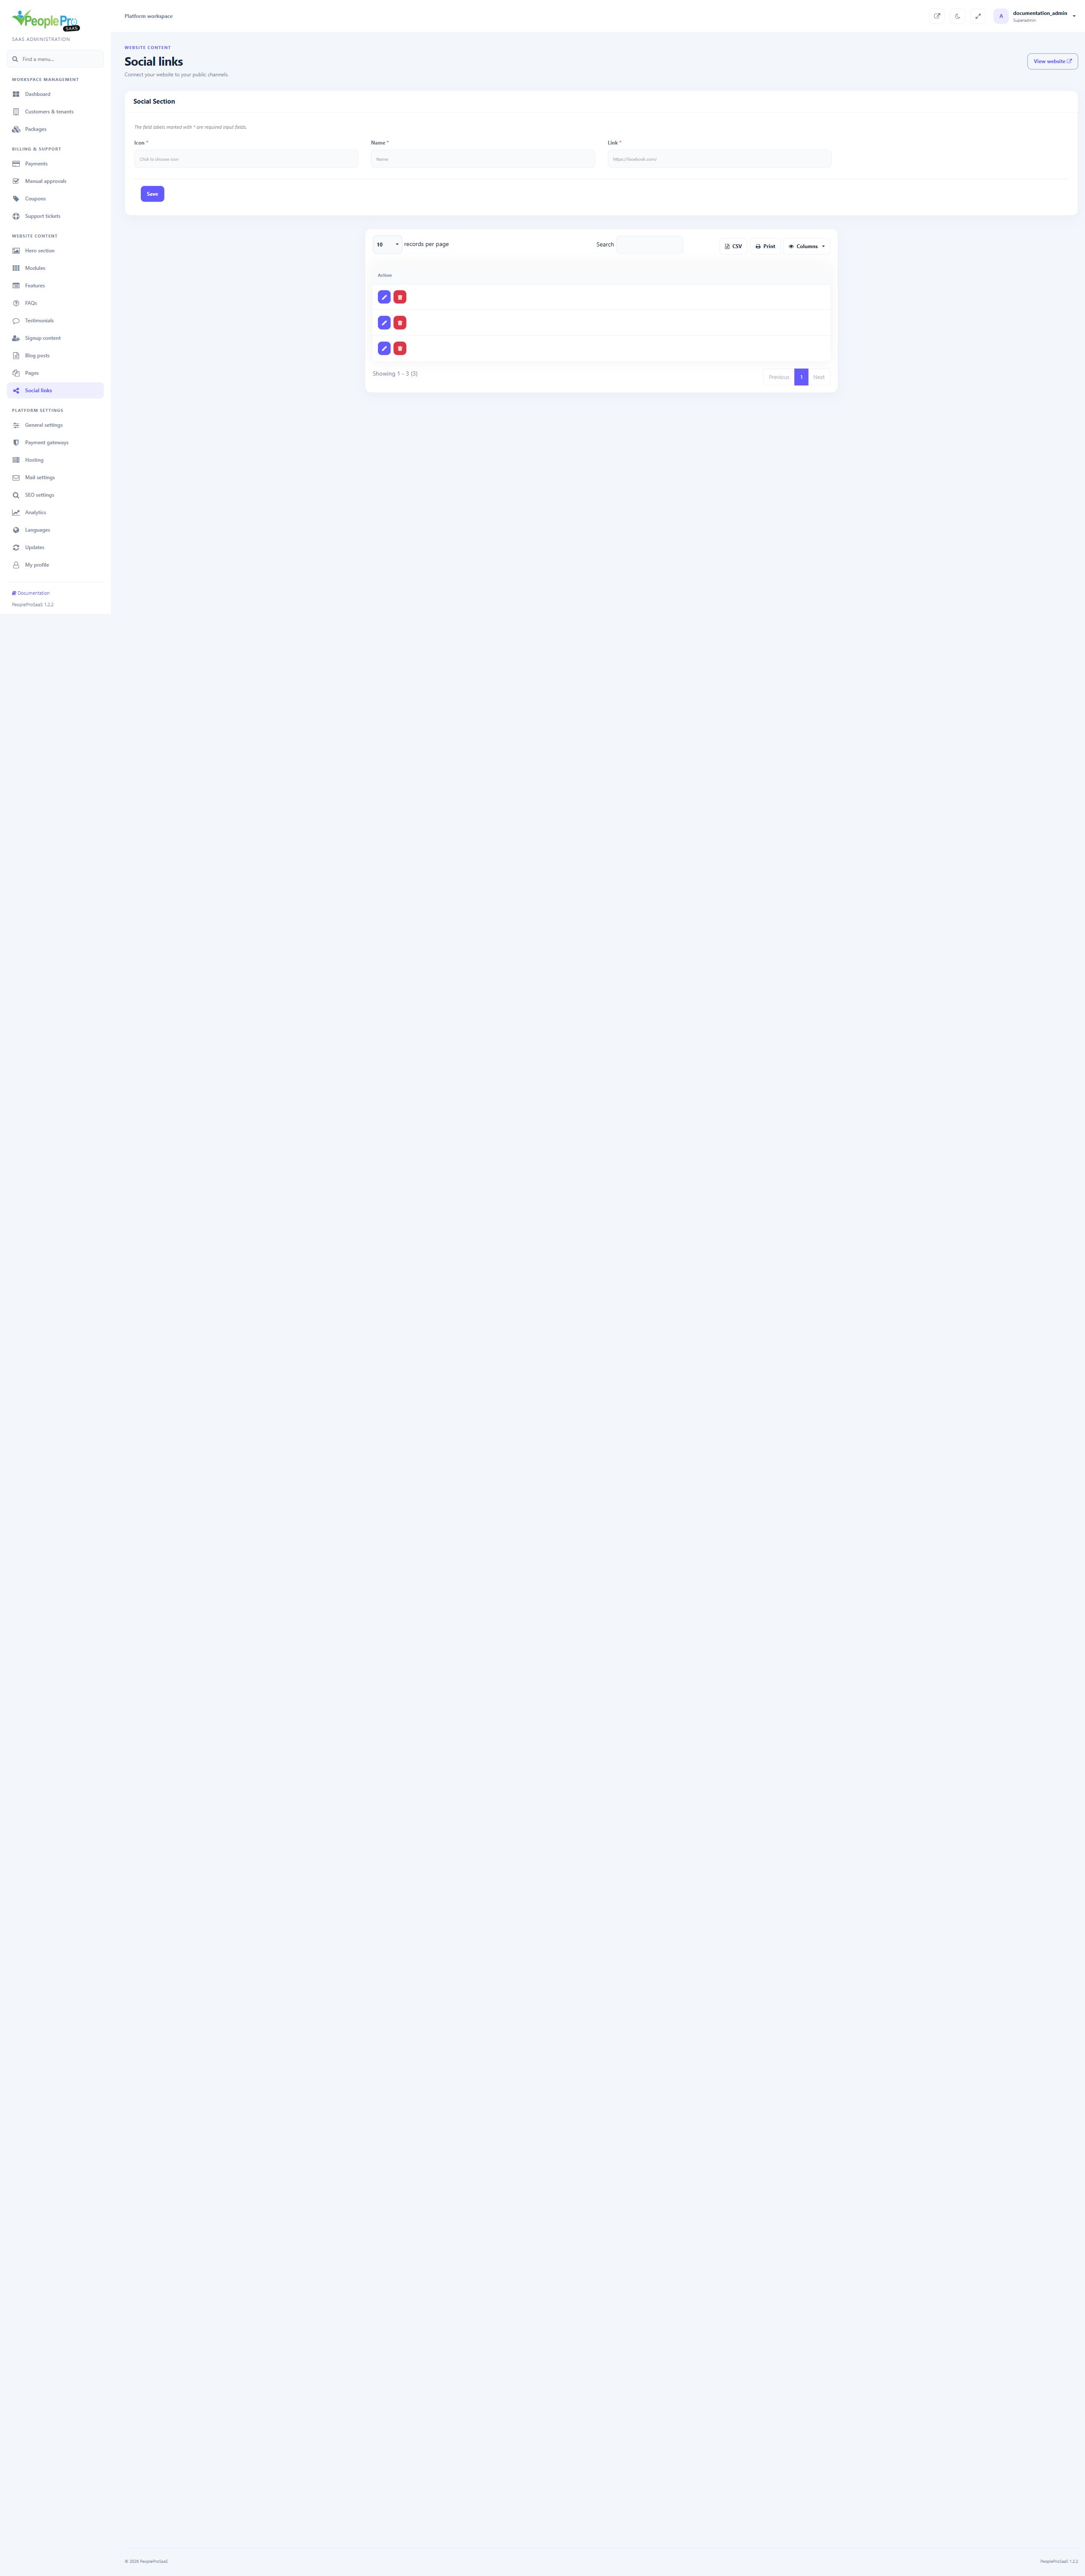
Use Social links to maintain Name, Icon and Link. Fill the form above the table to add a channel, or use its row action to edit it. Enter the public profile URL. The current form has no display-order input. These records belong to the earlier public content layout; the current compact homepage footer does not automatically publish them.
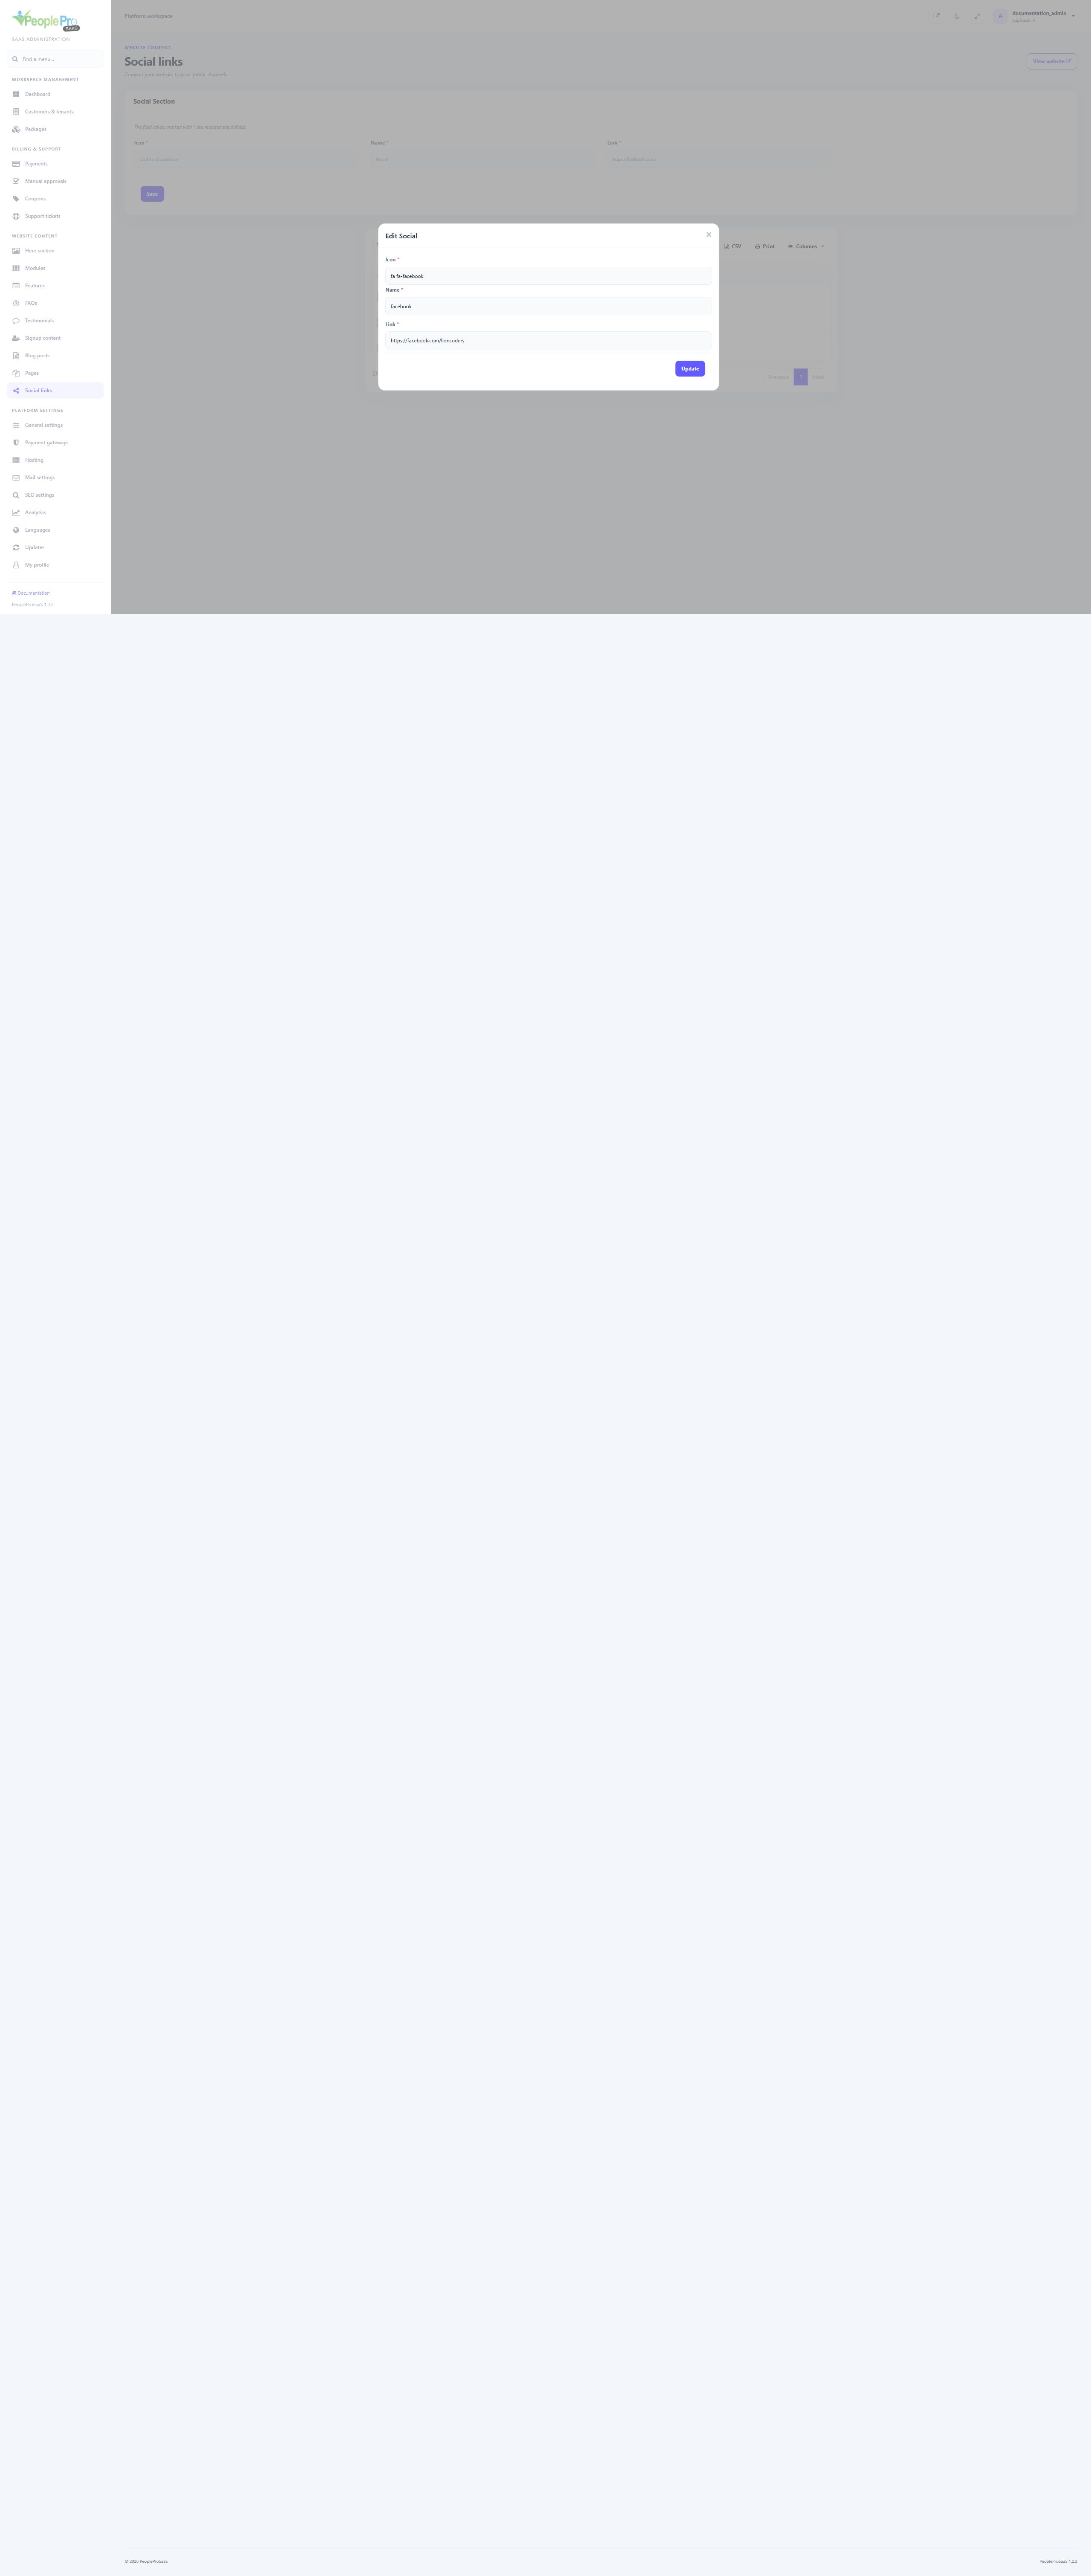
Use the row edit action to change Icon, Name or Link and choose Update. Link should be the full public address of the intended channel. The form above the list adds a new entry, and the row delete control removes an unwanted entry. This form has no separate display-order field. Preview the website layout that actually uses this legacy social collection.
Open Updates when the platform reports a new version. Review the release information and eligibility before applying an update. Keep a recoverable copy of the application, configuration, landlord database, tenant databases and uploads. Updates apply the compatible platform and tenant changes; the application version advances only after the required update work succeeds. Use the vendor-supported release package and verify the important workflows afterward.
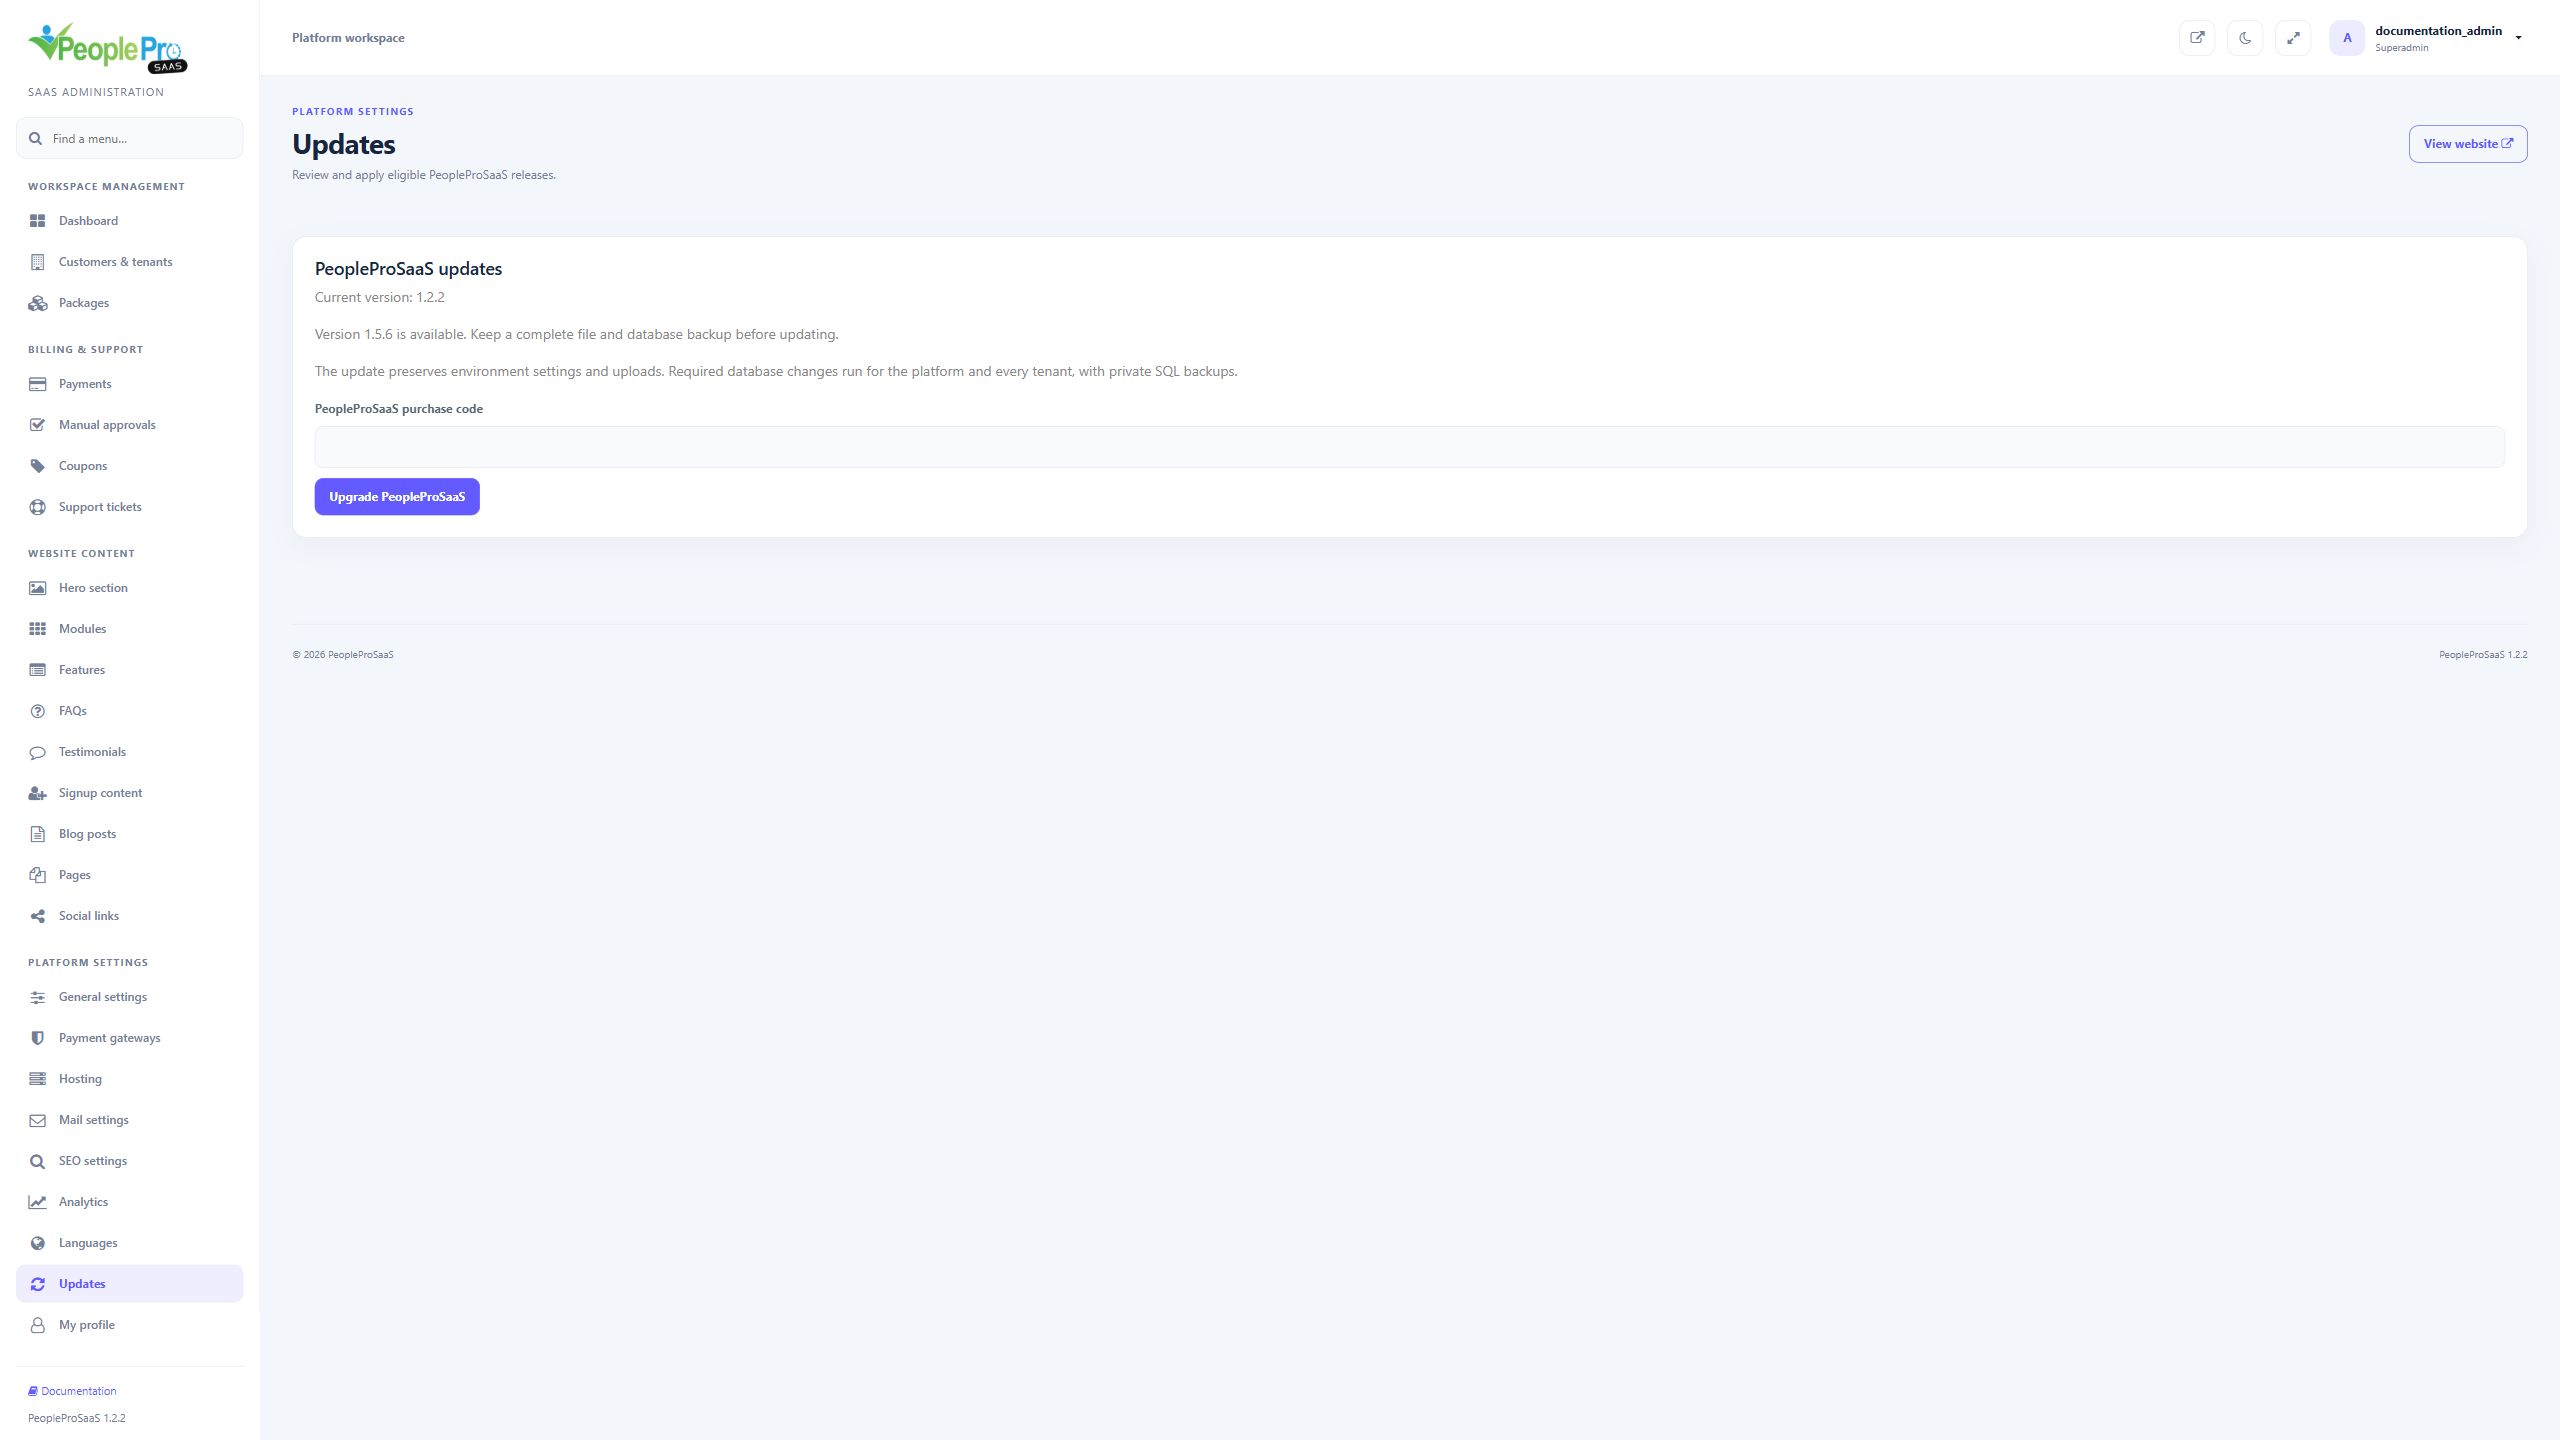
When Updates offers an eligible version, review the notice and prepare the required recoverable backup. Enter your valid PeopleProSaaS purchase code, then select Upgrade PeopleProSaaS once and wait for completion. Confirm the final version and the important platform and tenant workflows afterward. The illustration uses simulated release availability and does not announce a real release or show an update being installed.
A platform update may include landlord changes, shared HR code, tenant migrations and translation-pack updates. Existing users, passwords and customized translation values are retained by the upgrade process. For an operator-managed upgrade, php artisan peoplepro:upgrade-tenants previews tenants; --tenant=ID narrows the selection and --apply performs the supported tenant upgrade with its backup. Have the person responsible for deployment run maintenance commands in the intended application environment.
Ask your server administrator to configure the Laravel scheduler for the deployed application. The configured daily document, official-document and immigration-expiry reminder tasks run at 08:00 under the relevant tenant contexts. The usual hosting scheduler invokes php artisan schedule:run each minute from the application directory. Configure a worker when your deployment uses queued jobs. Mail delivery must also be working for email reminders to reach their recipients.
Keep the landlord database, every tenant database, application environment and keys, and customer uploads in your backup plan. A single tenant database export does not contain the entire SaaS platform. Keep recovery procedures with the person responsible for hosting and test a restore in an isolated environment. Retain the application key used to decrypt stored service credentials and checkout payloads.
Check its registered domain in Customers & tenants, then check DNS, the hosting domain, document root and HTTPS certificate. Confirm that the workspace is active and its subscription has not expired. A hostname that points to the server can still fail if it is not registered to the intended tenant. New platform installation must use the main domain; tenant subdomains are expected after setup.
Check that the provider is enabled, its credentials and mode match, and the package currency is supported. For manual payments, review the proof and actual transfer before approving. For online payments, inspect the provider reference and verified payment result. Avoid creating another checkout or manually extending a different workspace just because a payment page was refreshed.
Open Operations from Workspace management. The four counters show manual-review, processing, payment-verified and failed checkouts. Review the linked manual approvals or payment history before retrying a pending workflow. Payment Verified is an intermediate state, so confirm the earlier payment before asking a customer to pay again. This page is read-only and does not start payments, renewal or provisioning.
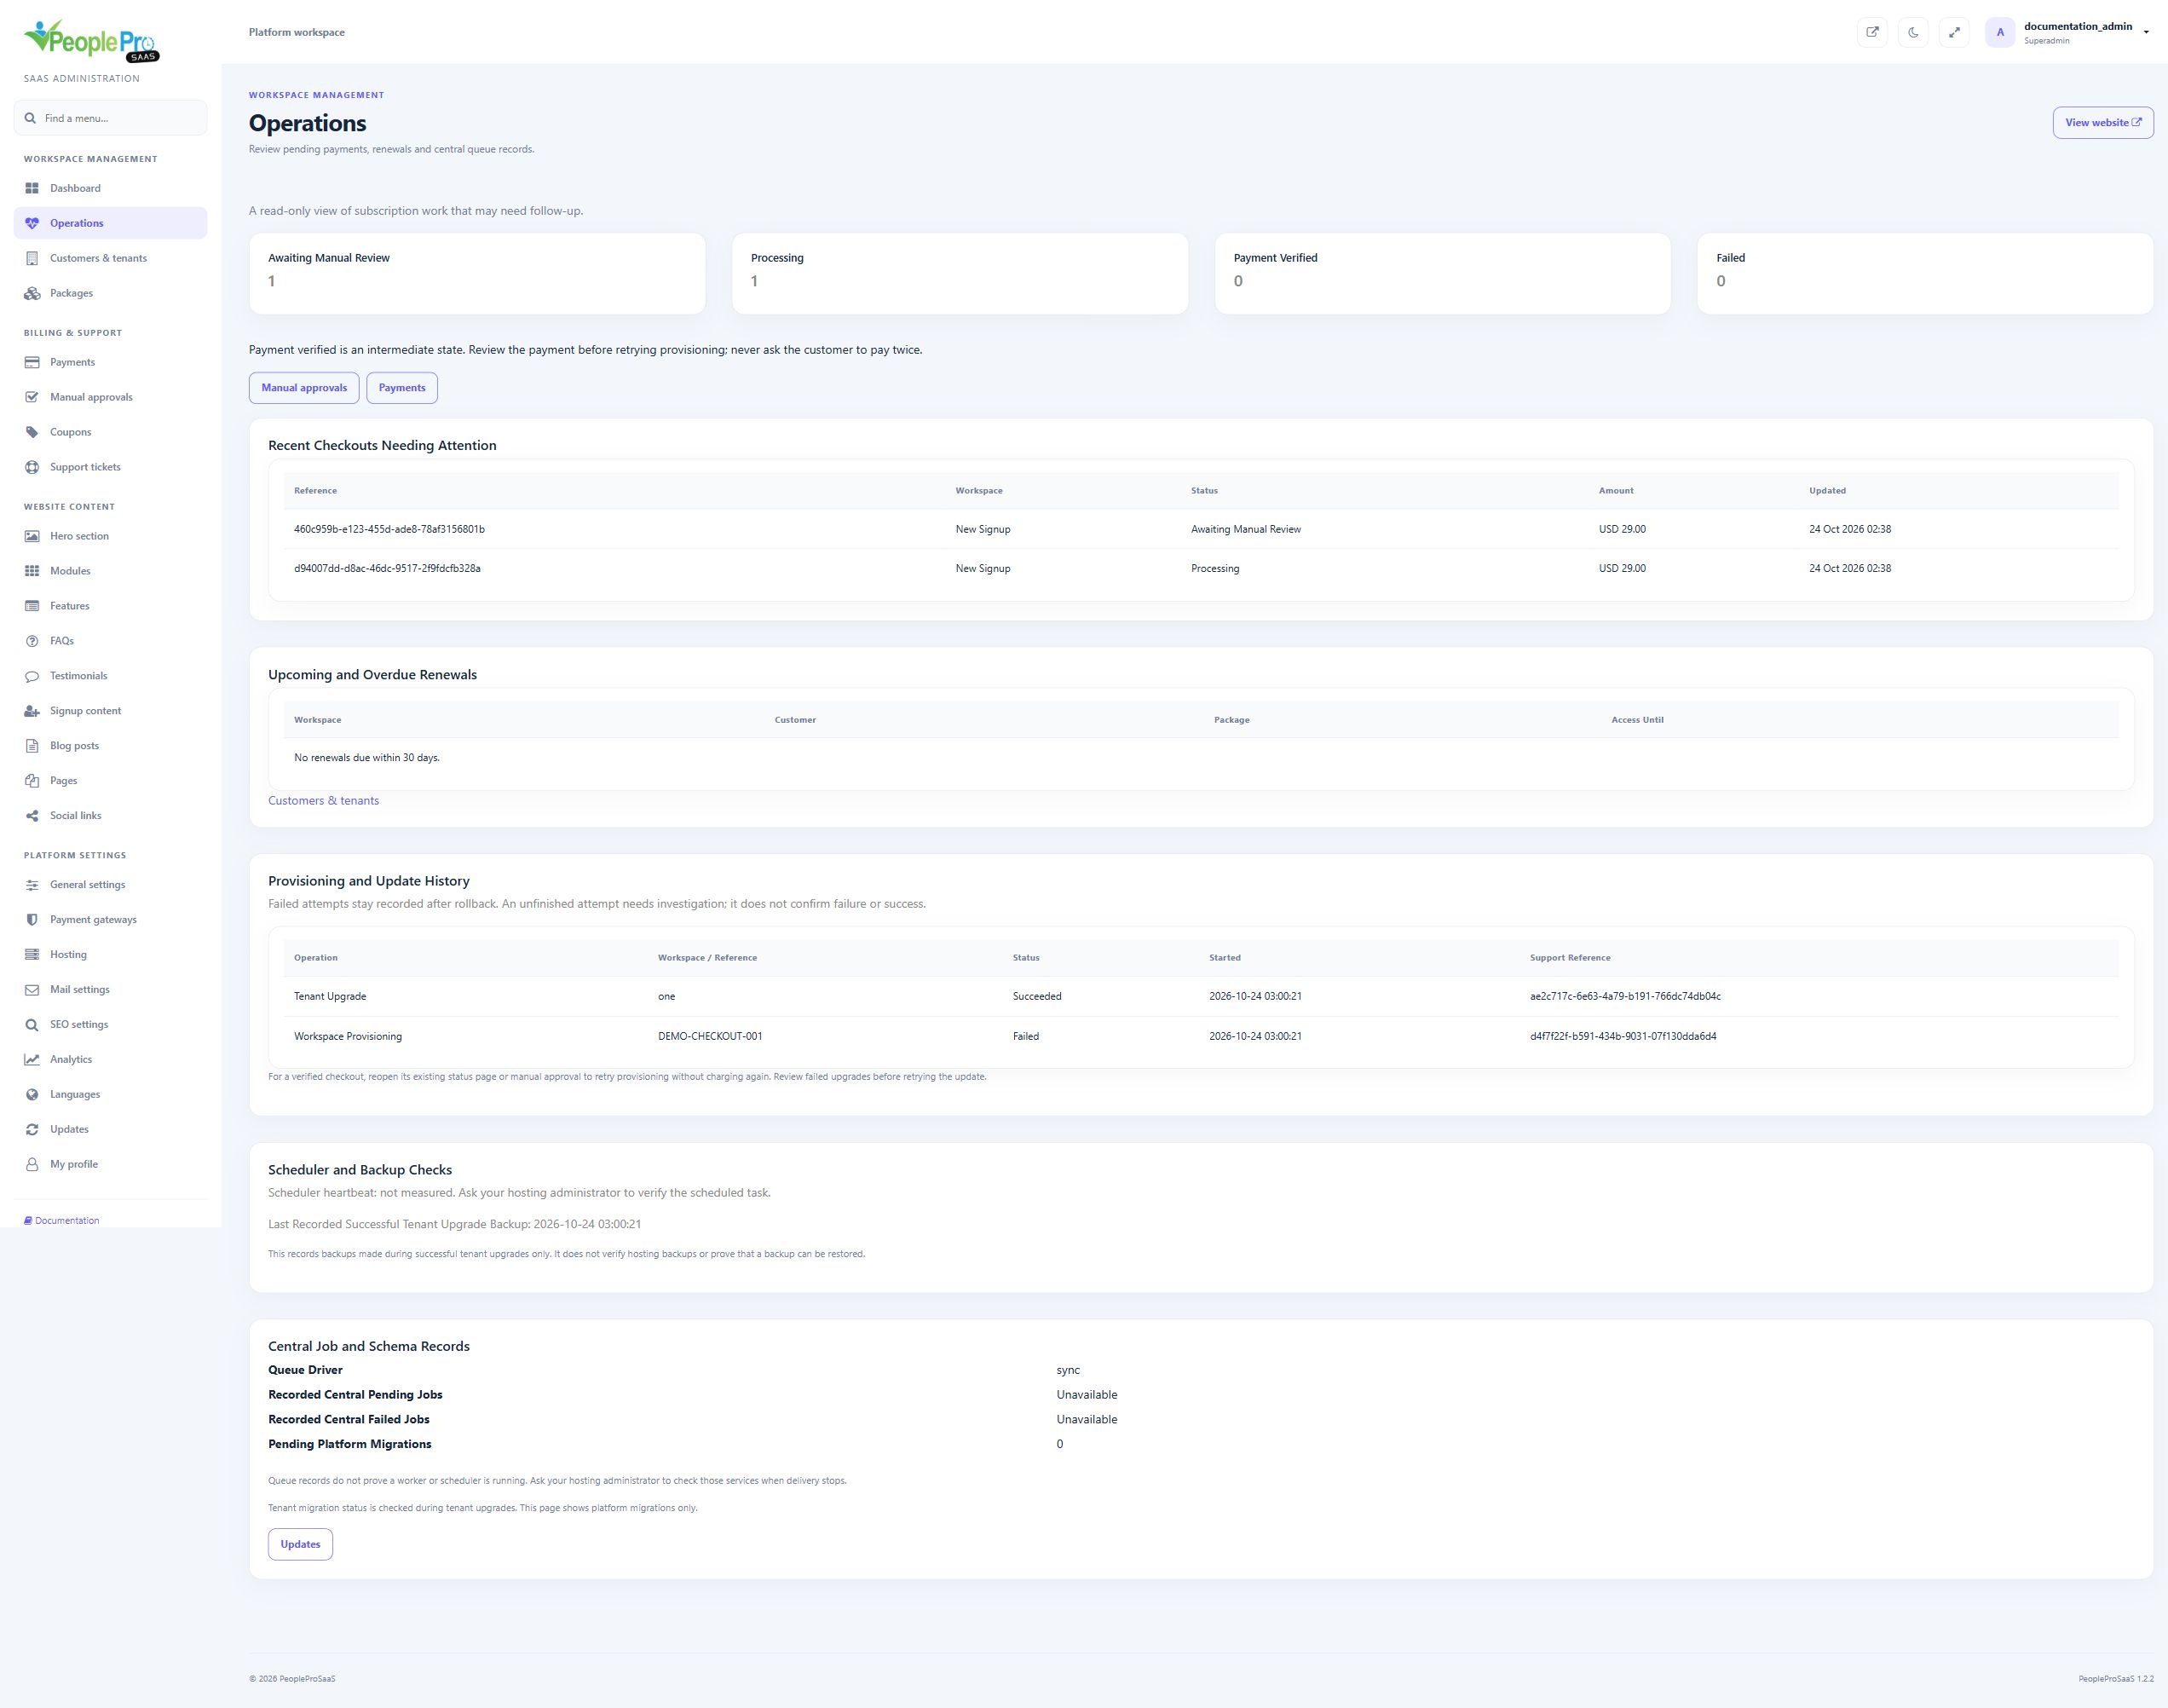
Operations lists upcoming/overdue renewal dates and central queue/schema records. Unavailable means a recorded count is not available; it does not mean zero failures. Queue records do not prove a worker or scheduler is running. Ask the hosting administrator to inspect those services when delivery stops. The operation history retains provisioning, renewal and update attempts, including failures that rolled back. Use the support reference when investigating. Unfinished is not proof of failure: check the earlier result before retrying. A verified checkout can use its existing status/manual-approval flow without charging again. The backup timestamp covers only recorded successful tenant-upgrade backups, not hosting backups or a restore test. Scheduler heartbeat is explicitly unmeasured. Pending Platform Migrations describes the landlord schema.
An active tenant administrator can open Plan & Usage in their own workspace to review account/employee limits, included modules and recent linked billing records. Owners can print a confirmed payment record; it is not a tax invoice. An unknown original currency is shown honestly. Company Setup Progress summarizes the permission/package-available Getting Started steps and links back to that guide. Inactive records count toward the same limits used when creating records; zero means unlimited. A pending/manual payment does not extend access until confirmed. Renewal uses the existing owner-verification and checkout flow. The tenant HR handbook remains separate from this platform administration guide.
Open Packages and edit the plan you want to offer. Select CRM and its required actions. Core records, catalogue/quotations, invoice receipts, reports, customer portal, contracts, support and marketing have separate permissions. Finance posting also needs the matching Finance actions; legacy invoice access is needed for CRM invoices. Save the package and assign it to the intended customer. A website-hidden package stays available to platform administrators without appearing as a public pricing plan.
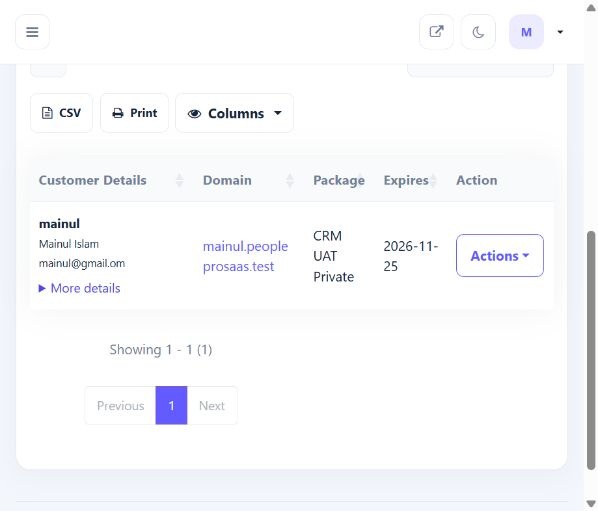
A package makes features available; it does not automatically enable CRM for every company or replace staff permissions. The tenant owner must enable CRM for a company and choose its currency, then grant the relevant role actions. A customer portal account sees only documents explicitly shared with its linked contact. HR and customer workflows are documented in the separate PeoplePro handbook. Keep the platform administration guide separate from that handbook.